Introduction
Thank you for purchasing the Zopsc Digital Camera. This manual provides essential information for setting up, operating, and maintaining your camera. Please read it thoroughly before use to ensure optimal performance and longevity of your device.
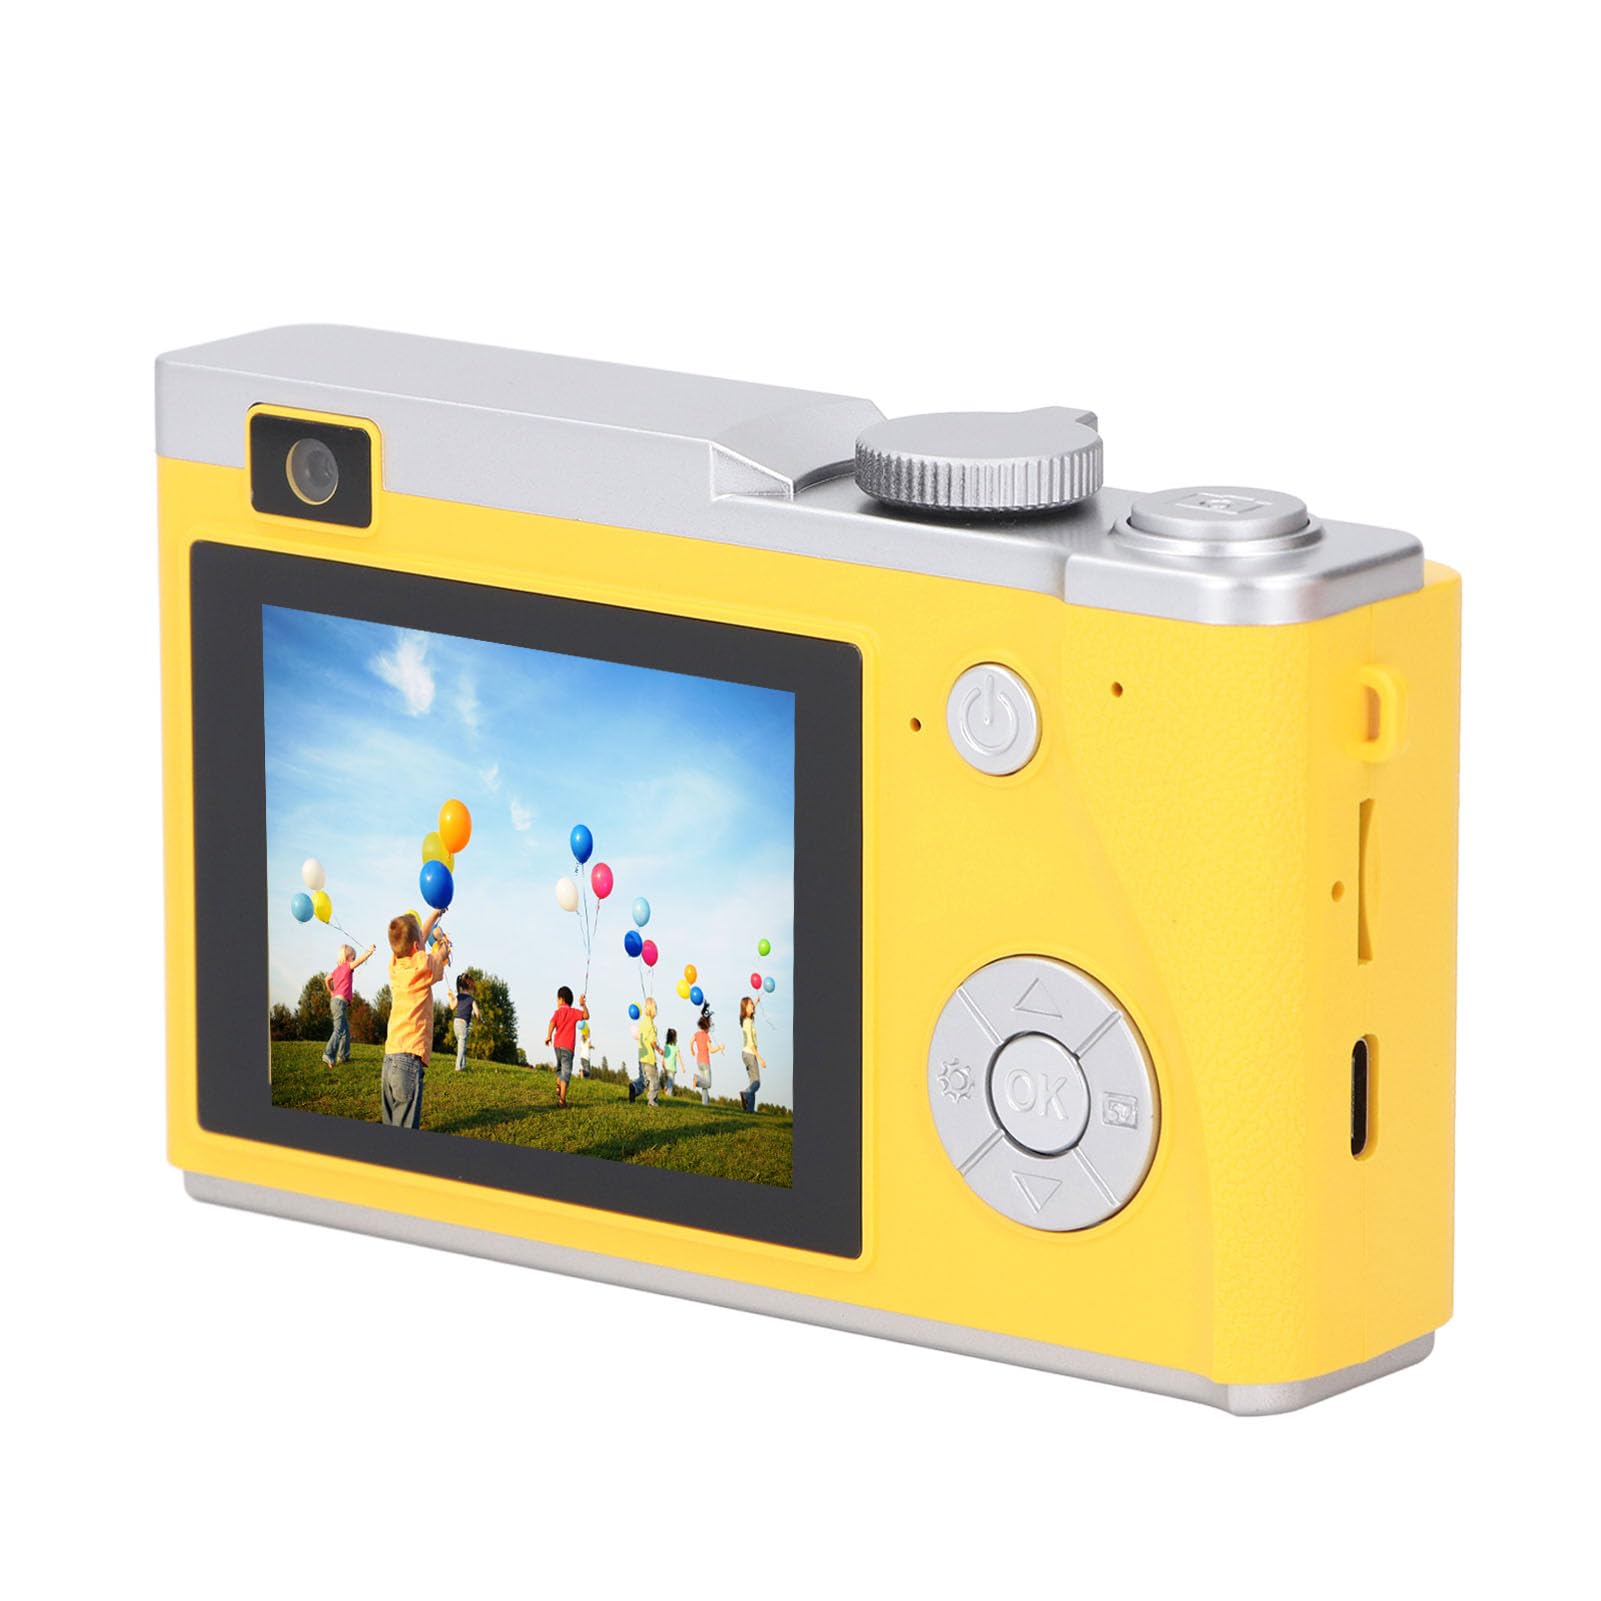
Front view of the Zopsc Digital Camera, showcasing its compact design and lens.
What's in the Box
Verify that all items are present in the package:
- Camera Body
- Wrist Strap
- Charging Cable (Type-C)
- Card Reader
- Adapter
- Instruction Manual

Image showing the Zopsc Digital Camera and its included accessories.
Setup
1. Charging the Battery
The camera comes with a built-in 800mAh lithium-ion battery. Before first use, fully charge the camera.
- Connect the provided Type-C charging cable to the camera's charging port.
- Connect the other end of the cable to the adapter and plug it into a power outlet, or connect it to a computer's USB port or a power bank.
- The charging indicator light will show the charging status. Once fully charged, the indicator will change or turn off.

The camera features a Type-C charging port for convenient power supply.
2. Inserting a Memory Card
The camera supports memory cards up to 64GB (not included). A memory card is required to save photos and videos.
- Locate the memory card slot on the camera.
- Insert the memory card with the metal contacts facing the correct direction (refer to the diagram near the slot if available) until it clicks into place.
- To remove, gently press the card until it springs out.
3. Powering On/Off
- To power on or off, press and hold the power button for approximately 3 seconds.
- The camera's 2.4-inch HD display will illuminate upon startup.
Operating Instructions
1. Taking Photos
The camera features a 48MP sensor for high-resolution photos.
- Ensure the camera is in photo mode (indicated by an icon on the screen, switch modes using the 'M' button).
- Frame your shot using the 2.4-inch HD display.
- Press the shutter button halfway down to focus.
- Press the shutter button fully to capture the photo.

The camera's lens and flash for capturing 48MP photos.
2. Recording Videos
Record videos in 1080P resolution for clear and vivid footage.
- Switch the camera to video recording mode using the 'M' button.
- Press the shutter button once to start recording. A 'REC' indicator will appear on the screen.
- Press the shutter button again to stop recording.

The camera screen showing 1080P HD video recording in progress.
3. Digital Zoom
The camera supports 16x digital zoom.
- Use the directional buttons (Up/Down) to zoom in or out while framing your shot.
4. Selfie Function and Filters
Utilize the front and rear dual lenses for selfies and creative effects.
- Switch to the front lens for selfies.
- Access the menu to apply automatic beauty face enhancements, various color filters, and cute big head stickers.

Example of various photo stickers and filters available for creative photography.
5. Timed Photo Shooting
Set a timer for group photos or self-portraits.
- Navigate to the timer settings in the camera menu.
- Select the desired delay (e.g., 2s, 5s, 10s).
- Press the shutter button, and the camera will count down before taking the picture.

The camera's timed shooting feature for convenient group photos.
6. Navigation and Settings
- The 'OK' button serves as confirmation.
- The up, down, left, and right buttons are used for navigation within menus and as shortcut function buttons.
- The 'M' button (Mode button) allows switching between different camera modes (e.g., photo, video, playback).
- The power button also functions as a return button when navigating menus.
Maintenance
- Cleaning the Camera Body: Use a soft, dry cloth to wipe the camera body. Avoid using harsh chemicals or abrasive materials.
- Cleaning the Lens and Screen: Use a specialized lens cleaning cloth and solution. Gently wipe in a circular motion. Do not touch the lens or screen with bare fingers.
- Storage: When not in use for extended periods, store the camera in a cool, dry place away from direct sunlight and extreme temperatures. Remove the memory card if not needed.
- Battery Care: Avoid fully discharging the battery frequently. Charge it regularly to maintain battery health.
Troubleshooting
| Problem | Possible Cause | Solution |
|---|---|---|
| Camera does not power on. | Battery is depleted or not charged. | Charge the camera battery using the provided Type-C cable. Ensure the power button is pressed and held for 3 seconds. |
| Cannot take photos/videos. | Memory card is full, not inserted correctly, or not formatted. | Insert a memory card (up to 64GB). Ensure it is inserted correctly. Format the memory card via camera settings if necessary (this will erase all data). |
| Images are blurry. | Lens is dirty, insufficient light, or camera shake. | Clean the lens. Ensure adequate lighting. Hold the camera steady or use a tripod. Press the shutter button halfway to focus before fully pressing. |
| Screen is blank or frozen. | Temporary software glitch. | Press and hold the power button for 10 seconds to force a shutdown, then restart the camera. If the issue persists, ensure the battery is charged. |
Specifications
| Feature | Detail |
|---|---|
| Product Material | ABS |
| File Format | JPEG, AVI |
| Image Quality (Max) | 48M (48 Megapixels) |
| Video Resolution (Max) | 1080P |
| Image Ratio | 16:9 |
| Zoom Magnification | 16x Digital Zoom |
| Auto White Balance | Supported |
| Auto Focus | Supported |
| Battery Type | 800mAh Lithium Ion Battery (Built-in) |
| Storage Support | Up to 64GB Memory Card (Not Included) |
| Fill Light | Supported |
| Charging Port | Type C |
| Display Screen | 2.4-inch IPS Screen |
| Item Weight | 9.7 ounces |
| Package Dimensions | 5.51 x 4.33 x 1.57 inches |
| Model Number | Zopsc4xkzs93qug-12 |
Note: The "64 MEGA PIXELS" and "4K" markings on the product exterior are for cosmetic purposes and do not represent system parameters. The actual maximum image quality is 48MP and video resolution is 1080P.
Warranty Information
Specific warranty details for your Zopsc Digital Camera are typically provided with your purchase documentation or on the product packaging. Please refer to those materials for information regarding warranty duration, coverage, and claims process.
Generally, products are covered against manufacturing defects for a specified period from the date of purchase. Keep your proof of purchase for any warranty claims.
Customer Support
If you encounter any issues or have questions not covered in this manual, please contact Zopsc customer support through the retailer where you purchased the product or visit the official Zopsc website for support options.
When contacting support, please have your camera model number (Zopsc4xkzs93qug-12) and proof of purchase ready.