OUXI V8
OUXI V8 Electric Bike Instruction Manual
Comprehensive guide for your OUXI V8 Electric Bike, covering setup, operation, maintenance, and troubleshooting.
1. Product Overview
The OUXI V8 Electric Bike is a moped-style e-bike designed for adults, featuring a powerful 1000W peak motor and a 48V 15Ah removable battery. It is built for both commuting and off-road adventures, equipped with 20-inch fat tires and dual disc brakes for versatile performance across various terrains.

2. Safety Information
Always prioritize safety when operating your electric bike. Read and understand all safety warnings and instructions before riding. Failure to do so may result in serious injury or damage to the product.
- Always wear a helmet and appropriate safety gear.
- Ensure all components are securely fastened and in good working order before each ride.
- Familiarize yourself with local e-bike regulations and laws.
- Do not operate the bike under the influence of alcohol or drugs.
- Be aware of your surroundings and ride defensively.
- Avoid riding in extreme weather conditions or on excessively slippery surfaces.
3. Setup and Assembly
The OUXI V8 Electric Bike comes 85% pre-assembled. Follow these steps to complete the assembly and prepare your bike for its first ride.
3.1 Unboxing and Initial Inspection
Carefully unpack the electric bike from its packaging. Remove all accessories and protective foam. Inspect the bike for any signs of damage during transit.
- First, cut the outer packing straps.
- Remove all included accessories from the box. These typically include a user manual, charger, pump, and tool kit.
- Remove all buffer foam protecting the bike components.
- Carefully take out the main body of the electric bike from the box.
- Remove all cable ties securing components during shipping. The battery key is typically found tied near the rear wheel.
3.2 Handlebar Mounting
Install the handlebars onto the bike's stem.
- Remove the larger allen wrench from the tool kit.
- Loosen the two side screws on the handlebar connection.
- Remove the top screws and the handlebar connection piece.
- Run the handlebar wire around the shock barrel.
- Put the iron blocks and rings back in place on the handlebar stem.
- Tighten the screws on the side of the top screw box.
- Insert the dust plug into the shock absorber barrel.
- Install the handlebar connection bar facing up.
- Tighten the screws on the side of the top screw box.
3.3 Front Wheel Mounting
Attach the front wheel to the bike's fork.
- Loosen the screws on both sides of the front wheel.
- Insert your forearm into the front wheel bearing to align it with the fork.
- Turn the strip and tighten the screws.
- Tighten the screw with the No. 15 wrench.
- Insert the screw caps into both sides of the wheel axle.
3.4 Pedal Mounting
Install the pedals onto the crank arms. Note that the threads on the pedals are reversed for proper tightening.
- Take out your foot in the right direction.
- Rotate the pedal screw position to hold it in place.
- Tighten the pedal with a 15-gauge wrench.
- Notice that the thread on the other foot is reversed; the operation is the same.
3.5 Front Fender Mounting
Attach the front fender to protect from splashes.
- Cut the tape off the front fender.
- Remove the nut with a No. 10 wrench.
- Put the fender on and tighten the screws.
- Remove the screws on both sides of the fork.
- Put the fender brace on.
- Tighten with a large allen wrench.
- Do the same on the other side.
3.6 Rear Seat Mounting
Install the rear seat for additional passenger capacity or cargo.
- Remove a pair of screws from the seat bracket.
- Insert the screw into the joint of the seat bracket and twist the screws.
- Use two more wrenches to tighten the screws.
- Do the same on the other side.
- Remove the two screws from the taillight.
- Put the taillights in the rear seat.
- Then install the original two screws and tighten it with an 8-gauge wrench.
- Use cable ties to secure the wires.
- Cut off any extra cable ties with scissors.

3.7 Rear Pedal Mounting
Install the rear foot pedals for passengers.
- Take out the backseat pedal.
- Unscrew the mounting point.
- Take out your foot in the right direction.
- Then put on the screws that you just took off.
- Tighten the screws with a size 10 wrench and a large allen wrench.
- Do the same on the other side.
4. Operation
Learn how to operate your OUXI V8 Electric Bike, including battery management and display settings.
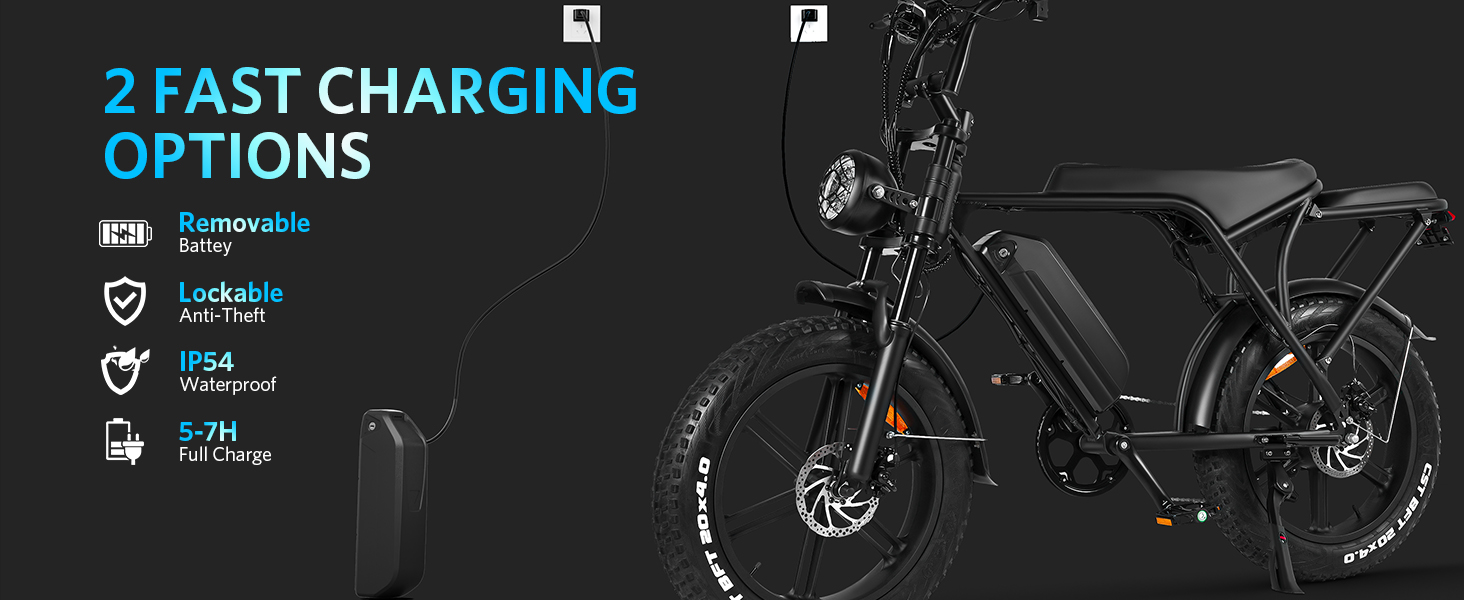
4.1 Battery Charging
The 48V 15Ah removable battery provides a long riding range. Ensure it is fully charged before your first ride and whenever the battery level is low.
- Open the battery lock with the key.
- Push up to remove the battery from the frame.
- Connect the charger to the battery and power on the charger.
- Charge the battery until it reaches 100% (typically 7-8 hours for a full charge).
- Place the full battery back in the battery holder and lock it.
- Turn on the battery switch on the bike.

4.2 Meter Adjustment (LCD Display)
Adjust the M5 LCD display for optimal viewing and access to ride information.
- Take out the small Allen wrench from the tool kit.
- Loosen the two screws holding the meter in place.
- Adjust the meter to the proper angle for visibility.
- Tighten the screws after adjusting the meter.


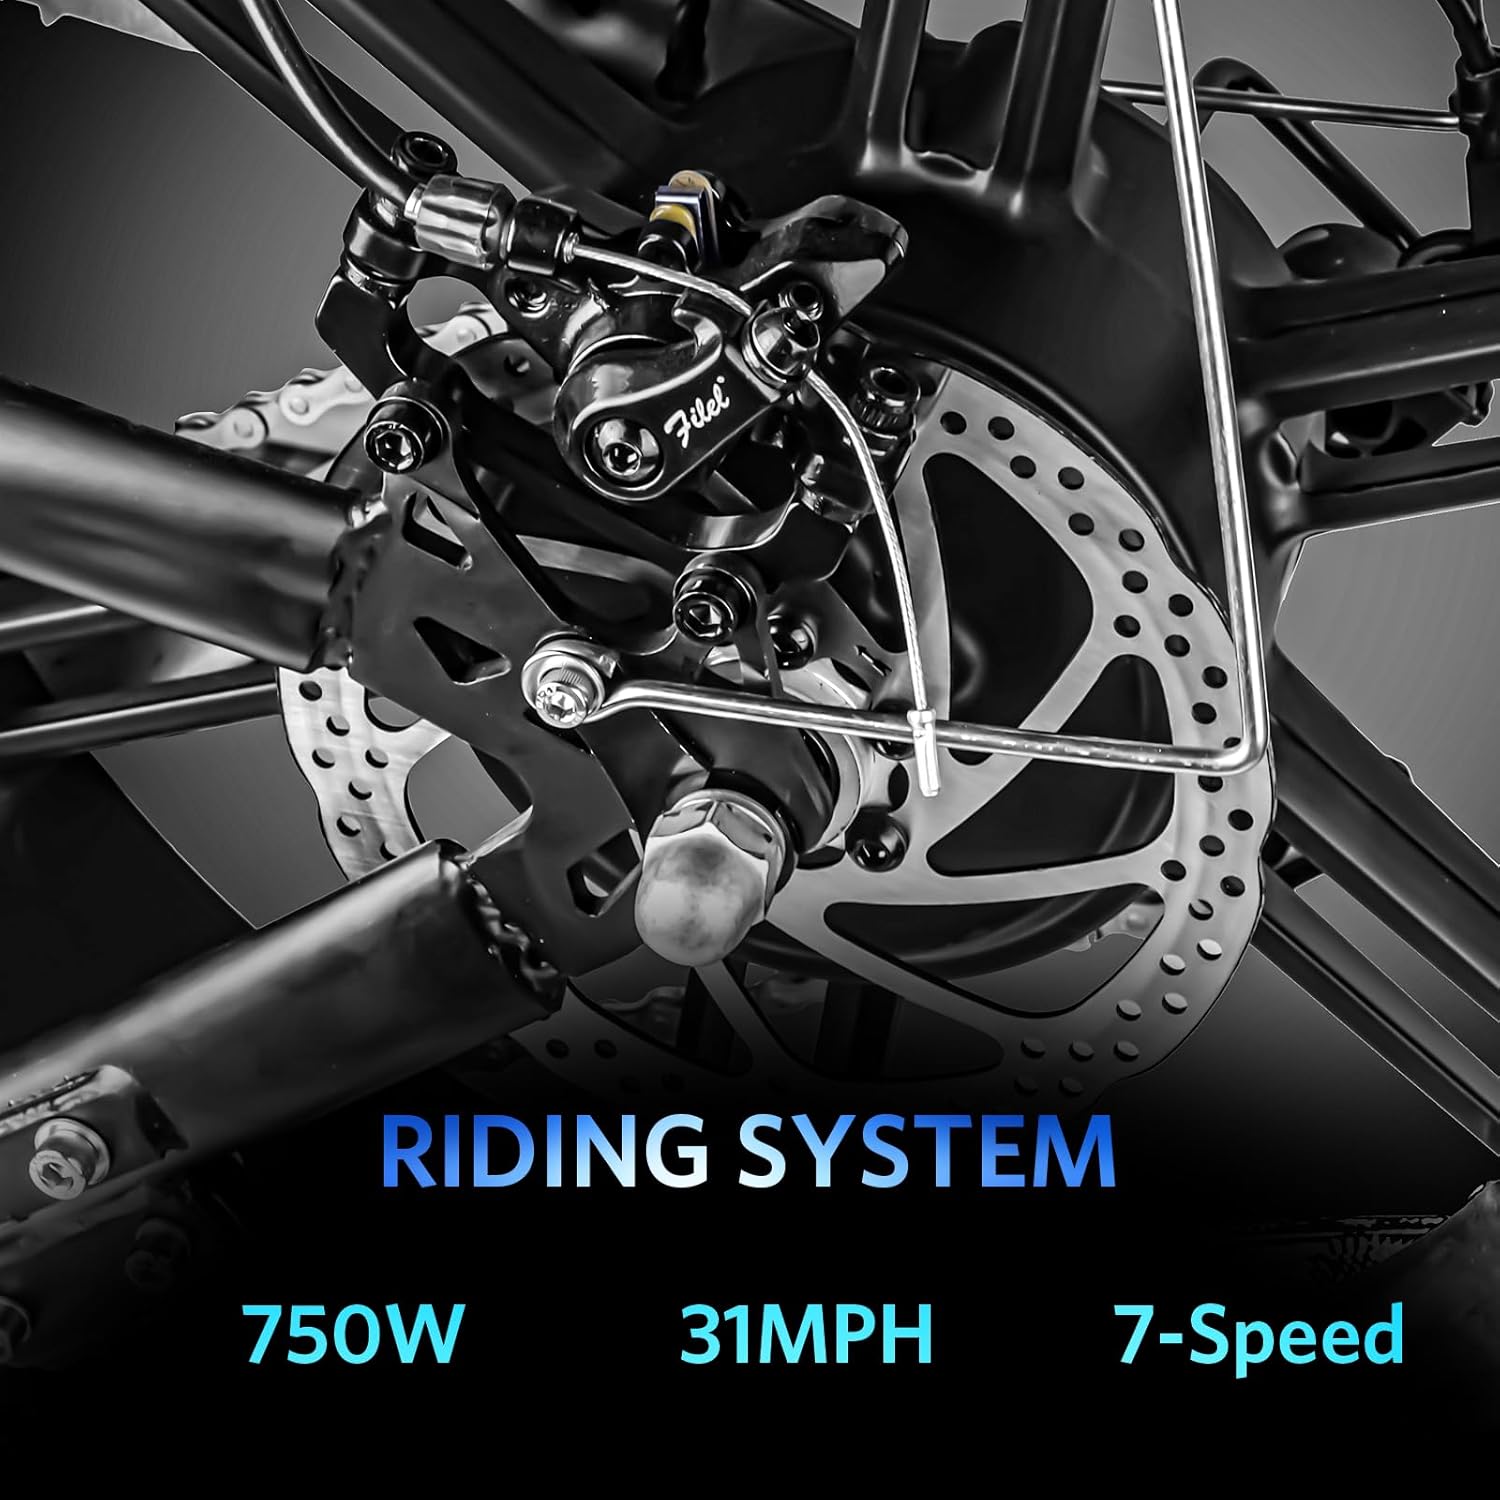
4.3 Riding Modes
The OUXI V8 Electric Bike offers three distinct riding modes to suit your preference and terrain:
- Pure Electric Mode: Utilizes only the motor for propulsion, ideal for effortless cruising.
- Pedal-Assist Mode: The motor provides assistance as you pedal, offering a balance of exercise and power.
- Pedal Mode: Operates as a traditional bicycle with no motor assistance.
You can also select from 5 levels of pedal assistance to fine-tune your riding experience.

5. Maintenance
Regular maintenance ensures the longevity and optimal performance of your OUXI V8 Electric Bike.
5.1 Tire Pressure
Maintaining correct tire pressure is crucial for safety, ride comfort, and battery efficiency. The 20" x 4.0" fat tires are designed for various terrains.
- Take out the included pump.
- Put proper tire pressure on the front and rear wheels. Refer to the tire sidewall for recommended PSI (Pounds per Square Inch).

5.2 Brake Adjustment
Properly adjusted brakes are vital for safe riding. The OUXI V8 is equipped with dual disc brakes.
- Use an Allen wrench to loosen the brake caliper mounting bolts.
- Adjust the caliper position so that the brake pads are centered on the rotor and do not rub.
- Tighten the caliper mounting bolts securely.
- Check the brake lever feel; it should be firm and engage smoothly.

5.3 General Cleaning
Keep your bike clean to prevent dirt and grime buildup that can affect performance and longevity.
- Use a damp cloth to wipe down the frame and components.
- Clean the chain regularly with a degreaser and lubricate it afterwards.
- Avoid using high-pressure washers directly on electrical components or bearings.
6. Troubleshooting
This section addresses common issues you might encounter with your OUXI V8 Electric Bike.
| Problem | Possible Cause | Solution |
|---|---|---|
| Bike does not power on. | Battery is not charged or not properly seated. Battery switch is off. | Ensure battery is fully charged and securely locked in place. Turn on the battery switch. |
| Motor not assisting. | Battery low. Incorrect riding mode selected. Loose motor connection. | Charge battery. Switch to Pure Electric or Pedal-Assist mode. Check motor cable connections. |
| Brakes are noisy or ineffective. | Brake pads worn. Caliper misalignment. Contaminated rotors/pads. | Inspect and replace worn brake pads. Adjust brake caliper alignment (refer to Section 5.2). Clean rotors and pads with disc brake cleaner. |
| Pedal is loose or broken. | Improper installation or impact damage. | Re-tighten pedal with a 15-gauge wrench, ensuring correct thread direction. If broken, replace the pedal. |
| LCD display is cracked or not functioning. | Impact damage. Loose cable connection. | Check display cable connection. If cracked, the display unit may need replacement. Contact customer support. |
7. Specifications
Detailed technical specifications for the OUXI V8 Electric Bike.
| Feature | Specification |
|---|---|
| Bike Type | Electric Bike, Mountain Bike |
| Age Range (Description) | Adult |
| Brand | OUXI |
| Number of Speeds | 7 |
| Color | Brown |
| Wheel Size | 20 Inches |
| Frame Material | Metal |
| Suspension Type | Front |
| Special Feature | Taillight, Odometer, Headlight, Rechargeable |
| Included Components | User Manual, Charger, Pump, Tool Kit |
| Size | 20 inch |
| Brake Style | Disc |
| Specific Uses For Product | Outdoor activities, various terrains |
| Item Weight | 92 Pounds |
| Model Name | Electric Bike |
| Power Source | Battery |
| Wattage | 750 watts |
| Wheel Material | Aluminum or Alloy Steel |
| Lithium Battery Energy Content | 0.72 Kilowatt Hours |
| Seat Material Type | Leather |
| Maximum Weight Recommendation | 150 Kilograms |
| Assembly Required | Yes |
| Bicycle Gear Shifter Type | Trigger |
| Minimum User Height | 5.4 Feet |
| UPC | 701151479768 |

8. Warranty and Customer Support
OUXI E-BIKE provides 1 year customer support and lifetime service. If you encounter any problems with your e-bike, please contact OUXI customer support through Amazon for assistance. They offer 24-hour service for inquiries and help with assembly or operational issues.
For additional support, you may refer to the official User Guide (PDF).
Related Documents - V8
 |
OUXI V8 Electric Bike Controller Parameter Guide A comprehensive guide to the configurable parameters of the OUXI V8 electric bike controller, detailing each setting, its function, range, and adjustability for optimal performance. |
 |
Ръководство за употреба Електрически велосипед Ouxi V8 Pro Подробно ръководство за потребителя за електрическия велосипед Ouxi V8 Pro, обхващащо инструкции за безопасност, идентификация на части, сглобяване, употреба, зареждане, поддръжка, отстраняване на неизправности и технически спецификации. |
 |
Ръководство за употреба Електрически велосипед Ouxi Q8 с батерия 15Ah Подробно ръководство за потребителя на електрическия велосипед Ouxi Q8, обхващащо безопасност, сглобяване, експлоатация, поддръжка и технически спецификации. Научете как да използвате и поддържате вашия Ouxi Q8 15Ah електровелосипед. |
 |
Ръководство за употреба Електрически велосипед Ouxi GT2000 Подробно ръководство за употреба на електрическия велосипед Ouxi GT2000 (30Ah батерия). Включва информация за безопасност, съдържание на пакета, части, инструкции за сглобяване, зареждане, режими на каране, LCD дисплей, технически данни, поддръжка и съвети за безопасност. |