Product Overview
The Mr. Snow Plow Controller Cup Holder Mount is an innovative accessory designed to securely hold your snow plow controller within easy reach. This mount offers universal compatibility with a wide range of handheld and joystick-based plow controllers, ensuring a stable and convenient placement during operation. Its robust construction and adjustable features contribute to a safer and more efficient snow removal experience.

Image: All components of the Plow Controller Cup Holder Mount, including the cup holder base, mounting plate, and controller cradle.
Package Contents
Please verify that all components are present before beginning installation:
- 1 x Cup Holder Base with Flexible Arm
- 1 x Mounting Plate (for controller cradle)
- 1 x Controller Cradle (adjustable)
- 1 x Small Adapter Piece (if applicable for specific controller types)

Image: A close-up view of the cup holder base with its flexible arm and the attachment point.
Setup and Installation
Follow these steps for proper installation of your plow controller mount:
- Insert Cup Holder Base: Place the cup holder base firmly into an available cup holder in your vehicle. Ensure it is seated securely and does not wobble.
- Attach Mounting Plate: The mounting plate connects the flexible arm to the controller cradle. Align the slots on the mounting plate with the corresponding tabs on the flexible arm's end and slide them together until they click into place.
- Secure Controller Cradle: Attach the controller cradle to the mounting plate. The cradle typically slides onto the plate and locks. Refer to the specific design of your cradle for precise attachment.
- Insert Plow Controller: Gently place your plow controller into the cradle. Adjust the cradle's side grips or bottom support if necessary to ensure a snug fit.
- Adjust Positioning: Use the flexible arm to position the controller at a comfortable and accessible angle. Ensure the controller does not obstruct your view or interfere with vehicle controls.

Image: The flexible arm connected to the mounting plate, ready for the controller cradle.
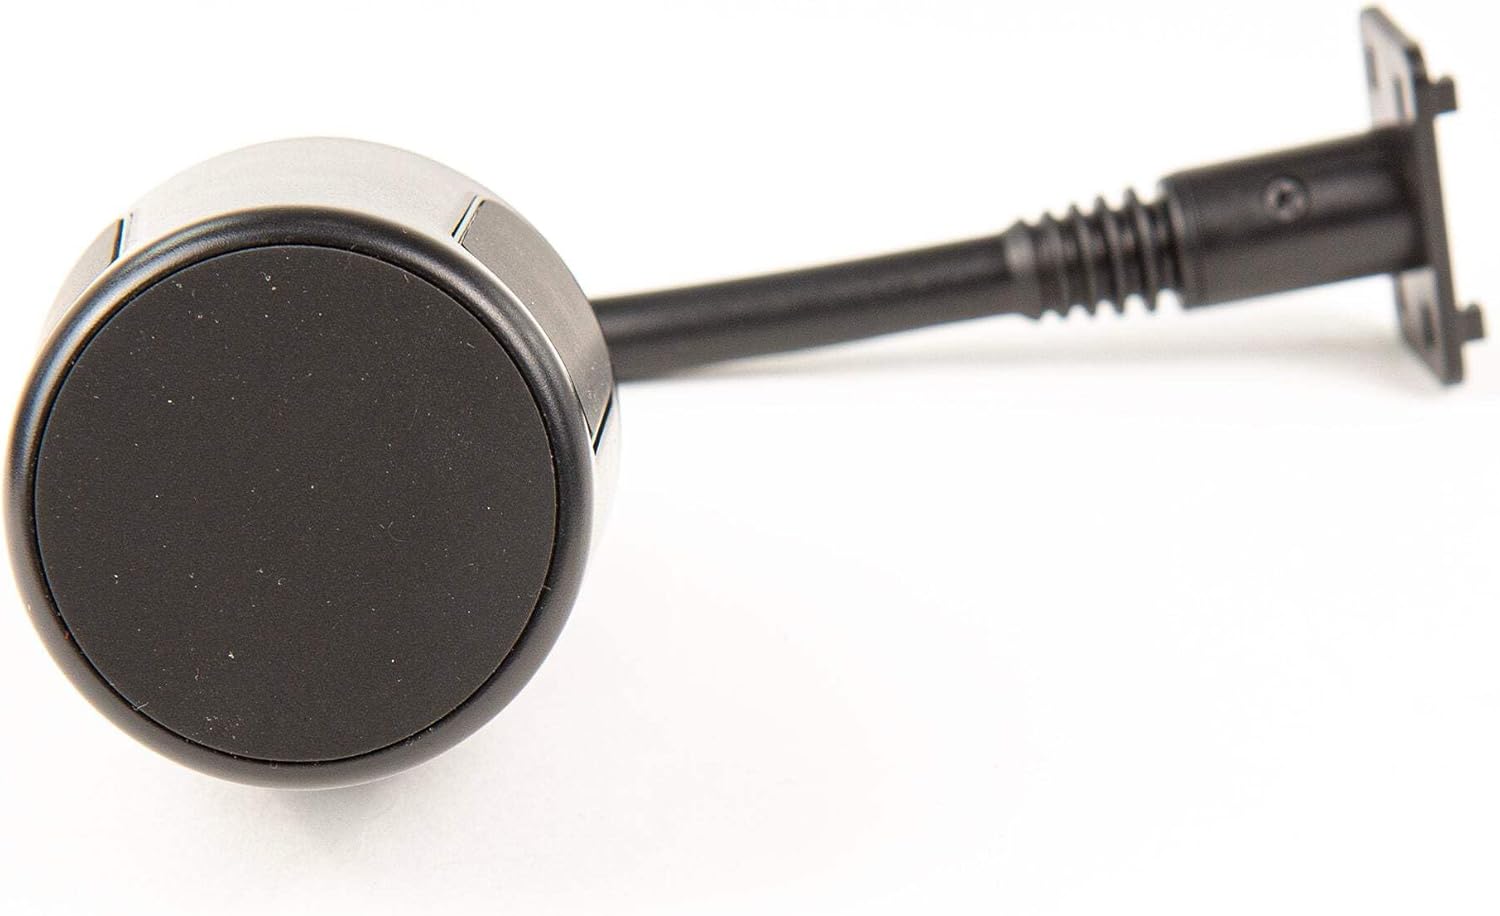
Image: A view of the bottom of the cup holder base, showing its design for secure placement.
Operating Instructions
Once installed, the plow controller mount provides a stable platform for your controller. No specific operational steps are required for the mount itself beyond ensuring the controller is securely seated and positioned for optimal use.
- Secure Placement: Always ensure your plow controller is firmly seated in the cradle before operating your vehicle, especially during plowing activities.
- Accessibility: Position the flexible arm to allow for easy reach and clear visibility of the controller's buttons and display.
- Avoid Obstruction: Confirm that the mount and controller do not obstruct airbags, vehicle controls, or your line of sight.

Image: A front view of the controller cradle, showing its adjustable grips designed to hold various controller sizes.
Maintenance and Care
To ensure the longevity and proper function of your plow controller mount, follow these simple maintenance guidelines:
- Cleaning: Wipe the mount with a damp cloth to remove dust and debris. Avoid harsh chemicals or abrasive cleaners.
- Inspection: Periodically check all connection points (cup holder base, flexible arm, mounting plate, controller cradle) for tightness and signs of wear.
- Storage: If removing the mount for extended periods, store it in a clean, dry place away from extreme temperatures.

Image: A side view of the controller cradle, highlighting its robust construction and grip mechanism.
Troubleshooting
| Problem | Possible Cause | Solution |
|---|---|---|
| Mount is wobbly in cup holder. | Improper seating or cup holder size variation. | Ensure the base is fully inserted and twisted to expand if applicable. Some cup holders may require a small shim (not included) for a tighter fit. |
| Controller does not fit securely in cradle. | Cradle not adjusted correctly or controller is outside compatible dimensions. | Adjust the cradle's side grips. Verify your controller's dimensions against the product specifications for compatibility. |
| Flexible arm does not hold position. | Over-tightening or internal wear. | Avoid excessive force when adjusting. If the issue persists, contact customer support. |

Image: A detailed view of the mounting plate, showing the slot and tab mechanism for attachment.
Specifications
- Model: Plow Controller Cup Holder Handheld / Joystick Control Mount
- Brand: Mr. Snow Plow
- Compatibility: Universal for most handheld and joystick plow controllers (e.g., Western 82007, Fisher #82006, SNOWEX #82014)
- Material: High-quality plastic
- Mounting Type: Cup holder insert
- Adjustability: Flexible arm for angle and height adjustment
- Item Weight: 12.8 ounces (approx.)

Image: A close-up of a small adapter piece, which may be included for specific controller types or mounting configurations.
Warranty and Support
For warranty information or technical support, please contact Mr. Snow Plow customer service. Details can typically be found on the manufacturer's official website or through your point of purchase.
Contact Information:
- Website: Mr. Snow Plow Store on Amazon
- Refer to product packaging for additional contact methods.