Introduction
Thank you for purchasing the WGFXYBFY NV2180 Night Vision Binoculars. This device is designed for both day and night use, offering advanced features such as 4K video recording, 36MP photo capture, 8X digital zoom, and 7-level infrared adjustment. Please read this manual carefully before operating the device to ensure proper use and optimal performance.

Figure 1: NV2180 Night Vision Binoculars and included accessories (USB cable, shoulder strap, cleaning cloth, 32GB memory card).
Packing List
Please check the contents of your package to ensure all items are present:
- Night Vision Goggles (NV2180) x 1
- USB Cable x 1
- Shoulder Strap x 1
- Cleaning Cloth x 1
- User Manual x 1
- 32GB Memory Card x 1

Figure 2: All components included in the NV2180 package, including the device, USB cable, shoulder strap, cleaning cloth, user manual, and 32GB memory card.
Product Overview
Familiarize yourself with the main components and controls of your NV2180 Night Vision Binoculars.

Figure 3: Key features and controls of the NV2180 Night Vision Goggles, including the display, buttons, and lenses.
Controls and Ports:
- Power Button: Turns the device on/off.
- MODE Button: Switches between Photo, Video, and Playback modes.
- MENU Button: Accesses the device settings.
- IR+ Button: Increases infrared intensity / Zooms in.
- IR- Button: Decreases infrared intensity / Zooms out.
- OK Button: Confirms selections / Starts/stops recording.
- Type-C USB Port: For charging and data transfer.
- TF Card Slot: For inserting the memory card.
- Tripod Screw Slot: Located at the bottom for tripod mounting.
Setup
1. Charging the Battery
The NV2180 has a built-in 2600mAh lithium battery. Before first use, fully charge the device.
- Connect the supplied USB cable to the Type-C USB port on the device.
- Connect the other end of the USB cable to a USB power adapter (not included) or a computer's USB port.
- The charging indicator will show the charging status. Once fully charged, the indicator will change (refer to on-screen display).
2. Inserting the Memory Card
A 32GB TF card is included. The device supports TF cards up to 32GB.
- Locate the TF card slot on the side of the device.
- Insert the TF card with the metal contacts facing down until it clicks into place.
- To remove, gently push the card in until it springs out.
3. Attaching the Shoulder Strap
Attach the included shoulder strap to the designated loops on the device for secure carrying.
4. Tripod Mounting (Optional)
For stable long-term observation, the device can be mounted on a standard tripod (not included) using the screw slot at the bottom.
Operating Instructions
1. Power On/Off
- To Power On: Press and hold the Power button until the screen illuminates.
- To Power Off: Press and hold the Power button until the screen turns off.
2. Mode Switching
Press the MODE button to cycle through the available modes:
- Photo Mode: For capturing still images.
- Video Mode: For recording video footage.
- Playback Mode: For reviewing captured photos and videos.
3. Digital Zoom
The device features an 8X digital zoom. While in Photo or Video mode:
- Long press the IR+ button to zoom in.
- Long press the IR- button to zoom out.

Figure 4: Demonstration of the 8X digital zoom capability, illustrating the magnification levels from 1X to 8X.
4. Infrared (IR) Adjustment
The NV2180 has 7 levels of infrared adjustment for optimal viewing in varying light conditions.
- Short press the IR+ button to increase the infrared intensity.
- Short press the IR- button to decrease the infrared intensity.
- Higher IR levels provide brighter images in complete darkness.

Figure 5: Visual representation of the 7-level infrared adjustment, showing how increasing IR intensity brightens the scene in low light or total darkness.
5. Day and Night Use
- Daytime Use: The device displays original color scenes without infrared.
- Nighttime Use: The scene will turn into a black-and-white image. Activate infrared for enhanced visibility in low light or total darkness.
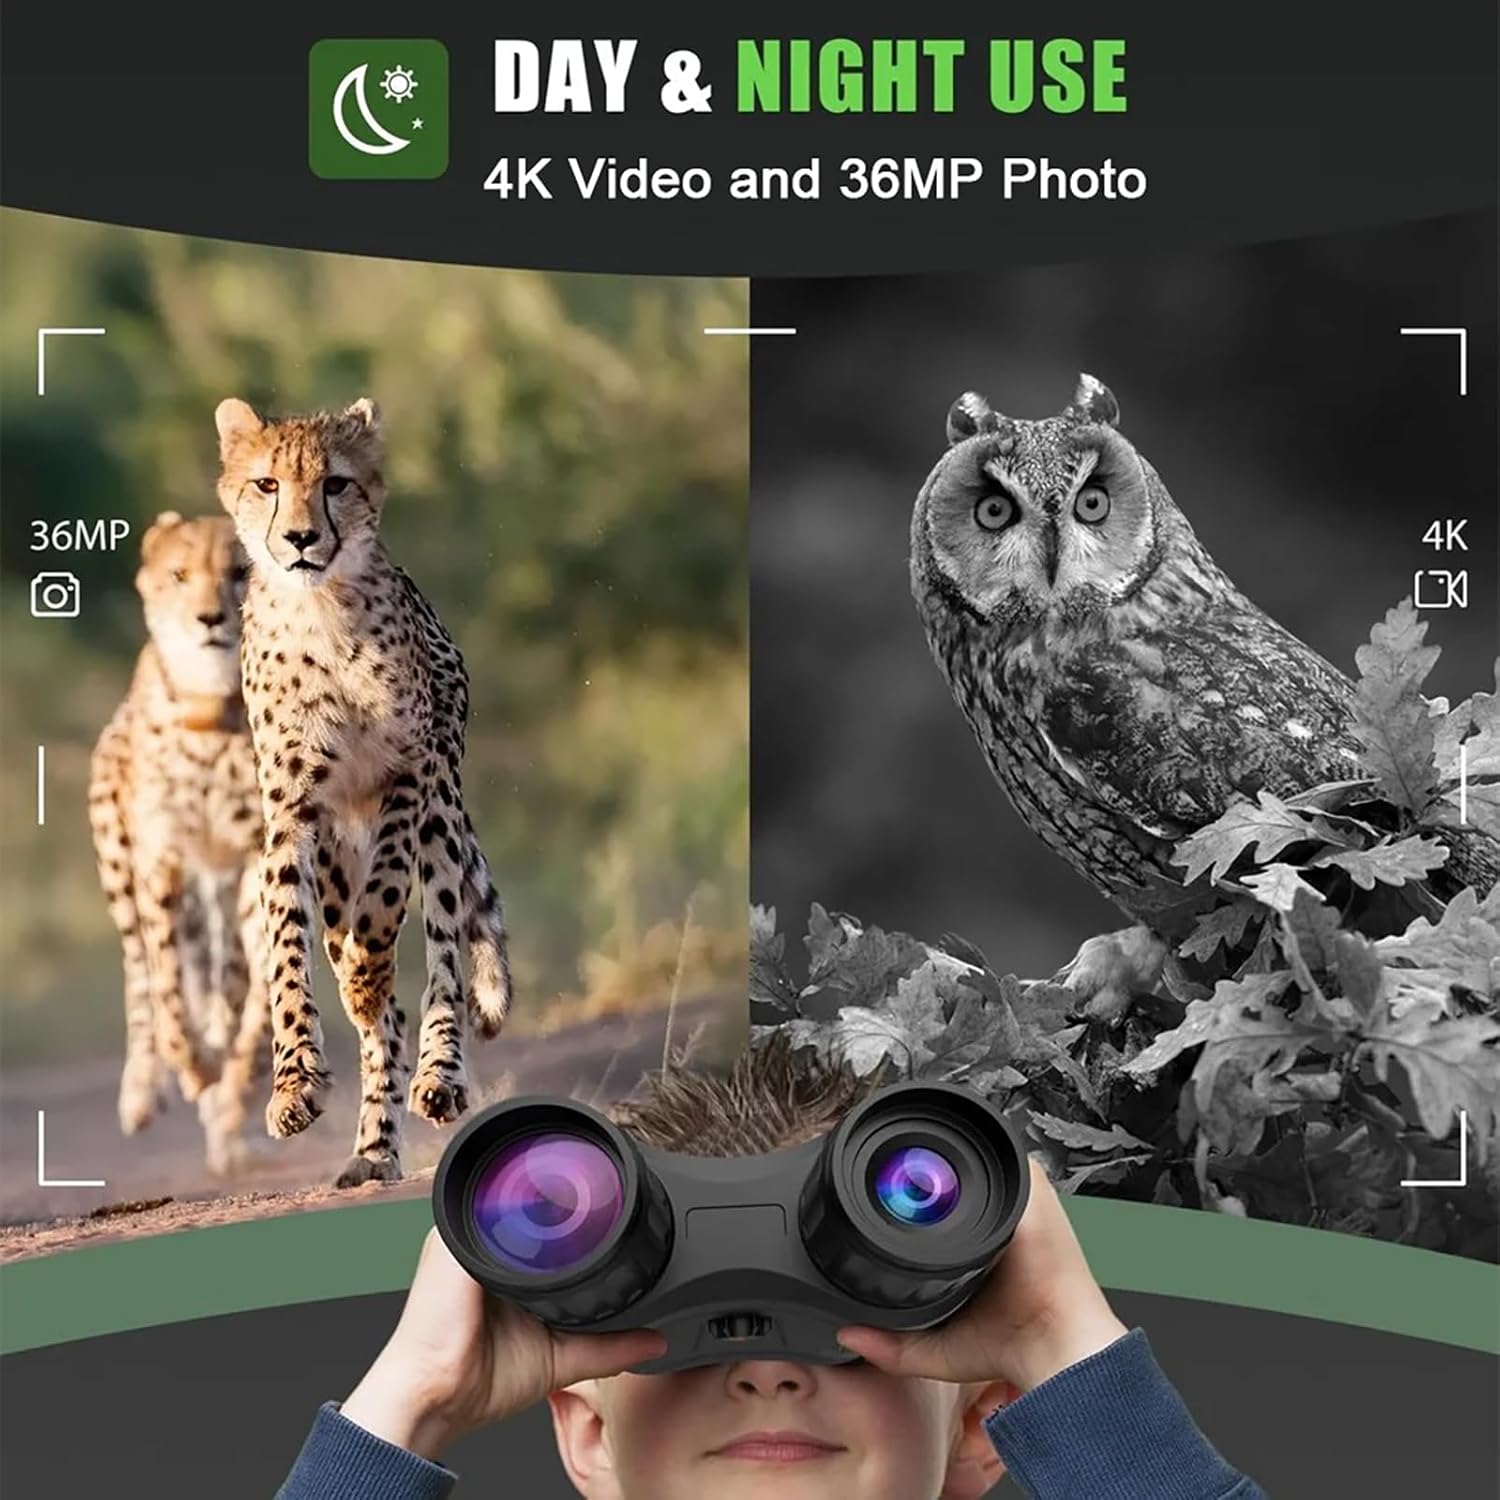
Figure 6: Comparison of daytime (color) and nighttime (black and white with IR) viewing modes, demonstrating the versatility of the NV2180.
6. Capturing Photos and Videos
- To take a Photo: Switch to Photo Mode. Frame your subject and short press the OK button.
- To record Video: Switch to Video Mode. Short press the OK button to start recording, and short press again to stop.
7. Playback
In Playback Mode, use the IR+ and IR- buttons to navigate through your captured files. Press OK to view a photo or play a video.
8. Transferring Data
You can transfer photos and videos to a computer using the supplied USB cable or by directly inserting the TF card into a card reader.
- Via USB Cable: Connect the device to your computer using the USB cable. The device will appear as a removable disk.
- Via TF Card: Remove the TF card from the device and insert it into a compatible card reader connected to your computer.
Maintenance
- Cleaning: Use the included cleaning cloth to gently wipe the lenses and screen. Do not use abrasive cleaners or solvents.
- Storage: Store the device in a cool, dry place away from direct sunlight and extreme temperatures. Remove the TF card if storing for extended periods.
- Battery Care: To prolong battery life, avoid fully discharging the battery frequently. Charge the device regularly, even if not in use, to maintain battery health.
- Water Resistance: Please note that this device is Not Water Resistant. Avoid exposure to rain or water.
Troubleshooting
| Problem | Possible Cause | Solution |
|---|---|---|
| Device does not power on. | Battery is low or depleted. | Charge the device fully using the supplied USB cable. |
| Image is blurry or unclear. | Lenses are dirty; Incorrect focus; Insufficient IR illumination. | Clean the lenses with the cleaning cloth. Adjust the focus. Increase IR intensity. |
| Cannot record photos/videos. | Memory card is full or not inserted correctly; Device is in the wrong mode. | Check memory card insertion. Delete old files or replace card. Ensure device is in Photo or Video mode. |
| Screen is too dark/bright. | Screen brightness setting. | Adjust screen brightness in the device settings (MENU). |
| Device freezes or becomes unresponsive. | Temporary software glitch. | Press and hold the Power button for 10 seconds to force a restart. |
Specifications
| Feature | Detail |
|---|---|
| Viewing Distance (Low Light) | 3 Meters ~ Infinity |
| Viewing Distance (Total Darkness) | About 250-300 Meters |
| Display Screen | 3.2'' TFT HD Display, 7-Level Brightness Adjustment |
| Video Resolution | 4K (3840x2880@30fps), 1080P (1440x1080@30fps), 960P, VGA |
| Photo Resolution | 36M, 12M, 8M, 5M, 2M, 1.3M, VGA |
| TF Card Support | Up to 32GB |
| Infrared LED | 3W, 850nm, 7 Gears Infrared Adjustment |
| Digital Zoom | 8X |
| USB Port | Type-C |
| Color Effects | Color, Black and White, Luminous Green, Infrared Light |
| Power Supply | Built-in 2600mAh Lithium Battery |
| Dimensions | 20*148*47mm |
| Weight | 0.34kg |
| Water Resistance Level | Not Water Resistant |
Warranty and Support
For warranty information or technical support, please contact the manufacturer, WGFXYBFY, or your point of purchase. Keep your purchase receipt as proof of purchase.
For further assistance, please visit the official WGFXYBFY website or refer to the contact information provided with your product packaging.