Product Overview
This manual provides essential information for the installation, operation, and maintenance of the PCV (Positive Crankcase Ventilation) Valve, model 11810-6N202. This component is crucial for maintaining proper engine function by managing crankcase pressure and emissions.

Image: Main view of the PCV Valve, showing its overall shape and connection points.
Specifications
| Item | Detail |
|---|---|
| Item Type | PCV Valve |
| Material | Aluminum Alloy + ABS |
| OEM Part Number | 11810-6N202 |
| Brand | Generic |
| Number of Ports | 2 |
| Inlet Connection Type | Positive Crankcase Ventilation |
Compatibility (Fitment)
The PCV Valve model 11810-6N202 is compatible with a range of vehicle models. Please verify your vehicle's specific requirements against the list below and your existing part number before installation.
- Fit for G25 2011-2012
- Fit for QX56 2004-2010
- Fit for ALTIMA 2002-2012
- Fit for ARMADA 2005-2019
- Fit for FRONTIER 2005-2019
- Fit for NV200 2013-2019
- Fit for NV2500 2012-2014
- Fit for NV3500 2012-2014
- Fit for PATHFINDER 2008-2012
- Fit for ROGUE 2008-2013
- Fit for SENTRA 2002-2019
- Fit for TITAN 2004-2017

Image: The PCV Valve displayed alongside images of compatible vehicle models, illustrating its application.
Package Contents
Upon opening the package, you should find the following item:
- 1 x PCV Valve (Model: 11810-6N202)
Setup and Installation
Installation of the PCV Valve requires basic automotive knowledge and tools. If you are unsure about any step, it is recommended to consult a qualified mechanic.
- Safety First: Ensure the vehicle's engine is cool and the ignition is off. Disconnect the negative terminal of the battery to prevent accidental starting or electrical issues.
- Locate the Old PCV Valve: Refer to your vehicle's service manual for the exact location of the PCV valve. It is typically found on the valve cover or intake manifold.
- Remove the Old Valve: Carefully disconnect any hoses attached to the old PCV valve. Depending on the design, the valve may be threaded in, or simply pushed into a grommet. Use appropriate tools to remove it without damaging surrounding components.
- Inspect the Grommet and Hoses: Before installing the new valve, inspect the grommet (if applicable) and the connecting hoses for cracks, hardening, or blockages. Replace them if necessary to ensure a proper seal and airflow.
- Install the New PCV Valve: Insert the new PCV Valve (Model: 11810-6N202) into its designated port. If it's a push-in type, ensure it seats firmly in the grommet. If threaded, tighten it to the manufacturer's specifications.
- Reconnect Hoses: Reattach all hoses securely to the new PCV valve. Ensure there are no kinks or loose connections.
- Final Steps: Reconnect the negative battery terminal. Start the engine and check for any leaks or unusual noises.

Image: A close-up view of the PCV Valve's threaded end, illustrating the connection mechanism for installation.
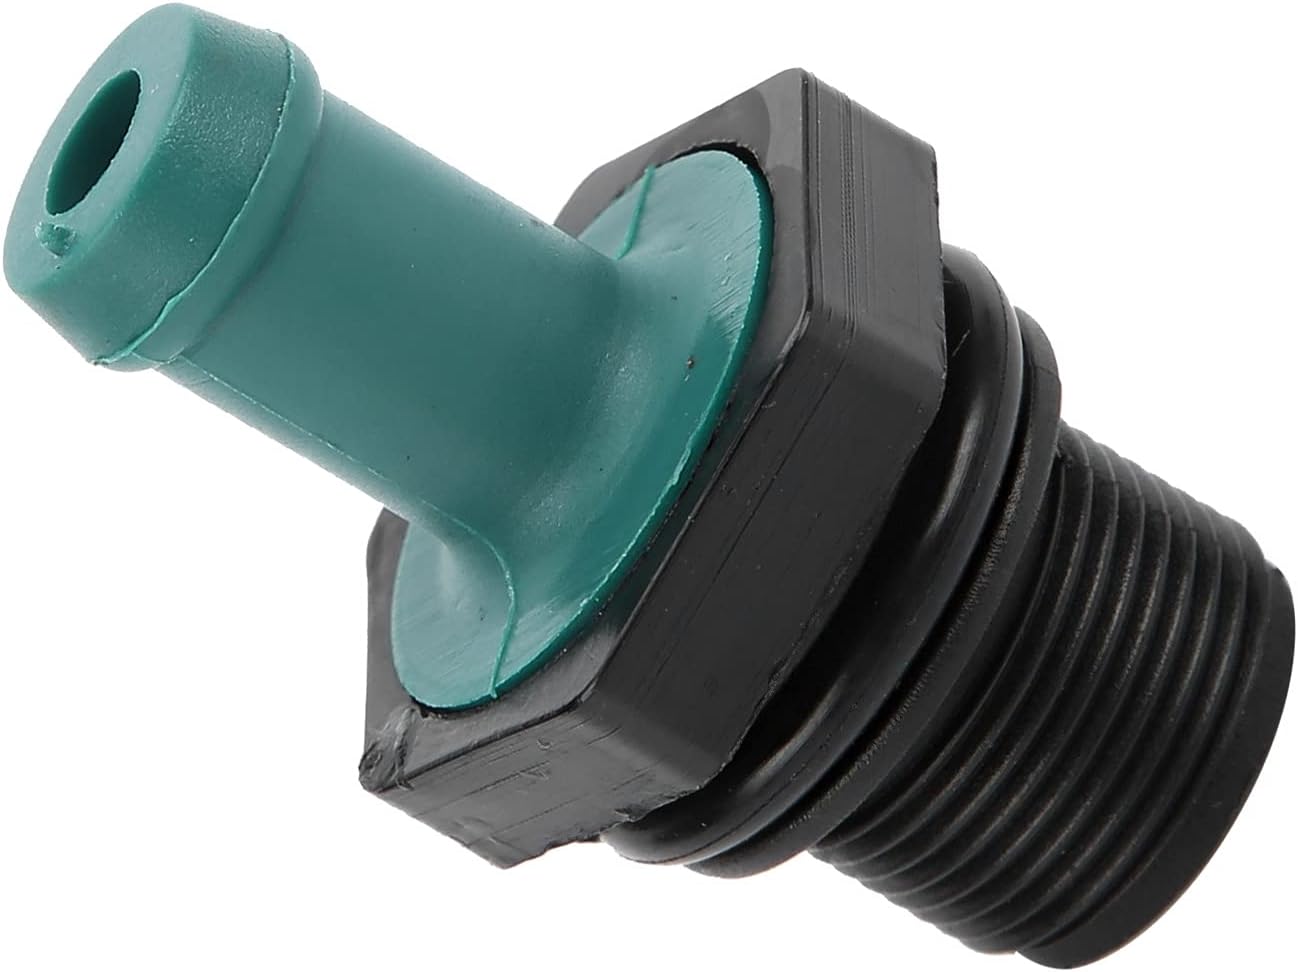
Image: The PCV Valve viewed from an angle, highlighting both the threaded and hose connection ends.
Operating Principles
The Positive Crankcase Ventilation (PCV) system is designed to remove harmful blow-by gases from the engine crankcase. The PCV valve is a one-way valve that regulates the flow of these gases into the intake manifold to be re-burned in the combustion process. This prevents pressure buildup in the crankcase and reduces emissions.
A properly functioning PCV valve ensures efficient engine operation and contributes to a cleaner environment.
Maintenance and Inspection
Regular inspection of the PCV valve is recommended as part of routine vehicle maintenance. A clogged or faulty PCV valve can lead to various engine problems.
Inspection Steps:
- Visual Check: Inspect the valve and its connecting hoses for any visible damage, cracks, or signs of oil leakage.
- Shake Test (for some types): Remove the PCV valve and shake it. A working valve should produce a rattling sound, indicating that the internal pintle is moving freely. If there is no rattle, the valve may be clogged or stuck.
- Vacuum Test: With the engine running at idle, carefully remove the PCV valve from its grommet (if applicable) while keeping the hose connected. You should hear a hissing sound as air is drawn into the valve, and the engine RPM might drop slightly. If there's no change or sound, the valve might be faulty.
If the PCV valve is found to be faulty or clogged, it should be replaced immediately. Cleaning is generally not recommended as it may not fully restore proper function.

Image: A view of the PCV Valve, potentially showing its internal components or the opening where gases pass through.
Troubleshooting
Common issues related to a faulty PCV valve and their potential symptoms:
| Symptom | Possible Cause (PCV Valve Related) | Action |
|---|---|---|
| Rough idle or stalling | Clogged or stuck-open PCV valve causing vacuum leak or improper air-fuel mixture. | Inspect and replace PCV valve. Check hoses for leaks. |
| Increased oil consumption | Clogged PCV valve leading to pressure buildup and oil leaks, or oil being drawn into intake. | Inspect and replace PCV valve. Check for other oil leaks. |
| Engine oil leaks | Clogged PCV valve causing excessive crankcase pressure. | Inspect and replace PCV valve. |
| Check Engine Light (CEL) | Faulty PCV valve affecting emissions or engine performance. | Scan for diagnostic trouble codes (DTCs) and address the root cause. Often requires PCV valve replacement. |
Note: Always consult a professional mechanic if you are unsure about diagnosing or repairing automotive issues.
Important Notes
Please double check the part number of your item. Matching information is for reference only. If you are unsure of the item, please contact the seller before buying to avoid unnecessary returns.


