Navihood L3
Navihood L3 GPS Bike Computer User Manual
Model: L3
1. Introduction
This manual provides comprehensive instructions for the setup, operation, and maintenance of your Navihood L3 GPS Bike Computer. The L3 is designed to enhance your cycling experience by providing accurate data tracking, navigation, and connectivity features.

Image: Front view of the Navihood L3 GPS Bike Computer screen showing speed, altitude, gradient, and power data.
2. Package Contents
Verify that all items are present in the package:
- Navihood L3 GPS Bike Computer
- Bike Computer Mount
- Rubber Bands (for mount installation)
- USB Charging Cable (not explicitly listed but implied for rechargeable device)
3. Product Features
- 2.6" Anti-Glare Screen: Clear visibility in various lighting conditions with automatic backlight.
- IPX7 Waterproof Rating: Designed to withstand rain and wet conditions.
- Accurate GPS Positioning: Utilizes multiple satellite systems (GPS, GLONASS, Galileo, QZSS, Beidou) for fast and precise location tracking.
- ANT+ & Bluetooth 5.0 Connectivity: Supports external sensors such as heart rate monitors, speed sensors, cadence sensors, and power meters.
- Customizable Data Display: Navihood APP allows customization of up to 9 pages with 70 data types.
- Long Battery Life: Up to 35 hours of operation on a single charge.
- Large Storage Capacity: Stores up to 2500 kilometers of riding data.
- Break-proof Back Base: High-strength aluminum alloy base for secure mounting.
- Ergonomic Buttons: Three buttons for easy operation during rides.
- Night Riding Safety Light: Bright yellow light for enhanced visibility.
- Smart Training Alert Light: Real-time visual feedback on training status (within/exceeded target).

Image: Close-up of the Navihood L3 bike computer showing its break-proof aluminum alloy back base and mounting mechanism.
4. Setup
4.1 Mounting the Device
- Attach the bike computer mount to your handlebar or stem using the provided rubber bands. Ensure it is securely fastened and positioned for optimal viewing.
- Align the Navihood L3 bike computer with the mount and twist it clockwise until it locks into place.

Image: Diagram illustrating the Navihood L3's use of multiple satellite systems (GPS, Galileo, QZSS, GLONASS, Beidou) for accurate positioning.
4.2 Initial Power On and GPS Acquisition
- Press and hold the power button (usually the middle button) to turn on the device.
- For the first use, or after a long period of inactivity, the device may take up to 30 seconds (cold start) to acquire GPS signals. Subsequent starts (warm start) typically take around 2 seconds.
- Ensure you are in an open area with a clear view of the sky for faster GPS acquisition.
4.3 Charging the Device
Connect the provided USB charging cable to the charging port on the device and to a standard USB power adapter or computer USB port. A full charge provides up to 35 hours of usage.
5. Operating Instructions
5.1 Button Functions
The Navihood L3 features three ergonomic buttons located at the bottom of the device:
- Left Button: Typically used for navigating back, canceling, or accessing menus.
- Middle Button: Power on/off, start/stop recording, confirm selections.
- Right Button: Navigate forward, scroll through data pages, or confirm selections.
5.2 Screen Display and Customization
The 2.6-inch anti-glare screen displays various cycling data. You can customize the data fields and pages using the Navihood APP.
- Download the "Navihood" APP from your device's app store (Google Play or Apple App Store).
- Pair your L3 bike computer with the app via Bluetooth.
- Within the app, you can customize up to 9 display pages and choose from 70 different data types to show on your device. This includes adding, deleting, moving, or sorting data fields.

Image: Illustration of the Navihood L3's customizable display with 9 pages and various data types, alongside screenshots of the Navihood mobile application for configuration.
5.3 Sensor Pairing (ANT+ & Bluetooth)
The L3 supports external sensors for more comprehensive data tracking:
- Ensure your external sensor (e.g., heart rate monitor, speed sensor, cadence sensor, power meter) is active and within range of the L3.
- Navigate to the sensor pairing menu on your L3 device (refer to the on-screen prompts or the Navihood APP for specific steps).
- Select "Search for Sensors" and choose your desired sensor from the list.
- Once paired, the sensor data will be displayed on your customizable screens.
5.4 Data Synchronization and Sharing
After your ride, you can synchronize your data with the Navihood APP and share it with popular cycling platforms:
- Open the Navihood APP on your smartphone and ensure your L3 is connected via Bluetooth.
- The app will automatically sync your ride data.
- From the app, you can upload your activities to platforms like Strava, TrainingPeaks, Komoot, and Google Fit. The device also supports auto-generation of 3D track videos for sharing.
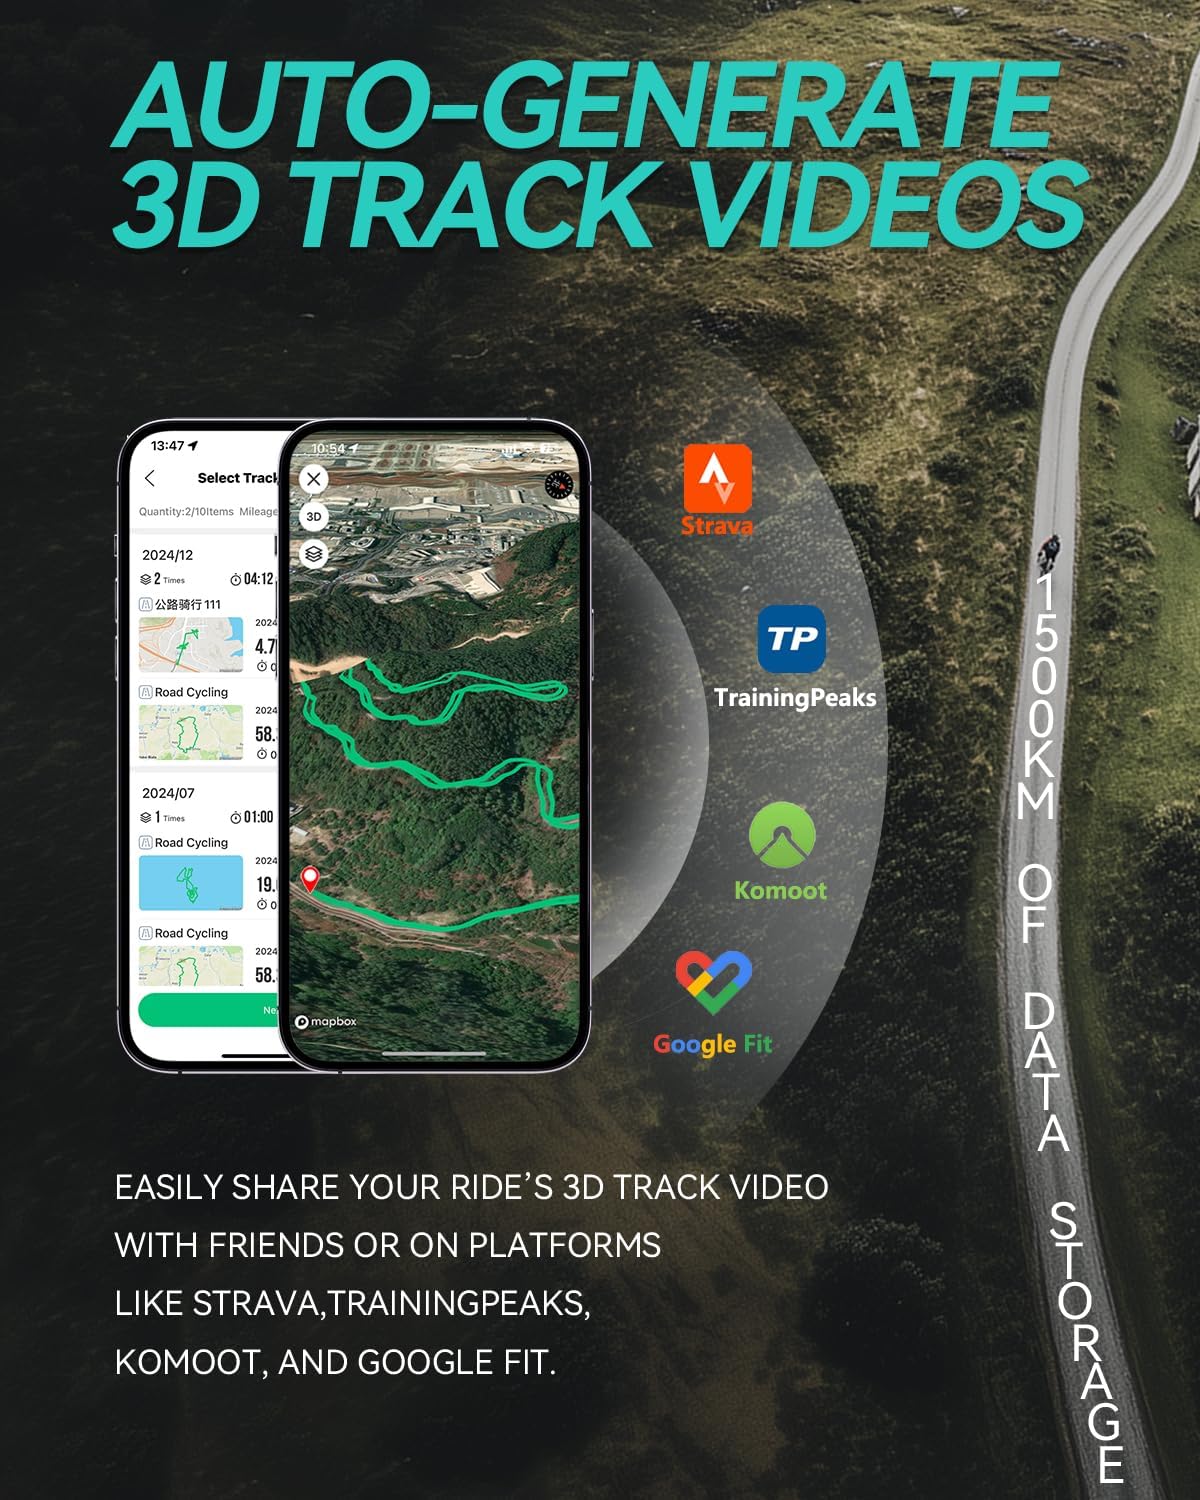
Image: Screenshot of a mobile app displaying a 3D track video of a cycling route, with logos of Strava, TrainingPeaks, Komoot, and Google Fit, indicating data sharing capabilities.
5.5 Smart Training Alerts and Safety Light
- Smart Training Alert Light: The device features an alert light that provides real-time visual feedback on your training status. It can indicate if you are within your target zone (e.g., green light) or have exceeded it (e.g., red light), based on pre-set limits for metrics like heart rate or power.
- Night Riding Safety Light: A bright yellow light is integrated into the device to enhance your visibility to oncoming and side traffic during night rides.

Image: Close-up of the Navihood L3 bike computer showing a green alert light, indicating "within target" for training, with icons for heart rate, speed, cadence, and power.

Image: The Navihood L3 bike computer mounted on a bicycle handlebar during night riding, with its bright yellow safety light illuminated.
6. Maintenance
- Cleaning: Wipe the device with a soft, damp cloth. Avoid using abrasive cleaners or solvents.
- Water Resistance: The device is IPX7 waterproof, meaning it can withstand immersion in up to 1 meter of water for 30 minutes. However, it is not designed for prolonged underwater use. Ensure the charging port cover is securely closed to maintain water resistance.
- Storage: Store the device in a cool, dry place when not in use. Avoid extreme temperatures.
- Battery Care: For optimal battery life, avoid fully discharging the battery frequently. Charge the device regularly, especially if storing it for extended periods.

Image: The Navihood L3 bike computer partially submerged in water, illustrating its IPX7 waterproof capability.
7. Troubleshooting
| Problem | Possible Solution |
|---|---|
| Device does not power on. | Ensure the battery is charged. Connect to a power source and try again. |
| GPS signal not acquired. | Move to an open area with a clear view of the sky. Wait a few minutes for signal acquisition. |
| External sensor not connecting. | Ensure the sensor is active and its battery is charged. Check if the sensor is within range. Re-attempt pairing through the device's menu or Navihood APP. |
| Data not syncing to app. | Ensure Bluetooth is enabled on your smartphone and the L3. Open the Navihood APP and check for connection. Restart both devices if necessary. |
| Screen is difficult to read. | The screen has an auto-backlight function. Ensure the device is not in direct glare. Adjust display settings via the Navihood APP if available. |
8. Specifications
| Feature | Detail |
|---|---|
| Model | L3 |
| Brand | Navihood |
| Display Size | 2.6 Inches |
| Display Type | LCD |
| Connectivity | Bluetooth 5.0, ANT+ |
| GPS Systems | GPS, GLONASS, Galileo, QZSS, Beidou |
| Waterproof Rating | IPX7 |
| Battery Life | Up to 35 hours |
| Data Storage | Up to 2500 KM of riding data |
| Dimensions | 8.1 x 4.57 x 2.08 cm |
| Weight | 45 g |
| Material | ABS (main body), Aluminum Alloy (back base) |

Image: Visual comparison of the Navihood L3 bike computer's thickness (16.3mm) and weight (45g) against a coin and an egg, highlighting its compact design.
9. Warranty and Support
For warranty information and technical support, please refer to the official Navihood website or contact their customer service directly. Keep your purchase receipt as proof of purchase for any warranty claims.
Ask a question about this manual
Ask about setup, troubleshooting, compatibility, parts, safety, or missing instructions. Manuals+ will review the question and use this page’s manual context to help answer it.