1. Introduction
This manual provides detailed instructions for the installation, operation, and maintenance of the Solarhome MP-4000 Front Door with Keypad and VGA Display. This component is designed for compatibility with Thermo King reefer containers, including models such as Magnum SL MP-4000, Magnum Plus, CSR-40, CSR-20, and Super Freezer. Please read this manual thoroughly before installation and operation to ensure proper function and safety.
2. Setup and Installation
2.1 Part Verification
Before beginning installation, verify that the part number on your unit matches the required part number for your Thermo King reefer container. The correct part numbers are 41-8723, 418723, or 418-723. Do not proceed with installation if the part number does not match.
2.2 Component Overview
The Solarhome MP-4000 Front Door assembly includes the main door panel, an integrated keypad for user input, and a VGA display for visual feedback and system information. All necessary internal wiring and connectors are pre-installed.
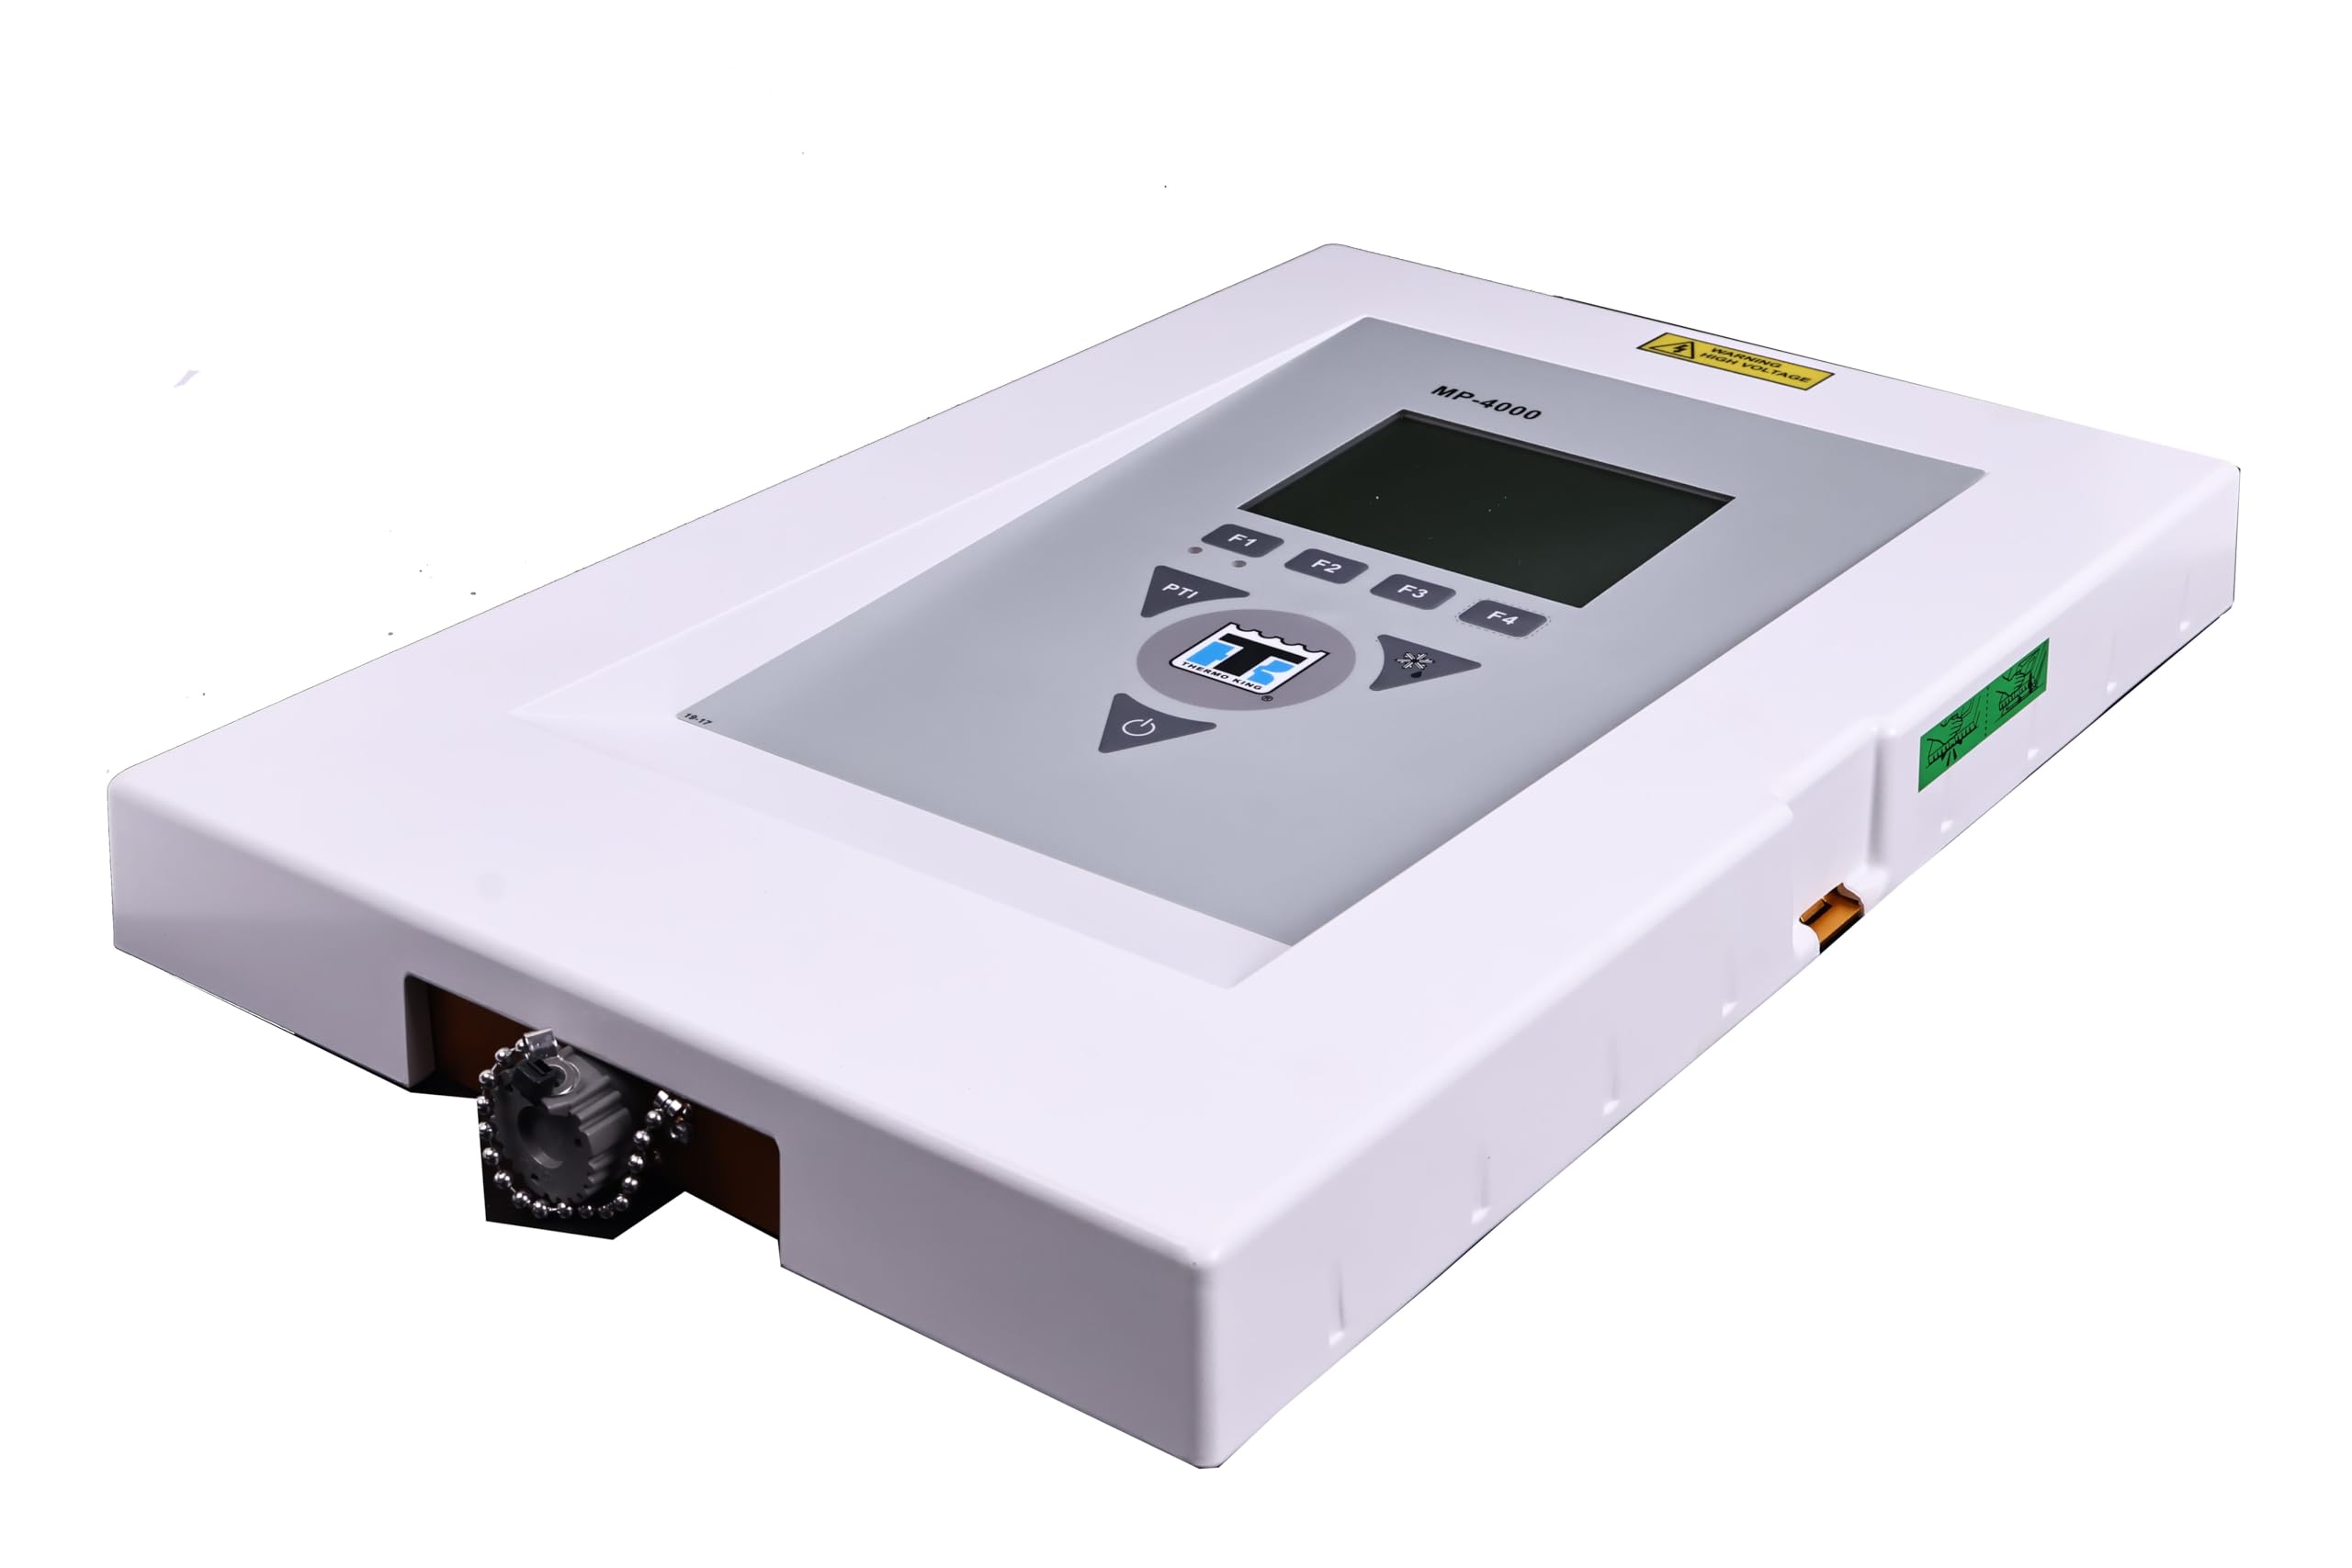
Figure 1: Internal view of the Solarhome MP-4000 Front Door assembly. This image displays the green circuit board, various connectors, and wiring for the keypad and VGA display, all mounted within the white frame of the front door.
2.3 Installation Steps
- Preparation: Ensure the Thermo King reefer container is powered off and disconnected from all power sources before beginning installation.
- Remove Old Unit: Carefully remove the existing front door assembly from the reefer container. Disconnect all electrical connections and mounting hardware.
- Mount New Unit: Position the Solarhome MP-4000 Front Door assembly into the designated opening. Secure it using the appropriate mounting hardware (not included, typically reused from the original unit or supplied with the reefer container). Ensure a snug fit to maintain environmental sealing.
- Connect Electricals: Connect the pre-installed electrical connectors from the new front door assembly to the corresponding ports on the reefer container's control system. Refer to your Thermo King reefer container's specific wiring diagram for exact connection points. Ensure all connections are secure and properly seated.
- Final Check: Double-check all connections and mounting points. Ensure no wires are pinched or exposed.
3. Operating Instructions
3.1 Power On
After installation, restore power to the Thermo King reefer container. The VGA display should illuminate, and the system should perform a self-test. Wait for the system to initialize completely.
3.2 Keypad Functions
The integrated keypad allows for interaction with the reefer container's control system. Specific functions of each key will depend on the Thermo King system's software configuration. Generally, the keypad is used for:
- Navigation: Arrow keys or dedicated navigation buttons to move through menus.
- Data Entry: Numeric keys for setting temperatures, inputting codes, or other data.
- Confirmation: An 'Enter' or 'OK' button to confirm selections.
- Escape/Back: A 'Cancel' or 'Back' button to exit menus or undo actions.
Refer to your specific Thermo King reefer container's operational manual for detailed instructions on using the keypad to control the refrigeration unit.
3.3 VGA Display
The VGA display provides real-time information about the reefer container's status, including:
- Current temperature readings.
- Set point temperatures.
- Operational modes (e.g., cooling, heating, defrost).
- Alarm codes or fault indicators.
- System diagnostics.
The display is designed for clear visibility in various lighting conditions. No direct interaction is possible with the display itself; all inputs are via the keypad.
4. Maintenance
4.1 Cleaning
To maintain optimal performance and readability, regularly clean the VGA display and keypad surface. Use a soft, damp cloth with a mild, non-abrasive cleaner. Avoid harsh chemicals, solvents, or abrasive materials that could damage the display or keypad. Ensure no liquid enters the internal components.
4.2 Inspection
Periodically inspect the front door assembly for any signs of physical damage, loose connections, or wear on the keypad buttons. Ensure the door seal is intact to prevent moisture ingress. Address any issues promptly to prevent further damage or operational failures.
5. Troubleshooting
This section addresses common issues you might encounter with the Solarhome MP-4000 Front Door assembly.
| Problem | Possible Cause | Solution |
|---|---|---|
| VGA Display is blank or not illuminating. | No power to the unit; loose electrical connection; faulty display. |
|
| Keypad buttons are unresponsive. | Loose internal ribbon cable; keypad malfunction; system software issue. |
|
| Incorrect readings on display. | Sensor malfunction; system calibration issue. |
|
For complex issues or problems not listed here, it is recommended to contact a qualified service technician or Solarhome customer support.
6. Specifications
- Manufacturer: Solarhome
- Model: MP-4000 Front Door with Keypad & VGA Display
- Part Numbers: 41-8723, 418723, 418-723
- Included Components: Front Door, Integrated Keypad, Integrated VGA Display
- Compatibility: Thermo King Reefer Containers (Magnum SL MP-4000, Magnum Plus, CSR-40, CSR-20, CSR 40, CSR 20, Super Freezer)
7. Warranty & Support
This Solarhome product is covered by the manufacturer's standard warranty. For specific warranty terms and conditions, please refer to the documentation provided at the time of purchase or contact Solarhome customer service directly. Keep your proof of purchase for warranty claims.
Customer Support:
For technical assistance, troubleshooting guidance, or warranty inquiries, please contact Solarhome customer support. Contact information can typically be found on the manufacturer's official website or on your purchase invoice.