1. Important Safety Instructions
Read all safety warnings, instructions, illustrations, and specifications provided with this power tool. Failure to follow all instructions listed below may result in electric shock, fire, and/or serious injury.
- Wear appropriate personal protective equipment (PPE) including safety glasses, gloves, hearing protection, and sturdy footwear.
- Keep work area clear and well-lit. Cluttered or dark areas invite accidents.
- Do not operate power tools in explosive atmospheres, such as in the presence of flammable liquids, gases, or dust.
- Keep children and bystanders away while operating a power tool. Distractions can cause you to lose control.
- Avoid accidental starting. Ensure the switch is in the off-position before connecting to battery pack, picking up or carrying the tool.
- Always maintain a firm grip with both hands on the chainsaw during operation.
- Be aware of kickback. Kickback may occur when the nose or tip of the guide bar touches an object, or when the wood closes in and pinches the saw chain in the cut.
- Do not overreach. Keep proper footing and balance at all times.
- Disconnect the battery pack before making any adjustments, changing accessories, or storing power tools.
2. Product Overview
The BAHOOMED 8-inch Mini Cordless Chainsaw is designed for efficient cutting of branches and small logs. It features a compact design, making it suitable for various outdoor tasks.
Key Features:
- Digital LCD Display: Provides real-time battery level monitoring.
- Automatic Oiling System: Ensures continuous lubrication of the bar and chain.
- Tool-less Chain Tension Adjustment: Allows for quick and easy chain tensioning without additional tools.
- Multiple Safety Protections: Includes a safety button, safety baffles, and anti-slip handle.
- Low Kickback Design: Enhances control and reduces the risk of kickback during operation.
Included Accessories:
- 1 x Mini Electric Chainsaw
- 2 x 4000mAh Batteries
- 2 x Chains (one pre-installed)
- 2 x Guide Bars (one pre-installed)
- 1 x Charger
- 1 x Screwdriver
- 1 x 5/32" File
- 1 x Goggles
- 1 x Working Gloves
- 1 x Brush
- 1 x User Instruction Manual
3. Setup and Assembly
3.1 Battery Charging
Before first use, fully charge both 4000mAh Lithium-Ion batteries. Charging typically takes 2-3 hours.
- Connect the charger to a standard power outlet.
- Insert the battery into the charger. The indicator light on the charger will show the charging status.
- Once fully charged, remove the battery from the charger.

Image: Two 21V 4000mAh batteries, indicating continuous operating time and cuts per charge. These batteries provide 60-120 minutes of working time and can make approximately 150 cuts on 3-4 inch wood.
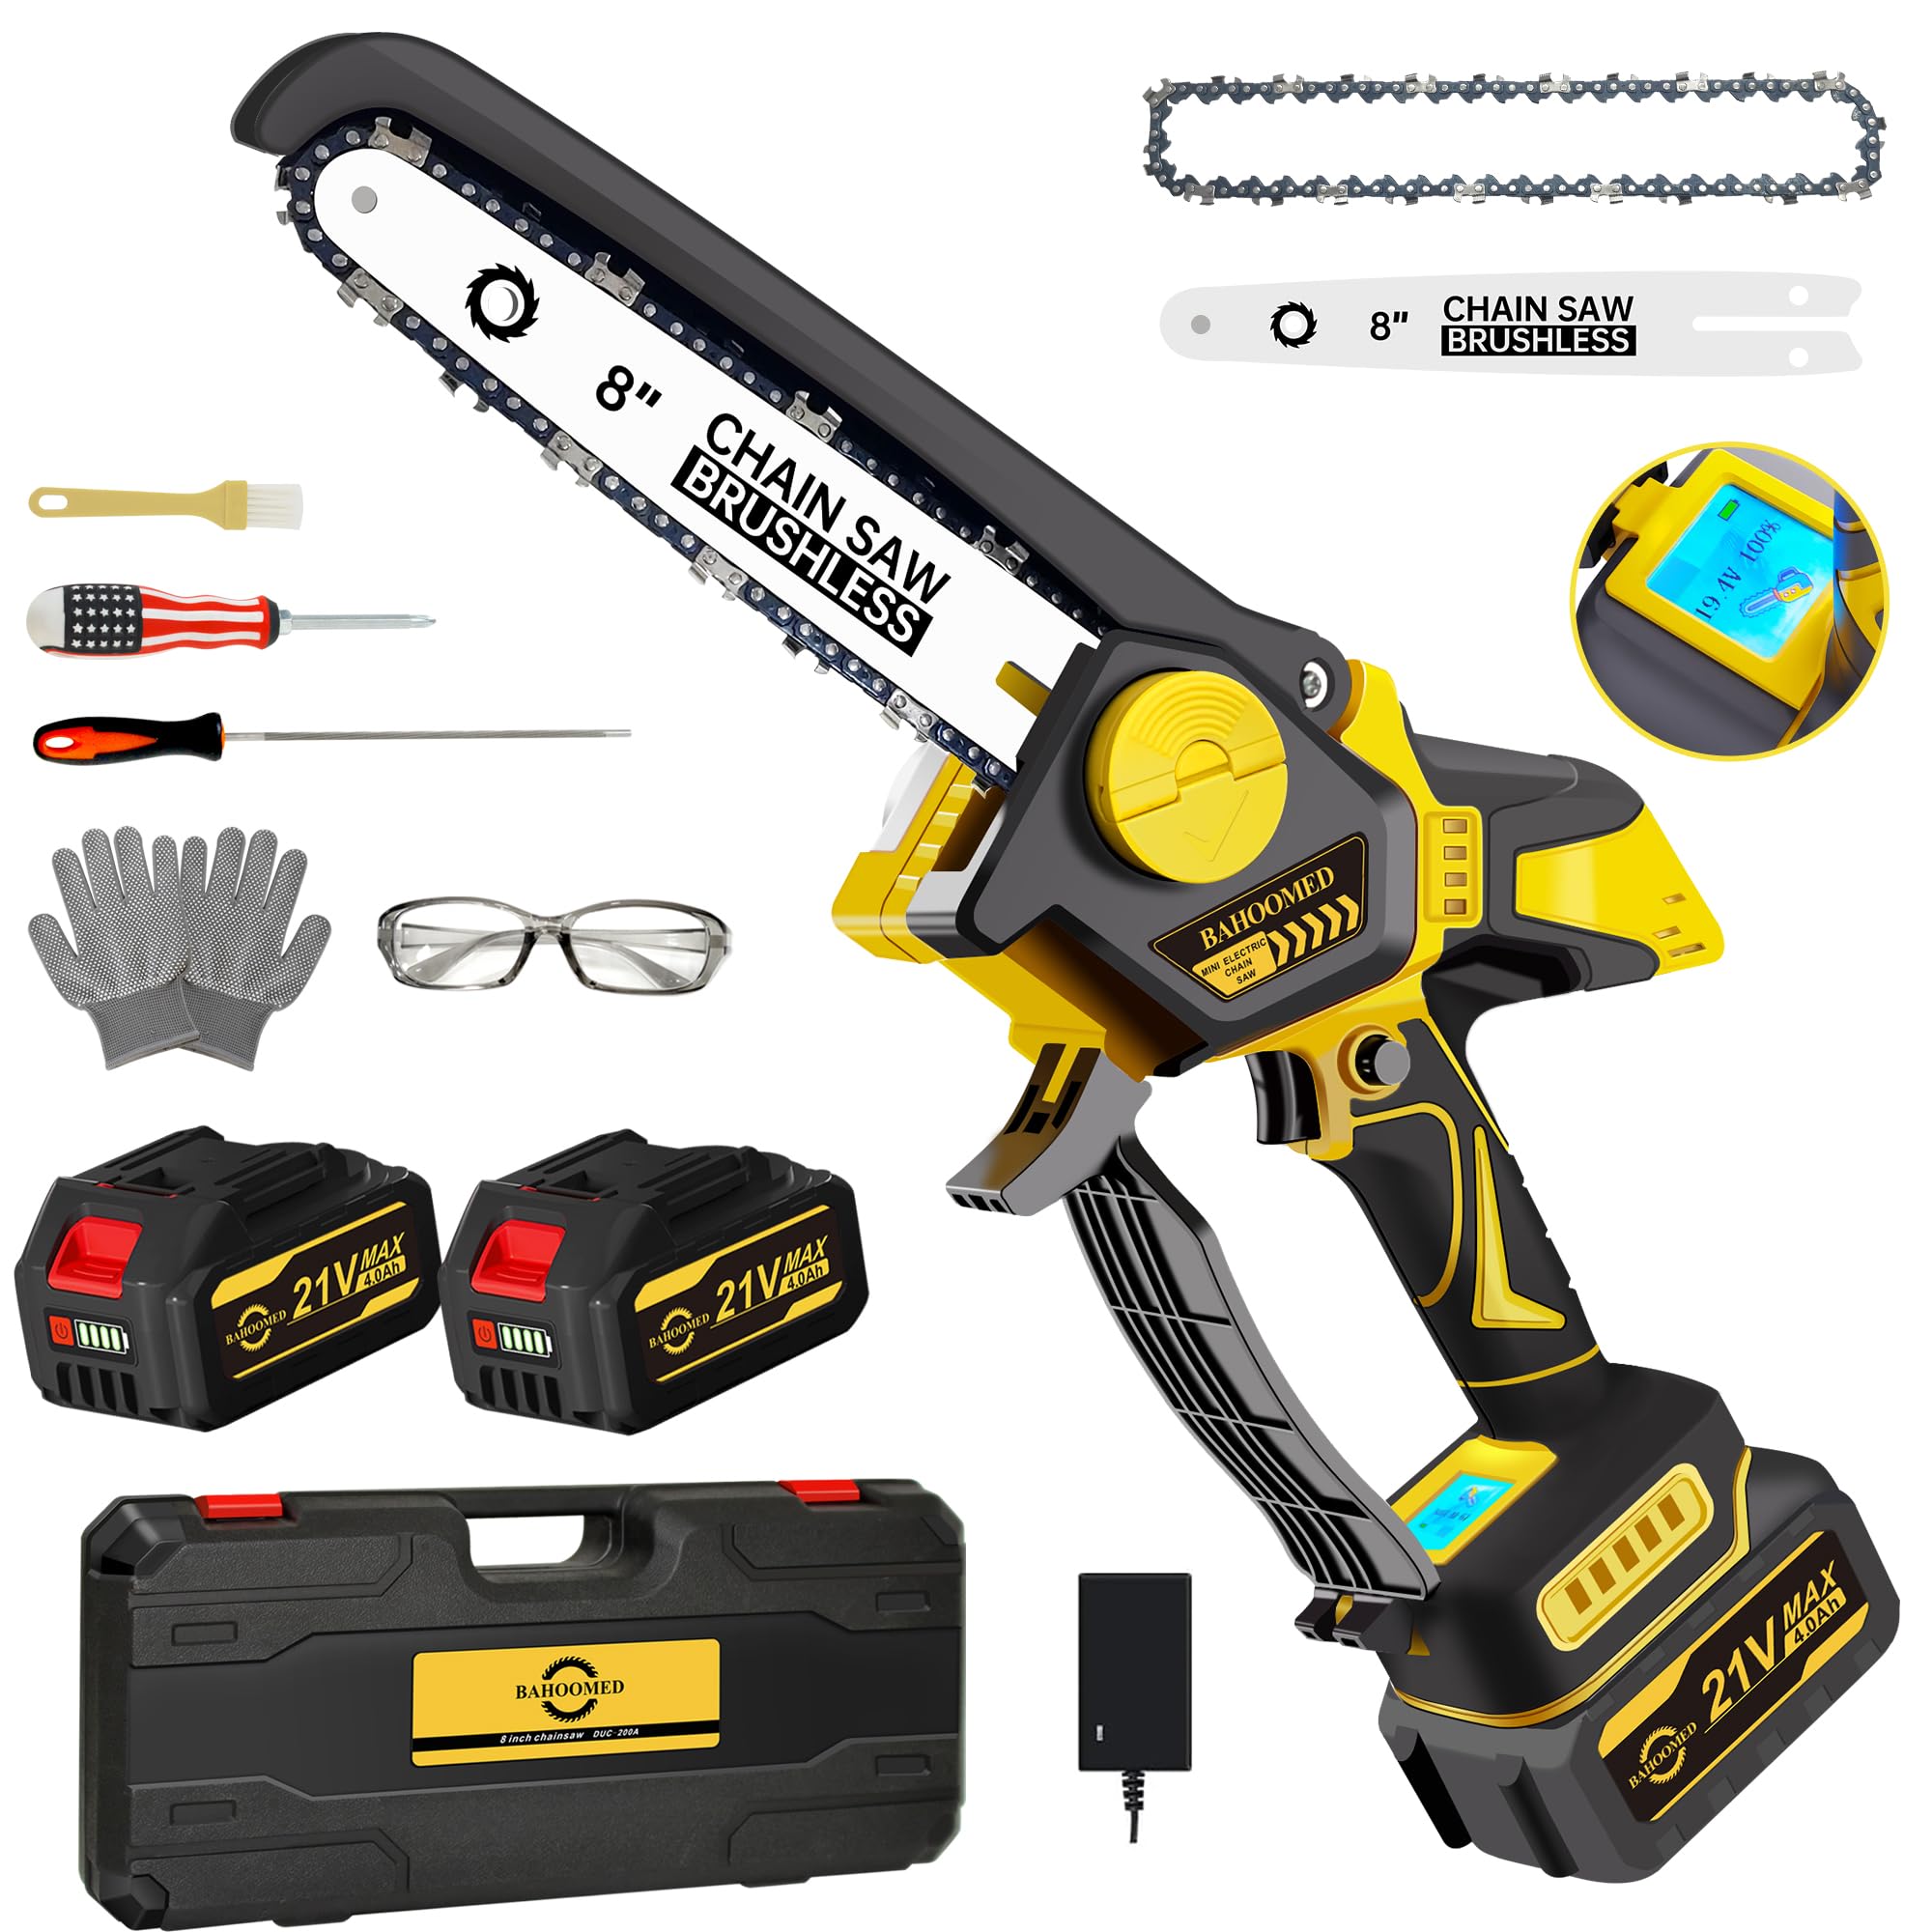
Image: A 21V 4000mAh battery connected to its charger, showing the charging hole and an indicator light. Charging time is approximately 2-3 hours.
3.2 Automatic Oiling System Setup
The chainsaw features an automatic oiling system to ensure optimal chain lubrication. Universal saw chain oil is recommended.
- Locate the oil tank cap on the chainsaw body.
- Unscrew the cap and carefully pour universal saw chain oil into the tank. Do not overfill.
- Securely replace the oil tank cap.
- During operation, the system will automatically apply oil to the bar and chain when the trigger is pressed.

Image: Illustration of pouring oil into the chainsaw's automatic oiler tank. The text indicates that the chainsaw comes without oil and recommends universal saw chain oil. The system applies oil to the bar and chain when the trigger is pressed.
3.3 Chain Tension Adjustment
Proper chain tension is crucial for safe and efficient operation. This model features a tool-less adjustment system.
- Ensure the battery is removed for safety.
- Locate the chain tension adjustment knob on the side of the chainsaw.
- To loosen the chain, turn the knob counter-clockwise.
- To tighten the chain, turn the knob clockwise. The chain should be snug against the guide bar but still able to be pulled freely by hand.
- A properly tensioned chain will not sag from the guide bar and will allow the drive links to be fully seated in the guide bar groove.

Image: Comparison showing the tool-free tensioning knob being loosened and tightened by hand, contrasted with a traditional system requiring tools. This highlights the convenience of the BAHOOMED chainsaw's design.
4. Operating Instructions
4.1 Starting the Chainsaw
- Ensure the battery is fully charged and securely inserted into the chainsaw.
- Verify that the chain is properly tensioned and the oil tank is filled.
- Hold the chainsaw firmly with both hands.
- To start the chainsaw, simultaneously press the safety button located on the handle and then squeeze the main trigger. The chainsaw will not operate if only the trigger is pressed.
- Release the trigger to stop the chainsaw.
4.2 Cutting Techniques
Always prioritize safety and proper technique when cutting.
- Before cutting: Clear the work area of obstacles. Plan your cut to avoid pinching the guide bar.
- Maintain control: Keep a firm grip and stable footing. Let the saw do the work; do not force it.
- Avoid kickback: Do not cut with the tip of the guide bar. Be aware of branches under tension.
- Small branches: Cut small branches in a single pass.
- Larger branches: For larger branches, make an undercut first to prevent splintering, then complete the cut from the top.

Image: A person demonstrating the use of the mini chainsaw, highlighting its low kickback design and ease of control with one hand, making it suitable for various users.
5. Maintenance
Regular maintenance ensures the longevity and safe operation of your chainsaw.
5.1 Cleaning
- Always remove the battery before cleaning.
- Use the provided brush to remove sawdust, wood chips, and debris from the guide bar, chain, and motor housing.
- Wipe down the exterior with a damp cloth. Do not use harsh chemicals or abrasive cleaners.
5.2 Chain Sharpening
A sharp chain is essential for efficient cutting. Use the included 5/32" file to sharpen the chain teeth as needed. Refer to a chainsaw sharpening guide for detailed instructions if unfamiliar with the process.
5.3 Storage
- Store the chainsaw in a dry, secure location, out of reach of children.
- Ensure the battery is removed from the tool before storage.
- If storing for extended periods, remove the battery and store it separately in a cool, dry place.
6. Troubleshooting
If you encounter issues with your chainsaw, refer to the following common troubleshooting steps:
| Problem | Possible Cause | Solution |
|---|---|---|
| Chainsaw does not start | Battery not inserted correctly Battery discharged Safety button not pressed | Ensure battery is fully seated Charge battery fully Press safety button and trigger simultaneously |
| Chain not moving | Chain too tight Obstruction in guide bar Chain brake engaged (if applicable) | Adjust chain tension Remove obstruction (with battery removed) Disengage chain brake |
| Poor cutting performance | Dull chain Incorrect chain tension Insufficient oil | Sharpen or replace chain Adjust chain tension Refill oil tank |
| Excessive vibration | Loose chain Damaged chain or guide bar | Adjust chain tension Inspect and replace damaged parts |
If problems persist after attempting these solutions, please contact BAHOOMED customer support.
7. Specifications
| Feature | Specification |
|---|---|
| Model Number | DUC-200A |
| Guide Bar Length | 8 inches |
| Power Source | Battery Powered |
| Voltage | 21 Volts |
| Battery Capacity | 2 x 4000mAh Lithium Ion |
| Wattage / Horsepower | 900 Watts |
| Item Weight | 3.63 kg |
| Product Dimensions | 17.78 x 15.24 x 43.18 cm |
8. Warranty and Support
For warranty information, technical support, or to inquire about replacement parts, please refer to the warranty card included with your product or contact BAHOOMED customer service directly. Contact details can typically be found on the product packaging or the official BAHOOMED website.