
1. Introduction
This manual provides essential instructions for the installation, operation, and maintenance of your new IBVIBV Huayi OEM Carburetor, model FAK2240. This carburetor is designed as a replacement part for specific Craftsman snow thrower models. Please read this manual thoroughly before attempting any installation or maintenance to ensure proper function and safety.
2. Safety Information
Always observe safety precautions when working with fuel systems and power equipment. Failure to follow these instructions may result in serious injury or property damage.
- Disconnect the Spark Plug: Before performing any work on the snow thrower, always disconnect the spark plug wire to prevent accidental engine starting.
- Work in a Well-Ventilated Area: Fuel vapors are flammable and hazardous. Ensure adequate ventilation.
- Avoid Open Flames: Keep all ignition sources, including sparks, open flames, and smoking materials, away from the work area.
- Wear Protective Gear: Use appropriate personal protective equipment, such as gloves and eye protection.
- Handle Fuel Carefully: Drain fuel into an approved container. Clean up any spills immediately.
- Secure the Equipment: Ensure the snow thrower is stable and cannot move during maintenance.
- Professional Assistance: If you are unsure about any step, consult a qualified service technician.
3. Package Contents
Verify that all components are present in your package:
- 1 x Carburetor (Huayi OEM)
- 1 x Fuel Hose
- 1 x Fuel Filter
- 1 x Spark Plug
- 1 x Primer Bulb
- 3 x Gaskets

Figure 3.1: Contents of the carburetor replacement kit.
4. Compatibility
This Huayi OEM Carburetor (Model FAK2240) is compatible with the following Craftsman snow thrower models:
- Craftsman CMXGBAM1054538
- Craftsman 31A-2M1E793
Before installation, compare your existing carburetor with the images provided in this manual to ensure an identical match. Refer to your snow thrower's original manual for specific part numbers if necessary.

Figure 4.1: Detail of the Huayi OEM Carburetor, highlighting the brand marking.
5. Setup and Installation
Carburetor replacement requires mechanical aptitude. If you are not comfortable performing this procedure, it is recommended to seek professional assistance.
5.1 Preparation
- Ensure the snow thrower engine is cool.
- Disconnect the spark plug wire from the spark plug.
- Turn off the fuel supply valve (if equipped) and drain the fuel tank into an approved container.
- Remove any engine covers or air filter assemblies to access the carburetor.
5.2 Removing the Old Carburetor
- Carefully disconnect the fuel lines from the carburetor. Note their positions for reinstallation.
- Disconnect any throttle linkages, choke linkages, or springs attached to the carburetor. Take photos if necessary to aid reassembly.
- Unbolt the carburetor from the engine manifold. Be mindful of any gaskets between the carburetor and the engine.
- Remove the old carburetor and discard the old gaskets.
5.3 Installing the New Carburetor
- Place new gaskets (provided) in their correct positions between the engine manifold and the new carburetor.
- Mount the new carburetor onto the engine, ensuring it is properly seated and aligned.
- Secure the carburetor with the bolts, tightening them evenly.
- Reconnect all throttle and choke linkages, referring to your earlier notes or photos. Ensure they move freely.
- Reconnect the fuel lines to the appropriate ports on the new carburetor. Install the new fuel filter and fuel hose as needed.
- Install the new primer bulb if replacing.
- Reinstall the air filter assembly and any engine covers removed earlier.
- Replace the old spark plug with the new one provided.
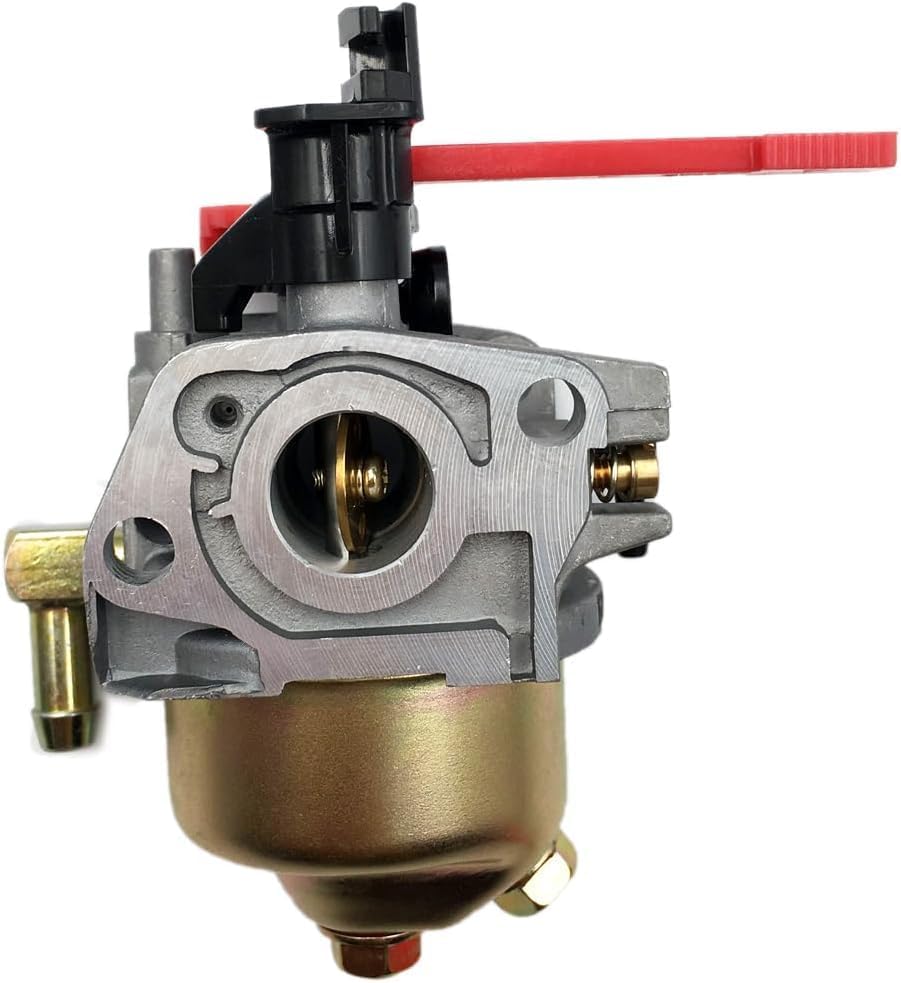
Figure 5.1: Front view of the new carburetor.
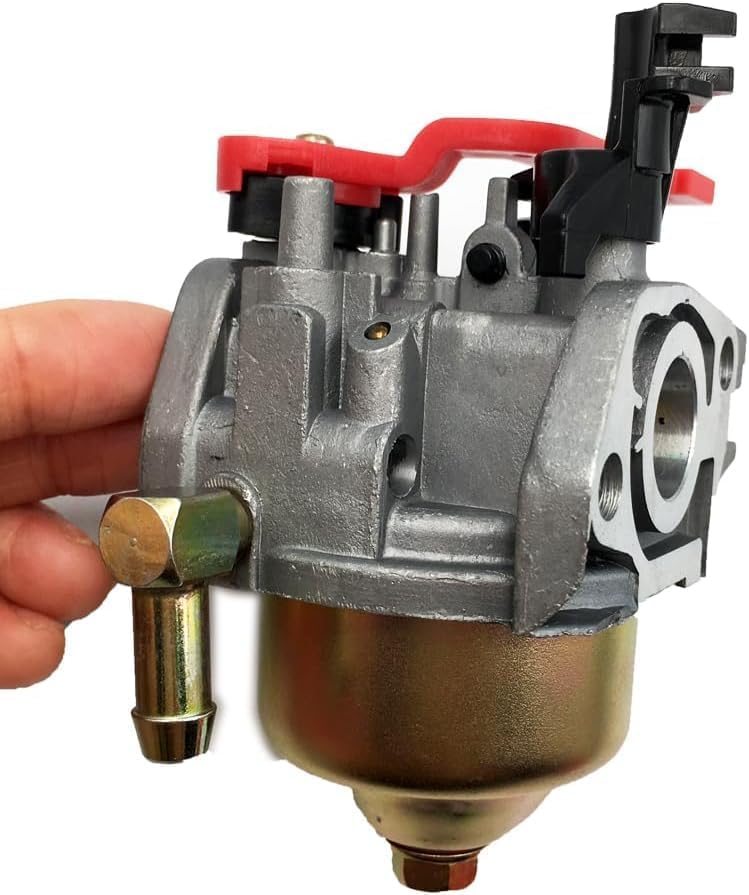
Figure 5.2: Side view of the new carburetor.

Figure 5.3: Handling the carburetor during installation.
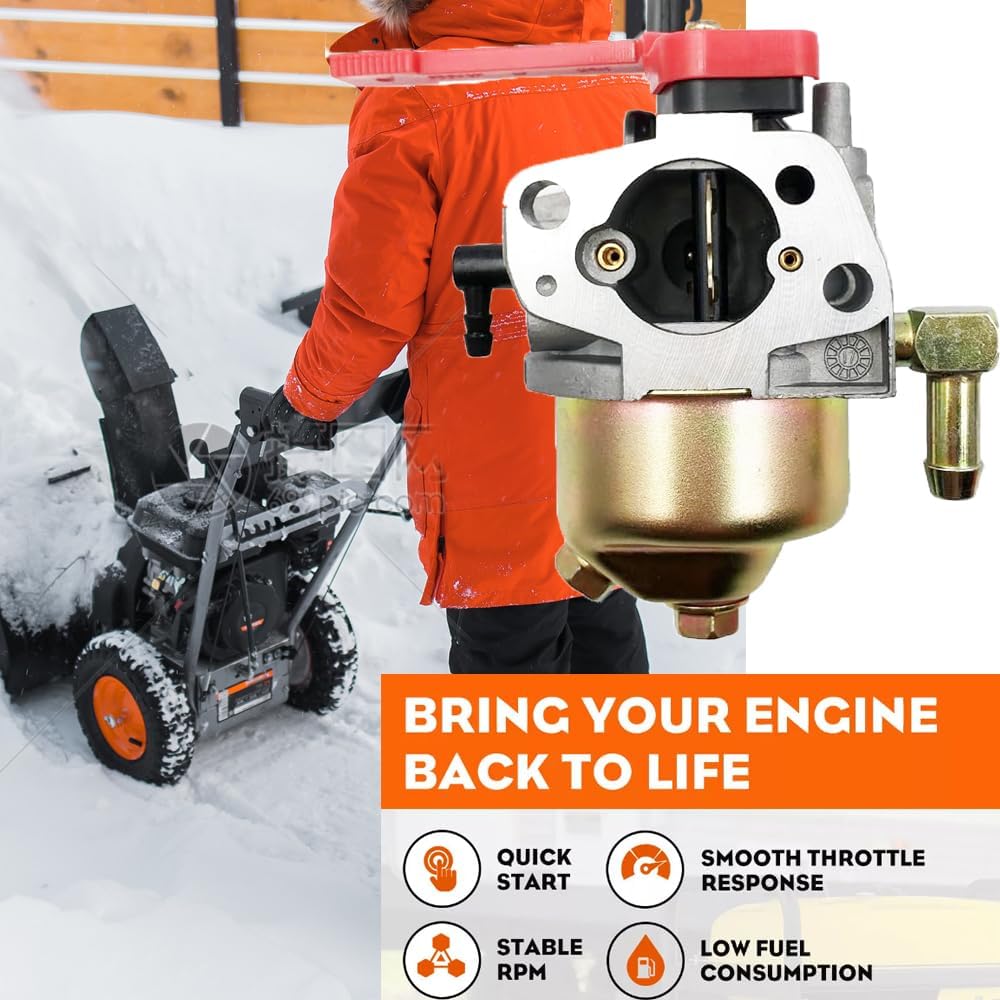
Figure 5.4: Carburetor in operational context with a snow thrower.
6. Operating After Carburetor Replacement
After successful installation, follow these steps to start your snow thrower:
- Refill the fuel tank with fresh, appropriate fuel for your snow thrower.
- Open the fuel supply valve (if applicable).
- Reconnect the spark plug wire.
- Set the choke lever to the "FULL CHOKE" position.
- Press the primer bulb several times (typically 3-5 times) until fuel is visible in the primer bulb or fuel line.
- Set the throttle to the "FAST" or "START" position.
- Pull the starter cord firmly or engage the electric starter.
- Once the engine starts and runs for a few seconds, gradually move the choke lever to the "RUN" position.
- Allow the engine to warm up for a few minutes before operating under load.
7. Maintenance
Proper maintenance ensures the longevity and optimal performance of your carburetor and snow thrower.
- Fuel Quality: Always use fresh, clean fuel. Stale fuel can cause carburetor issues. Consider using a fuel stabilizer if storing the snow thrower for extended periods.
- Fuel Filter: Regularly inspect and replace the fuel filter (a new one is included in this kit) to prevent contaminants from reaching the carburetor.
- Air Filter: Ensure the air filter is clean and free of debris. A clogged air filter can affect engine performance and fuel mixture.
- Spark Plug: Inspect the spark plug periodically. Replace it if it is fouled or worn (a new one is included in this kit).
- Storage: Before long-term storage, drain the fuel system or run the engine until it runs out of fuel to prevent gumming in the carburetor.
8. Troubleshooting Common Issues
If you encounter problems after installing the new carburetor, consider the following:
| Problem | Possible Cause | Solution |
|---|---|---|
| Engine does not start |
|
|
| Engine runs rough or stalls |
|
|
| Fuel leaks |
|
|
9. Specifications
- Brand: IBVIBV (OEM Huayi Carburetor)
- Model Number: FAK2240
- Product Dimensions: 4 x 4 x 4 inches
- Item Weight: 12.3 ounces
- Compatible Vehicle Service Type: Snowblower
- UPC: 790885703416
10. Warranty and Support
For warranty information or technical support regarding your IBVIBV Huayi OEM Carburetor, please refer to the documentation provided with your purchase or contact the seller directly. Ensure you have your purchase details and product model number (FAK2240) available when seeking support.