1. Introduction
Thank you for choosing the LRDCREEE Automatic Bobbin Winder. This device is designed to simplify and expedite the bobbin winding process for various sewing projects. Please read this manual thoroughly before operation to ensure proper use and to maximize the lifespan of your product.
Safety Instructions
- Keep the device away from water or excessive moisture.
- Do not operate the winder with damaged cords or plugs.
- Ensure the device is placed on a stable, flat surface during operation.
- Keep fingers and loose clothing away from moving parts during operation.
- Unplug the device when not in use or before cleaning.
2. Product Overview
The LRDCREEE Automatic Bobbin Winder is a compact and efficient tool for winding thread onto bobbins. It features an automatic stop sensor to prevent overfilling and includes a large spool holder for versatility.
Package Contents
- 1 x LRDCREEE Automatic Bobbin Winder Unit
- 1 x USB Power Cable
- 25 x Class 15 Plastic Bobbins
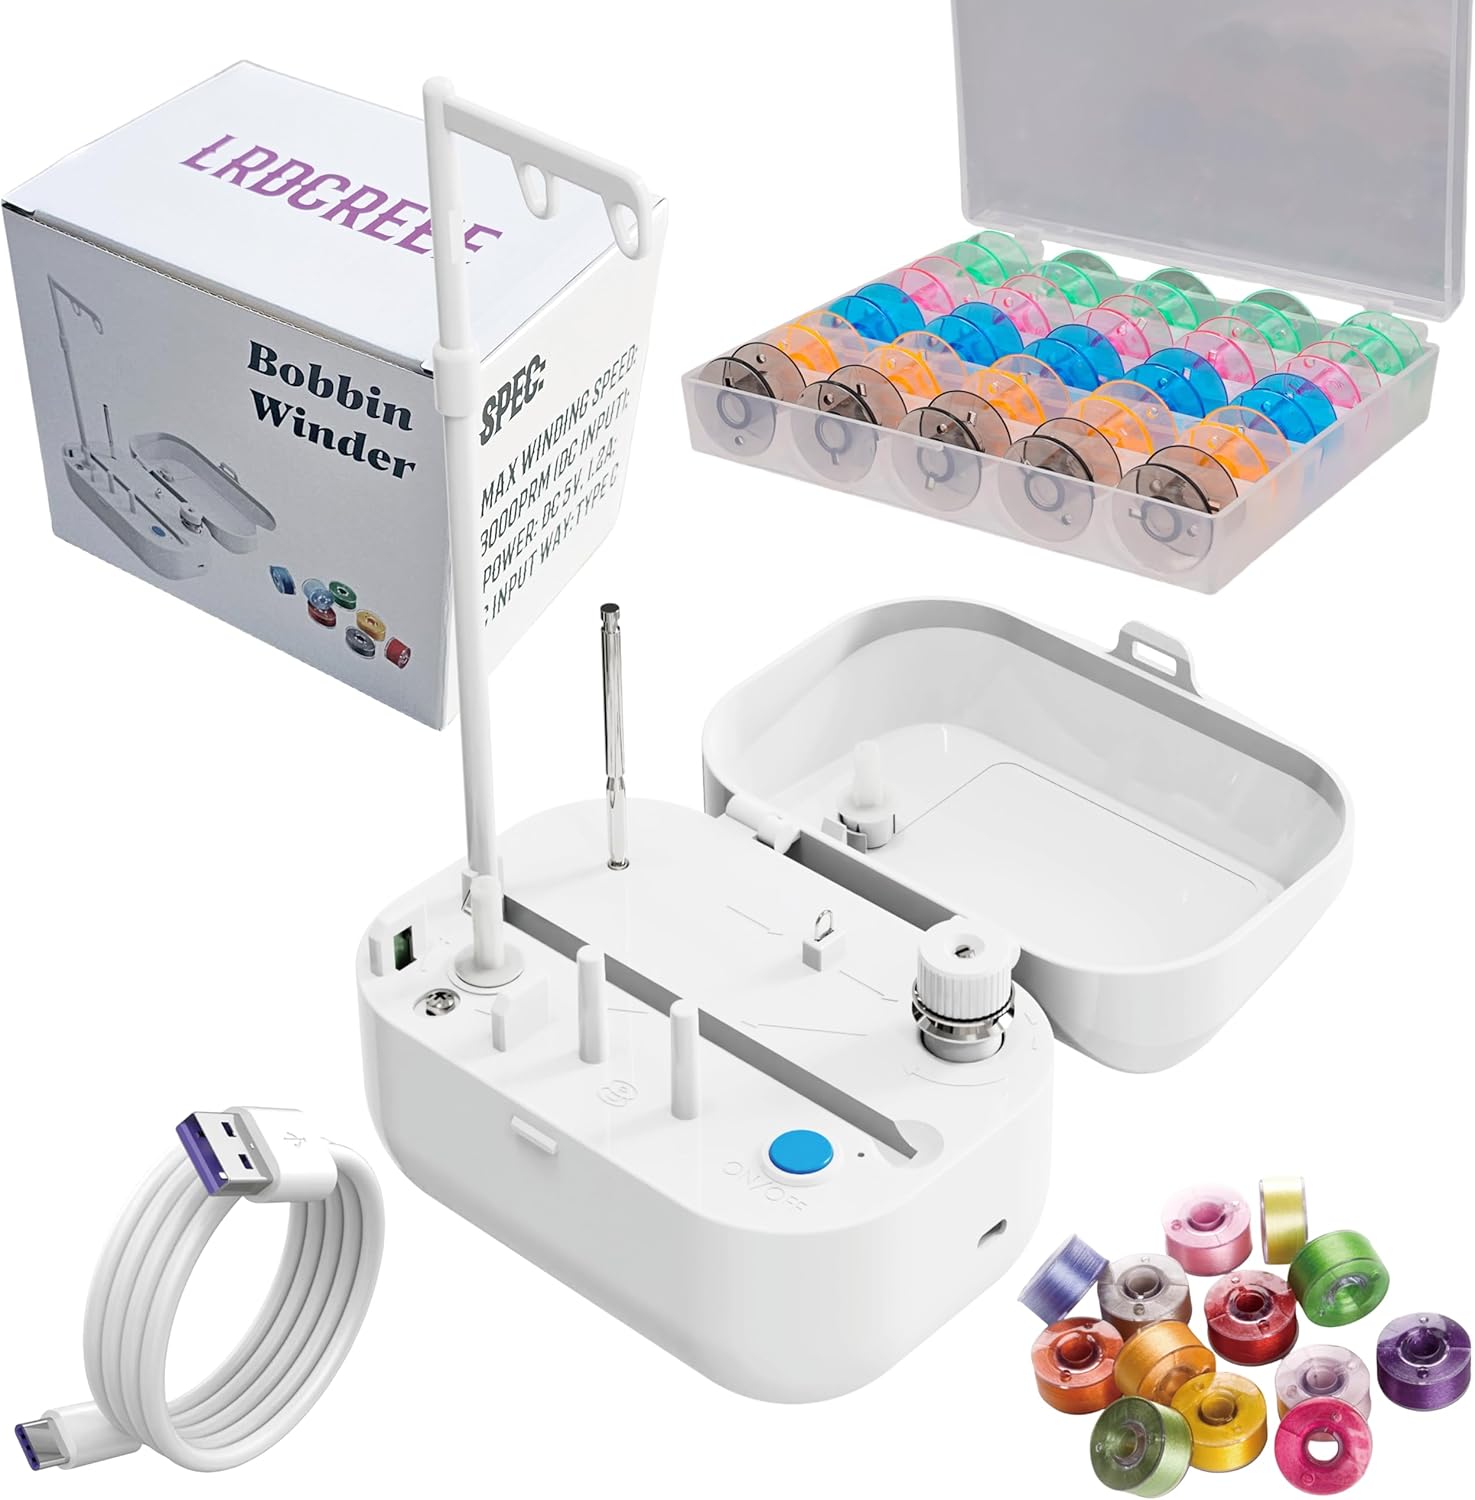
Image: The LRDCREEE Automatic Bobbin Winder, showing the main unit, USB cable, and a box of 25 bobbins.
Component Identification

Image: A diagram highlighting key components of the bobbin winder, including the thread tension adjustment, large spool thread stand, infrared sensor for auto-stop, and bobbin storage stand.
- Thread Tension Adjustment: Used to control the tightness of the wound thread on the bobbin.
- Infrared Sensor for Auto-Stop: Detects when the bobbin is full and automatically stops the winding process.
- Large Spool Thread Stand: Accommodates various sizes of thread spools for winding.
- Bobbin Storage Stand: A convenient place to store empty or wound bobbins.
- On/Off Button: Activates and deactivates the winding mechanism.
- Power Input: USB port for connecting the power cable.
3. Setup
Follow these steps to set up your bobbin winder for first use:
- Power Connection: Connect the provided USB power cable to the power input port on the bobbin winder. Plug the other end into a compatible USB power adapter (not included) or a USB port on a computer.
- Place Thread Spool: Place your desired thread spool onto the large spool thread stand. Ensure the spool is stable.
- Insert Bobbin: Place an empty bobbin onto the bobbin spindle. Ensure it is seated correctly.

Image: The bobbin winder set up with a large spool of thread on the stand, ready for winding.
4. Operating Instructions
Once set up, winding a bobbin is a straightforward process:
- Thread the Winder: Guide the thread from the spool through the thread guide and around the thread tension adjustment disc. Then, wrap the thread a few times manually around the empty bobbin on the spindle.
- Adjust Tension (Optional): If needed, adjust the thread tension disc to achieve your desired winding tightness. A tighter tension results in a more densely wound bobbin.
- Start Winding: Press the On/Off button to start the winding process. The bobbin will begin to spin and fill with thread.
- Automatic Stop: The integrated infrared sensor will detect when the bobbin is full and automatically stop the winding. You do not need to monitor it constantly.
- Remove Bobbin: Once winding stops, press the On/Off button again to ensure the device is off. Carefully remove the full bobbin from the spindle and cut the thread.

Image: The bobbin winder actively winding thread from a large spool onto a bobbin, demonstrating its use with various bobbin types, including metal bobbins.
5. Maintenance
Regular maintenance ensures optimal performance and longevity of your bobbin winder.
Cleaning
- Ensure the device is unplugged before cleaning.
- Wipe the exterior with a soft, dry cloth.
- Use a small brush or compressed air to remove any lint or thread debris from the bobbin spindle and thread guides.
- Avoid using harsh chemicals or abrasive cleaners.
Storage
- Store the bobbin winder in a cool, dry place away from direct sunlight.
- Keep it in its original packaging or a protective case to prevent dust accumulation and damage.
6. Troubleshooting
If you encounter any issues with your LRDCREEE Automatic Bobbin Winder, refer to the following common problems and solutions:
| Problem | Possible Cause | Solution |
|---|---|---|
| Winder does not start | No power connection; Power button not pressed | Ensure USB cable is securely connected and power source is active. Press the On/Off button firmly. |
| Bobbin not winding evenly | Incorrect thread tension; Thread not properly guided | Adjust the thread tension disc. Reroute the thread through all guides correctly. |
| Winder stops prematurely | Sensor obstructed; Bobbin already full | Check for any debris blocking the infrared sensor. Ensure you are using an empty bobbin. |
| Thread breaks during winding | Too much tension; Damaged thread; Bobbin not seated correctly | Reduce thread tension. Use good quality thread. Ensure bobbin is firmly on the spindle. |
7. Specifications
- Model: LRD-N-B
- Product Dimensions: 5.9 x 4.3 x 4.7 inches
- Item Weight: 0.317 ounces
- Power Input: DC 5V (via USB)
- Max Winding Speed: Approximately 3000 RPM
- Compatible Bobbins: Class 15 (and similar sizes)
8. Warranty and Support
LRDCREEE products are manufactured with quality and reliability in mind. For specific warranty details, please refer to the product packaging or contact your retailer. If you require technical assistance or have questions regarding your LRDCREEE Automatic Bobbin Winder, please contact LRDCREEE customer support through the official brand website or your purchase platform.
Please have your model number (LRD-N-B) and purchase information ready when contacting support.