WildEar NoizeBarrier Micros Custom Earplug Kit
User Manual: Custom Earplug Kit for OTTO Engineering NoizeBarrier Micros
Brand: WildEar | Model: NoizeBarrier Micros Custom Earplug Kit
1. Product Overview
The WildEar Custom Earplug Kit is designed to provide ultimate sound-isolation and maximum comfort when used with the OTTO Engineering NoizeBarrier Micros. This kit facilitates the creation of custom-fit silicone eartips tailored specifically for your ears, ensuring an optimal fit and performance.
Key features of this kit include:
- WildEar Ear Impression Home Fit Kit, providing all necessary materials for taking ear impressions.
- Includes a return shipping label and box for securely sending your ear impressions to WildEar for custom tip creation.
- Expertly crafted custom-fit silicone eartips for superior sound isolation and comfort.

Image: Two custom earplugs, one with an attached OTTO Engineering NoizeBarrier Micro device, and another detached device. This illustrates the complete product assembly.
2. Setup: Obtaining Your Custom Earplugs
The process of obtaining your custom earplugs involves a few simple steps to ensure a perfect fit. Please follow these instructions carefully:
- Receive the Ear Impression Kit: Upon placing your order, WildEar will ship the comprehensive ear impression kit directly to you. This kit contains all the necessary materials and detailed instructions for taking your ear impressions.
- Take Your Ear Impressions: Using the provided materials and instructions within the kit, carefully take impressions of your ears. It is crucial to follow the kit's instructions precisely to ensure accurate impressions for the best fit.
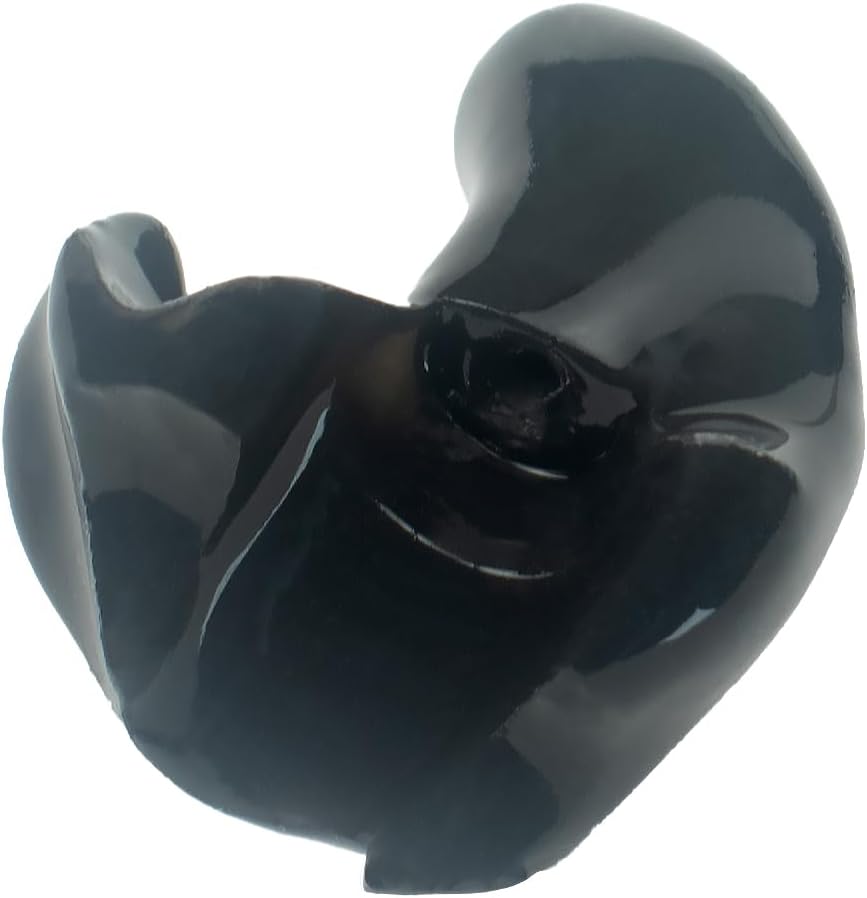
Image: A single custom earplug, demonstrating the unique shape that will be molded from your ear impressions.
- Ship Your Ear Impressions to WildEar: Once your ear impressions are complete, package them securely using the provided box and pre-paid shipping label included in your ear impression kit. Send them back to WildEar for the custom manufacturing process.
- Receive Your Custom Tips: After WildEar receives your ear impressions, the custom eartips will be manufactured and shipped back to you. Please allow approximately 3-4 weeks for this process.
3. Operating Your Custom Earplugs with NoizeBarrier Micros
Once you have received your custom-fit earplugs, follow these steps to properly attach them to your OTTO Engineering NoizeBarrier Micros and ensure correct insertion:
- Attach the Custom Earplug: Carefully align the custom silicone earplug with the audio output nozzle of your OTTO Engineering NoizeBarrier Micro device. Gently push and twist until the earplug is securely seated on the device. Ensure a snug fit to prevent detachment during use.
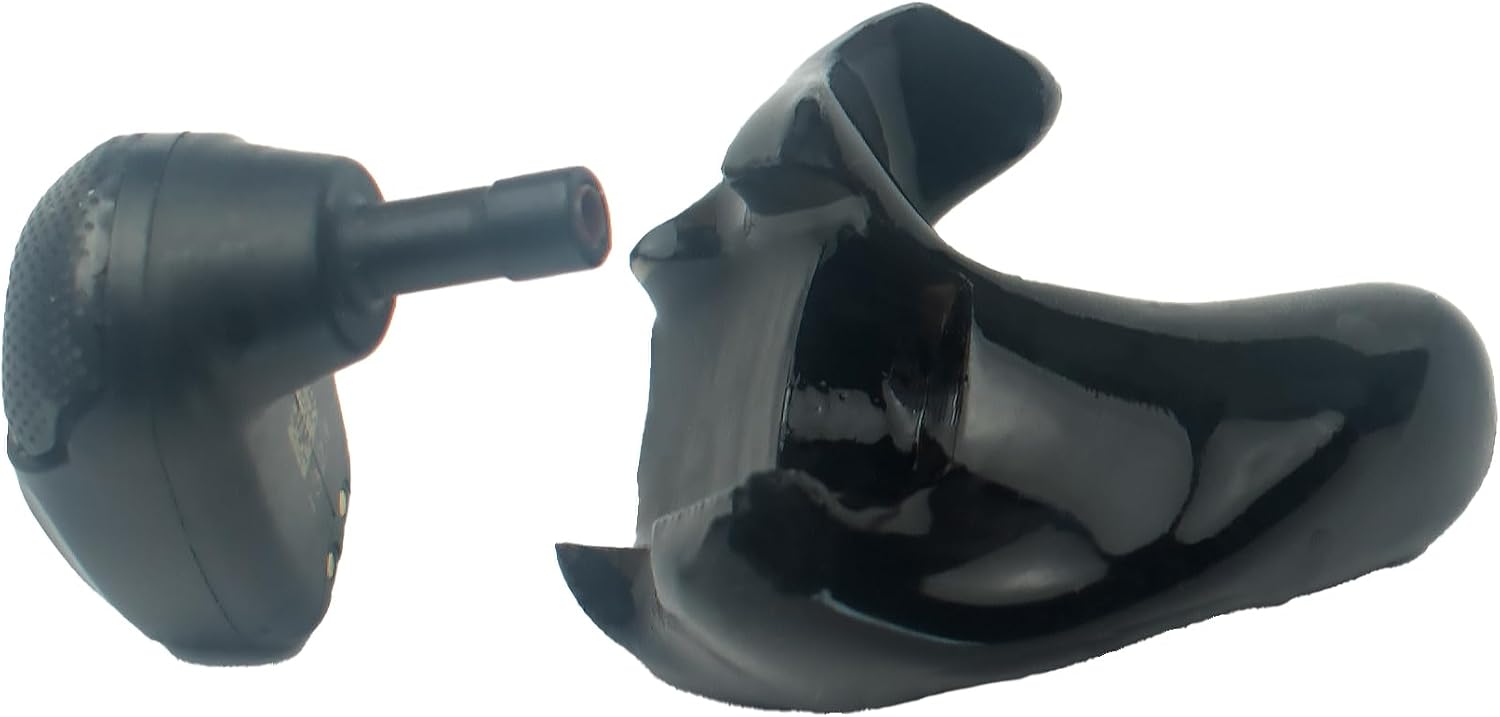
Image: A custom earplug shown detached from the NoizeBarrier Micro device, illustrating how the two components connect.
- Insert into Ear: With the custom earplug attached to the NoizeBarrier Micro, gently insert the entire assembly into your ear canal. The custom shape is designed to fit your ear perfectly. You may need to slightly twist or adjust until it feels comfortable and creates a good seal.

Image: A custom earplug with the NoizeBarrier Micro device correctly positioned within a user's ear, demonstrating proper fit.
- Verify Seal: Once inserted, ensure a proper seal is formed. A good seal is essential for optimal sound isolation and performance of the NoizeBarrier Micros. You should notice a significant reduction in ambient noise.
- Removal: To remove, gently pull the earplug assembly outwards while slightly twisting. Avoid pulling directly on the device itself to prevent damage.
4. Maintenance and Care
Proper maintenance will extend the life and performance of your custom earplugs. Follow these guidelines:
- Cleaning: After each use, gently wipe the silicone earplugs with a soft, damp cloth. For a more thorough cleaning, you can use mild soap and water. Ensure the earplugs are completely dry before reattaching them to the NoizeBarrier Micros or storing them. Do not use harsh chemicals or abrasive cleaners.
- Storage: Store your earplugs and NoizeBarrier Micros in a clean, dry place, away from direct sunlight and extreme temperatures. The original carrying case (if provided with your NoizeBarrier Micros) is ideal for protection.
- Inspection: Periodically inspect the silicone earplugs for any signs of wear, tear, or damage. If the earplugs become cracked or lose their shape, they may compromise sound isolation and comfort, and should be replaced.
5. Troubleshooting
If you encounter any issues with your custom earplugs, refer to the following common problems and solutions:
| Problem | Possible Cause | Solution |
|---|---|---|
| Poor Fit or Discomfort | Incorrect insertion; earplug not fully seated; ear impression inaccuracy. | Re-insert the earplug, ensuring it is fully seated and twisted into place. If discomfort persists, contact WildEar support as the impression may need re-evaluation. |
| Reduced Sound Isolation | Improper seal; damaged earplug; earwax buildup. | Ensure the earplug is fully inserted and creates a tight seal. Clean the earplug thoroughly. Inspect for damage; if damaged, replacement may be necessary. |
| Earplug Detaches from Device | Earplug not securely attached to the NoizeBarrier Micro. | Ensure the earplug is firmly pushed and twisted onto the device's nozzle until it clicks or feels secure. |
6. Specifications
| Feature | Detail |
|---|---|
| Product Type | Custom Earplug Kit for OTTO Engineering NoizeBarrier Micros |
| Material | Silicone (custom-molded) |
| Color | Black |
| Noise Control | Sound Isolation |
| Ear Placement | In Ear |
| Country of Origin | USA |
| Manufacturer | WildEar |
7. Support and Contact Information
For any questions, concerns, or assistance regarding your WildEar Custom Earplug Kit, please contact WildEar directly. They are best equipped to provide support for the ear impression process, custom tip manufacturing, and any fit-related issues.
Please refer to the contact information provided within your ear impression kit or visit the official WildEar website for the most up-to-date support details.
Ask a question about this manual
Ask about setup, troubleshooting, compatibility, parts, safety, or missing instructions. Manuals+ will review the question and use this page’s manual context to help answer it.