Introduction
Thank you for purchasing the VAUNO Digital Alarm Clock Radio. This device combines a modern S-shaped design with essential features including a large LED display, FM radio, dual alarms, temperature and humidity display, and a convenient USB charging port. This manual provides detailed instructions for setup, operation, and maintenance to ensure optimal performance and longevity of your device.
Key Features
- Modern S-Shaped Design: Aesthetic appeal with a dual mirror display.
- Multi-Function Display: Shows Time, Year, Date, Day of the week, Temperature, and Humidity.
- FM Radio with Sleeper Timer: Covers 76-108MHz, automatic channel scanning, 15 adjustable volume levels, and a programmable sleep timer (5-90 minutes).
- Dimmable Dual LED Display: 6-inch easy-to-read display with full-range manual and auto-dimming modes.
- Customizable Dual Alarms: Set two separate alarms for daily, weekday, or weekend schedules, with options for radio or buzzer sound.
- Easy Operation: Clearly marked buttons and a large snooze button for user convenience.
- USB Charging Port: An additional USB port for charging external devices.
Package Contents
Please check the package for the following items:
- VAUNO Digital Alarm Clock Radio (Model: EN8837-A BL)
- USB Power Cable
- User Manual
- CR2032 Button Cell Battery (pre-installed for memory backup)

Image: Contents of the VAUNO Digital Alarm Clock Radio package, showing the clock unit, a USB power cable, and the user manual.
Product Layout and Controls
Familiarize yourself with the various parts and controls of your alarm clock radio.
Front View and Display Indicators

Image: Front view of the alarm clock with labels for display elements such as time, temperature, humidity, AM/PM, alarm indicators (Alarm 1, Alarm 2), FM radio indicator, and day of the week.
- Time Display: Large LED digits showing current time.
- Temperature Display: Shows current room temperature in Fahrenheit or Celsius.
- Humidity Display: Shows current room humidity percentage.
- Day of the Week: Indicates the current day (MON, TUE, WED, THU, FRI, SAT, SUN).
- Alarm Indicators: Icons for Alarm 1 and Alarm 2.
- FM Radio Indicator: Appears when FM radio is active.
- AM/PM Indicator: Appears in 12-hour time mode.
- Sleep Timer Indicator: Appears when the sleep timer is active.
Top and Rear Controls

Image: Top and rear view of the alarm clock with labels for control buttons (Snooze, Up, Down, Volume, Alarm 1, Alarm 2, Time Setting, Radio Setting, 12/24 Hr, ON/OFF AL1-Set, ON/OFF AL2-Set, Radio/Sleep), ports (Type-C Power Jack, USB Charge Your Phone), and other features (Dimmer Rolling Wheel, Button Cell CR2032, FM Radio Antenna).
- SNOOZE Button: Located on top, used to temporarily silence the alarm.
- UP / DOWN Buttons: Used for adjusting time, alarm, volume, and radio frequencies.
- VOLUME Button: Adjusts the sound level of the radio or alarm.
- ALARM 1 / ALARM 2 Buttons: Used to set and activate/deactivate Alarm 1 and Alarm 2.
- TIME SETTING Button: Enters time setting mode.
- RADIO SETTING Button: Enters radio setting mode.
- 12/24 Hr Button: Toggles between 12-hour and 24-hour time formats.
- ON/OFF AL1-Set / ON/OFF AL2-Set Buttons: Activates or deactivates Alarm 1 and Alarm 2.
- Radio/Sleep Button: Activates FM radio and sets the sleep timer.
- Dimmer Rolling Wheel: Located on the side, manually adjusts display brightness (0-100%).
- TYPE C POWER JACK: Main power input for the clock.
- USB Charge Your Phone Port: Output port for charging external devices.
- FM Radio Antenna: Extendable wire for improved radio reception.
- Button Cell (CR2032): Battery compartment for time memory backup during power outages.
Setup Guide
1. Power Connection
- Connect the provided USB power cable to the TYPE C POWER JACK on the back of the alarm clock.
- Plug the other end of the USB cable into a standard USB power adapter (not included) and then into a wall outlet.
- The display will light up, indicating the clock is powered on. The pre-installed CR2032 button cell battery provides backup power for time settings during power interruptions.
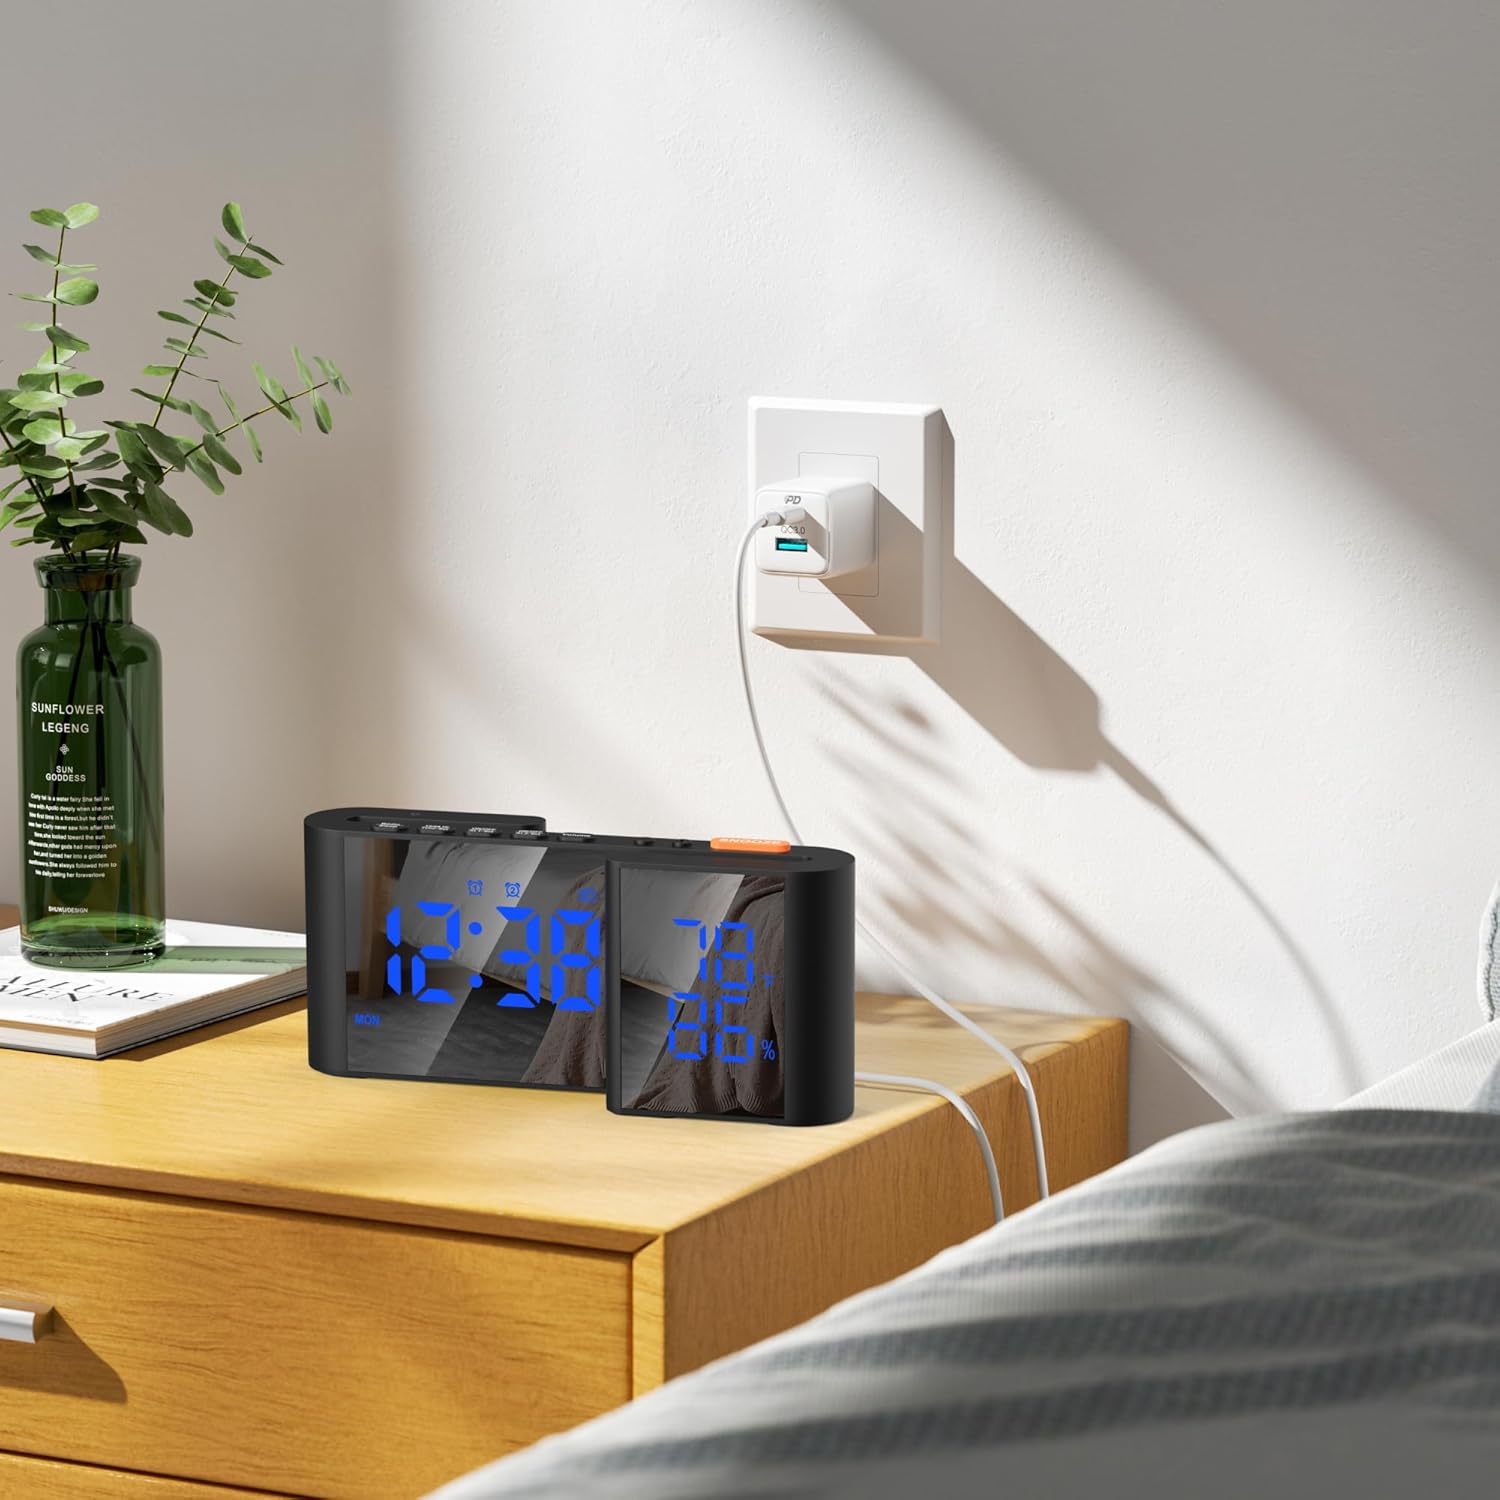
Image: The VAUNO alarm clock radio plugged into a wall outlet via its USB power cable, positioned on a bedside table.
2. Initial Time Setting
- Press and hold the TIME SETTING button for 3 seconds to enter time setting mode. The hour digits will flash.
- Use the UP or DOWN buttons to adjust the hour.
- Press the TIME SETTING button again to confirm the hour and move to minute setting. The minute digits will flash.
- Use the UP or DOWN buttons to adjust the minutes.
- Press the TIME SETTING button a third time to confirm the minutes and exit time setting mode.
- To switch between 12-hour and 24-hour format, press the 12/24 Hr button. In 12-hour mode, "AM" or "PM" will be displayed.
3. Date and Year Setting
- In normal time display mode, press the TIME SETTING button once to cycle through Time, Year, Date, and Day of the week.
- To set the Year, Date, and Day, you may need to enter a specific setting mode (refer to the detailed operating instructions for your specific model if the TIME SETTING button does not cycle through these for adjustment). Generally, holding the TIME SETTING button longer or pressing it multiple times will allow adjustment of these parameters.
Operating Instructions
Setting Alarms (Alarm 1 & Alarm 2)
- Press and hold the ALARM 1 button (or ALARM 2 button) for 3 seconds. The hour digits for that alarm will flash.
- Use the UP or DOWN buttons to adjust the desired alarm hour.
- Press the ALARM 1 (or ALARM 2) button again to confirm the hour and move to minute setting. The minute digits will flash.
- Use the UP or DOWN buttons to adjust the desired alarm minutes.
- Press the ALARM 1 (or ALARM 2) button again to select the alarm frequency:
- "MON-SUN" (Every day)
- "MON-FRI" (Weekdays only)
- "SAT-SUN" (Weekends only)
- Press the ALARM 1 (or ALARM 2) button again to select the alarm sound: "BU" (Buzzer) or "FM" (FM Radio). Use UP or DOWN to select.
- Press the ALARM 1 (or ALARM 2) button one last time to confirm settings and exit. The corresponding alarm icon will appear on the display.

Image: Illustration of setting two separate alarms, one for 6:00 AM (weekday) and another for 8:30 AM (weekend), demonstrating the flexibility of the dual alarm feature.
Activating/Deactivating Alarms
- Press the ON/OFF AL1-Set button to toggle Alarm 1 on or off.
- Press the ON/OFF AL2-Set button to toggle Alarm 2 on or off.
- When an alarm is active, its icon will be displayed.
Snooze Function
- When the alarm sounds, press the large SNOOZE button on top to temporarily silence it for 9 minutes.
- The alarm will sound again after the snooze period.
- To turn off the alarm completely, press any other button (e.g., ALARM 1, ALARM 2, or ON/OFF ALARM buttons).

Image: A person's hand reaching to press the orange SNOOZE button on the top of the alarm clock, which is displaying the time and environmental data.
FM Radio Operation
- Extend the FM radio antenna on the back of the unit for better reception.
- Press the Radio/Sleep button to turn on the FM radio. The frequency will be displayed.
- Press the RADIO SETTING button to enter scanning mode. The radio will automatically scan and store available FM stations.
- Use the UP or DOWN buttons to manually tune to a specific frequency or cycle through stored stations.
- Press the VOLUME button, then use UP or DOWN to adjust the volume (1-15 levels).
- Press the Radio/Sleep button again to turn off the FM radio.

Image: The alarm clock displaying various FM radio frequencies, with a graphic representation of radio waves, indicating its FM radio functionality.
Sleep Timer Function
- While the FM radio is playing, press the Radio/Sleep button repeatedly to cycle through sleep timer options (e.g., 90, 75, 60, 45, 30, 15, 5 minutes, or OFF).
- The radio will automatically turn off after the selected duration.
Display Brightness Adjustment
- Manual Dimming: Use the Dimmer Rolling Wheel on the side of the clock to manually adjust the display brightness from 0% to 100%.
- Automatic Dimming: The clock features an auto-dimming mode that adjusts brightness based on ambient light conditions. This mode is typically active by default or can be toggled via a specific setting (refer to the product's full manual for exact steps if not automatic).

Image: The alarm clock demonstrating its manual and automatic dimming capabilities, showing the display brightness slider from 0% to 100% and how the display adjusts in different lighting conditions.
USB Charging Port
- Connect your smartphone or other USB-powered device to the USB Charge Your Phone Port on the back of the alarm clock using your device's charging cable.
- The clock must be powered on for the USB charging port to function.

Image: A smartphone connected to the VAUNO alarm clock's USB port, indicating that it is charging.
Temperature and Humidity Display
- The clock continuously displays the ambient temperature and humidity on the right side of the screen.
- The temperature unit (Fahrenheit/Celsius) may be switchable (refer to the product's full manual for exact steps if applicable).

Image: The VAUNO alarm clock displaying the current time, temperature in Fahrenheit, and humidity percentage on its dual mirror LED screen.
Maintenance
- Cleaning: Wipe the clock's surface with a soft, dry cloth. Do not use abrasive cleaners or solvents.
- Power: Ensure the clock is connected to a stable power source. Unplug the device during electrical storms or when not in use for extended periods.
- Battery Backup: The CR2032 button cell battery provides memory backup. If the time settings are lost frequently during power outages, replace the CR2032 battery.
- Placement: Place the clock on a stable, flat surface away from direct sunlight, heat sources, and excessive moisture.
Troubleshooting
| Problem | Possible Cause | Solution |
|---|---|---|
| Clock display is off or flickering. | No power or loose connection. | Check if the USB power cable is securely connected to the clock and the power adapter/outlet. Ensure the power outlet is functional. |
| Alarm does not sound. | Alarm is not activated or volume is too low. | Ensure the alarm icon (Alarm 1 or Alarm 2) is displayed. Check the alarm volume setting. Verify the alarm time is correctly set. |
| FM radio reception is poor. | Antenna not extended or interference. | Fully extend the FM radio antenna. Try repositioning the antenna or the clock to reduce interference. Perform an automatic station scan again. |
| Time/settings reset after power outage. | CR2032 backup battery is depleted. | Replace the CR2032 button cell battery located in the battery compartment. |
| USB charging port not working. | Clock not powered or cable issue. | Ensure the clock is powered on. Try a different USB cable or device to confirm the port functionality. |
Specifications
| Brand | VAUNO |
| Model Number | EN8837-A BL |
| Color | Black/Blue |
| Display Type | LED-backlit |
| Product Dimensions | 7"W x 3"H (approximately 18 x 8 cm) |
| Screen Size | 6 inch |
| Power Source | Corded Electric (Type-C USB) |
| Backup Battery | 1 x CR2032 (included) |
| FM Frequency Range | 76-108 MHz |
| Volume Levels | 15 Levels |
| Sleep Timer | 5-90 minutes |
| Special Features | Adjustable Brightness, Adjustable Volume, Dual Alarms, Auto Dimmable, Temperature & Humidity Display, USB Charging Port |
| Material | Plastic |
| Item Weight | 11.2 ounces (0.7 Pounds) |
Warranty and Support
This VAUNO Digital Alarm Clock Radio comes with a Limited Warranty. For specific details regarding warranty coverage, duration, and terms, please refer to the warranty card included in your product packaging or contact VAUNO customer support.
If you encounter any issues or have questions about your device, please contact VAUNO customer support through the retailer's platform or the contact information provided in your product documentation. Please have your model number (EN8837-A BL) and purchase date ready when contacting support.