1. Important Safety Information
Please read all instructions carefully before operating this appliance to ensure safe and efficient use. Retain this manual for future reference.
- Electrical Safety: Ensure the appliance is connected to a properly grounded outlet. Do not use extension cords or ungrounded adapters.
- Ventilation: Maintain adequate clearance around the unit for proper ventilation. Do not block air vents.
- Flammable Refrigerant: This appliance uses R290 refrigerant, which is flammable. Handle with care and ensure proper ventilation during maintenance or repair.
- Placement: Place the unit on a flat, stable surface capable of supporting its weight when fully loaded. Avoid direct sunlight or heat sources.
- Children Safety: Keep children away from the appliance. Ensure doors are locked when not in use to prevent entrapment.
- Cleaning: Disconnect power before cleaning. Use mild soap and water; avoid abrasive cleaners.
2. Product Overview
The Coolski 53 Inch Beverage Refrigerator is a commercial-grade back bar cooler designed for efficient beverage storage and display. It features a spacious 12 cubic feet capacity, three self-closing glass doors, adjustable wire shelves, and LED lighting. The unit is ETL and NSF Standard 7 certified, ensuring quality and safety for commercial and home use.

Image: Front view of the Coolski 53 Inch Beverage Refrigerator with 3 glass doors.
3. Setup and Installation
3.1 Unpacking
Carefully remove the appliance from its packaging. Inspect for any shipping damage. It is recommended to keep the original packaging for future transport or service needs.
Video: Demonstrates the unpacking process of a similar back bar cooler, highlighting protective packaging.
3.2 Placement
This beverage refrigerator is designed for both undercounter and freestanding installation. Ensure the chosen location has sufficient space for air circulation around the unit, especially at the rear and sides. Avoid placing it near heat-generating appliances or in direct sunlight.
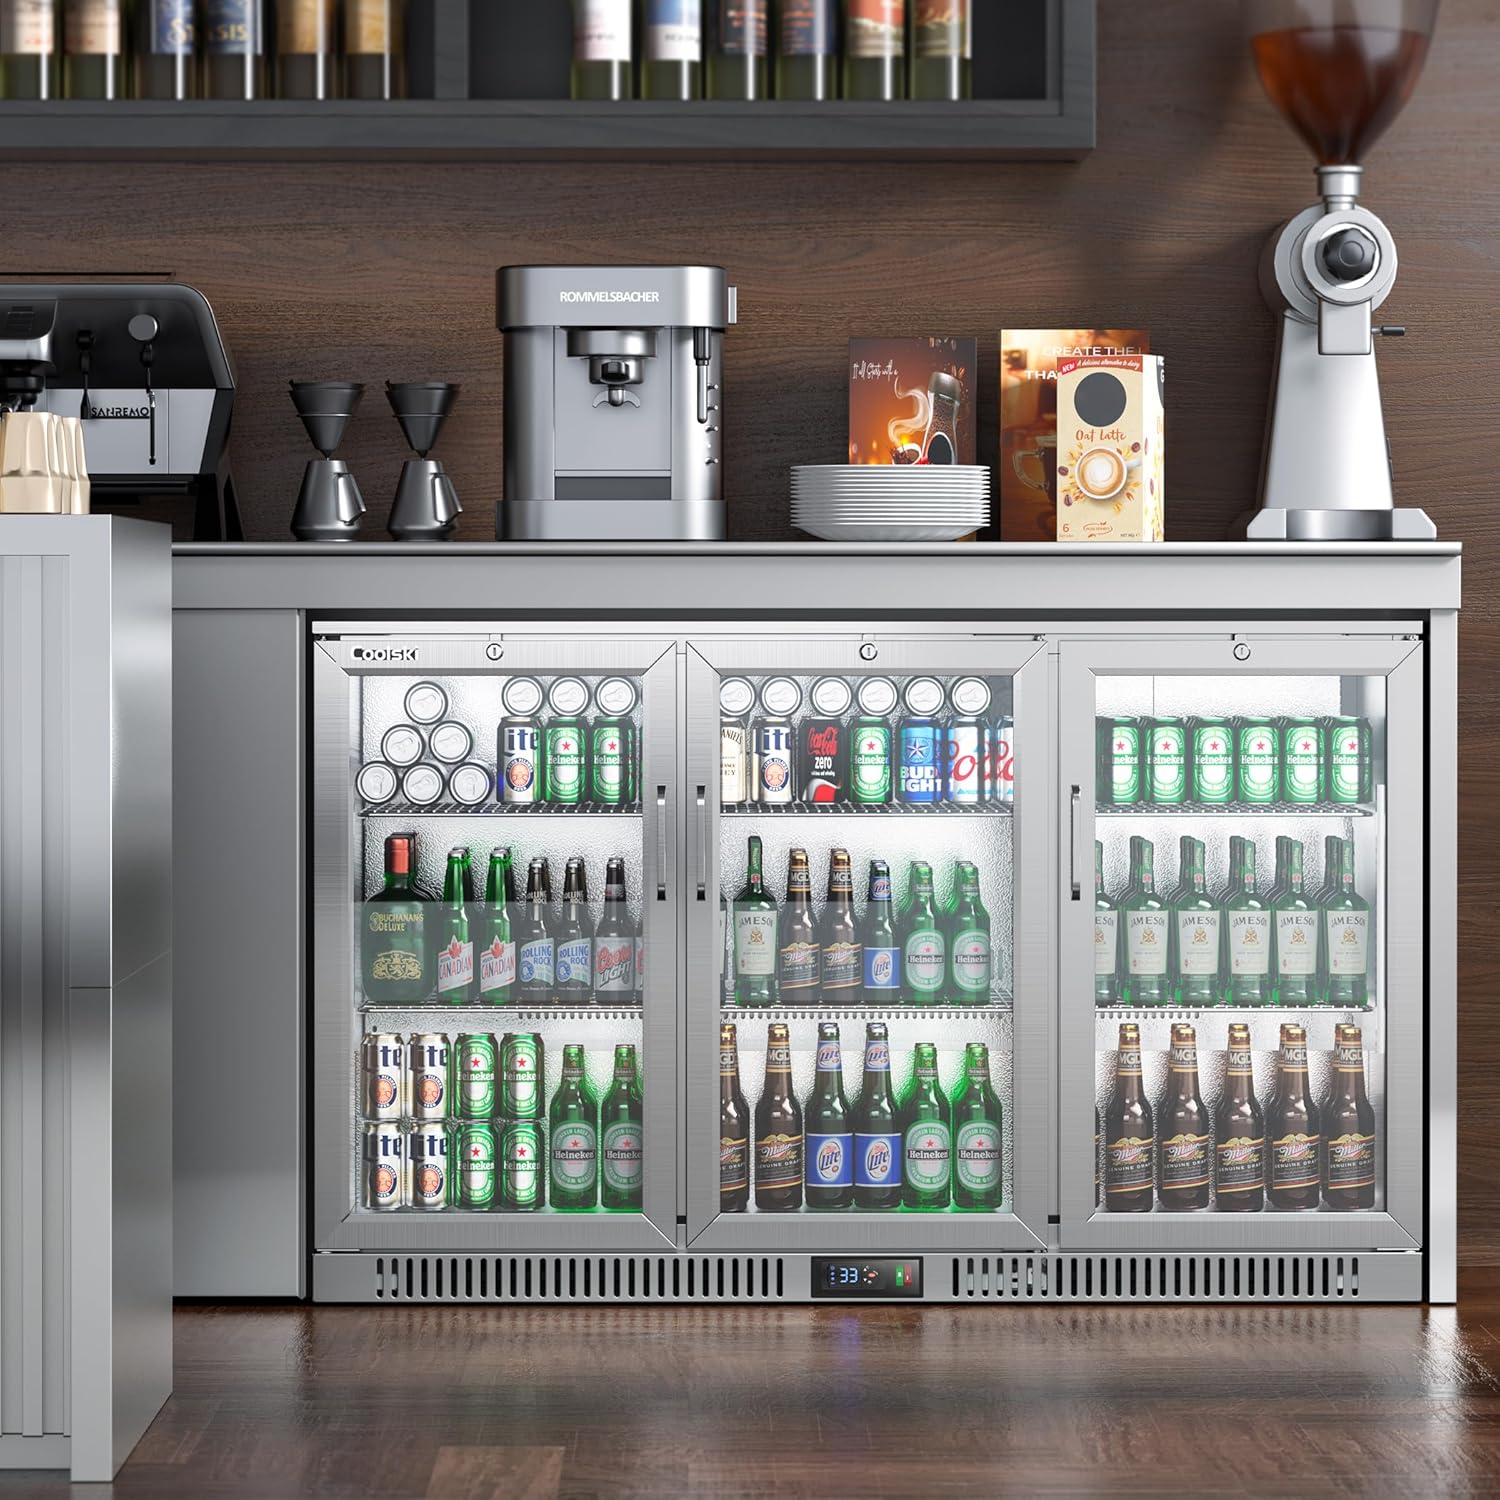
Image: The beverage refrigerator installed under a countertop in a bar environment.
3.3 Leveling the Unit
The unit is equipped with adjustable feet to ensure it is perfectly level. Use a spirit level and adjust the feet by turning them clockwise or counter-clockwise until the appliance is stable and level. Proper leveling is crucial for optimal performance and door alignment.
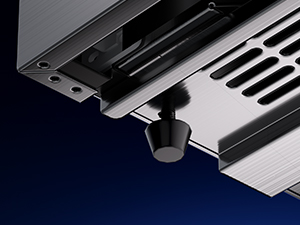
Image: Close-up of the adjustable leveling feet at the bottom of the refrigerator.
3.4 Shelf Installation
The beverage refrigerator comes with six adjustable wire shelves. To install or adjust shelves, first remove any existing items. Insert the shelf clips into the desired slots on the interior side rails, ensuring they are level. Then, place the wire shelf onto the clips. The shelves are designed to be easily removable and adjustable to accommodate various bottle and can sizes.
Video: Demonstrates how to install and adjust the shelves inside a beverage cooler.
4. Operating Instructions
4.1 Power On/Off and Initial Startup
After installation, plug the unit into a grounded electrical outlet. The red button on the control panel powers the cooler on/off. Allow the refrigerator to run for several hours empty to reach its set temperature before loading with beverages.
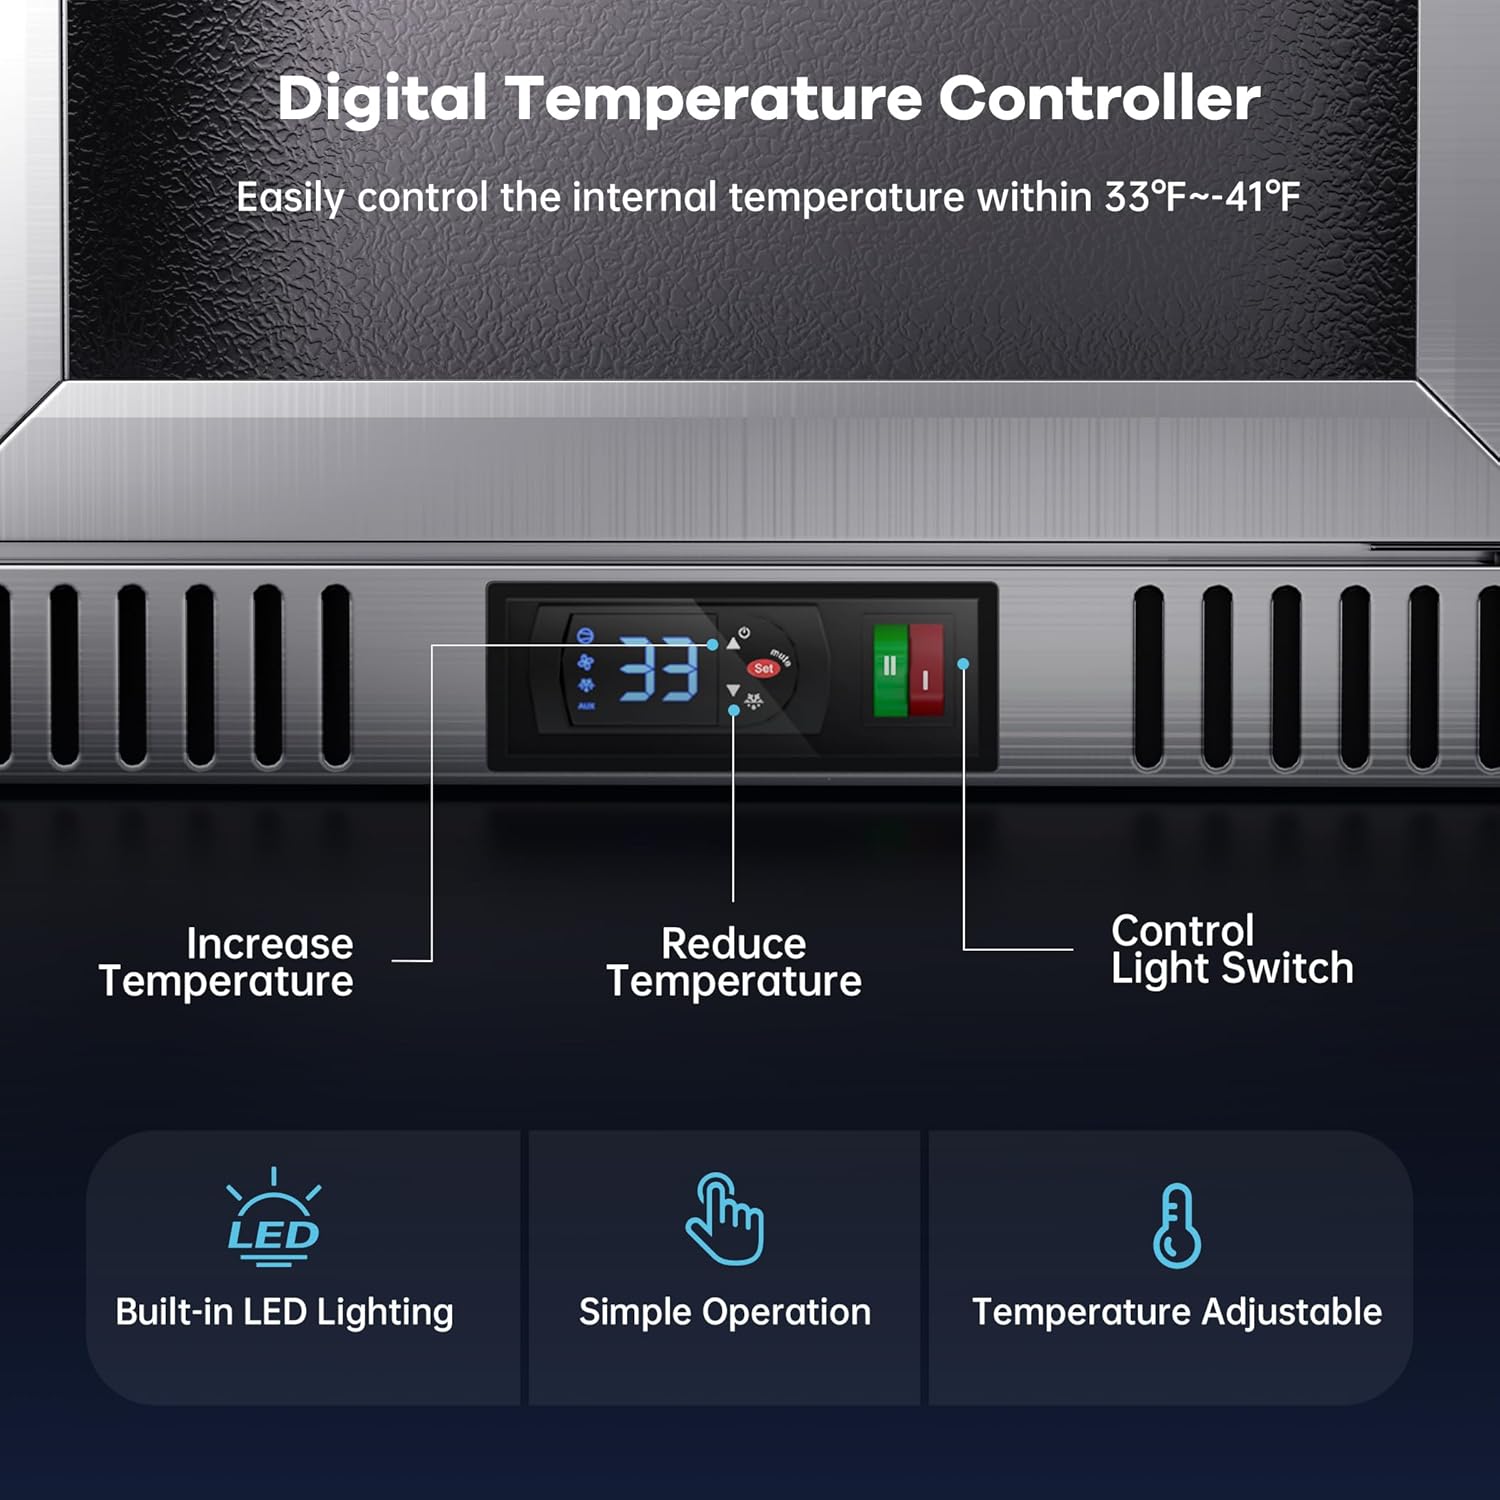
Image: Close-up of the digital temperature controller, showing the power (red) and light (green) buttons.
4.2 Temperature Control
The digital controller allows precise temperature adjustment between 33°F and 41°F (1°C - 5°C). Use the up and down arrows on the control panel to set your desired temperature. The display will show the current internal temperature.
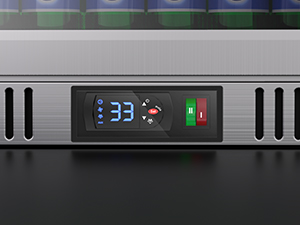
Image: Close-up of the digital temperature display and control buttons.
4.3 LED Lighting
The built-in LED lighting enhances the display of your beverages. The green button next to the electronic controller controls the lights and can be turned off at any time if not desired.
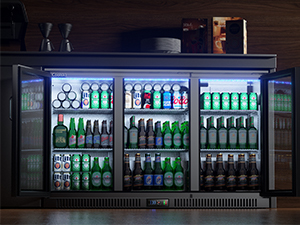
Image: Interior view of the refrigerator with LED lights illuminated, showcasing beverages.
4.4 Door Operation and Security
The three glass doors are self-closing to help maintain internal temperature and reduce energy waste. Each door is equipped with a lock for added security. Use the provided keys to lock or unlock the doors as needed.
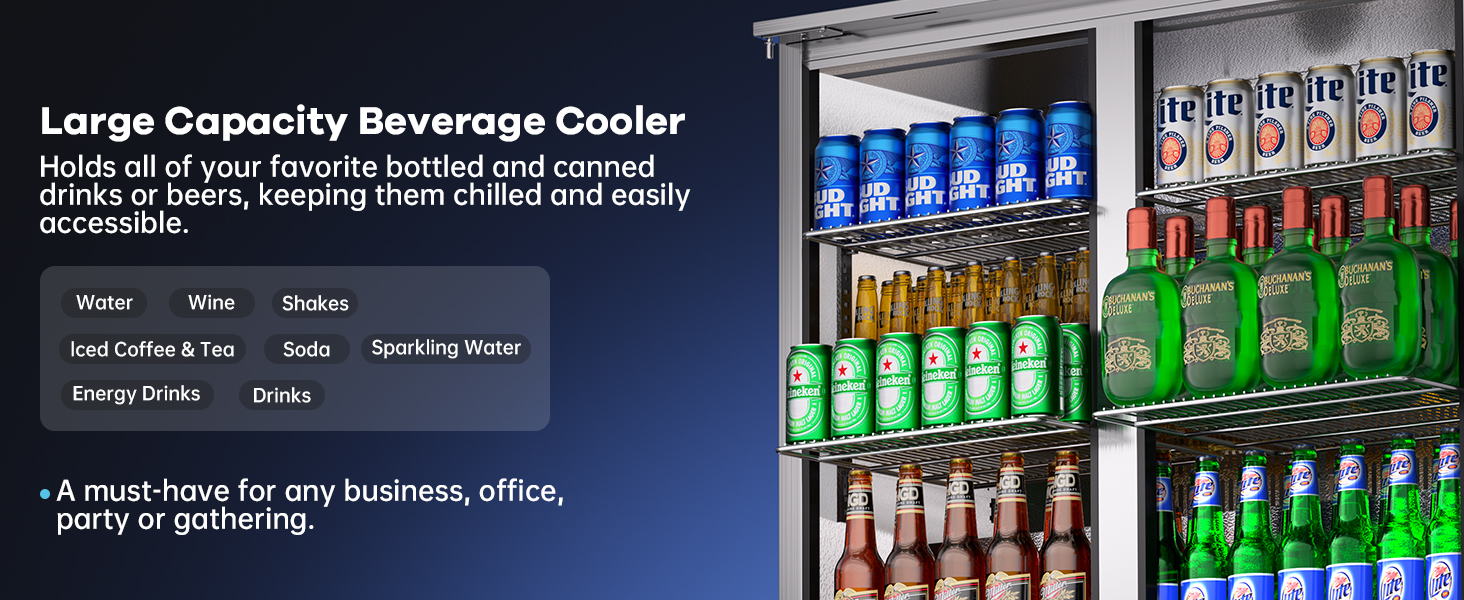
Image: Illustration showing the self-closing mechanism of the refrigerator doors.
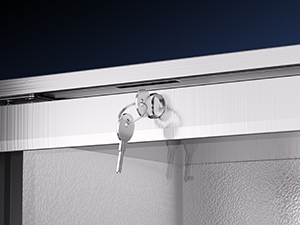
Image: Close-up of the door lock mechanism with a key inserted.
5. Maintenance
5.1 Cleaning
Regular cleaning is essential to maintain hygiene and performance. Always unplug the unit before cleaning. Wipe down the interior and exterior surfaces with a soft cloth dampened with mild soap and water. The anti-corrosion embossed aluminum sheet interior and stainless steel exterior are designed for easy cleaning. Avoid using harsh chemicals or abrasive materials that could damage the surfaces.
5.2 Automatic Defrost
This appliance features an automatic defrost system, eliminating the need for manual defrosting. During the defrost cycle, frost on the evaporator coils will melt and drain into an evaporation pan, where it is naturally evaporated.
5.3 Condenser Coil Cleaning
Periodically clean the condenser coils located at the rear or bottom of the unit. Dust and debris can accumulate on the coils, reducing cooling efficiency. Use a soft brush or vacuum cleaner to gently remove any buildup. Ensure the unit is unplugged before performing this maintenance.
6. Troubleshooting
If you experience issues with your Coolski beverage refrigerator, please refer to the following common troubleshooting tips:
| Problem | Possible Cause | Solution |
|---|---|---|
| Unit does not power on | No power supply; power button off | Check power outlet and circuit breaker. Ensure the red power button is pressed. |
| Temperature is not cold enough | Door not closed properly; thermostat set too high; poor ventilation; overloaded with warm items | Ensure doors are fully closed. Adjust thermostat to a lower setting. Check for proper air circulation. Avoid overloading. |
| Excessive noise | Unit not level; fan obstruction | Adjust leveling feet. Check for any obstructions around the fan. |
| Water on floor (leakage) | Drain tube clogged or dislodged | Inspect and clear the drain tube. Ensure it is correctly positioned in the evaporation pan. |
If the problem persists after attempting these solutions, please contact Coolski customer support for assistance.
7. Specifications
| Feature | Detail |
|---|---|
| Brand | Coolski |
| Model Number | Coolski-335SH |
| Capacity | 12 Cubic Feet |
| Product Dimensions | 21"D x 53"W x 29"H |
| Item Weight | 171 Pounds |
| Number of Doors | 3 |
| Installation Type | Undercounter/Freestanding |
| Temperature Range | 33°F - 41°F |
| Defrost System | Automatic |
| Refrigerant | R290 |
| Voltage | 115 Volts |
| Certification | ETL, ETL SANITATION (NSF Standard 7) |
| Included Components | Beverage Cooler×1, Wire Shelves×6 |
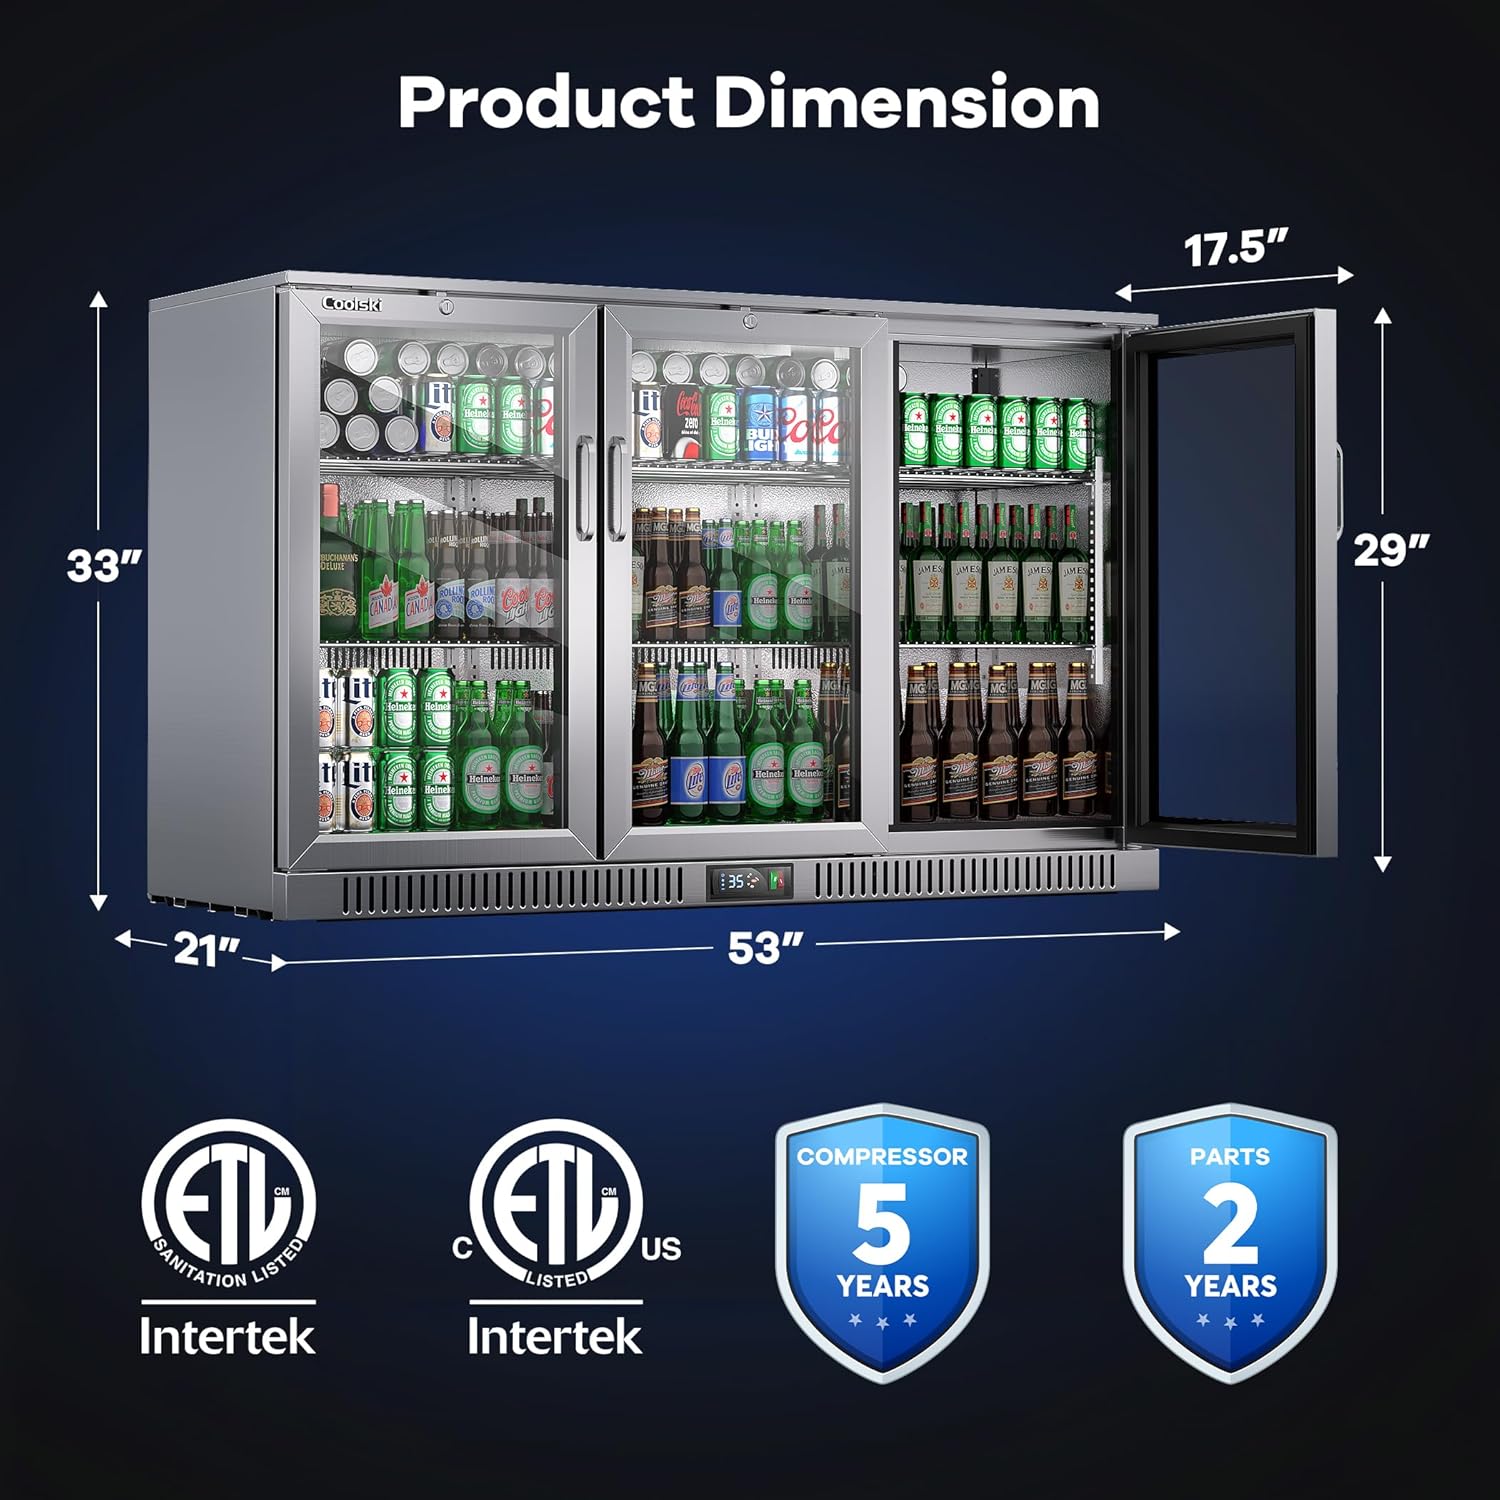
Image: Diagram illustrating the dimensions of the Coolski 53 Inch Beverage Refrigerator.
8. Warranty and Support
This Coolski beverage refrigerator is ETL and ETL SANITATION (NSF Standard 7) certified. For any inquiries or support, please contact our dedicated customer service team. Protection plans are available for purchase, including a 3-Year Protection Plan and a Complete Protect monthly plan.
- Protection Plans: Available for extended coverage.
- Customer Support: For assistance with product inquiries or issues.