1. Introduction
This manual provides instructions for the installation, operation, and maintenance of your new Generic Icemaker Replacement part. This part is designed to replace the original icemaker in various Whirlpool refrigerator models. Please read this manual thoroughly before beginning installation to ensure proper function and safety.
1.1 Compatible Refrigerator Models
This icemaker replacement is compatible with the following Whirlpool refrigerator models:
- WRS321SDHB05
- WRS321SDHV05
- WRS321SDHW05
- WRS321SDHZ05
- WRS325SDHB05
- WRS325SDHV05
- WRS325SDHW05
- WRS325SDHZ05
- WRS331SDHB03
- WRS331SDHW03
- WRS335SDHB03
- WRS335SDHM03
- WRS335SDHW03
Note: If your specific model number is not listed, please contact customer support to verify compatibility before installation.
2. Safety Information
Always prioritize safety when working with electrical appliances. Failure to follow these safety instructions could result in property damage, personal injury, or death.
- Disconnect Power: Always unplug the refrigerator from the power outlet before attempting any installation, maintenance, or repair.
- Wear Protective Gear: Use gloves to protect your hands from sharp edges and safety glasses to protect your eyes.
- Professional Assistance: If you are unsure about any step of the installation process, consult a qualified appliance technician.
- Water Supply: Ensure the water supply to the refrigerator is turned off before disconnecting any water lines.
- Electrical Connections: Do not force electrical connectors. Ensure they are properly aligned before pushing them together.
3. Package Contents
Verify that all components are present and undamaged before proceeding with installation.
- 1 x Generic Icemaker Replacement Assembly
- (Additional components, if any, would be listed here. Based on product description, it's likely just the assembly.)

Image 3.1: Side view of the icemaker replacement part. This image shows the main body of the icemaker with its electrical connector and mounting points.
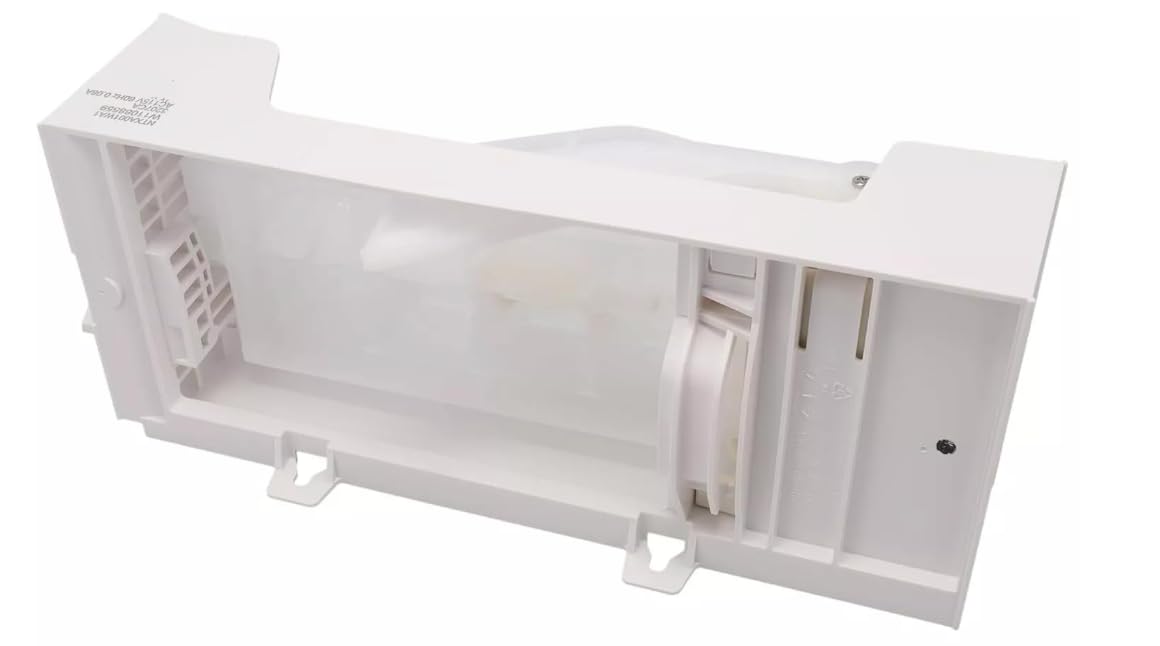
Image 3.2: Top view of the icemaker replacement part. This image highlights the ice mold and water inlet area.
4. Setup and Installation
Follow these steps carefully to replace your refrigerator's icemaker. The process typically involves three attachment points and one wiring clip.
- Prepare the Refrigerator:
- Unplug the refrigerator from the electrical outlet.
- Turn off the water supply valve to the refrigerator. This valve is usually located behind the refrigerator or under the sink.
- Empty the ice bin and remove any existing ice.
- Access the Old Icemaker:
- Locate the icemaker compartment, typically in the freezer section.
- Remove any covers or panels that obstruct access to the icemaker. These are often held by screws or clips.
- Remove the Old Icemaker:
- Disconnect the electrical wiring harness from the old icemaker by gently pressing the release tab and pulling the connector apart.
- Unscrew or unclip the three attachment points securing the icemaker to the freezer wall. Keep these screws if they are reusable.
- Carefully remove the old icemaker assembly from the refrigerator.
- Install the New Icemaker:
- Align the new icemaker replacement part with the mounting holes in the freezer.
- Secure the icemaker using the original screws or new ones provided (if applicable) at the three attachment points. Ensure it is firmly in place.
- Connect the electrical wiring harness to the new icemaker. Ensure the connection is secure and the clip engages properly.
- Final Steps:
- Replace any covers or panels that were removed.
- Turn on the water supply valve to the refrigerator.
- Plug the refrigerator back into the electrical outlet.
The icemaker will typically begin producing ice within 24 hours. Discard the first few batches of ice to ensure the system is clean.
5. Operating Instructions
Once installed, the icemaker operates automatically to produce ice. Ensure the ice bin is properly positioned to collect the ice.
- First Ice Production: After installation, it may take several hours for the icemaker to fill with water and produce its first batch of ice.
- Ice Level Sensor: The icemaker features an arm or sensor that detects the ice level in the bin. When the bin is full, the icemaker will temporarily stop production until ice is removed.
- Water Filter: For optimal ice quality, ensure your refrigerator's water filter is regularly replaced according to the manufacturer's recommendations.
6. Maintenance
Regular maintenance helps ensure the longevity and efficient operation of your icemaker.
- Cleaning the Ice Bin: Periodically remove and wash the ice bin with mild soap and warm water. Rinse thoroughly and dry completely before returning it to the freezer.
- Cleaning the Icemaker: If mineral deposits or residue build up on the icemaker components, gently wipe them with a damp cloth. Do not use abrasive cleaners or harsh chemicals.
- Check Water Line: Occasionally inspect the water supply line for kinks, leaks, or damage.
7. Troubleshooting
Refer to the following table for common issues and their potential solutions.
| Problem | Possible Cause | Solution |
|---|---|---|
| Icemaker not producing ice. | Refrigerator not plugged in; water supply off; icemaker arm/sensor in "off" position; clogged water filter; faulty water inlet valve. | Ensure refrigerator is plugged in. Check water supply valve. Lower the icemaker arm. Replace water filter. Contact a technician if water inlet valve is suspected. |
| Ice production is slow. | Low water pressure; high freezer temperature; clogged water filter. | Check water pressure. Ensure freezer temperature is set correctly (typically 0°F / -18°C). Replace water filter. |
| Ice cubes are small or hollow. | Low water pressure; clogged water filter. | Check water pressure. Replace water filter. |
| Icemaker making unusual noises. | Normal operation sounds; loose components. | Some noises are normal during ice production. If persistent or loud, check for loose components or contact support. |
8. Specifications
| Feature | Detail |
|---|---|
| Brand | Generic |
| Material Type | Metal, Plastic |
| Approximate Dimensions (D x W x H) | 1" x 1" x 1" (Note: These dimensions are approximate and may not reflect the full physical size of the unit.) |
| Capacity | 2.68 Liters (Refers to the approximate ice production capacity or bin volume, not the physical size of the icemaker itself.) |
9. Warranty and Support
This product comes with a satisfaction guarantee and customer support.
- Money Back Guarantee: Within 90 days from the date of purchase, if you are not satisfied with our product, a refund will be made.
- Customer Support: If you are unsure about compatibility or encounter any issues, please contact us for advice. We aim to resolve your problem within 24 hours.
- Contact Information: Please refer to your purchase documentation or the seller's contact details for support.