Yardenaler PG0101-18-1
Yardenaler 6x8 FT Wooden Greenhouse Instruction Manual
Model: PG0101-18-1
Introduction
Thank you for choosing the Yardenaler 6x8 FT Wooden Greenhouse. This manual provides essential information for the proper assembly, operation, and maintenance of your new greenhouse. Please read it thoroughly before beginning assembly and keep it for future reference.

Image: The Yardenaler 6x8 FT Wooden Greenhouse, showcasing its light mocha brown wooden frame and polycarbonate panels, situated in a garden.
Product Features
- Adjustable Roof Vent: Features an adjustable roof vent with a maximum opening angle of 45 degrees, allowing for optimal temperature balance, air circulation, and UV protection.
- Heavy-Duty Fir Wood Frame: Constructed with a sturdy fir wood frame designed to withstand various weather conditions, ensuring durability and stability.
- Upgraded Polycarbonate Panels: Utilizes multi-layer 6MM thick polycarbonate panels for high light transmission (over 98% luminous uniformity) and effective UV protection, promoting healthy plant growth.
- Lockable Door: Equipped with a lockable hinged door for security and easy access.
- Spacious Interior: Provides ample space for cultivating a variety of plants, vegetables, and flowers, and can also serve as a relaxing or working area.
- Reinforced Construction: Includes sturdy base support and reinforced structural components for enhanced longevity.
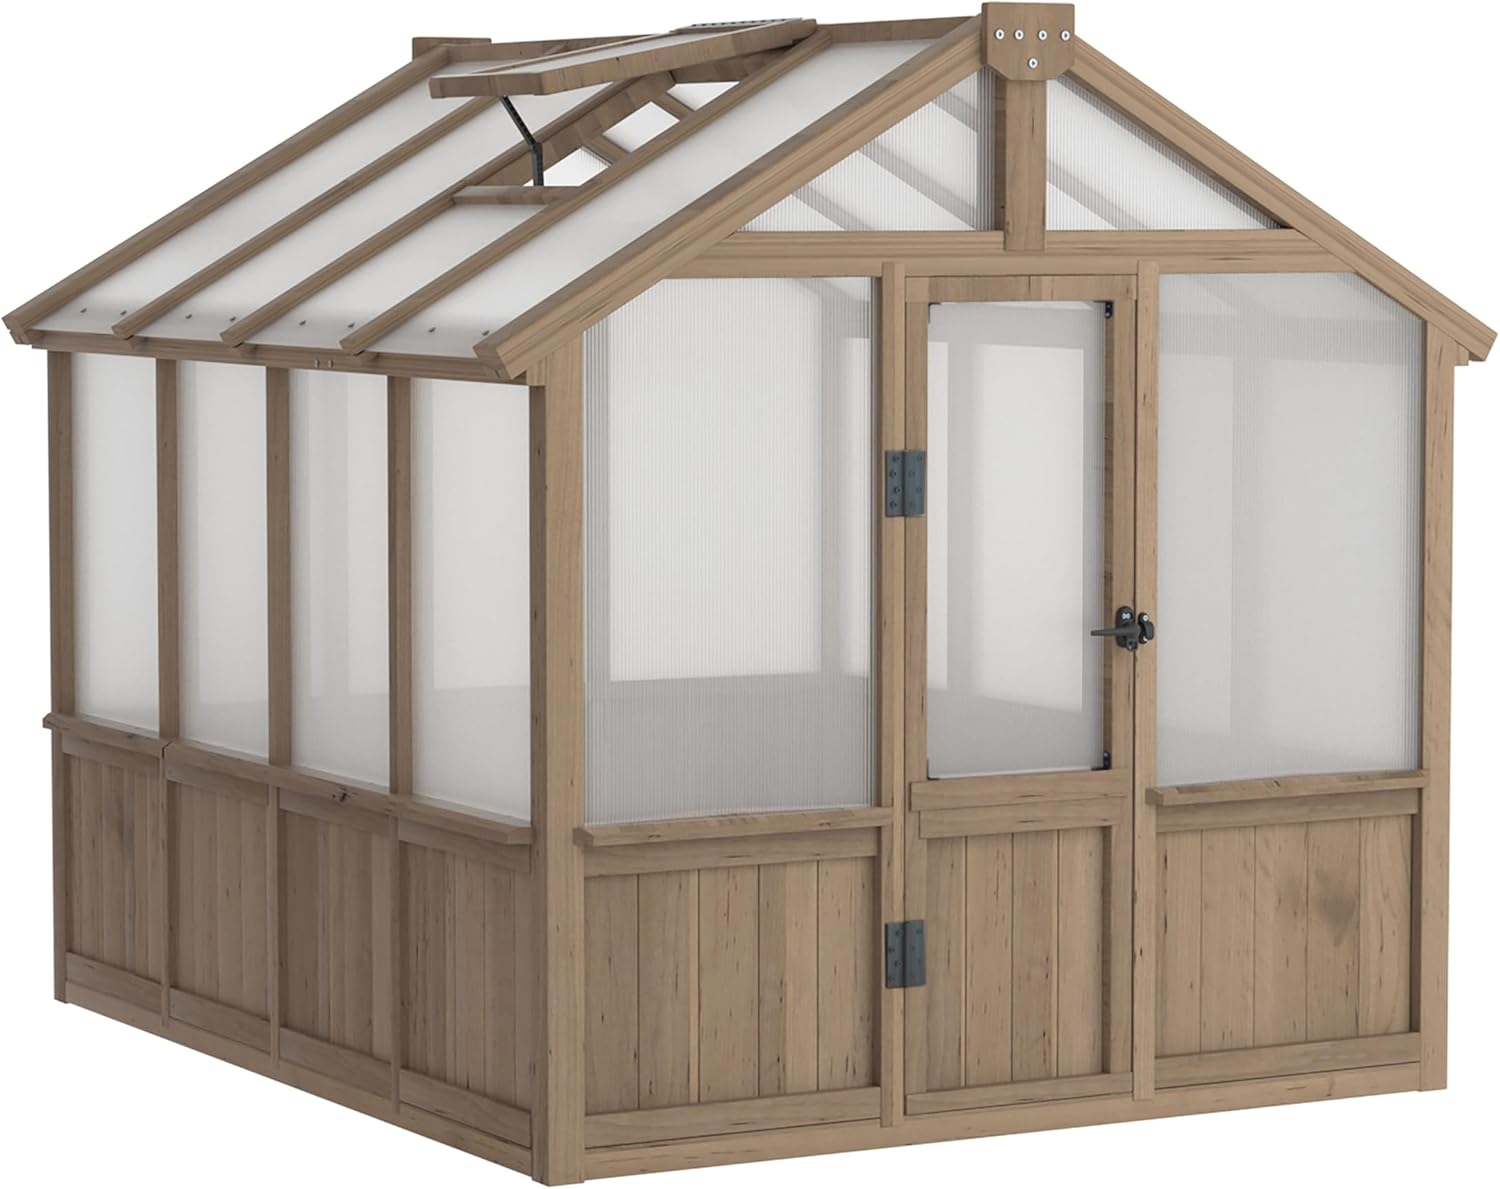
Image: Detail of the adjustable roof vent, illustrating its mechanism for controlling airflow and temperature within the greenhouse.

Image: A detailed view of the multi-layer 6MM polycarbonate panel, highlighting its thickness and light diffusion properties.

Image: Close-ups of key structural elements: the lockable door handle, the robust base support, and a reinforced corner joint, demonstrating the greenhouse's build quality.
Safety Information
Caution: This product is heavy and may require assistance for moving and assembly. Always ensure all parts have been received and identified before beginning assembly to prevent delays or reassembly.
- Always wear appropriate safety gear, such as gloves and eye protection, during assembly.
- Ensure the assembly area is clear of obstructions and level.
- Do not attempt to assemble the greenhouse alone. Two or more people are recommended for safe assembly.
- Securely fasten all bolts and screws as instructed to ensure structural integrity.
- In areas prone to heavy snow loads, consider adding additional temporary support under the main roof beam during winter months to prevent structural damage.
- Regularly inspect the greenhouse for any loose parts or damage, especially after severe weather.
Setup and Assembly
The Yardenaler greenhouse is designed for easy slide-in assembly. This product will be shipped in multiple boxes (typically four), which may arrive at different times. Please verify all packages have arrived before starting assembly.
Before You Begin:
- Unpack and Organize: Carefully unpack all components and lay them out. Identify each part using the provided parts list in your separate assembly guide.
- Tool Requirements: Gather necessary tools. A power drill and a rubber mallet are highly recommended to facilitate assembly and save time.
- Site Preparation: Choose a level and stable location for your greenhouse. Ensure adequate drainage and sunlight exposure.
Assembly Steps:
Refer to the detailed step-by-step assembly instructions provided in the separate assembly manual included with your purchase. Key steps generally include:
- Assembling the base frame.
- Erecting the vertical wooden supports.
- Sliding in the polycarbonate wall panels.
- Assembling and attaching the roof structure and panels.
- Installing the hinged door and adjustable roof vent.
It is crucial to follow the numerical sequence in the assembly guide for proper construction. Ensure all connections are secure before proceeding to the next step.

Image: An isometric diagram illustrating the overall dimensions of the 6x8 FT greenhouse, including height, width, length, and door opening measurements.
Operating Instructions
Adjustable Roof Vent:
The roof vent can be adjusted to control the internal temperature and humidity. To adjust, simply fix the joint to set the desired opening angle. The maximum opening angle is 45 degrees. This feature is essential for:
- Ventilation: Opening the vent allows hot air to escape, preventing overheating, especially on sunny days.
- Temperature Regulation: Helps maintain a stable internal temperature, crucial for plant health.
- Air Circulation: Promotes healthy airflow, reducing the risk of fungal diseases.
Lockable Door:
The hinged door provides easy access to the greenhouse. Utilize the lockable mechanism to secure your plants and equipment when not in use.
Maintenance
- Cleaning: Regularly clean the polycarbonate panels with mild soap and water to ensure maximum light transmission. Avoid abrasive cleaners that could scratch the surface.
- Wood Treatment: The fir wood frame will benefit from periodic staining or painting to prolong its lifespan and maintain its appearance, especially in harsh weather conditions. This is highly recommended to protect the wood from moisture and UV degradation.
- Hardware Check: Periodically check all bolts, screws, and hinges to ensure they remain tight and secure. Tighten any loose fasteners.
- Snow Removal: In regions with heavy snowfall, gently remove accumulated snow from the roof to prevent excessive weight buildup, which could stress the structure.
- Drainage: Ensure the area around the greenhouse base remains clear of debris to allow for proper drainage.

Image: The Yardenaler greenhouse shown in a winter setting, highlighting its weather-resistant design against snow and cold.
Troubleshooting
| Problem | Possible Cause | Solution |
|---|---|---|
| Difficulty during assembly | Parts not organized; incorrect sequence; missing tools. | Lay out and organize all parts before starting. Follow the assembly manual's steps precisely. Use recommended tools like a power drill and rubber mallet. Ensure all boxes have arrived. |
| Greenhouse feels unstable | Loose fasteners; uneven ground; improper assembly. | Check and tighten all bolts and screws. Ensure the base is on level ground. Review assembly steps for any missed connections. |
| Poor ventilation/Overheating | Roof vent not open sufficiently; lack of air circulation. | Adjust the roof vent to its maximum 45-degree opening. Consider adding small fans for improved internal air circulation if needed. |
| Water leakage | Panels not properly sealed; damaged panels; loose connections. | Ensure polycarbonate panels are correctly inserted into their channels and sealed as per assembly instructions. Inspect panels for cracks and replace if necessary. Check all frame connections. |
Specifications
- Model: PG0101-18-1
- Overall Dimensions (L x W x H): 97.6 inches x 74 inches x 83.5 inches (248 cm x 188 cm x 212 cm)
- Door Dimensions (W x H): 23.6 inches x 68.9 inches (60 cm x 175 cm)
- Item Weight: 248 pounds (112.5 kg)
- Frame Material: Fir Wood
- Cover Material: 6MM Thick Polycarbonate (PC) Panels
- Number of Doors: 1 (Hinged)
- Number of Vents: 1 (Adjustable Roof Vent)
- Color: Light Mocha Brown
- Manufacturer: Yardenaler
- Country of Origin: China
Warranty and Support
For warranty information, product support, or to order replacement parts, please contact Yardenaler customer service. Refer to your purchase documentation for specific warranty terms and contact details.
Customer Support: Please visit the Yardenaler Store on Amazon or refer to the contact information provided in your product packaging.
Returns: This product is eligible for 30-day easy returns. Please consult Amazon's return policy for details.
Ask a question about this manual
Ask about setup, troubleshooting, compatibility, parts, safety, or missing instructions. Manuals+ will review the question and use this page’s manual context to help answer it.