
Lehwey Lehwey 7-inch Android 14 Car Stereo
Lehwey 7-inch Android 14 Car Stereo User Manual
Model: Lehwey 7-inch Android 14 Car Stereo
Brand: Lehwey
1. Introduction
This manual provides essential information for the proper installation, operation, and maintenance of your Lehwey 7-inch Android 14 Car Stereo. Please read this manual thoroughly before using the product to ensure safe and optimal performance. Keep this manual for future reference.
2. Safety Information
- Ensure the vehicle's ignition is off and the battery is disconnected before installation to prevent electrical short circuits.
- Professional installation is recommended. Incorrect wiring can damage the device or vehicle's electrical system.
- Do not operate the device in a way that distracts you from driving. Always prioritize road safety.
- Avoid exposing the unit to extreme temperatures, direct sunlight for prolonged periods, or excessive moisture.
- Use only specified voltage and power sources.
3. Package Contents
Verify that all items listed below are included in your package:
- Lehwey 7-inch Android Car Stereo Unit
- Wiring Harnesses (Power, Speaker, etc.)
- GPS Antenna
- CANBUS Decoder
- USB Adapters
- Rear View Camera Cable (if applicable)
- Microphone
- Installation Tools (Screwdriver, Pry Tool)
- User Manual

Image 3.1: Included components and unit dimensions (approx. 22cm width, 13cm height, 20.5cm depth for the main unit, 7-inch screen).
4. Installation
This section outlines the general steps for installing the car stereo. Specific vehicle models may require slight variations. Refer to your vehicle's service manual for detailed dashboard disassembly instructions.
4.1 Vehicle Compatibility
This car stereo is designed for a wide range of Volkswagen, Golf, Skoda, and Seat models. The included CANBUS decoder and wiring harnesses ensure seamless integration with your vehicle's existing systems.
- For Golf: Golf 5 (2003-2008), Golf 6 (2008-2013), Golf Plus (2005-2012), Golf R32 (2003-2008), Golf GTI (2003-2008)
- For Volkswagen: Polo (2010-2012), Passat B6 (2009-2011), Passat B7 (2009-2011), Passat B8 (2009-2011), Passat CC (2008-2011), Touran (2003-2011), Tiguan (2007-2011), Jetta (2006-2011), Sharan (2010-2011), Caddy (2004-2012), Cupra (2006-2011), EOS (2006-2011), Transporter T5 (2010-2011)
- For Seat: Alhambra (2010-2011), Altea (2004-2011), Leon (2005-2011), Toledo (2005-2011)
- For Skoda: Fabia (2004-2009), Yeti (2004-2009)

Image 4.1: Compatibility overview and visual comparison of the dashboard before and after installation.
4.2 General Installation Steps
- Disconnect Battery: Before starting, disconnect the negative terminal of your vehicle's battery.
- Remove Old Unit: Carefully remove the trim panels and screws securing the factory radio. Gently pull out the old unit.
- Connect Wiring: Connect the provided wiring harnesses to the vehicle's existing connectors. Ensure the CANBUS decoder is properly connected.
- Connect Peripherals: Attach the GPS antenna, USB cables, microphone, and any optional accessories like a rear view camera.
- Test Connections: Before fully reassembling, reconnect the battery and briefly test the unit's basic functions (power on, radio, display).
- Secure Unit: Slide the new car stereo into the dashboard opening and secure it with screws. Reattach trim panels.
- Final Check: Perform a comprehensive test of all functions.
5. Initial Setup
5.1 Power On and Initial Boot
After successful installation, turn on your vehicle's ignition. The car stereo will power on and display the boot screen. The initial boot may take slightly longer.
5.2 Language Settings
Upon first use, you may be prompted to select your preferred system language. Navigate through the settings menu to change the language if needed.
5.3 Wi-Fi Connection
To access online features, connect the unit to a Wi-Fi network (2.4GHz or 5GHz supported). This allows for online navigation, app downloads, and system updates.
- Go to Settings > Network & Internet > Wi-Fi.
- Turn on Wi-Fi and select your desired network from the list.
- Enter the Wi-Fi password if prompted and connect.

Image 5.1: Wi-Fi connectivity and access to online applications and navigation.
6. Operating Instructions
6.1 Touchscreen Interface
The 7-inch capacitive touchscreen provides intuitive control over all functions. Tap, swipe, and pinch-to-zoom gestures are supported for navigation and app interaction.
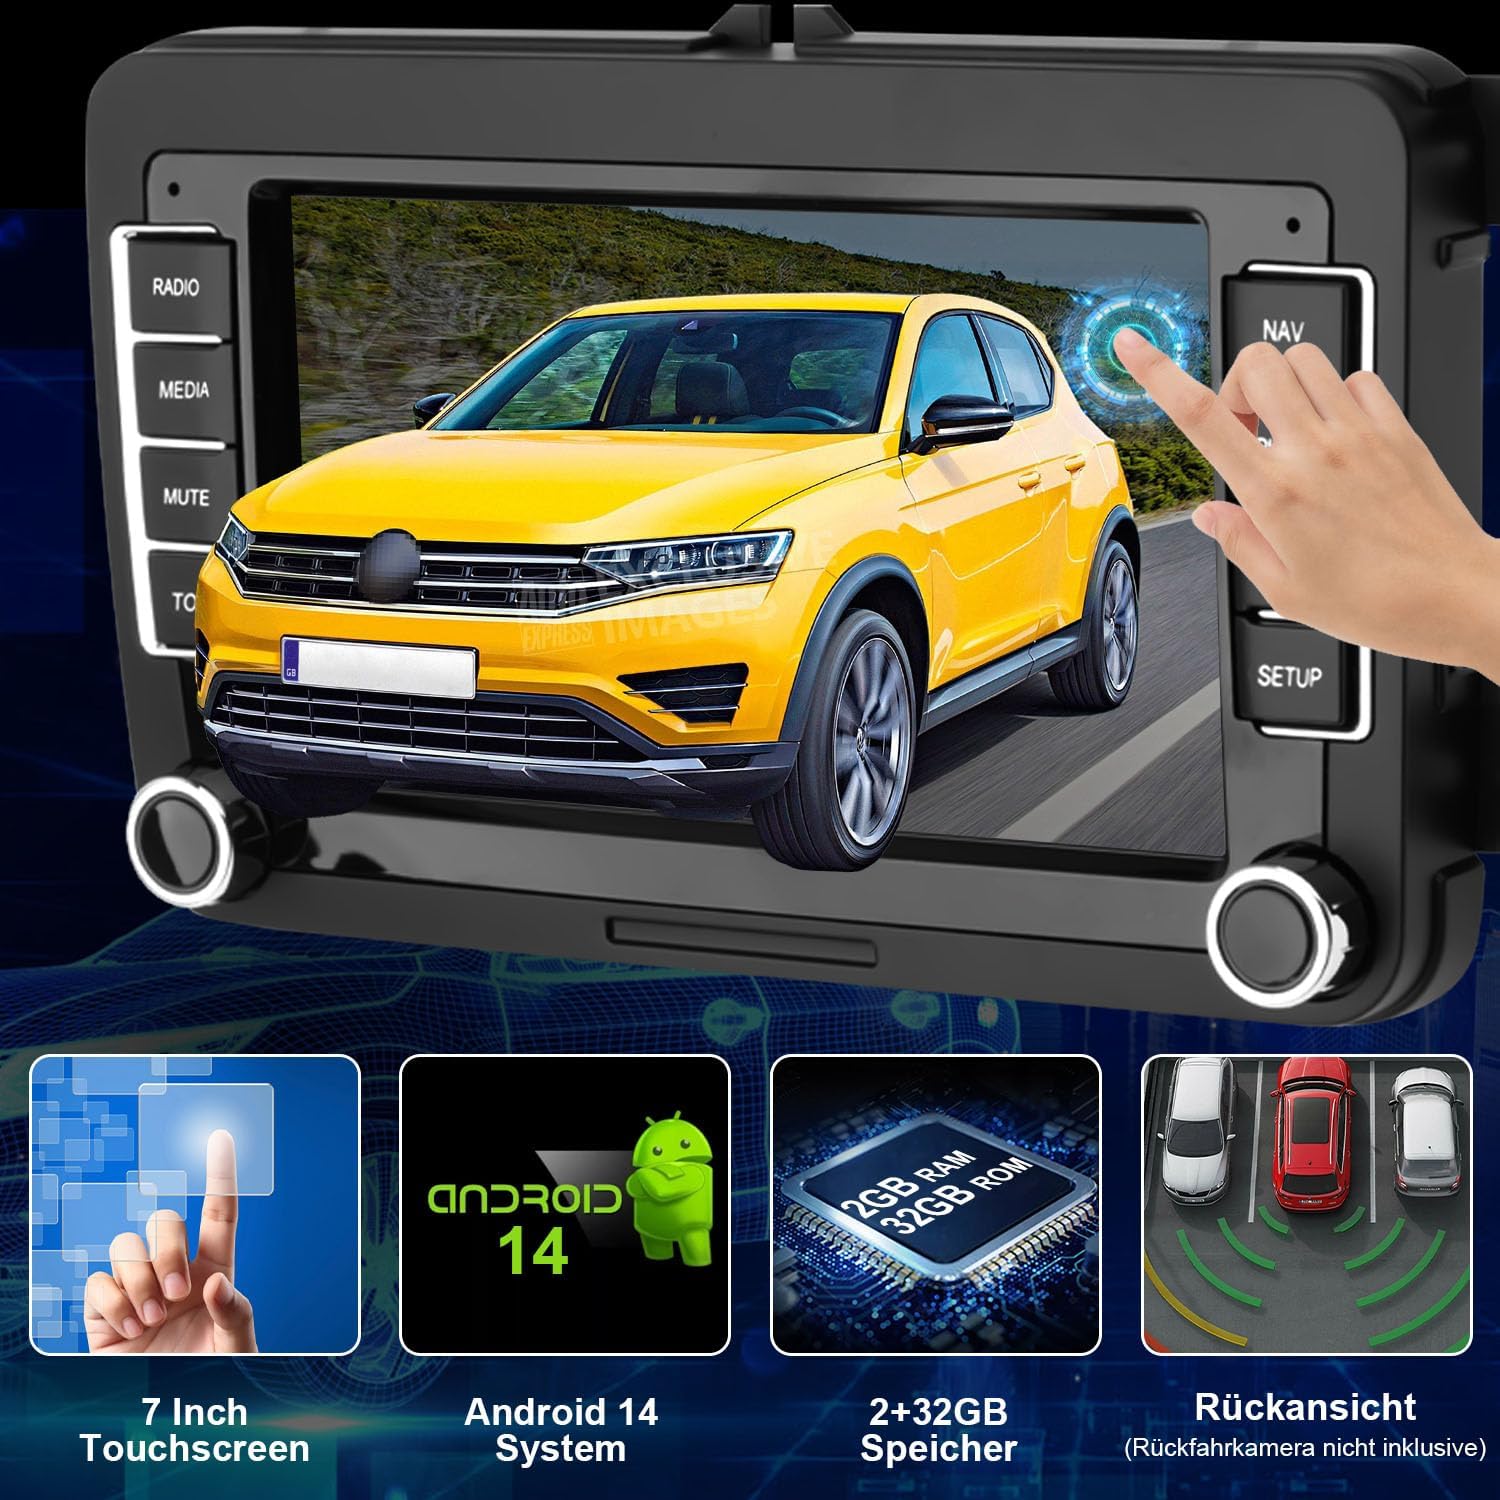
Image 6.1: The responsive 7-inch touchscreen running Android 14 with 2GB RAM and 32GB ROM.
6.2 Apple CarPlay & Android Auto
Connect your iPhone or Android smartphone seamlessly for access to navigation, messages, music, and voice assistants (Siri, Google Assistant). Both wireless and wired connections are supported.
- Wireless Connection: Ensure Bluetooth and Wi-Fi are enabled on your phone and the car stereo. Follow the on-screen prompts to pair your device.
- Wired Connection: Connect your phone to the car stereo's USB port using a compatible USB cable.

Image 6.2: Wireless and wired Apple CarPlay and Android Auto functionality with voice control.
6.3 Mirror Link
Mirror Link allows you to display your smartphone's screen directly onto the car stereo's display. This feature supports both wireless and wired connections for compatible devices.
6.4 Navigation
The unit supports both online and offline navigation. With Wi-Fi connected, you can use popular online navigation apps like Waze or Google Maps. For offline use, download maps to the unit's internal storage.
- Online Navigation: Requires an active Wi-Fi connection (e.g., via mobile hotspot).
- Offline Navigation: Pre-download maps for navigation without an internet connection.
6.5 Bluetooth Functionality
The integrated Bluetooth module enables hands-free calling and audio streaming from your smartphone. The built-in microphone ensures clear communication.
- Pairing: Enable Bluetooth on your phone and search for the car stereo. Select the device and confirm pairing.
- Hands-Free Calls: Make and receive calls directly from the car stereo interface.
- Bluetooth Music: Stream audio from your phone to the car stereo's speakers.

Image 6.3: Bluetooth features for calls and music, alongside radio, DSP, and steering wheel control.
6.6 Radio (FM/AM/RDS/DAB+)
Enjoy a wide range of radio stations with FM, AM, and RDS support. The unit also supports DAB+ (Digital Audio Broadcasting Plus) for higher quality digital radio, though a separate DAB+ antenna may be required.
- FM/AM Tuning: Manually or automatically scan for stations within the 87.5-107.9 MHz (FM) and 530-1440 kHz (AM) ranges.
- RDS: Radio Data System displays station information, song titles, and traffic announcements where available.
- DAB+: Provides access to digital radio broadcasts with superior sound quality and additional information. (DAB+ antenna not included).
6.7 Audio Settings (DSP & EQ)
Customize your audio experience with the integrated Digital Signal Processor (DSP) and 15-band Equalizer (EQ). Adjust frequency bands, balance, fader, and subwoofer settings to achieve optimal sound quality.
6.8 Steering Wheel Control (SWC)
The unit supports your vehicle's original steering wheel controls via the CANBUS system, allowing you to manage volume, tracks, and calls without taking your hands off the wheel.
6.9 Rear View Camera Support
Connect an optional rear view camera (not included) to the AV-IN port. The display will automatically switch to the camera view when the vehicle is put into reverse gear, aiding in safe parking and maneuvering.
7. Maintenance
- Cleaning: Use a soft, dry cloth to clean the screen and unit. For stubborn marks, a slightly damp cloth with a mild, non-abrasive cleaner can be used. Avoid harsh chemicals.
- Software Updates: Periodically check for software updates via the system settings or the manufacturer's website to ensure optimal performance and access to new features.
- Avoid Liquids: Do not spill liquids on the unit.
- Temperature: Operate the unit within specified temperature ranges to prevent damage.
8. Troubleshooting
This section addresses common issues you might encounter. For problems not listed here, contact customer support.
| Problem | Possible Cause | Solution |
|---|---|---|
| Unit does not power on. | Incorrect wiring; Blown fuse; Vehicle battery low. | Check power connections and fuse. Ensure battery is charged. |
| No sound. | Volume too low; Mute activated; Speaker wires disconnected. | Increase volume. Check mute setting. Verify speaker connections. |
| Bluetooth connection unstable. | Interference; Phone too far; Outdated firmware. | Ensure phone is close. Restart both devices. Check for firmware updates. |
| GPS signal weak/lost. | GPS antenna obstructed or improperly installed. | Ensure GPS antenna has a clear view of the sky and is securely connected. |
| Steering wheel controls not working. | CANBUS not connected or configured correctly. | Verify CANBUS connection and settings in the unit's menu. |
9. Technical Specifications
| Feature | Specification |
|---|---|
| Brand | Lehwey |
| Vehicle Service Type | Car |
| Screen Size | 7 Inches |
| Operating System | Android 14 |
| Memory (RAM + ROM) | 2GB RAM + 32GB ROM |
| Touchscreen Type | Capacitive |
| Display Type | Touchscreen |
| Connectivity | Bluetooth, Wi-Fi (2.4 & 5 GHz), USB, TF Card |
| Radio Tuner | FM/AM/RDS, DAB+ (requires external antenna) |
| Audio Features | DSP, 15-band EQ |
| Special Features | Apple CarPlay, Android Auto, Mirror Link, GPS Navigation, Steering Wheel Control, Rear View Camera Support |
| Mounting Type | Dashboard Mount |
10. Warranty and Support
For warranty information, technical support, or service inquiries, please refer to the contact details provided with your purchase documentation or visit the official Lehwey website. Keep your purchase receipt as proof of purchase for warranty claims.
Ask a question about this manual
Ask about setup, troubleshooting, compatibility, parts, safety, or missing instructions. Manuals+ will review the question and use this page’s manual context to help answer it.