Introduction
The Gemmac EM03 is a versatile emergency radio designed for outdoor activities and emergency situations. It features multiple charging options, an integrated power bank, Bluetooth speaker, LED flashlight, and an SOS alarm. This manual provides detailed instructions for its setup, operation, maintenance, and troubleshooting to ensure optimal performance and safety.
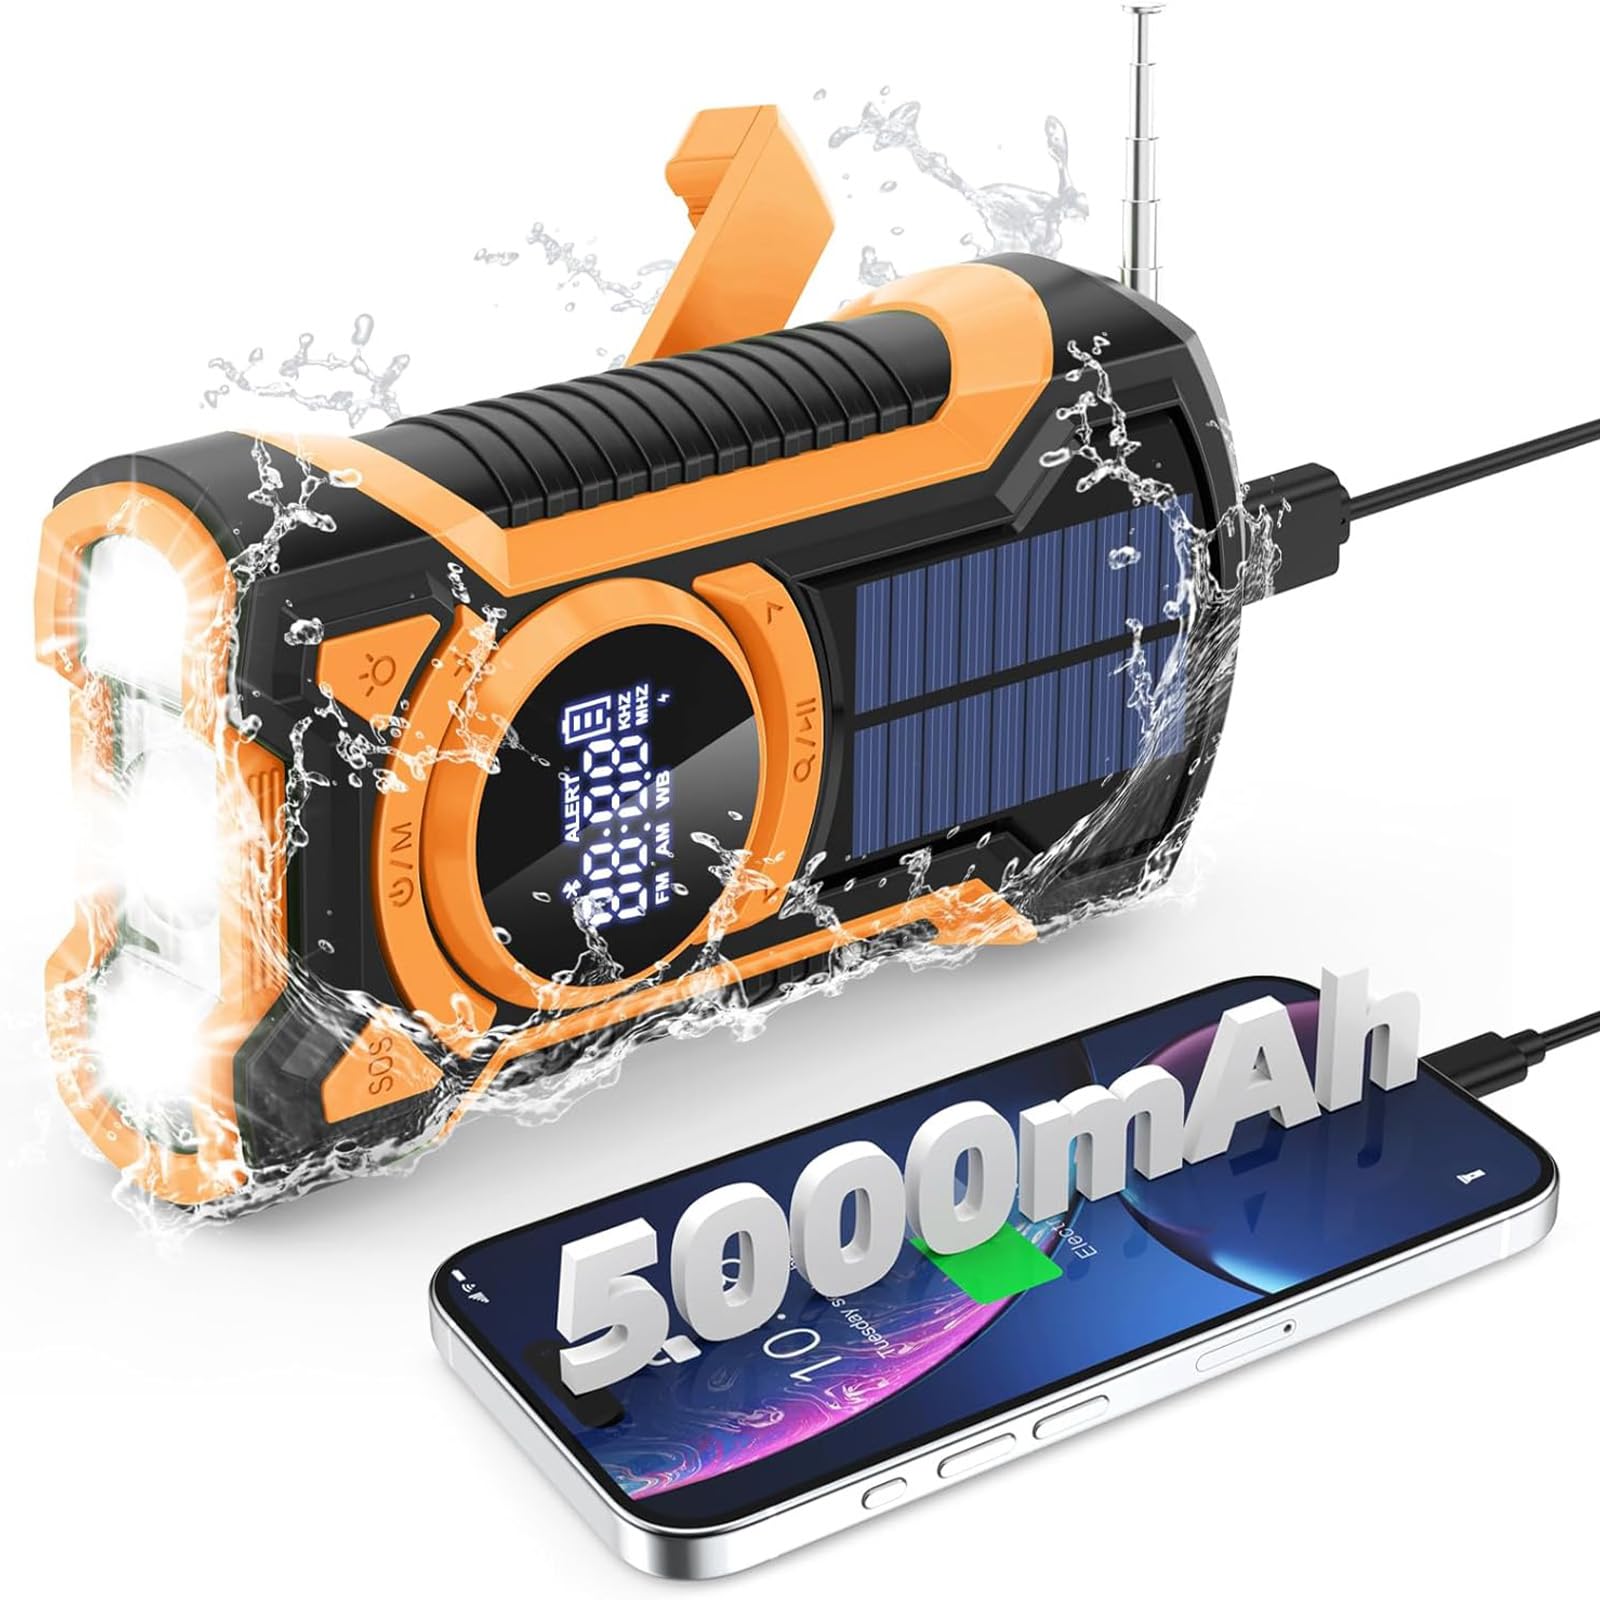
Image: Front view of the Gemmac EM03 Emergency Radio, showcasing its compact design and display.
1. Setup
1.1 Unboxing and Package Contents
Carefully remove all components from the packaging. Ensure the following items are present:
- Gemmac EM03 Emergency Radio
- USB Charging Cable
- Lanyard
- User Manual (this document)
1.2 Initial Charging
Before first use, it is recommended to fully charge the device using the USB charging method. This ensures the internal 5000mAh battery is at full capacity for reliable operation.
- Connect the supplied USB cable to the radio's DC 5V input port.
- Connect the other end of the USB cable to a standard USB power adapter (not included) or a computer's USB port.
- The battery indicator on the LCD display will show charging progress.
- Charging is complete when the battery indicator shows a full charge.

Image: Illustration of the three charging methods: hand crank, solar panel, and USB input.
2. Operating Instructions
2.1 Power On/Off
- To power on the device, press and hold the Power/Mode (U/M) button.
- To power off the device, press and hold the Power/Mode (U/M) button again.
2.2 Radio Function (AM/FM/SW)
The radio supports AM, FM, and Shortwave (SW) bands.
- Turn on the radio by pressing the Power/Mode (U/M) button.
- Press the Power/Mode (U/M) button repeatedly to cycle through FM, AM, and SW bands. The selected band will be displayed on the LCD screen.
- Extend the telescopic antenna for better FM/SW reception. For AM, rotate the device for optimal signal.
- Use the Tuning Up (>) and Tuning Down (<) buttons to manually tune to a station.
- To auto-scan for stations, press and hold the Tuning Up (>) or Tuning Down (<) button. The radio will stop at the next available strong signal.
- Adjust the volume using the Volume Up (+) and Volume Down (-) buttons.
- For private listening, connect 3.5mm headphones to the headphone jack.
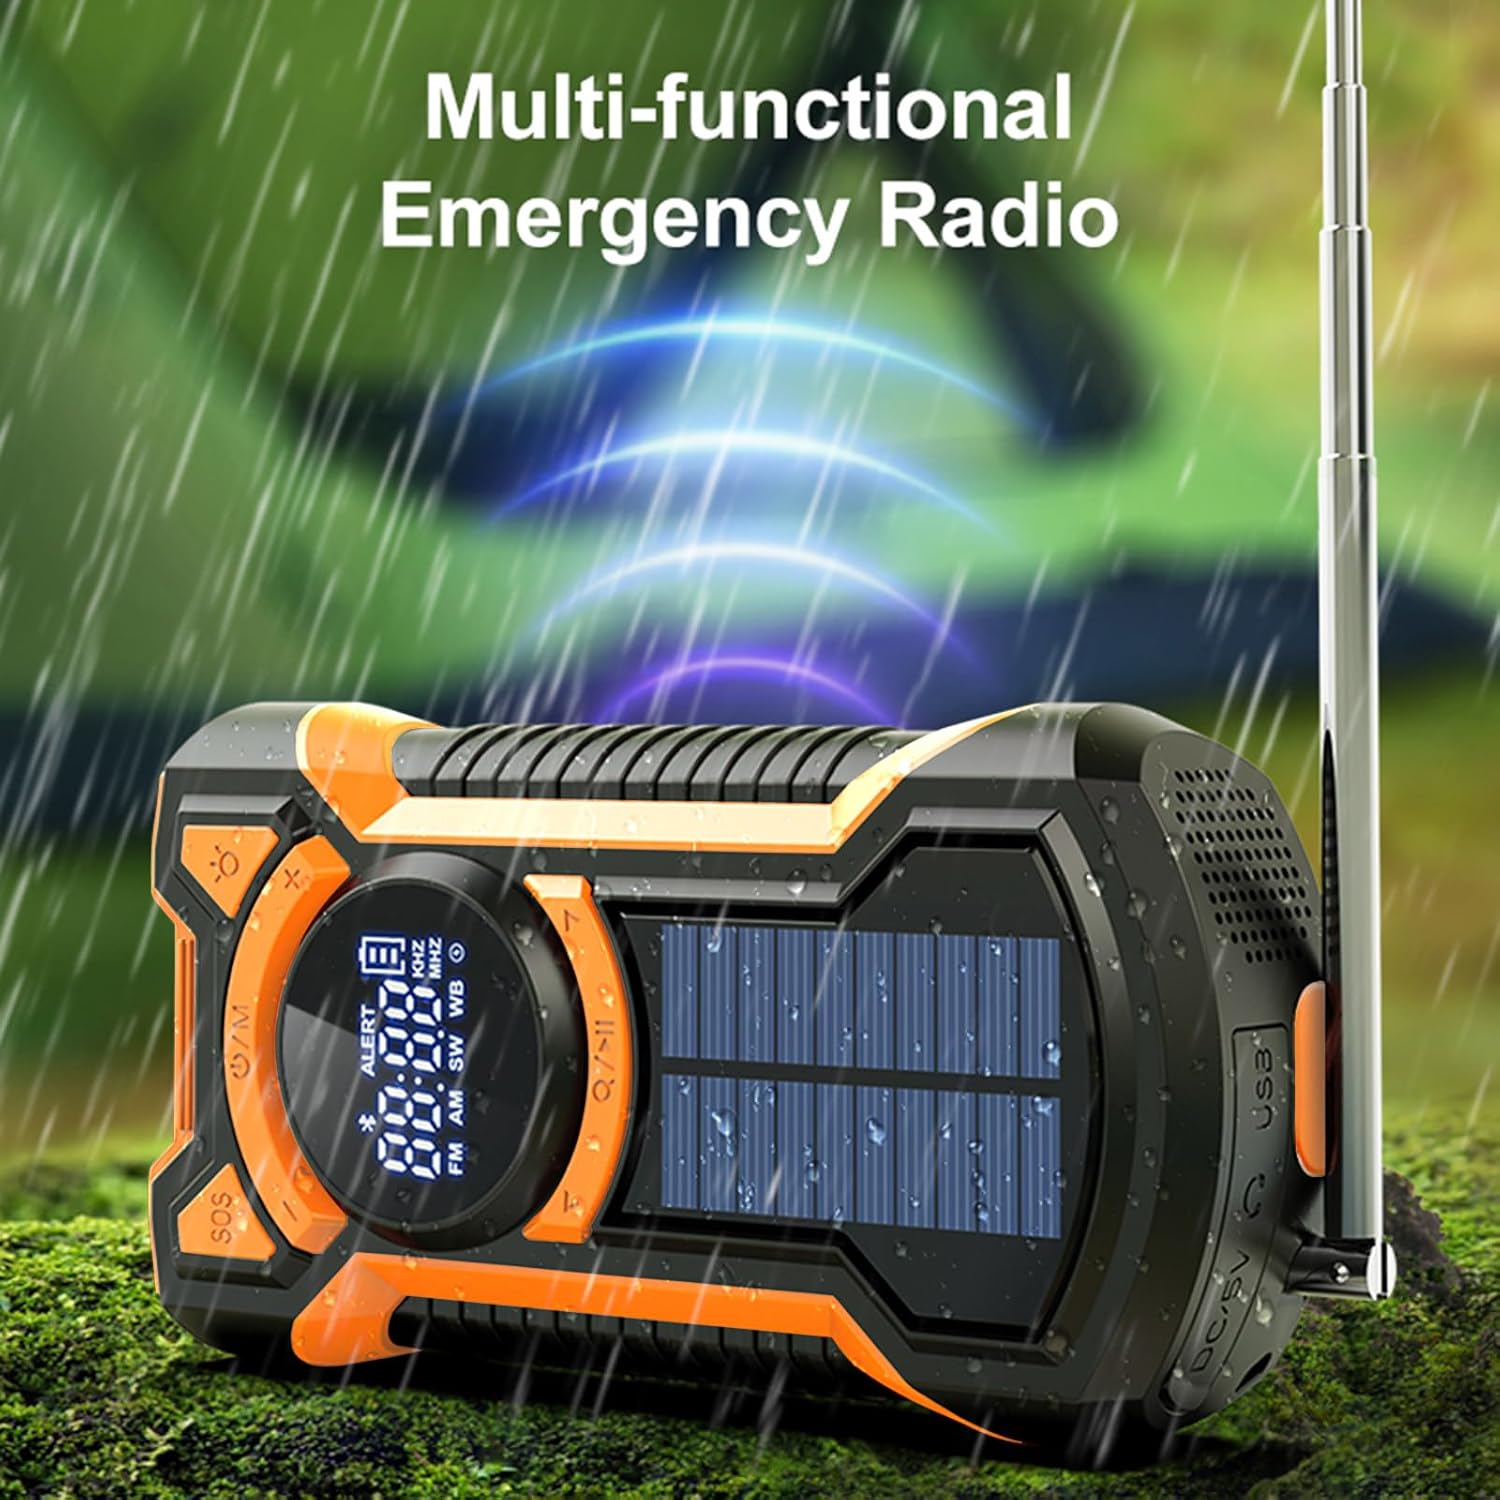
Image: The multi-functional emergency radio shown outdoors, emphasizing its readiness for various conditions.
2.3 Bluetooth Speaker Function
The EM03 features an integrated Bluetooth 5.3 speaker for audio playback.
- Turn on the device.
- Press the Power/Mode (U/M) button until "BT" or the Bluetooth icon appears on the LCD display, indicating Bluetooth mode.
- On your mobile device, enable Bluetooth and search for available devices.
- Select "EM03" from the list of devices to pair.
- Once paired, you can play audio from your mobile device through the radio's speaker.
- Adjust volume using the radio's volume buttons or your connected device.

Image: The radio in Bluetooth mode, demonstrating connection to a smartphone for music playback.
2.4 LED Flashlight and Reading Light
The device includes a powerful LED flashlight and a reading light.
- To activate the flashlight, press the Flashlight (Light bulb icon) button.
- Press the button again to cycle through different brightness modes (e.g., high beam, low beam) or to turn it off.
- The reading light can be activated by a separate button or by cycling through the flashlight modes, depending on the model. Refer to the icons on the device.

Image: The LED flashlight function of the radio, showing its bright illumination.

Image: Visual representation of the flashlight's far beam, low beam, and SOS light modes.
2.5 SOS Alarm
In emergency situations, the SOS alarm can be activated to attract attention.
- To activate the SOS alarm, press the SOS button.
- The alarm will emit a loud siren sound and a flashing red light.
- To deactivate the SOS alarm, press the SOS button again.

Image: The SOS alarm feature in action, with a red flashing light indicating an emergency signal.

Image: A close-up view of the dedicated SOS button for emergency alerts.
2.6 Emergency Power Bank
The built-in 5000mAh battery can be used to charge external devices like smartphones.
- Connect your device's charging cable to the USB output port on the radio.
- The radio will begin charging your connected device.
- Monitor your device's charging status.
- Note that using the power bank function will deplete the radio's internal battery.

Image: The emergency power bank feature, showing the radio connected to and charging a smartphone.
3. Charging Methods
The Gemmac EM03 offers three ways to recharge its internal 5000mAh battery:
3.1 USB Charging (DC 5V Input)
This is the primary and fastest charging method.
- Connect the USB charging cable to the DC 5V input port on the radio and to a USB power source.
- A full charge typically takes approximately 3.5 hours.
3.2 Hand Crank Charging
The hand crank provides power when other charging methods are unavailable.
- Unfold the hand crank located on the back of the radio.
- Rotate the crank clockwise or counter-clockwise at a steady pace (approximately 130-150 RPM) for 3-5 minutes to generate enough power for short-term use (e.g., 15-20 minutes of radio or flashlight).
- Continuous cranking will charge the internal battery.
3.3 Solar Charging
The solar panel is a supplementary charging method, ideal for maintaining battery charge or for slow charging in direct sunlight.
- Place the radio with the solar panel facing direct sunlight.
- The solar charging indicator (if available on the display) will illuminate.
- Solar charging is slower than USB or hand crank charging and is most effective for trickle charging or extending battery life.
Image: A comprehensive view illustrating the hand crank, solar, and USB charging options for the radio.
4. Maintenance
- Cleaning: Wipe the device with a soft, damp cloth. Do not use harsh chemicals or abrasive cleaners.
- Storage: Store the radio in a cool, dry place away from direct sunlight and extreme temperatures. If storing for extended periods, charge the battery at least once every three months to prolong its lifespan.
- Water Resistance: The device is IPX5 waterproof, meaning it is protected against low-pressure water jets from any direction. Do not immerse the radio in water. Ensure all port covers are securely closed to maintain water resistance.

Image: The radio enduring water splashes, illustrating its IPX5 waterproof capability.
5. Troubleshooting
5.1 Radio Not Turning On
- Ensure the battery is charged. Connect to a USB power source or use the hand crank to provide initial power.
- Press and hold the Power/Mode button for a few seconds to ensure it registers.
5.2 Poor Radio Reception
- Fully extend the telescopic antenna for FM/SW bands.
- For AM band, try rotating the radio to find the best signal.
- Move to an open area away from buildings, trees, or electronic devices that may cause interference.
5.3 Bluetooth Pairing Issues
- Ensure the radio is in Bluetooth mode ("BT" or Bluetooth icon displayed).
- Make sure Bluetooth is enabled on your mobile device and it is within range (typically 10 meters).
- Forget "EM03" from your device's Bluetooth list and try pairing again.
- Ensure no other devices are currently connected to the radio via Bluetooth.
5.4 External Device Not Charging (Power Bank)
- Check if the radio's internal battery has sufficient charge.
- Ensure the USB cable is securely connected to both the radio's output port and your external device.
- Try a different USB cable or external device to rule out cable or device issues.
5.5 Solar Charging is Slow
- Solar charging is designed as a supplementary or emergency charging method. It is inherently slower than USB charging.
- Ensure the solar panel is exposed to direct, strong sunlight. Cloudy conditions or indirect light will significantly reduce charging efficiency.
6. Specifications
| Brand | Gemmac |
| Model | EM03 |
| Dimensions | 4 x 7 x 14 cm |
| Weight | 340 g |
| Battery | 5000mAh Lithium Ion (rechargeable, included) |
| Charging Methods | USB (DC 5V), Hand Crank, Solar Panel |
| Radio Bands | AM, FM, Shortwave (SW) |
| Bluetooth Version | Bluetooth 5.3 |
| Water Resistance | IPX5 |
| Special Features | Integrated LED Flashlight, SOS Alarm, Emergency Power Bank |
| Material | Acrylonitrile Butadiene Styrene (ABS) |
7. Warranty Information
Warranty information for this product is typically provided at the point of purchase or within specific documentation included with your product. Please refer to your purchase receipt or the warranty card for details regarding coverage period and terms. For any warranty claims, please contact the seller or manufacturer directly.
8. Customer Support
If you encounter any issues or have questions not covered in this manual, please contact Gemmac customer support through the retailer where you purchased the product. You may also visit the official Gemmac brand store on Amazon for additional resources and contact information.
Amazon Brand Store: Gemmac Store


