1. Important Safety Instructions
Please read all instructions carefully before using this appliance. Failure to follow these instructions may result in electric shock, fire, or serious personal injury.
- Do not touch hot surfaces. Use handles or knobs.
- To protect against electrical shock, do not immerse cord, plugs, or appliance in water or other liquid.
- Close supervision is necessary when any appliance is used by or near children.
- Unplug from outlet when not in use and before cleaning. Allow to cool before putting on or taking off parts.
- Do not operate any appliance with a damaged cord or plug or after the appliance malfunctions or has been damaged in any manner.
- The use of accessory attachments not recommended by the appliance manufacturer may cause injuries.
- Do not use outdoors.
- Do not let cord hang over edge of table or counter, or touch hot surfaces.
- Do not place on or near a hot gas or electric burner, or in a heated oven.
- Extreme caution must be used when moving an appliance containing hot oil or other hot liquids.
- Always attach plug to appliance first, then plug cord into the wall outlet. To disconnect, turn any control to "off", then remove plug from wall outlet.
- Do not use appliance for other than intended use.
- Oversized foods or metal utensils must not be inserted in a toaster oven as they may create a fire or risk of electric shock.
- A fire may occur if the oven is covered or touching flammable material, including curtains, draperies, walls, and the like, when in operation.
- Do not place any materials other than manufacturer's recommended accessories in this oven when not in use.
- Do not place any of the following materials in the oven: paper, cardboard, plastic, or similar materials.
- Do not cover crumb tray or any part of the oven with metal foil. This will cause overheating of the oven.
2. Product Overview
This 22L tabletop electric mini oven is designed for household baking and toasting. It features adjustable temperature control, a 120-minute timer, and a three-layer baking position for versatile cooking.

Figure 1: Front view of the 22L Tabletop Electric Mini Oven with food cooking inside.

Figure 2: Dimensions of the oven: 421mm (width), 252mm (depth), 273mm (height).
3. Setup
3.1 Unpacking
- Carefully remove the oven and all packaging materials from the box.
- Remove any protective films or stickers from the oven surfaces.
- Check for any damage during transit. If damaged, do not operate and contact customer support.
3.2 Placement
- Place the oven on a stable, flat, heat-resistant surface.
- Ensure there is adequate ventilation around the oven (at least 10 cm clearance on all sides).
- Do not place the oven near flammable materials such as curtains or walls.
- Ensure the power cord is not obstructed or pinched.
3.3 Before First Use
- Wash the baking tray, wire rack, and crumb tray in warm, soapy water. Rinse and dry thoroughly.
- Wipe the interior and exterior of the oven with a damp cloth.
- To eliminate any manufacturing odors, operate the oven empty for approximately 15 minutes at 200°C (400°F). Ensure the area is well-ventilated during this process.
4. Operating Instructions
4.1 Controls Overview
The oven features three mechanical control knobs:
- Top Knob: Temperature Control (0-250°C)
- Middle Knob: Function Selector (Controls upper/lower heating elements)
- Bottom Knob: Timer (0-120 minutes)

Figure 3: Temperature control knob, adjustable from 70°C to 250°C.

Figure 4: Timer knob, adjustable from 0 to 120 minutes.
4.2 Preheating the Oven
- Place the wire rack or baking tray in the desired position.
- Turn the Temperature Control knob to the desired temperature.
- Turn the Timer knob to the desired preheating time (e.g., 10-15 minutes). The power indicator light will illuminate.
- Once the preheating time has elapsed, the oven is ready for use.
4.3 Baking and Roasting
This oven offers three-layer baking positions and independent temperature control for upper and lower heating tubes.

Figure 5: The 22L capacity oven features three distinct baking positions for versatile cooking.
- Preheat the oven as described above.
- Carefully place your food on the baking tray or wire rack into the desired baking position. Use oven mitts.
- Select the appropriate temperature using the Temperature Control knob (0-250°C).
- Use the Function Selector knob to choose between upper heating, lower heating, or simultaneous upper and lower heating, depending on your recipe's requirements. This allows for precise control over browning and cooking.
- Set the cooking time using the Timer knob (0-120 minutes). The oven will automatically shut off and ring a bell when the timer expires.
- Monitor food through the wide view window.

Figure 6: The wide viewing window allows for easy monitoring of food changes during cooking.
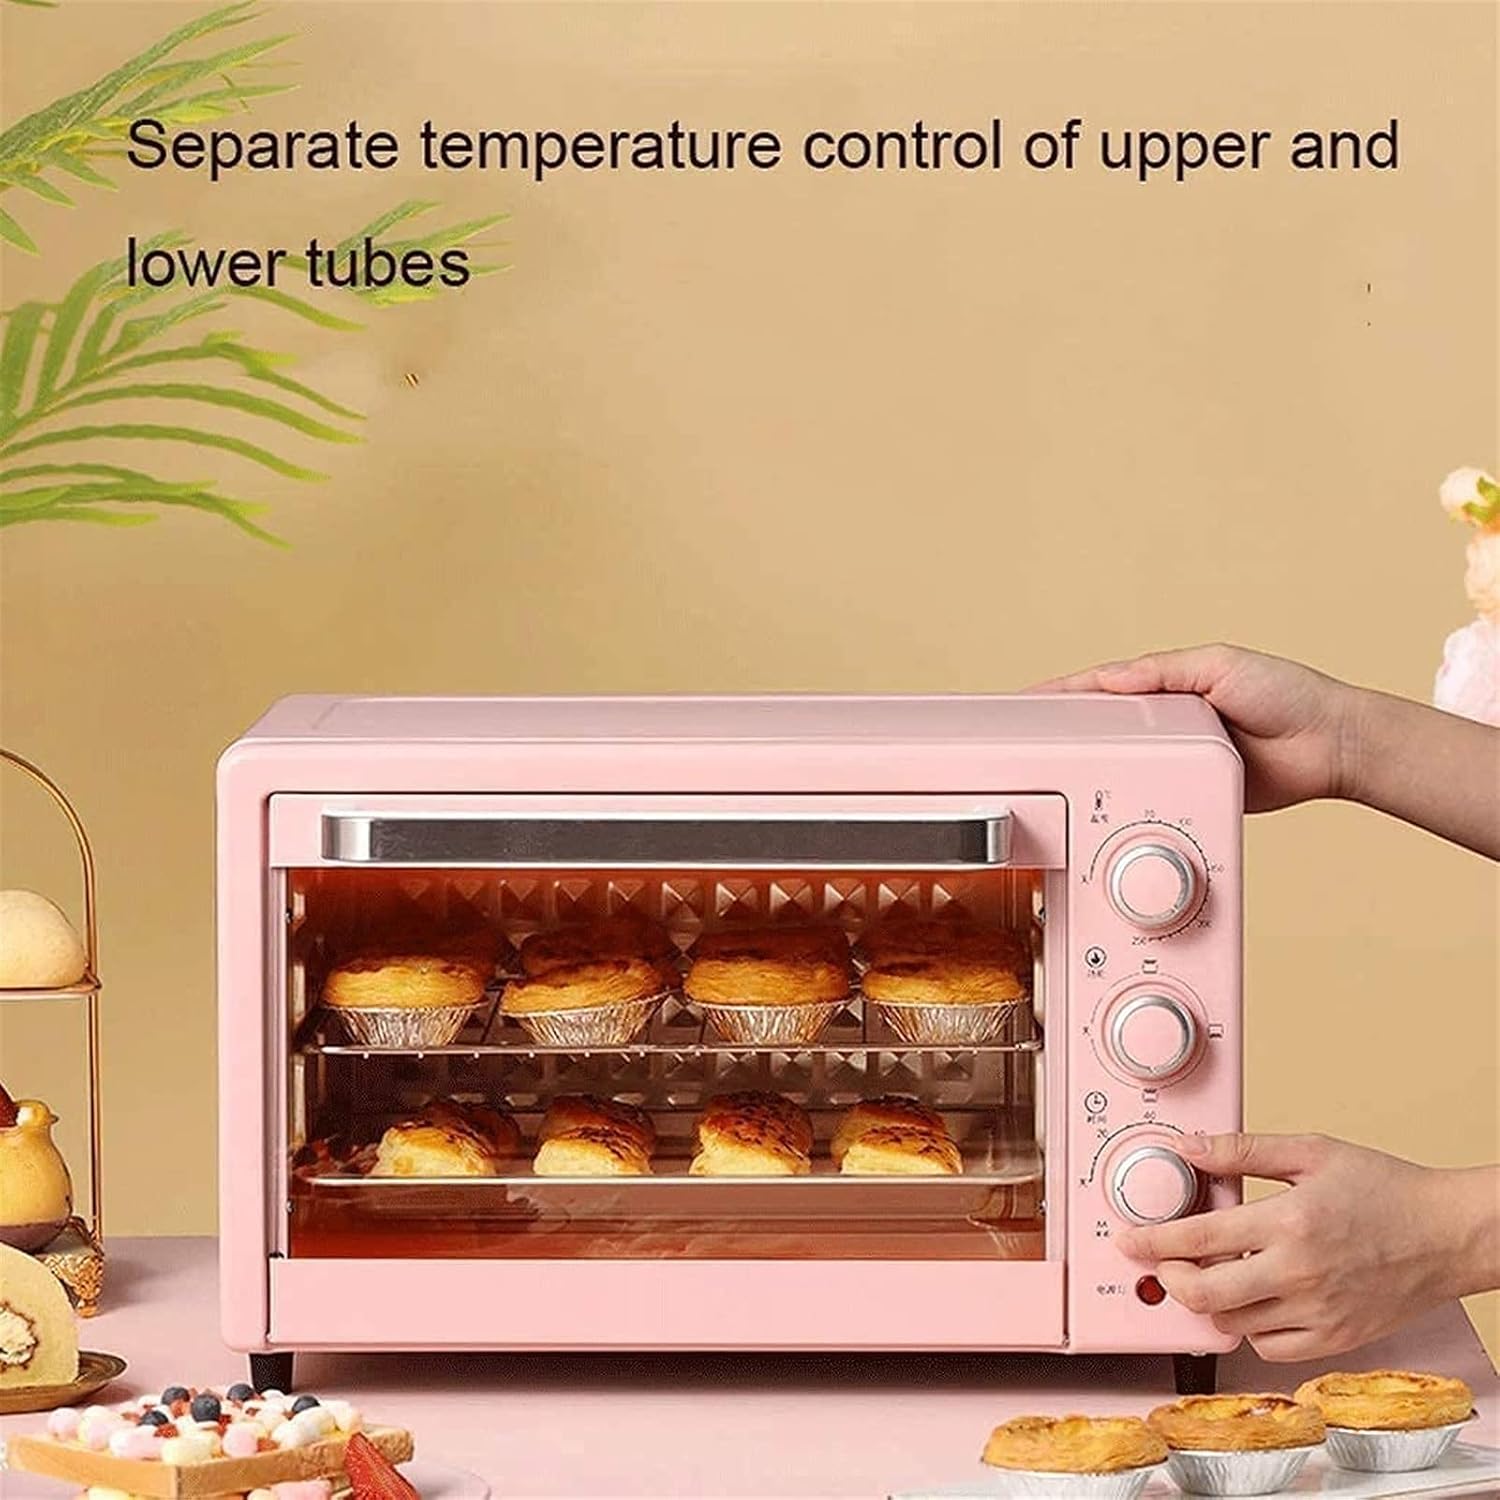
Figure 7: The oven features separate temperature control for upper and lower heating tubes, enabling precise cooking.
5. Maintenance and Cleaning
5.1 General Cleaning
- Always unplug the oven from the power outlet and allow it to cool completely before cleaning.
- Do not immerse the oven body, cord, or plug in water or any other liquid.
- Wipe the exterior with a damp cloth and mild detergent. Do not use abrasive cleaners or scouring pads.
5.2 Cleaning Interior and Accessories
- Remove the baking tray, wire rack, and crumb tray. Wash them in warm, soapy water. For stubborn stains, soak them before cleaning.
- The interior walls can be wiped with a damp cloth and mild detergent. Avoid touching the heating elements.
- Ensure all parts are thoroughly dry before reassembling and storing the oven.

Figure 8: The oven door features a three-layer safety explosion-proof glass for enhanced durability and safety, including a transparent layer, tempered glass layer, and oil-proof cleaning layer.
6. Troubleshooting
If you encounter any issues with your oven, please refer to the following common problems and solutions:
- Oven does not turn on:
- Ensure the power cord is securely plugged into a working electrical outlet.
- Check if the timer knob is set to a cooking duration. The oven will not operate if the timer is at "OFF" or "0".
- Verify that the circuit breaker has not tripped.
- Food is not cooking evenly:
- Ensure the oven is preheated to the correct temperature.
- Check that the correct heating function (upper, lower, or both) is selected for your recipe.
- Rotate food halfway through cooking for more even results.
- Ensure there is adequate space around the food for heat circulation.
- Smoke or unusual odor during first use:
- This is normal during the initial use as manufacturing oils burn off. Ensure good ventilation. If it persists after the first few uses, discontinue use and contact support.
7. Specifications
| Feature | Specification |
|---|---|
| Model | 22L Mini Oven |
| Capacity | 22 Liters |
| Rated Voltage | 110V-240V/50Hz |
| Rated Power | 1300W |
| Temperature Range | 0-250°C (Controllable) |
| Baking Timer | 0-120 Minutes with Bell Ring and Auto Shut Off |
| Heating Tube Material | Stainless Steel (4 tubes) |
| Liner Material | Galvanized Sheet |
| Control Method | Mechanical Knobs |
| Dimensions (W×D×H) | 421mm × 252mm × 273mm |
| Door Style | Dropdown Door |
8. Warranty and Support
8.1 Limited Warranty
This product comes with a limited warranty against defects in materials and workmanship. Please refer to the warranty card included with your purchase or contact the retailer for specific warranty terms and conditions. Keep your proof of purchase for warranty claims.
8.2 Customer Support
For technical assistance, troubleshooting, or parts replacement, please contact the retailer where you purchased the product. If purchased directly from the manufacturer, refer to the contact information provided in your packaging or on their official website.


