1. Introduction
The Scheppach MRS500 Universal Renovation Sander is designed for working on various wooden and metal surfaces. Its versatile design allows access to hard-to-reach areas such as table legs, contoured skirting boards, beams, ramps, and larger surfaces like garage doors. The variable speed control makes it suitable for a wide range of materials and applications. This manual provides essential information for the safe and efficient use of your sander.
2. General Safety Instructions
WARNING: Read all safety warnings, instructions, illustrations, and specifications provided with this power tool. Failure to follow all instructions listed below may result in electric shock, fire, and/or serious injury.
- Always wear appropriate personal protective equipment, including eye protection, hearing protection, and a dust mask.
- Ensure the work area is clean and well-lit. Cluttered or dark areas invite accidents.
- Do not operate power tools in explosive atmospheres, such as in the presence of flammable liquids, gases, or dust.
- Keep children and bystanders away while operating a power tool. Distractions can cause you to lose control.
- Always disconnect the plug from the power source before making any adjustments, changing accessories, or storing power tools.
- Use the correct power tool for your application. Do not force the tool.
- Maintain power tools and accessories. Check for misalignment or binding of moving parts, breakage of parts, and any other condition that may affect the power tool’s operation.
- Refer to the complete safety manual provided with your product for detailed safety information.
3. Product Overview and Components
Familiarize yourself with the main components of your Scheppach MRS500 sander before operation.

Figure 1: Scheppach MRS500 Universal Renovation Sander with various attachments.

Figure 2: Key features include 10 mm or 60 mm brush width, 300 Watt motor, and variable speed (1600-3000 min⁻¹).

Figure 3: The sander features an Auto-Lock system for quick accessory changes and a Softgrip handle for comfort.
4. Setup and Assembly
4.1 Attaching the Auxiliary Handle
For enhanced control and precision, attach the auxiliary handle to the designated mounting point on the sander. Ensure it is securely tightened before use.
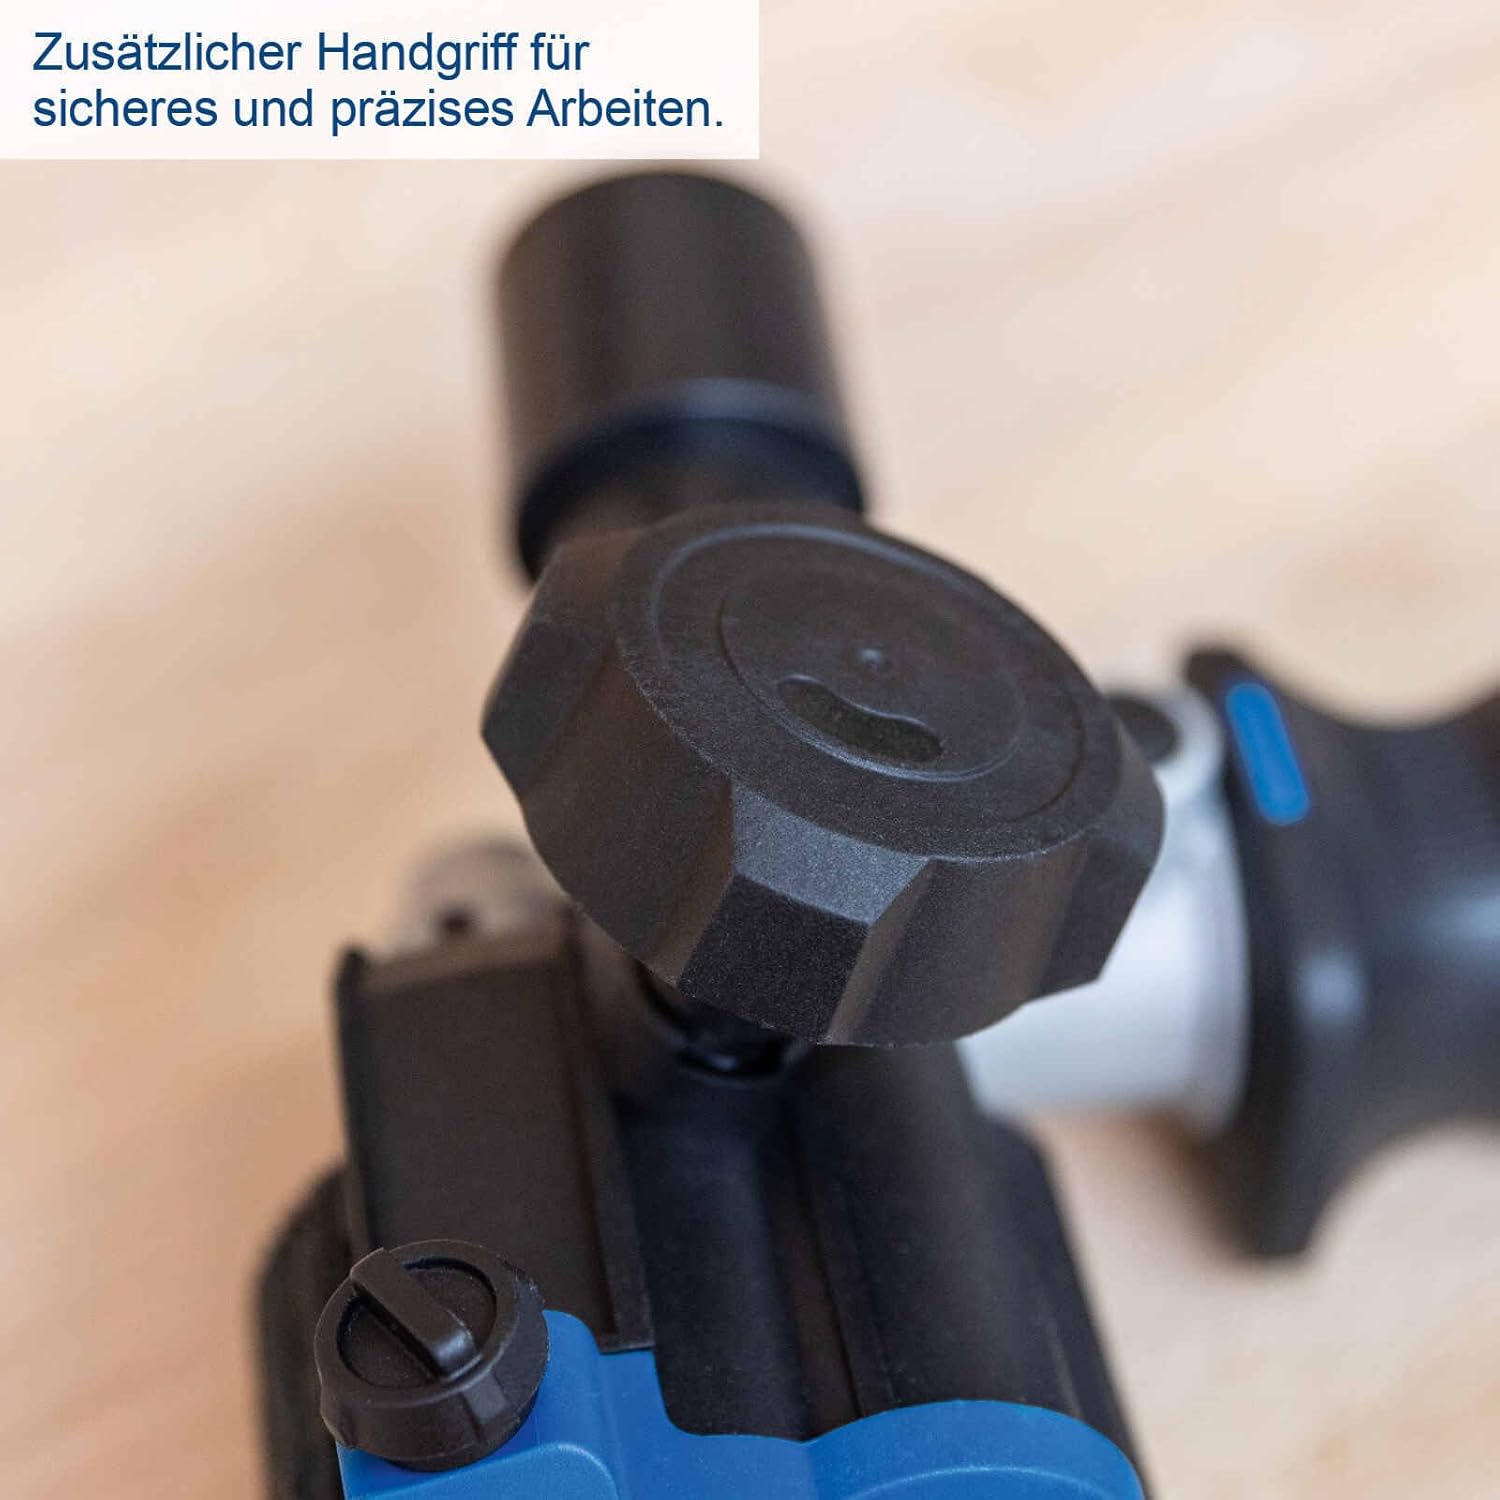
Figure 4: The additional handle provides secure and precise control during operation.
4.2 Changing Sanding Sleeves/Brushes (Auto-Lock System)
The MRS500 features an Auto-Lock system for quick and easy changing of sanding sleeves or brushes.
- Ensure the sander is unplugged from the power source.
- Press and hold the Auto-Lock button located near the spindle. This locks the spindle in place.
- Unscrew or remove the current sanding sleeve/brush.
- Attach the desired new sanding sleeve or brush, ensuring it is properly seated and secured.
- Release the Auto-Lock button.

Figure 5: Press the Auto-Lock button for quick and easy sanding sleeve changes.
5. Operation
5.1 Powering On/Off
Connect the sander to a suitable power outlet. To turn the sander ON, press the power switch. To turn it OFF, release or press the switch again, depending on the switch type.
5.2 Adjusting Speed
The MRS500 features variable speed control, allowing you to adjust the rotation speed between 1600 and 3200 revolutions per minute. Use the speed dial to select the appropriate speed for your material and application.
- Lower speeds are suitable for delicate work, polishing, or when working with softer materials.
- Higher speeds are ideal for aggressive material removal on harder surfaces.

Figure 6: Adjust the variable speed using the dial for optimal performance on different materials.
5.3 Sanding Techniques
Always apply light, even pressure. Let the tool do the work. Avoid pressing too hard, as this can reduce efficiency and damage the workpiece or the tool.
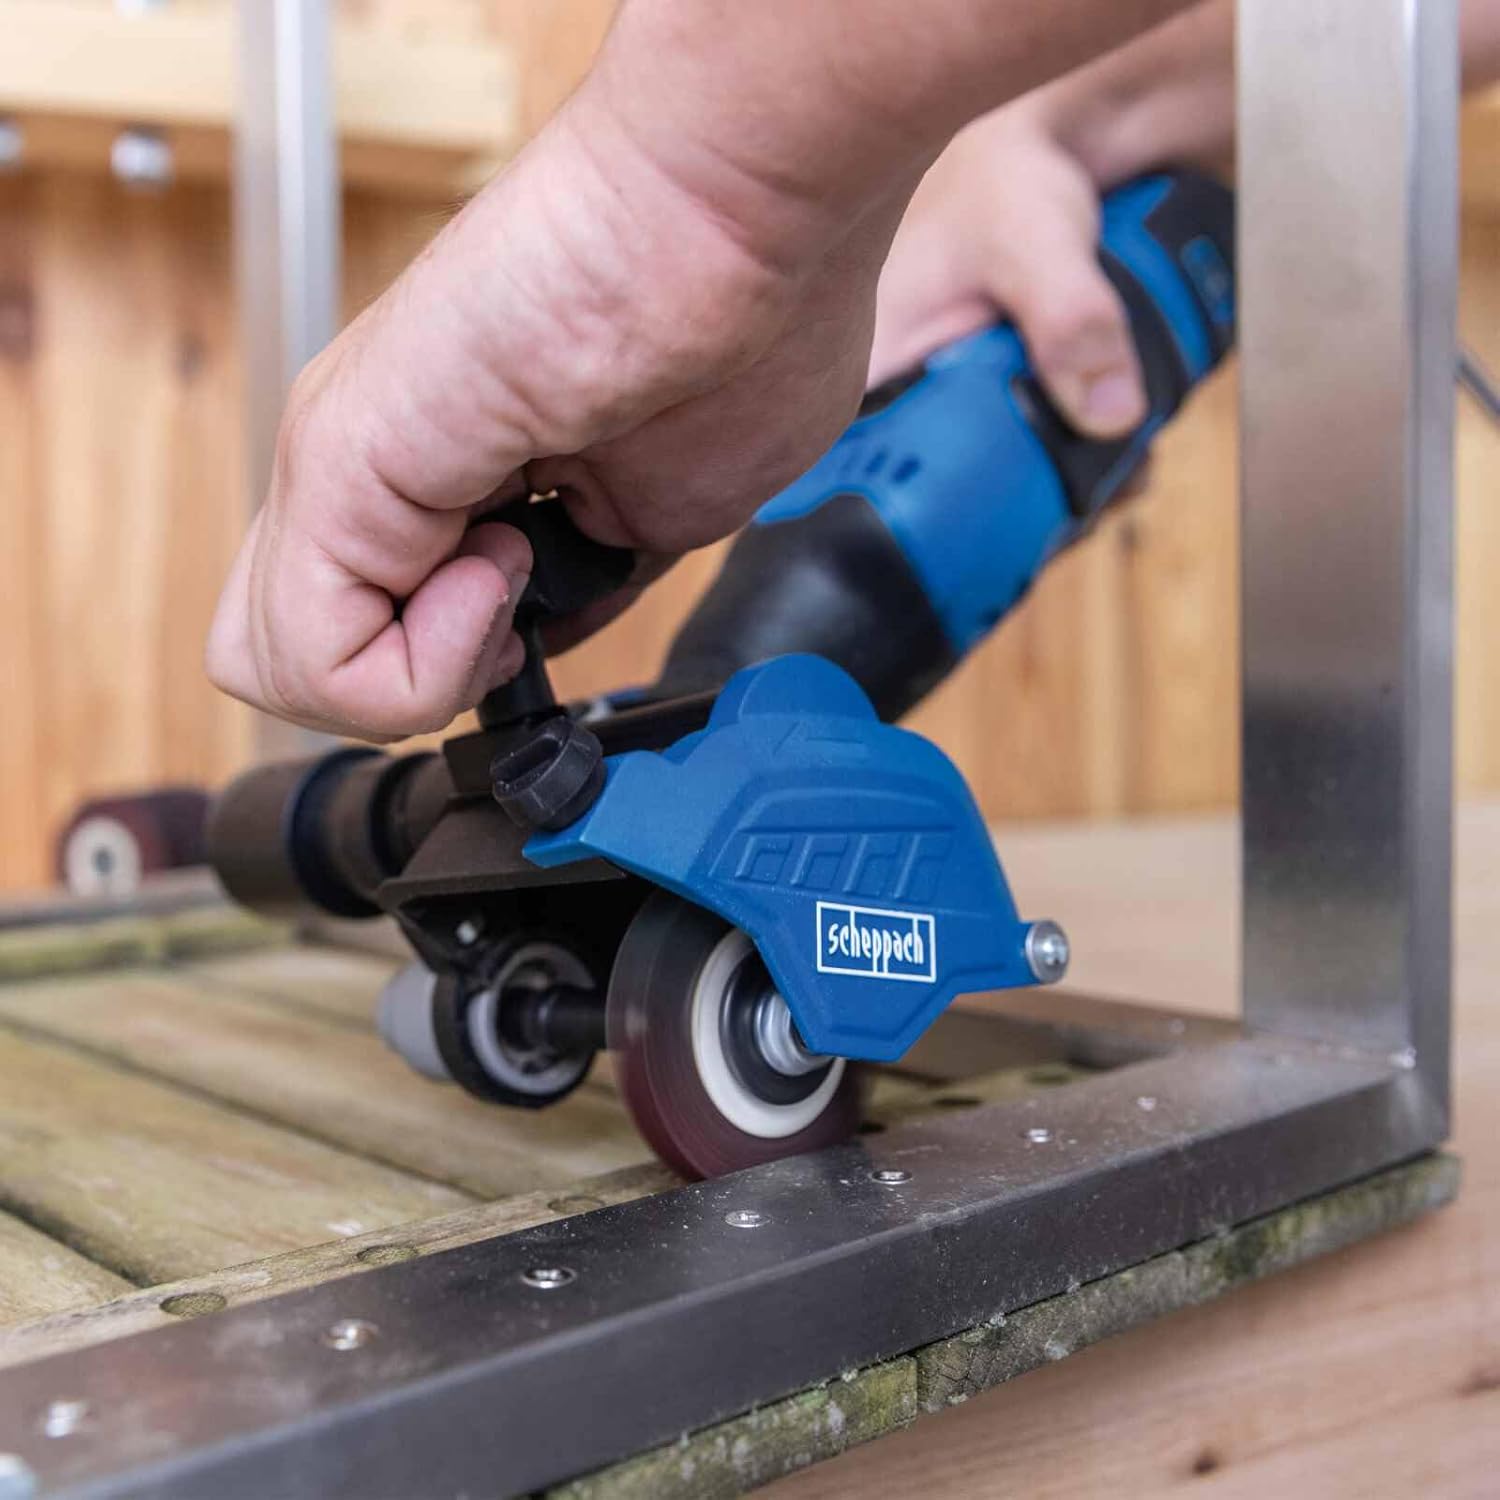
Figure 7: Example of sanding an untreated wooden beam.

Figure 8: Example of sanding a contoured wooden surface, such as a table leg.
- For large, flat surfaces: Use the wider sanding sleeves (60 mm) and move the sander in overlapping passes.
- For hard-to-reach areas and contours: Utilize the narrower sanding sleeves (10 mm) or specialized brushes. The compact design allows for precise work in tight spaces.
- Rust removal: With optional accessories, the sander can be used for rust removal on metal surfaces.
6. Maintenance
6.1 Cleaning
Regular cleaning ensures optimal performance and extends the life of your tool.
- Always disconnect the sander from the power supply before cleaning.
- Use a soft brush or compressed air to remove dust and debris from the ventilation openings.
- Wipe the housing with a damp cloth. Do not use harsh cleaning agents or solvents.
6.2 Carbon Brush Replacement
The motor's carbon brushes are wear parts and will need replacement over time. Refer to the full product manual for specific instructions on how to inspect and replace carbon brushes. It is recommended to have this procedure performed by qualified personnel if you are unsure.
7. Troubleshooting
If you encounter issues with your MRS500 sander, refer to the following common problems and solutions:
| Problem | Possible Cause | Solution |
|---|---|---|
| Sander does not start | No power supply; Faulty power cord/plug; Defective switch | Check power connection; Inspect cord/plug for damage; Contact service for switch replacement. |
| Reduced sanding performance | Worn sanding sleeve/brush; Incorrect speed setting; Excessive pressure | Replace sanding sleeve/brush; Adjust speed; Apply lighter, even pressure. |
| Excessive vibration/noise | Damaged sanding sleeve/brush; Loose components | Replace damaged accessory; Check for loose parts and tighten if safe to do so. |
| Motor slows down under load | Overloading the tool; Worn carbon brushes | Reduce pressure; Replace carbon brushes (refer to section 6.2). |
For problems not listed here or if solutions do not resolve the issue, please contact Scheppach customer support or an authorized service center.
8. Technical Specifications
| Specification | Value |
|---|---|
| Model Number | 5903822901 |
| Brand | Scheppach |
| Power | 300 W |
| Voltage | 230 Volts |
| Frequency | 50 Hz |
| Variable Speed | 1600 - 3200 min⁻¹ |
| Sanding Width | 10 mm or 60 mm |
| Power Source | Corded Electric |
| Included Components | 3 brushes |
| Grit Type (Included) | Medium |
| Grit Number (Included) | 180 |
9. Warranty and Support
For warranty information, technical support, or to purchase additional accessories and replacement parts, please refer to the official Scheppach website or contact your local dealer. Keep your purchase receipt as proof of purchase for any warranty claims.