
1. Introduction
This manual provides detailed instructions for the installation, operation, and maintenance of your YESKAMOO 5MP PTZ Wireless Security Camera System with a 12-inch IPS Monitor. Please read this manual thoroughly before using the product to ensure proper functionality and safety.
The system features 5-megapixel ultra-high-definition cameras with 360° omnidirectional tracking, a 12-inch IPS monitor with integrated NVR, AI human detection, two-way audio, color night vision, IP66 waterproof rating, and remote monitoring capabilities. It supports H.265 video compression and includes a 3TB HDD for extensive recording.
2. Package Contents
Verify that all items listed below are included in your package. If any items are missing or damaged, please contact customer support.
- 12-inch Integrated IPS Monitor (NVR)
- 5MP PTZ Cameras (4 units)
- 3TB Hard Disk Drive (pre-installed in NVR)
- Power Adapters for Cameras (4 units)
- Power Adapter for Monitor (1 unit)
- USB Mouse
- Mounting Screws and Wall Plugs for Cameras
- Ethernet Cable
- HDMI Cable
- Instruction Manual
- Warranty Card
- Warning Stickers

Figure 1: Complete system package contents including 12-inch monitor, four PTZ cameras, and 3TB HDD.
Video 1: Unboxing and overview of the system components (Note: This video features a similar model, WK-10V-4HS02-AT, but illustrates general unboxing and component identification).
3. Setup Instructions
3.1. Initial System Connection
- Connect the monitor's power adapter to the DC12V port on the back of the monitor and plug it into a power outlet.
- Connect the power adapters for each camera to the cameras and plug them into power outlets.
- The cameras and monitor are pre-paired at the factory. Once powered on, the camera feeds should automatically appear on the monitor.

Figure 2: Power connection diagram for the wireless security camera system.
Video 2: Demonstration of simple setup and immediate use of the system.
3.2. Camera Installation
The cameras are designed for both indoor and outdoor use with an IP66 waterproof rating. Choose a suitable location for each camera, ensuring a clear field of view and access to a power outlet.
- Mark the drilling points on the wall or ceiling using the camera's mounting base as a template.
- Drill holes and insert the provided wall plugs.
- Secure the camera mounting base with screws.
- Attach the camera to the mounting base and adjust the angle as needed.

Figure 3: PTZ camera installation and range of motion (355° horizontal, 90° vertical).
Video 3: Guide on operating the pan/tilt function of the 5MP PTZ camera.
3.3. Network Connection (Optional for Remote Viewing)
For remote monitoring via smartphone or PC, connect the NVR to your home network using an Ethernet cable. If Wi-Fi signal is weak, a wired connection is recommended for stability.
- Connect one end of the Ethernet cable to the LAN port on the NVR.
- Connect the other end of the Ethernet cable to an available LAN port on your router.
- Alternatively, if your router supports Wi-Fi 6, the system can connect wirelessly for enhanced signal stability and range.

Figure 4: Wi-Fi 6 technology provides 16 times faster and more stable connection than Wi-Fi 4.
Video 4: Setup method for an integrated monitor wireless security camera set, including network connection.
3.4. Mobile App Setup
Download the dedicated mobile application (EseeCloud) to your smartphone or tablet for remote viewing and control.
- Scan the QR code provided in the manual or on the NVR to download the EseeCloud app.
- Register an account and log in.
- Add your device by scanning the QR code on the NVR or manually entering the UID.
- Once added, you can view live feeds, control PTZ functions, and receive alerts from anywhere.

Figure 5: Remote monitoring via smartphone app, compatible with Android and iOS.
Video 5: Detailed explanation of smartphone remote operation and easy connection for beginners.
4. Operating Instructions
4.1. Recording Modes
The security system offers three recording modes:
- Continuous Recording: Records 24 hours a day, 7 days a week.
- Motion Detection Recording: Starts recording only when motion is detected in the surveillance area.
- Scheduled Recording: Records during specified time periods.
You can adjust the recording mode according to your preferences.

Figure 6: Available recording modes: Continuous, Motion Detection, and Scheduled.
4.2. PTZ Control
The PTZ (Pan-Tilt-Zoom) cameras allow you to remotely adjust the viewing angle. Use the mobile app or NVR interface to control the camera's movement:
- Pan: Rotate horizontally (0-355°).
- Tilt: Rotate vertically (0-90°).
- Zoom: Digitally zoom in on specific areas.
Figure 7: PTZ functionality allows for comprehensive 360-degree surveillance without blind spots.
4.3. Two-Way Audio
Each camera is equipped with a high-sensitivity microphone and a quality speaker, enabling two-way communication. This allows you to:
- Listen to audio from the camera's location.
- Speak through the camera to communicate with visitors or deter intruders.

Figure 8: Two-way audio communication via the camera system.
4.4. AI Human Detection and Alerts
The system features advanced AI human detection. When suspicious movement is detected within the shooting range, the security light will illuminate (at night only), and an intelligent alarm will be sent instantly to your app and email (with a photo).
- Receive instant notifications on your smartphone.
- Deter potential intruders with the bright security light and siren alarm.

Figure 9: AI human detection with light and siren alerts for enhanced security.
Video 6: Demonstration of motion detection function in a dome-type security camera (Note: This video features a similar product).
4.5. Remote Monitoring
Connect the security system to the internet to enable remote monitoring from your smartphone, tablet, or PC. The dedicated app allows you to view live footage and operate the system remotely.
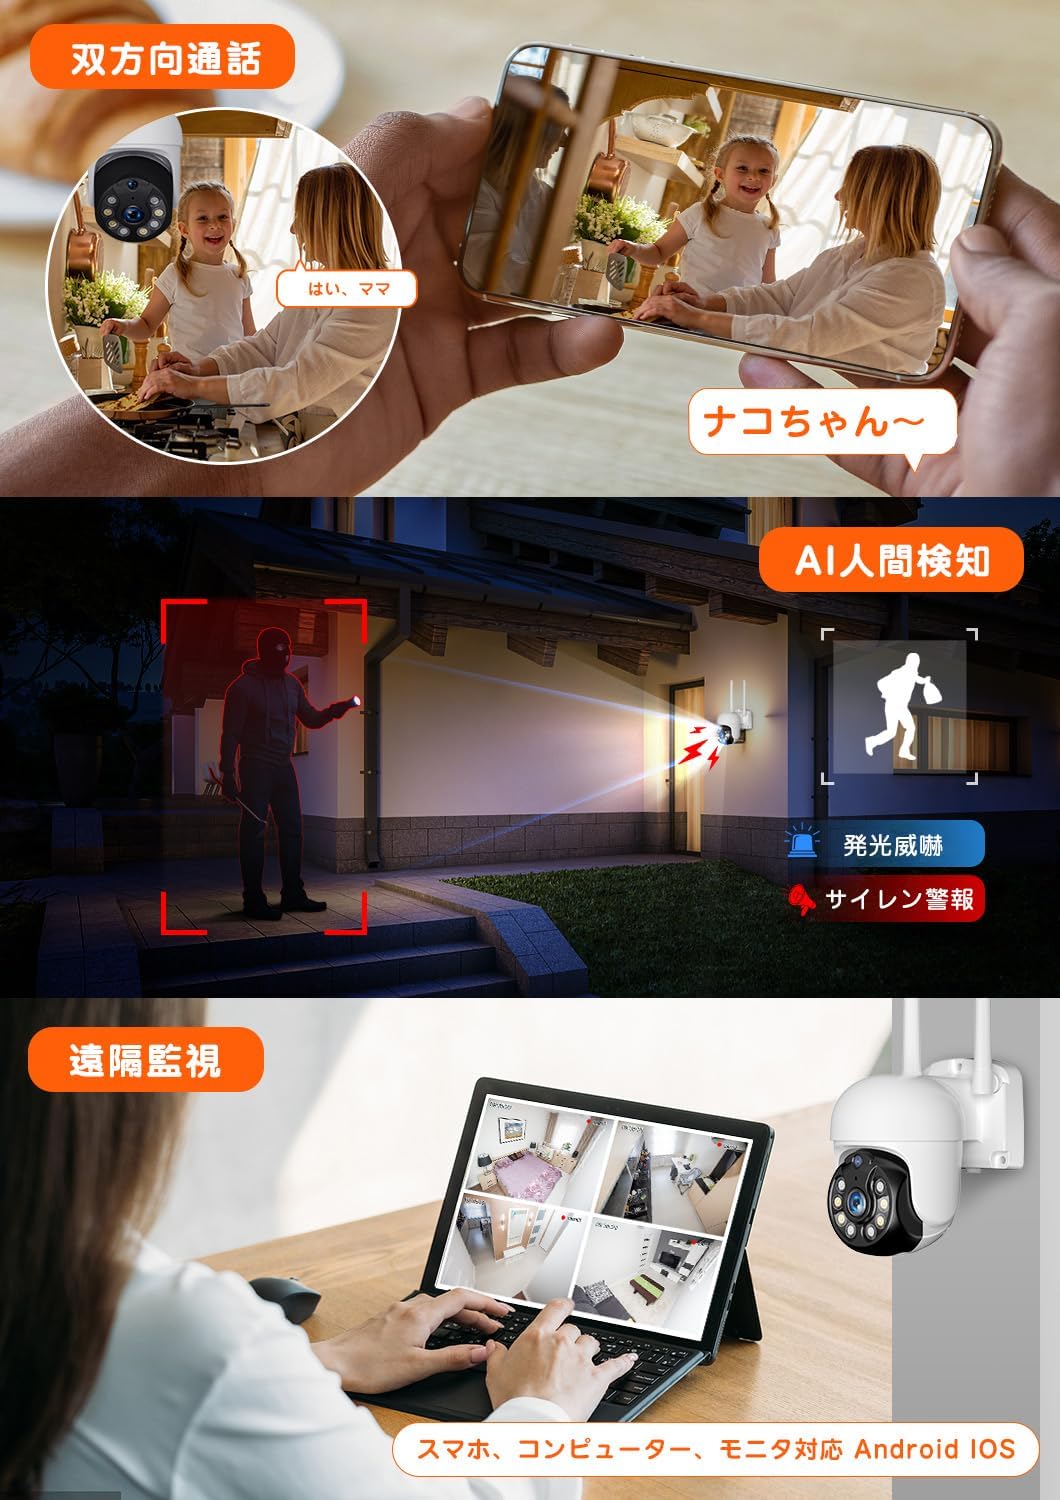
Figure 10: Remote surveillance is possible from smartphones, computers, and monitors.
5. Maintenance
5.1. HDD Management
The NVR is equipped with a high-quality 3TB HDD. Utilizing the latest H.265+ compression technology, it saves storage space, allowing for over 20 days of recording even with 1-4 cameras. When the HDD is full, the system automatically overwrites the oldest data, ensuring continuous loop recording without manual deletion.

Figure 11: 3TB HDD with H.265+ compression for extended recording duration.
5.2. Weather Resistance
The YESKAMOO outdoor security cameras have an IP66 waterproof and dustproof design, making them resistant to aging and effectively protecting against dust and rain. This ensures reliable operation in various outdoor conditions.

Figure 12: IP66 waterproof and dustproof design for reliable outdoor use.
6. Troubleshooting
6.1. Weak Wi-Fi Signal
If you experience a weak Wi-Fi signal, consider the following solutions:
- Wired Connection: Connect the camera directly to the NVR using a LAN cable. This provides a stable connection regardless of Wi-Fi strength.
- Enhanced Antennas: The cameras feature two reinforced Wi-Fi antennas for improved signal strength and reduced connection interruptions over long distances. Ensure antennas are properly positioned.

Figure 13: Methods to improve signal strength: wired connection or using enhanced Wi-Fi antennas.
7. Specifications
| Feature | Specification |
|---|---|
| Brand | YESKAMOO |
| Model Number | JP-TJ12-10804 |
| Product Dimensions | 41 x 18.5 x 29 cm |
| Item Weight | 4.85 Kilograms |
| Color | White |
| Power Source | Corded Electric |
| Voltage | 12 Volts |
| Special Features | PTZ Control, Night Vision, Video Recording, Motion Sensor |
| Included Components | 12-inch Integrated Monitor, 5MP PTZ Cameras, Mounting Hardware, Power Adapters |
| Connectivity Technology | Wireless |
| Video Capture Resolution | 2560P (5 Megapixels) |
| Number of Channels | 10 (expandable) |
8. Warranty and Support
YESKAMOO is committed to providing high-quality products and excellent customer service. Your product is covered by the following:
- 60-Day Money-Back Guarantee: For any defects or dissatisfaction.
- 1-Year Product Exchange: For product malfunctions within one year of purchase.
- Up to 3-Year Quality Assurance: Extended quality guarantee for long-term peace of mind.
Our professional technical support team is available to assist you within 24 hours. For immediate assistance, you can also reach us via LINE:

Figure 14: Scan the QR code to access YESKAMOO LINE support for quick problem resolution.