stio MAX G2 Controller
stio Scooter Controller User Manual for Ninebot MAX G2/G65
Model: MAX G2 Controller (STIO-127)
1. Introduction
This manual provides essential information for the installation, operation, and maintenance of your stio Scooter Controller. This controller is designed as a replacement part for specific Ninebot by Segway MAX scooter models, ensuring original program functionality and improved performance.

Image: The stio Scooter Controller, showing its main board and various connection ports.
2. Compatibility
The stio Scooter Controller is specifically designed for and compatible with the following models:
- Ninebot by Segway MAX G2
- Ninebot by Segway MAX G2E
- Ninebot by Segway MAX G2D
- Ninebot by Segway MAX G65
Important: This controller is NOT compatible with Ninebot G30, G30P, or G30LP models.

Image: A Ninebot MAX G2 scooter, illustrating the compatible models for the controller replacement.
3. Key Features
- Original Program Functionality: The controller utilizes the original program, ensuring all Ninebot app functions operate correctly without the need for flashing.
- Enhanced Heat Dissipation: Features a metal heat sink and silicone components to improve heat dissipation efficiency, preventing thermal overload during operation.
- Easy Installation: Designed with clearly distinguishable ports to simplify the installation process.
- Durable Construction: The controller motherboard shell is made of metal material, providing durability and protection for internal components.
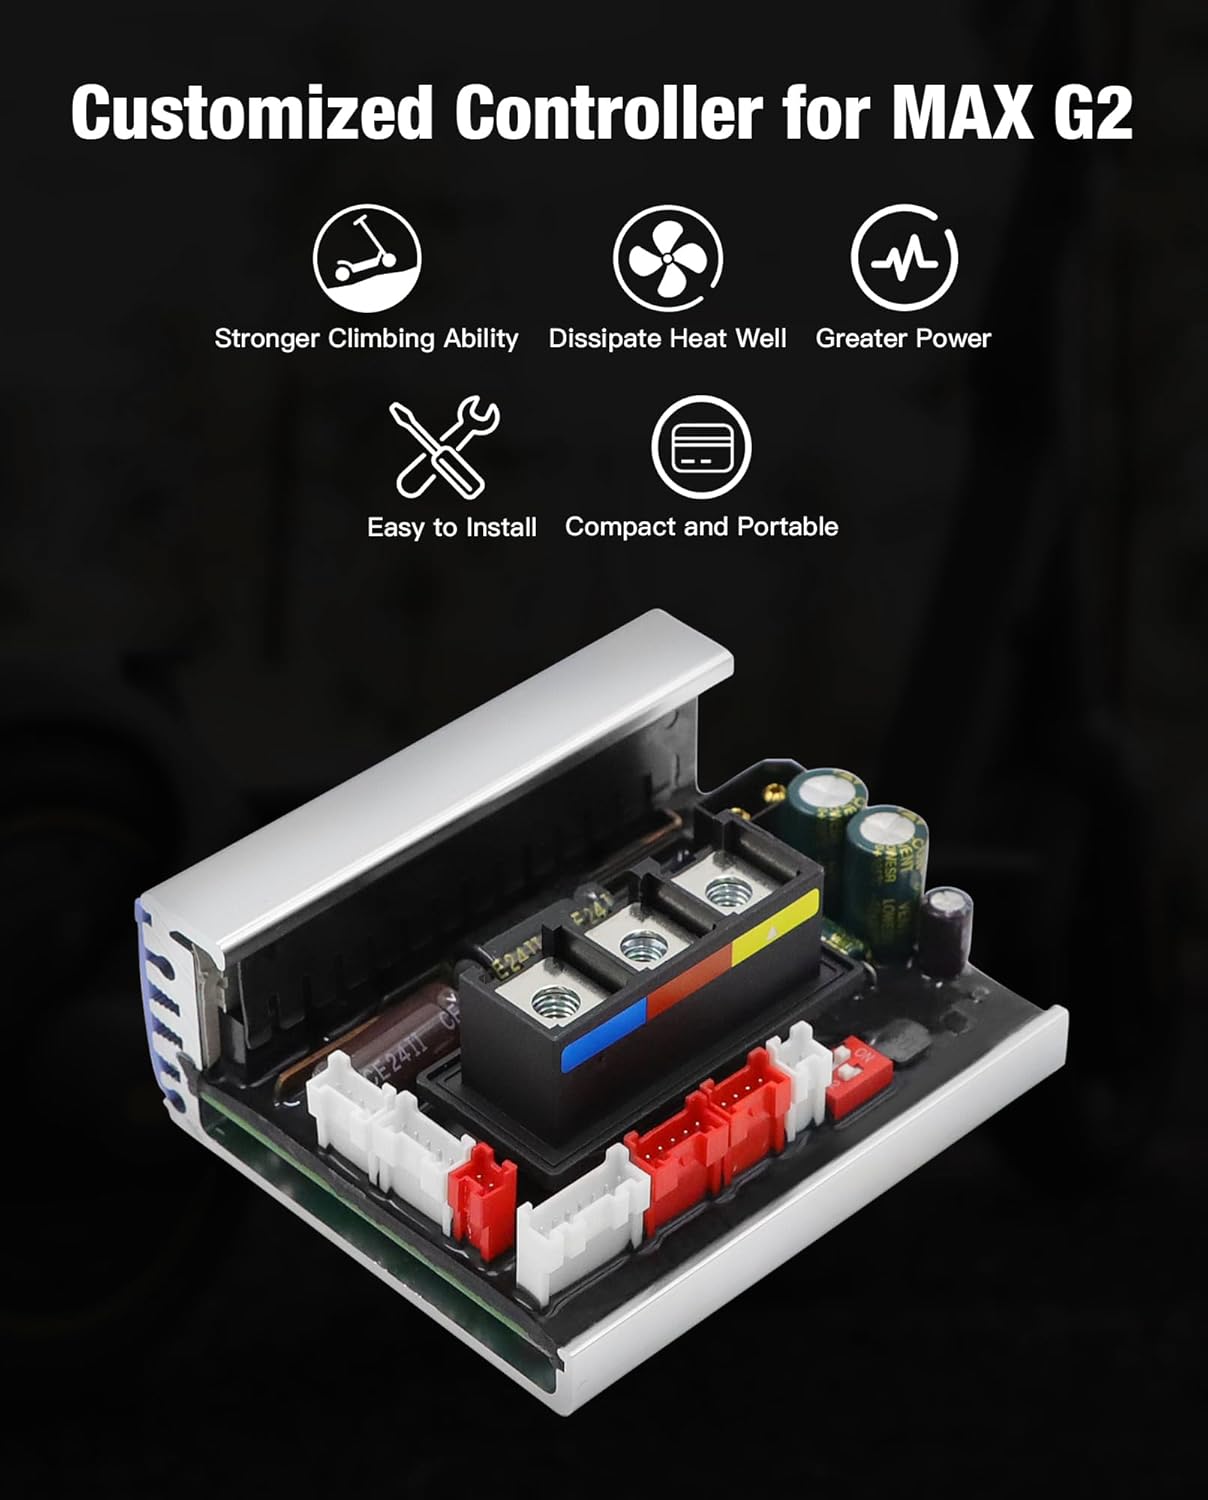
Image: Visual representation of the controller's key features, including stronger climbing ability, efficient heat dissipation, greater power, easy installation, and compact design.

Image: Close-up view of the stio Scooter Controller, highlighting its metal shell and silicone for protection and heat management.
4. Installation Guide
The stio Scooter Controller is designed for straightforward installation. While specific steps may vary slightly depending on your scooter model, the general process involves replacing the existing motherboard circuit board. Ensure all connections are secure and correctly aligned.
Safety Precaution:
- Always disconnect the scooter's power source before beginning any installation or maintenance.
- If you are unsure about any step, consult a qualified technician.
For a visual guide on controller installation, please refer to the video below:
Video: An overview of the scooter controller, demonstrating its components and connections, which can assist with installation understanding.
5. Operating Instructions
5.1 App Functionality
The stio Scooter Controller supports all original Ninebot app functions. No special flashing or modifications are required. Simply use the official Ninebot app as you normally would.
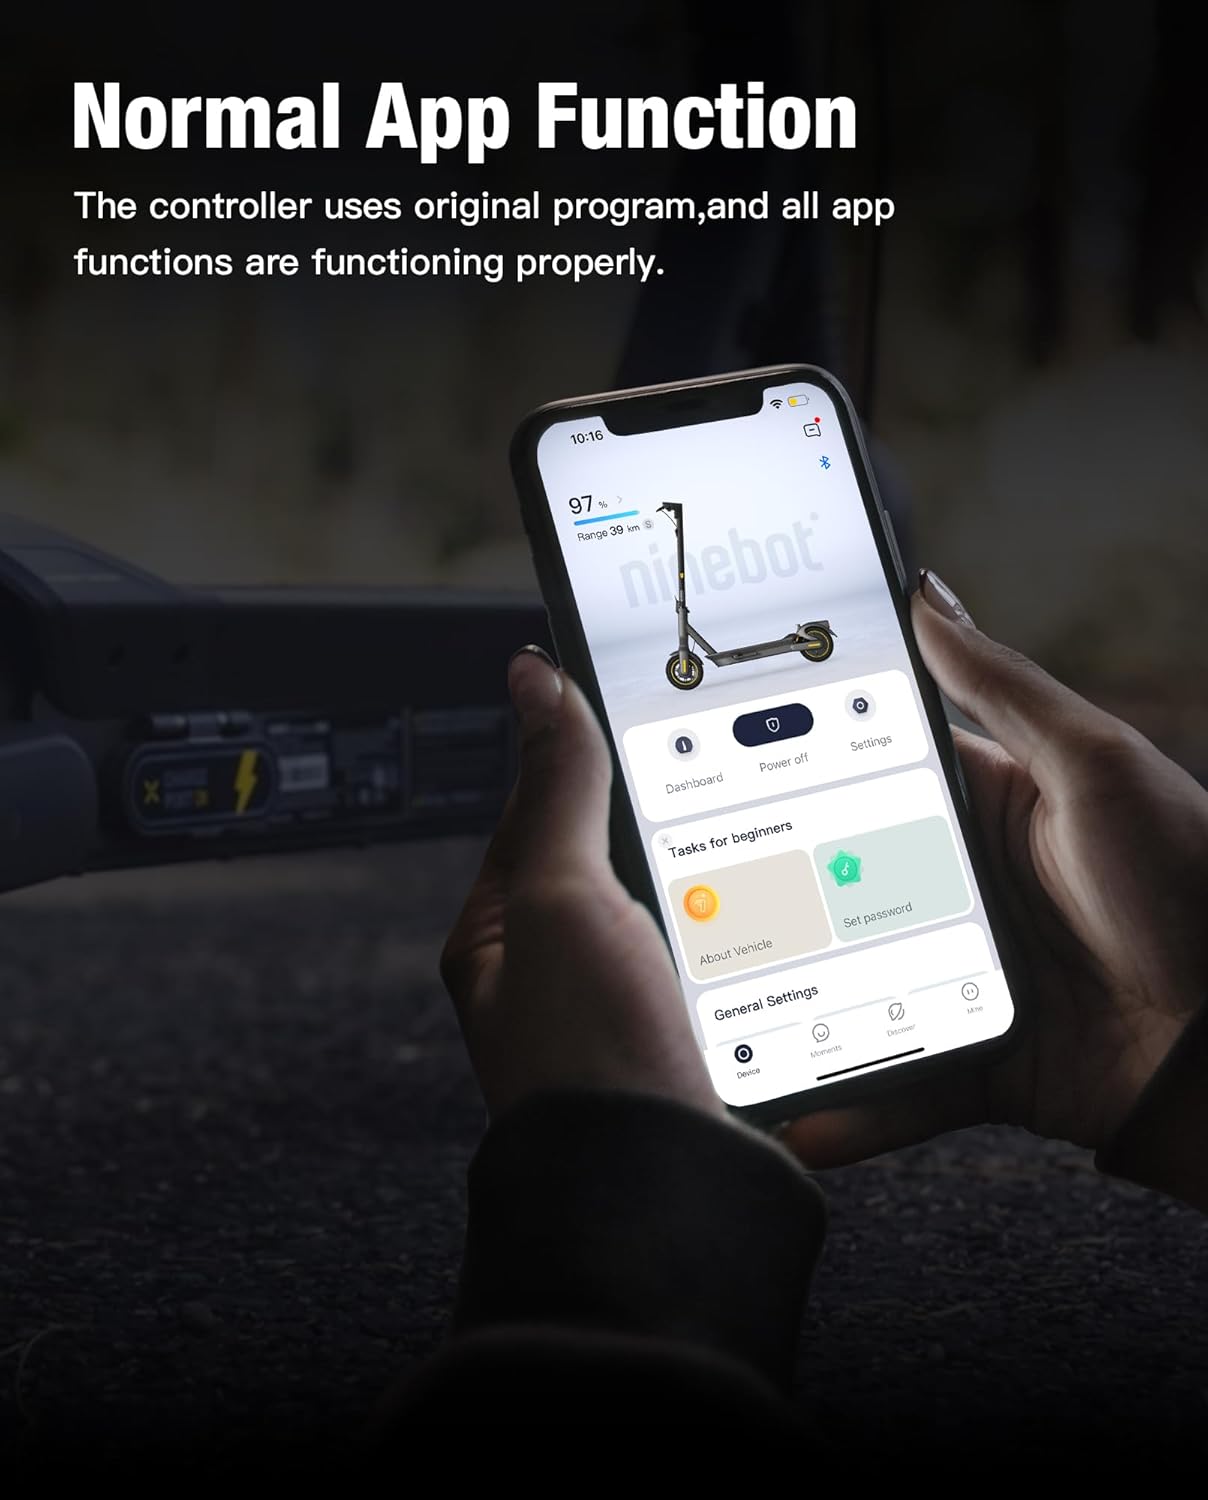
Image: A smartphone displaying the Ninebot app interface, demonstrating normal app functionality with the controller.
5.2 Adjusting Maximum Speed (Up to 35 KM/H)
If your scooter's maximum speed is limited to 32 km/h after controller installation, you can adjust it to 35 km/h through the Ninebot app. Follow these steps:
- Ensure your Ninebot app is updated to the latest version before connecting.
- When connecting the app, select the serial number starting from "01GXA..." for your device.
- Navigate to "More Functions" in the app, then click on "Custom Settings of Sport Mode," and choose "Sport Mode."
- Click "Yes" to confirm, then increase the maximum speed setting to 35 km/h.

Image: Screenshots illustrating steps 1 and 2 for connecting the Ninebot app and selecting the correct device serial number.

Image: Screenshots showing step 3 for navigating to "Custom Settings of Sport Mode" within the Ninebot app.

Image: Screenshots demonstrating step 4 for confirming and increasing the maximum speed to 35 km/h in the Ninebot app.
Note: The actual speed achieved can be influenced by various factors such as acceleration, selected speed mode, rider payload, and remaining battery level. The actual speed may differ slightly from the set value.

Image: A Ninebot MAX G2 scooter with an overlay indicating a boosted acceleration and a maximum speed of 35 KM/H.
6. Product Specifications
| Specification | Detail |
|---|---|
| Brand Name | stio |
| Model Name | MAX G2 Controller |
| Part Number | STIO-127 |
| Material | Aluminum |
| Color | Silver |
| Item Weight | 0.25 Kilograms |
| Package Weight | 0.25 Kilograms |
| Dimensions (L x W x H) | 85mm x 75mm x 36mm (3.35 x 2.95 x 1.4 inches) |
| Included Components | 1 Piece Controller |

Image: The stio Scooter Controller with its key dimensions (length, width, height) clearly indicated.
7. Troubleshooting
7.1 Controller Locked to Another Account
If, after installation, the Ninebot app indicates that the controller is locked to a different account or has pre-existing mileage data, this suggests the controller may have been previously used or improperly reset. In such cases:
- Contact Customer Support: Immediately contact stio customer service or your retailer for assistance. Provide details of the issue and any error messages received.
- Avoid Unauthorized Modifications: Do not attempt to bypass account locks or modify the controller's firmware, as this may void your warranty and could damage the device.
Note: A new controller should not be locked to a previous account or contain mileage data. If this occurs, it indicates a potential product issue that requires resolution through customer support.
8. Warranty and Support
The stio Scooter Controller comes with a 1-Year Warranty. For any issues, questions, or support needs, please contact stio customer service. They are available to assist you with product inquiries, installation guidance, and troubleshooting.
For service protection or to address any problems, please feel free to contact us. Customer service is always online.
You can typically find contact information on the product packaging, the retailer's website, or the stio brand store on Amazon: stio Store on Amazon.
Ask a question about this manual
Ask about setup, troubleshooting, compatibility, parts, safety, or missing instructions. Manuals+ will review the question and use this page’s manual context to help answer it.