bonsaii L418-C
bonsaii L418-C A4 Laminator User Manual
Model: L418-C | Brand: bonsaii
1. Introduction
Thank you for choosing the bonsaii L418-C A4 Laminator. This device is designed for efficient and high-quality lamination of documents and photos, offering features like 100% jam prevention, dual-mode operation for various film thicknesses, and a compact design. Please read this manual thoroughly before use to ensure safe and optimal performance.
2. Safety Instructions
- Always operate the laminator on a stable, flat surface.
- Keep hands and loose clothing away from the feed opening during operation.
- Do not laminate items thicker than the specified maximum (0.5mm total thickness including film).
- Avoid laminating empty pouches or pouches that are not properly sealed.
- Ensure the laminator is unplugged when not in use or during cleaning.
- First Use Note: During the initial few uses, the heating element may release moisture, causing a slight smoke or odor. This is normal and will dissipate after 5-10 minutes of operation. It does not indicate a malfunction.
- It is recommended to allow the machine to rest for 30 minutes after 2 hours of continuous use.
3. Product Overview
Familiarize yourself with the components of your bonsaii L418-C laminator.
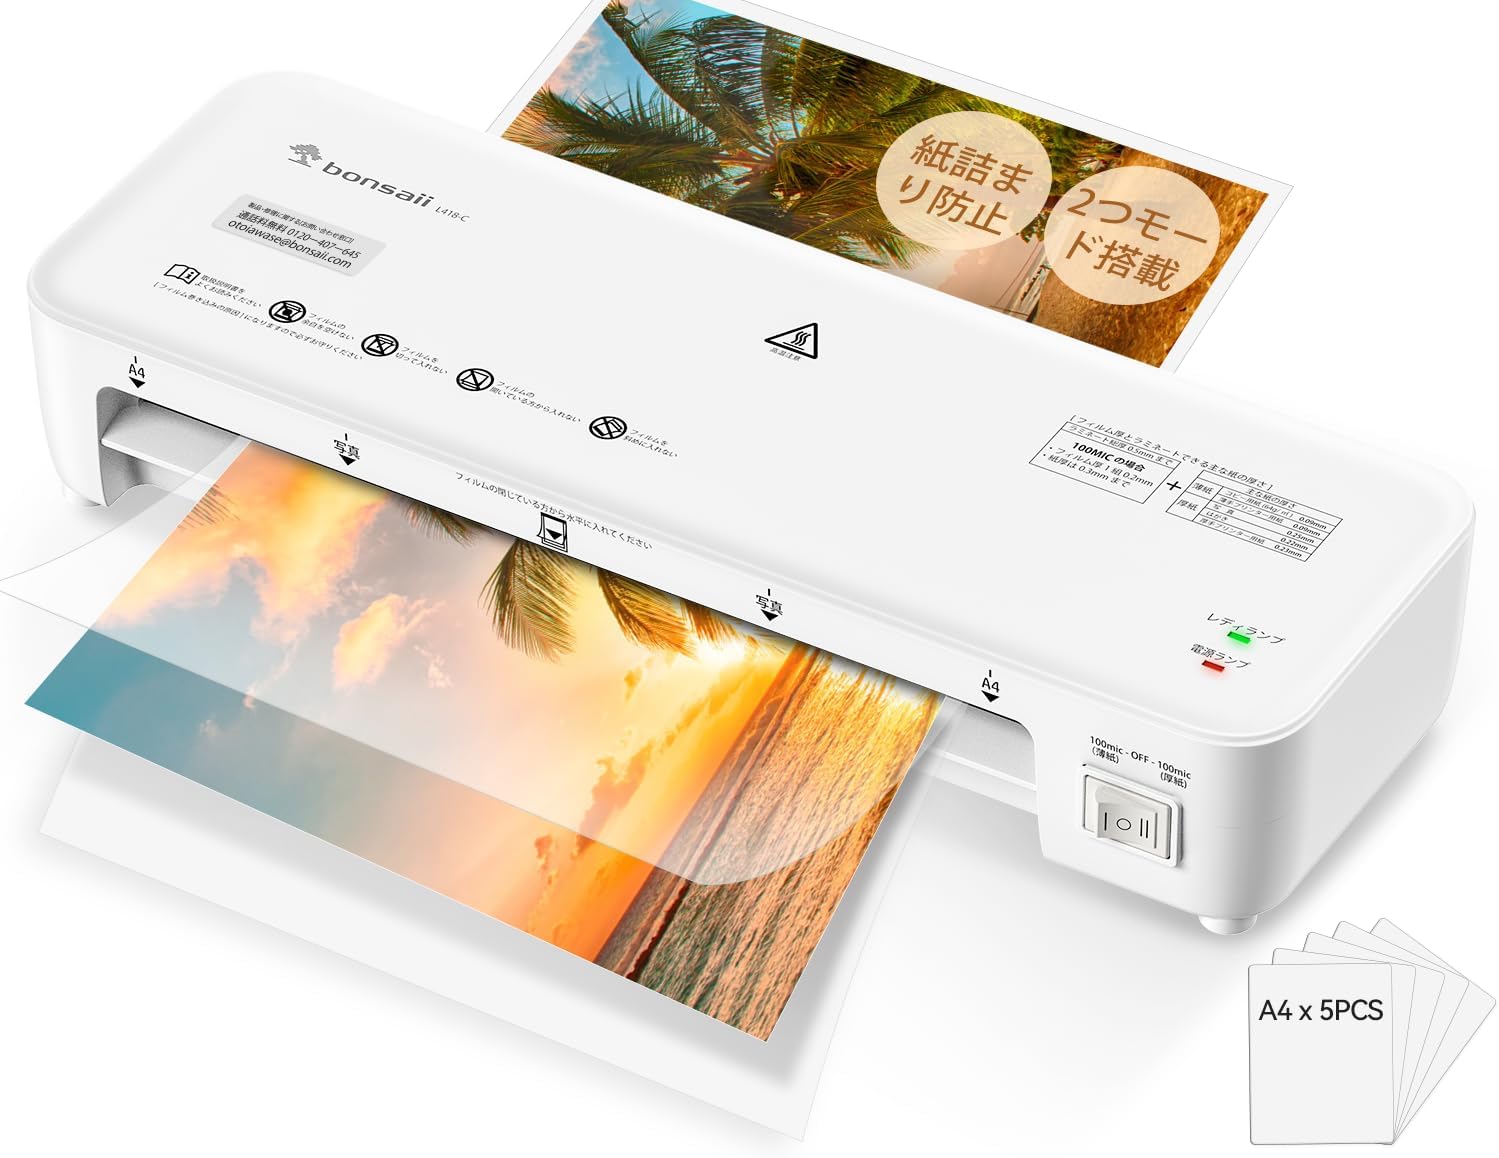
Figure 1: The bonsaii L418-C A4 Laminator in operation, showcasing its compact design and ease of use.
Key Features:
- Power Switch: Turns the device on/off.
- Mode Selection Switch: Allows selection between thin (100mic) and thick (100mic) film modes.
- Ready Indicator (LED): Illuminates green when the laminator is ready for use.
- Power Indicator (LED): Illuminates red when the laminator is powered on.
- Film Entry Slot: Where laminating pouches are inserted.
- Film Exit Slot: Where laminated documents emerge.
- ABS Button: Used to release jammed pouches.
4. Setup
- Place the laminator on a flat, stable, and heat-resistant surface. Ensure there is enough space behind the machine for laminated items to exit freely.
- Plug the power cord into a suitable electrical outlet.
- Turn on the power switch. The red Power LED will illuminate.
5. Operating Instructions
5.1 Warm-up and Mode Selection
- After powering on, select the appropriate mode (Thin or Thick) using the mode selection switch based on your laminating film's thickness.
- The laminator will begin to warm up. This typically takes about 3 minutes. The green Ready LED will illuminate when the machine is ready for lamination.

Figure 2: The mode selection switch allows users to choose between thin (100mic) and thick (100mic) film settings, accommodating various document types.
5.2 Lamination Process
- Place your document or photo inside a laminating pouch, ensuring it is centered and there is an even border around the item.
- Once the Ready LED is green, carefully insert the sealed edge of the laminating pouch into the film entry slot.
- The laminator will automatically feed the pouch through. Do not pull or push the pouch during this process.
- The laminated item will exit from the rear slot. Allow it to cool on a flat surface before handling.

Figure 3: A visual guide demonstrating the simple three-step operation: power on and select mode, insert film, and power off when done.
5.3 Jam Prevention and Resolution
The bonsaii L418-C features a 100% jam prevention system. In the rare event of a jam:
- Press and hold the ABS button to release the rollers and gently pull the pouch out.
- Ensure you always insert the sealed edge of the pouch first. Incorrect insertion can lead to jams.

Figure 4: Detailed view of the internal rollers and film guide, highlighting the innovative jam prevention system for smooth lamination.

Figure 5: Guidance on proper film insertion: always insert the sealed edge first to prevent jams and ensure smooth lamination.
6. Maintenance
- Clean the exterior of the laminator with a soft, dry cloth. Do not use abrasive cleaners or solvents.
- Regularly check the film entry and exit slots for any debris or adhesive residue.
- Store the laminator in a cool, dry place when not in use.
7. Troubleshooting
| Problem | Possible Cause | Solution |
|---|---|---|
| Laminator not turning on | No power supply | Check power cord connection and outlet. |
| Pouch jams | Incorrect insertion, too thick item, or wrong mode. | Press ABS button to release. Ensure sealed edge is inserted first. Check item thickness and mode selection. |
| Bubbles or wavy lamination | Incorrect temperature/speed, old film, or moisture. | Ensure correct mode is selected. Use fresh, high-quality films. Allow machine to warm up fully. |
| Smoke/Odor during first use | Moisture from heating element. | This is normal. It will dissipate after 5-10 minutes. Ensure good ventilation. |
8. Specifications
| Feature | Detail |
|---|---|
| Brand | bonsaii |
| Model Number | L418-C |
| Product Dimensions | 33.2 x 11.2 x 6.2 cm |
| Item Weight | 1.01 kg |
| Lamination Size | Up to A4 |
| Film Thickness Compatibility | 100μm (Thin/Thick modes) |
| Warm-up Time | Approx. 3 minutes |
| Lamination Speed | 270mm/minute |
| Jam Prevention | 100% Jam Zero System |
9. Warranty and Support
bonsaii offers excellent after-sales service and a 1-year product warranty. If you encounter any issues with your product, please do not hesitate to contact us. Our Japanese-speaking customer support team is dedicated to resolving your concerns promptly and courteously.

Figure 6: bonsaii offers dedicated Japanese-speaking customer support, domestic repair services, and a 1-year product warranty for peace of mind.