1. Product Overview
This product provides replacement right and left wheels for compatible Vileda robotic vacuum cleaner models. These wheels are designed to restore optimal mobility and performance to your vacuum cleaner, ensuring it can navigate various terrains effectively.
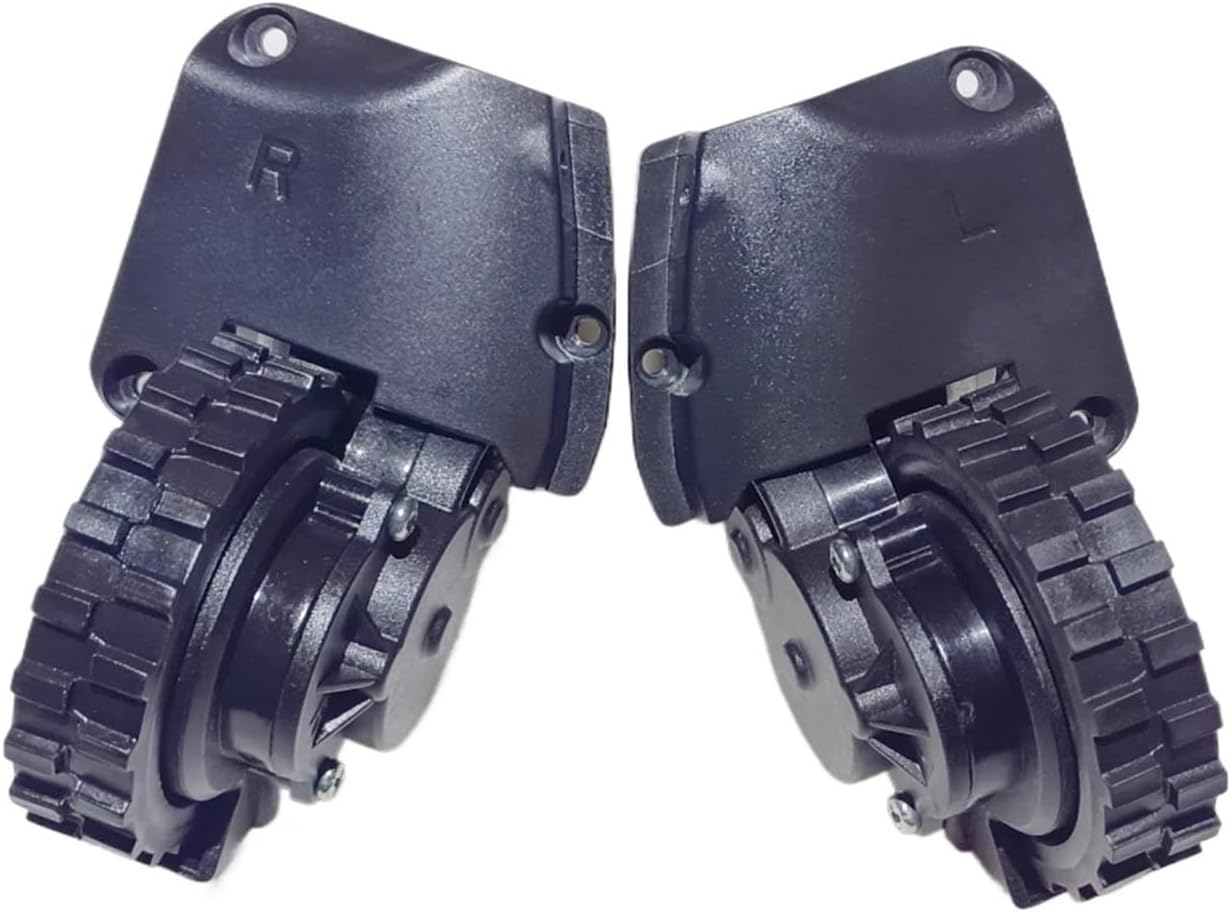
Image 1.1: DFHYTHU Right and Left Replacement Wheels. This image displays both the right and left replacement wheels, highlighting their design and compatibility with Vileda robotic vacuum cleaners.
2. Compatibility
These replacement wheels are compatible with the following Vileda robotic vacuum cleaner models:
- Vileda VR303
- Vileda VR302
- Vileda VR102
- Vileda 201
Ensure your vacuum cleaner model matches one of the listed compatible models before installation.
3. Package Contents
The package includes:
- 1 x Right Replacement Wheel
- 1 x Left Replacement Wheel
4. Installation Instructions
Follow these steps to replace the wheels on your Vileda robotic vacuum cleaner. It is recommended to consult your vacuum cleaner's original manual for specific disassembly instructions if available.
- Power Off and Disconnect: Ensure your robotic vacuum cleaner is powered off and disconnected from its charging base or power source.
- Position the Vacuum: Carefully flip the vacuum cleaner upside down on a clean, soft surface to access the underside.
- Locate Wheels: Identify the wheels that need replacement. Note whether it is the right or left wheel.
- Remove Old Wheel: Depending on your vacuum model, the wheels may be secured by screws or clips. Use an appropriate screwdriver or tool to carefully remove any fasteners. Gently pull or pry the old wheel assembly out.
- Install New Wheel: Align the new replacement wheel (either right or left, as needed) with the corresponding slot on the vacuum cleaner. Push it firmly into place until it clicks or reattach any screws removed in the previous step. Ensure it is securely fastened.
- Repeat for Other Wheel (if necessary): If replacing both wheels, repeat steps 3-5 for the other side.
- Test Functionality: Flip the vacuum cleaner back to its upright position. Power it on and perform a short test run to ensure both new wheels are functioning correctly and the vacuum moves smoothly.


Image 4.1: DFHYTHU Right and Left Replacement Wheels. These images show the individual right and left replacement wheels, which are installed into the vacuum cleaner's chassis.
5. Maintenance
To ensure the longevity and optimal performance of your replacement wheels:
- Regular Cleaning: Periodically inspect the wheels and their axles for tangled hair, dust, or debris. Use a small brush or cloth to clean them.
- Avoid Obstructions: Prevent the vacuum cleaner from repeatedly running over sharp objects or excessive debris that could damage the wheels.
- Storage: Store the vacuum cleaner in a clean, dry environment when not in use.
6. Troubleshooting
If you encounter issues after replacing the wheels, consider the following:
- Wheel Not Turning: Check if the wheel is properly seated and secured. Ensure no debris is obstructing its movement.
- Vacuum Moving Unevenly: Verify that both wheels are installed correctly and are free of obstructions. Ensure the correct left and right wheels are in their respective positions.
- Unusual Noises: Inspect the wheel assembly for any loose parts or foreign objects that might be causing friction.
If problems persist, refer to your vacuum cleaner's original troubleshooting guide or contact the seller for further assistance.
7. Specifications
| Item Weight | 1.76 ounces |
| Package Dimensions | 1.18 x 0.79 x 0.39 inches |
| Compatible Models | Vileda VR303, VR302, VR102, 201 |
| Material | Durable, high-quality materials (as per product description) |
8. Warranty and Support
For warranty information or product support, please refer to the product packaging or contact the seller directly through the platform where the purchase was made. Keep your purchase receipt as proof of purchase.