1. Introduction
Thank you for choosing the Primagran Kitchen Faucet. This manual provides essential information for the safe installation, operation, and maintenance of your new faucet. Please read these instructions carefully before installation and keep them for future reference.
2. Safety Information
- Always turn off the main water supply before beginning any installation or maintenance.
- Ensure all connections are secure to prevent leaks.
- If you are unsure about any part of the installation, consult a qualified plumber.
- Do not use abrasive cleaners or harsh chemicals on the faucet's surface, as this may damage the finish.
- Protect the faucet from freezing temperatures.
3. Package Contents
Verify that all components are present before starting the installation:
- Kitchen Faucet Body with Pull-Out Spray
- Hot and Cold Water Supply Hoses
- Mounting Hardware (Nut, Washer, Stabilizer)
- Counterweight for Pull-Out Hose

Figure 3.1: Included components for installation. This image displays the main faucet unit, two braided supply lines, a black counterweight, and a brass mounting nut, all necessary for proper setup.
4. Specifications
| Brand | Primagran |
| Model Number | 5905683126427 |
| Color | White |
| Material | Steel / Stainless Steel |
| Mounting Type | Deck Mount |
| Number of Handles | 1 (Lever) |
| Number of Holes Required | 1 |
| Spout Design | 360-Degree Swivel |
| Features | Dual Spray Function, Pull-Out Spray Head |

Figure 4.1: Faucet dimensions. This diagram illustrates the key measurements of the faucet, including its total height of 418mm, spout reach of 234mm, and base diameter of 46mm.
5. Installation
This faucet is designed for single-hole, deck-mount installation.
- Prepare the Sink/Countertop: Ensure the mounting hole is clean and free of debris. The recommended hole diameter is typically 35-38mm.
- Install the Faucet: Insert the faucet body into the mounting hole. Ensure the base gasket is properly seated between the faucet and the sink/countertop.
- Secure the Faucet: From underneath the sink, slide the rubber washer, metal washer, and mounting nut onto the threaded shank. Tighten the nut securely with a basin wrench, ensuring the faucet is aligned correctly.
- Connect Water Supply Lines: Connect the hot and cold water supply hoses to the corresponding hot and cold water supply valves. The hot water line is typically on the left, and the cold water line on the right. Hand-tighten first, then use a wrench for a quarter turn. Do not overtighten.
- Attach Counterweight: Locate the 'PULL' marking on the pull-out hose. Attach the counterweight to the pull-out hose at the indicated position, typically 6-8 inches from the spray head connection point, to ensure smooth retraction.
- Test for Leaks: Turn on the main water supply and check all connections for leaks. Operate the faucet to ensure proper water flow and temperature control.
6. Operation
Your Primagran kitchen faucet offers versatile functionality for daily kitchen tasks.
6.1 Water Flow and Temperature Control
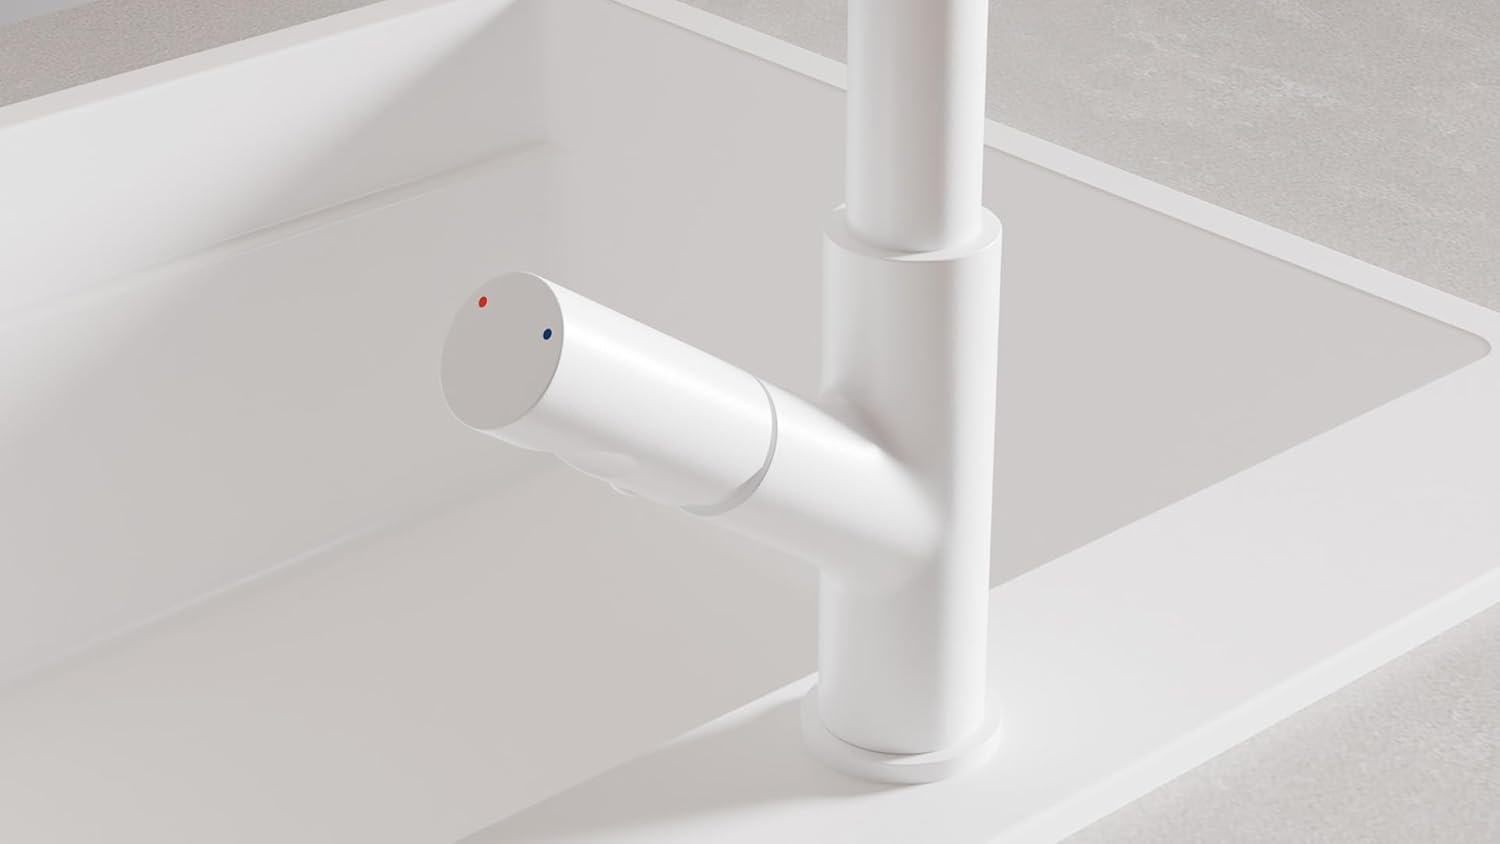
Figure 6.1: Faucet handle with temperature indicators. The single lever handle features a red dot for hot water and a blue dot for cold water, indicating the direction for temperature adjustment.
- Turn On/Off: Lift the single lever handle to turn on the water. Push it down to turn off.
- Adjust Temperature: Move the handle to the left for hot water (indicated by a red dot) and to the right for cold water (indicated by a blue dot).
- Adjust Flow: The further you lift the handle, the greater the water flow.
6.2 Pull-Out Spray Head
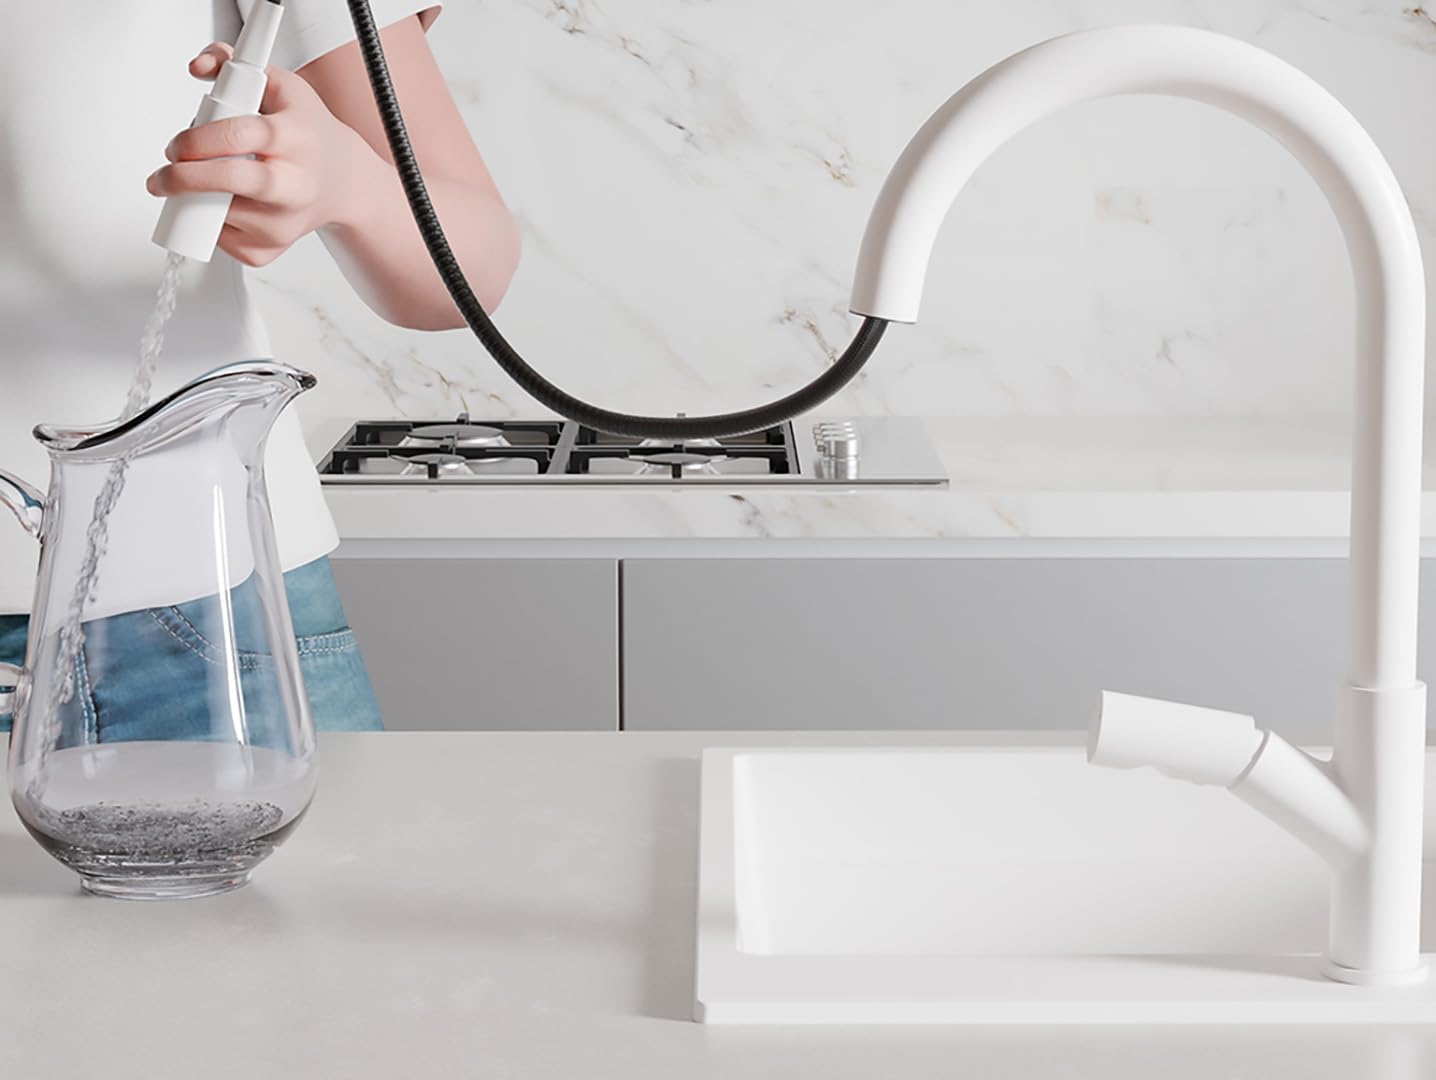
Figure 6.2: Using the pull-out spray. This image shows a user extending the spray head from the faucet to fill a pitcher, demonstrating its flexibility and reach.

Figure 6.3: Maneuvering the spray head. An aerial shot shows the pull-out spray being used to rinse the sink, highlighting its maneuverability for various tasks.
- Gently pull the spray head from the faucet spout to extend the hose.
- After use, guide the spray head back into the spout. The counterweight will assist in smooth retraction.
6.3 Dual Spray Function

Figure 6.4: Dual spray patterns. This image shows the two distinct water flow options: a wide, aerated spray for rinsing and a powerful, concentrated stream for filling or heavy cleaning.

Figure 6.5: Spray head detail. A detailed view of the spray head highlights the button used to toggle between the two available spray functions.
- Press the button located on the spray head to switch between the two available spray patterns: a wide spray for rinsing and a concentrated stream for filling.
7. Maintenance
Regular cleaning and maintenance will ensure the longevity and optimal performance of your faucet.
- Cleaning the Finish: Clean the faucet regularly with a soft cloth and mild soap. Rinse thoroughly with clean water and dry with a soft cloth to prevent water spots.
- Avoid Harsh Cleaners: Do not use abrasive cleaners, steel wool, or cleaners containing alcohol, ammonia, bleach, or acid, as these can damage the finish.
- Cleaning the Aerator: If water flow decreases or becomes irregular, the aerator may be clogged. Unscrew the aerator from the spray head, clean any debris, and rinse it before reattaching.
8. Troubleshooting
| Problem | Possible Cause | Solution |
|---|---|---|
| Low water flow | Clogged aerator; partially closed shut-off valve; kinked supply line. | Clean the aerator; ensure shut-off valves are fully open; check supply lines for kinks. |
| Leaks from faucet base | Loose mounting nut; damaged base gasket. | Tighten mounting nut; replace base gasket if damaged. |
| Leaks from spray head/hose | Loose connection; damaged O-rings or hose. | Tighten connections; replace O-rings or hose if damaged. |
| Water temperature issues | Incorrectly connected supply lines; issue with water heater. | Verify hot and cold lines are connected correctly; consult water heater manual. |
9. Warranty and Support
Primagran products are manufactured to high-quality standards. For specific warranty details, please refer to the warranty card included with your purchase or visit the official Primagran website. If you encounter any issues or require technical assistance, please contact Primagran customer support. Have your model number (5905683126427) ready when contacting support.