256002S000 (256002S001)
Instruction Manual: Genuine OEM Integrated Thermostat Housing Module
Model: 25600-2S000 (25600-2S001)
1. Introduction
This manual provides essential information for the proper installation, operation, and maintenance of the Genuine OEM Integrated Thermostat Housing Module, part numbers 25600-2S000 and 25600-2S001. This component is crucial for regulating engine coolant temperature, ensuring optimal engine performance and longevity.
This product is a direct replacement part, designed to meet the exact specifications of the original equipment manufacturer (OEM) for compatible vehicles.
2. Product Features
- Genuine OEM Part: Engineered to precise factory standards for a perfect fit and reliable function.
- Durable Construction: Manufactured from high-quality materials to withstand harsh engine bay conditions, including extreme temperatures and vibrations.
- Premium Quality: Ensures long-lasting service and consistent performance in engine cooling systems.
- Easy Installation: Designed as a direct replacement, simplifying the installation process without requiring modifications.
- Exact Match: Identical to the part originally supplied with your vehicle, ensuring compatibility and performance.
3. Package Contents
Upon opening the package, verify that all components are present and undamaged. The package should contain:
- One (1) Genuine OEM Integrated Thermostat Housing Module (Part No. 25600-2S000 or 25600-2S001)
- Original manufacturer packaging
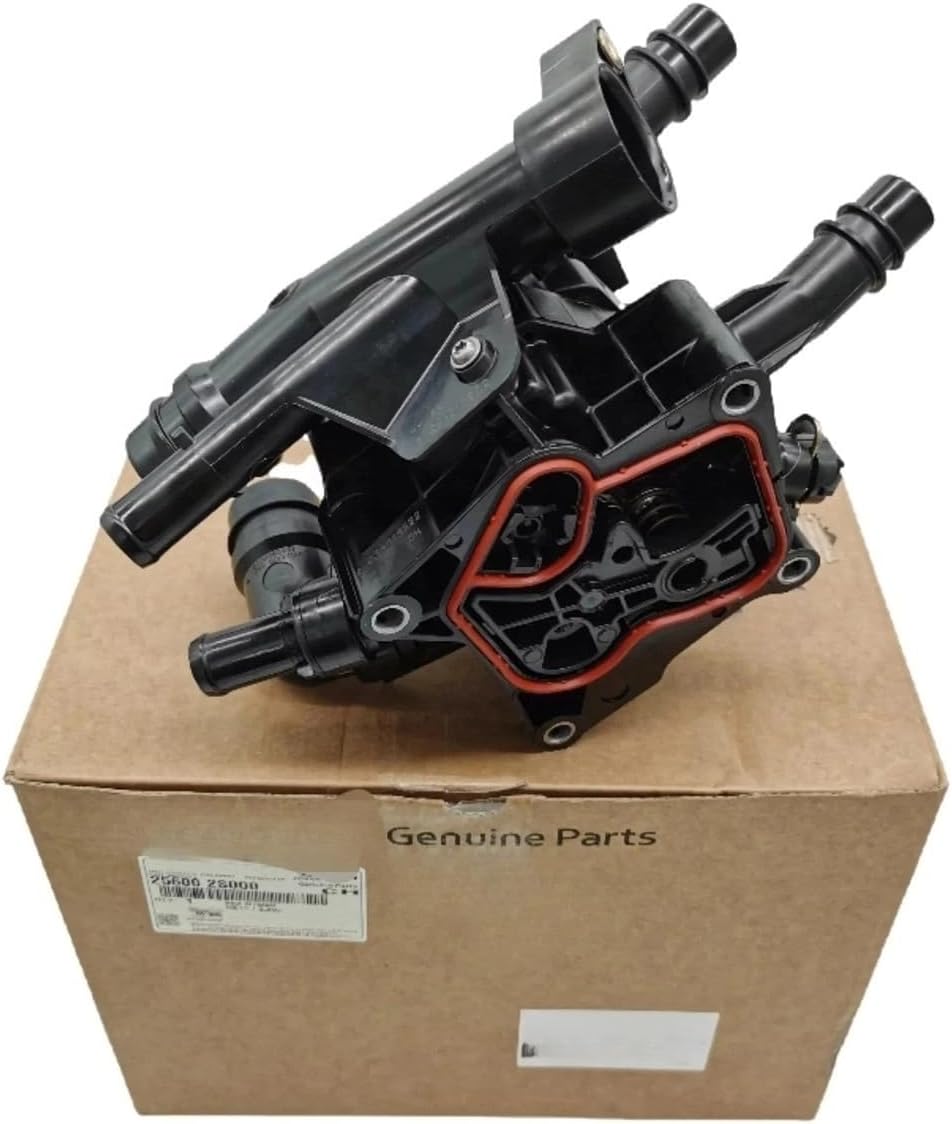
Figure 1: The thermostat housing module as received in its original packaging, showing the part number label.
4. Vehicle Compatibility
This Integrated Thermostat Housing Module is compatible with the following vehicle models:
- Hyundai Sonata (2020-2024 models)
It is recommended to verify the part number on your existing thermostat housing or consult your vehicle's service manual to ensure exact compatibility before installation.
5. Installation Instructions
Disclaimer: Installation of automotive components can be complex and may require specialized tools and knowledge. If you are not confident in your ability to perform this installation, it is highly recommended to seek assistance from a qualified automotive technician.
5.1. Safety Precautions
- Ensure the engine is completely cool before beginning work to avoid burns from hot coolant or engine components.
- Disconnect the vehicle's negative battery terminal to prevent electrical shorts.
- Wear appropriate personal protective equipment, including safety glasses and gloves.
- Have a drain pan ready to collect coolant.
5.2. Required Tools (Typical)
- Socket wrench set
- Pliers (for hose clamps)
- Screwdrivers
- Coolant drain pan
- New engine coolant (compatible with your vehicle)
5.3. Installation Steps (General Guide)
- Drain Coolant: Locate the radiator drain plug and drain the engine coolant into a suitable container.
- Locate Thermostat Housing: Identify the existing thermostat housing on the engine. It is typically located near the engine block where the upper radiator hose connects.
- Disconnect Hoses and Sensors: Carefully disconnect all hoses attached to the thermostat housing. Use pliers for hose clamps. Disconnect any electrical connectors for sensors integrated into the housing.
- Remove Old Housing: Unbolt the old thermostat housing from the engine block. Note the position and orientation of the housing and any gaskets.
- Clean Mounting Surface: Thoroughly clean the engine block's mounting surface to ensure a proper seal with the new housing. Remove any old gasket material.
- Install New Housing: Position the new Genuine OEM Integrated Thermostat Housing Module (25600-2S000 or 25600-2S001) with its new gasket (if separate) onto the engine block. Ensure correct orientation.
- Secure Housing: Install and tighten the bolts to the manufacturer's specified torque settings. Do not overtighten.
- Reconnect Hoses and Sensors: Reconnect all coolant hoses and electrical connectors securely. Ensure hose clamps are properly seated.
- Refill Coolant: Refill the cooling system with the appropriate type and amount of new engine coolant.
- Bleed Air: Start the engine and allow it to reach operating temperature. Monitor the coolant level and add more as needed to bleed any air from the system. Check for leaks.
- Reconnect Battery: Reconnect the negative battery terminal.

Figure 2: Top view of the thermostat housing module, highlighting the various hose connections and sensor ports for proper installation.
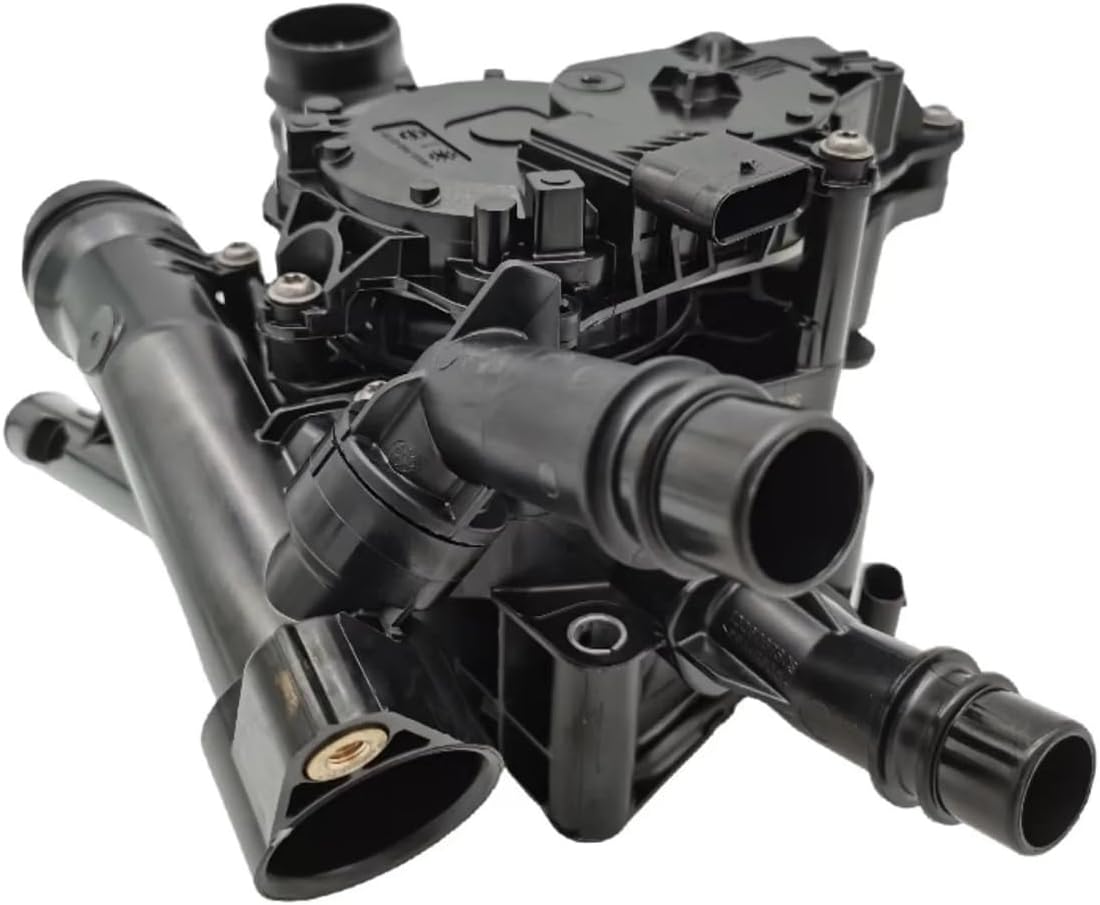
Figure 3: Side view of the thermostat housing module, illustrating the mounting points and the general structure of the internal components.

Figure 4: Angled view of the thermostat housing module, clearly showing the red gasket and the opening for the thermostat mechanism.

Figure 5: Bottom view of the thermostat housing module, revealing additional ports and mounting points critical for secure installation.
6. Operation
The integrated thermostat housing module operates automatically to regulate the engine's coolant temperature. When the engine is cold, the thermostat remains closed, allowing the engine to warm up quickly. Once the coolant reaches the optimal operating temperature, the thermostat opens, allowing coolant to flow through the radiator for cooling.
Proper functioning of the thermostat is essential for fuel efficiency, emissions control, and preventing engine overheating or undercooling.
7. Maintenance
The thermostat housing module itself requires no routine maintenance. However, regular maintenance of your vehicle's cooling system is crucial for its longevity and proper function:
- Coolant Level Check: Regularly check the coolant level in the reservoir and top up as needed with the correct type of coolant.
- Coolant Flush: Follow your vehicle manufacturer's recommendations for coolant flush and replacement intervals. This helps prevent corrosion and buildup that can affect thermostat operation.
- Hose Inspection: Periodically inspect all coolant hoses for cracks, leaks, or swelling. Replace any damaged hoses promptly.
- Leak Detection: Be vigilant for any signs of coolant leaks around the thermostat housing or other cooling system components.
8. Troubleshooting
If you experience issues with your vehicle's cooling system after installing this part, consider the following common problems and solutions:
| Problem | Possible Cause | Solution |
|---|---|---|
| Engine Overheating | Low coolant level, air in cooling system, faulty thermostat (stuck closed), clogged radiator. | Check coolant level and refill. Bleed air from system. Inspect thermostat function (if accessible). Check radiator for obstructions. |
| Engine Not Reaching Operating Temperature (Running Cold) | Faulty thermostat (stuck open). | Replace thermostat if confirmed stuck open. |
| Coolant Leaks Around Housing | Improperly seated gasket, loose bolts, damaged housing during installation, damaged hose or clamp. | Check bolt torque. Inspect gasket for proper seating. Verify hose connections and clamps. If housing is damaged, replace it. |
| Check Engine Light (CEL) Related to Cooling System | Faulty temperature sensor, wiring issue, thermostat malfunction. | Scan for diagnostic trouble codes (DTCs). Inspect sensor connections and wiring. Consult a professional for diagnosis. |
If troubleshooting steps do not resolve the issue, it is recommended to consult a certified automotive technician for further diagnosis and repair.
9. Specifications
| Attribute | Detail |
|---|---|
| Brand | Generic (OEM Equivalent) |
| Model Name / Part Numbers | 25600-2S000, 25600-2S001 |
| Manufacturer | Generic |
| Color | Black |
| Item Weight | Approximately 1 pound (0.45 kg) |
| Package Dimensions | Approximately 1 x 1 x 1 inches (2.54 x 2.54 x 2.54 cm) - Note: These dimensions appear to be placeholders and may not reflect actual product size. |
| Country of Origin | Korea, Republic of |
| Mounting Type | Surface Mount |
| Compatibility | Hyundai Sonata 2020-2024 |
10. Warranty and Support
Specific warranty information for this product is not provided in the available documentation. For details regarding warranty coverage or technical support, please refer to the seller or the original manufacturer of the part.
For general inquiries or assistance with installation, it is recommended to consult a professional automotive technician or refer to a comprehensive vehicle service manual for your specific Hyundai Sonata model.
no relevant documents
Ask a question about this manual
Ask about setup, troubleshooting, compatibility, parts, safety, or missing instructions. Manuals+ will review the question and use this page’s manual context to help answer it.