1. Introduction
This manual provides essential instructions for the proper installation, operation, and maintenance of your ENOIAMYF Dust Cup Replacement for the Dreame R10 Handheld Cordless Vacuum Cleaner. This accessory is designed to restore your vacuum's dust collection capabilities, ensuring continued optimal performance. Please read this manual thoroughly before installation and retain it for future reference.
2. Safety Information
Important Safety Warning:
- To reduce the risk of electric shock, DO NOT rinse the dust cup with water.
- Always wipe the dust cup with a soft, dry cloth for cleaning.
- Ensure the vacuum cleaner is powered off and unplugged before attempting any installation or maintenance.
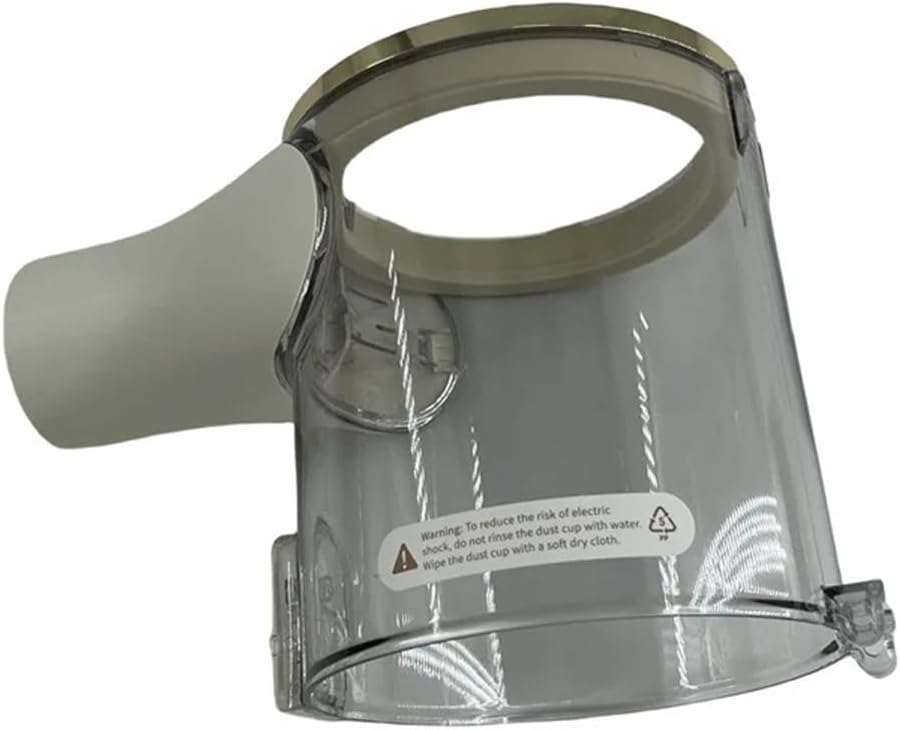
This image displays the transparent dust cup replacement part for the Dreame R10 handheld cordless vacuum cleaner. A visible warning label on the side advises against rinsing the cup with water and suggests wiping it with a soft, dry cloth to prevent electric shock.
3. Package Contents
Verify that all items are present in your package:
- 1 x Dust Cup Replacement for Dreame R10

The dust cup replacement is shown with a blue label clearly stating 'For R10', confirming its compatibility with the Dreame R10 vacuum cleaner model.
4. Installation Instructions
Follow these steps to replace the dust cup on your Dreame R10 vacuum cleaner:
- Power Off: Ensure your Dreame R10 vacuum cleaner is turned off and disconnected from its charging base or power source.
- Remove Old Dust Cup: Locate the release mechanism for the existing dust cup on your vacuum cleaner. Typically, this involves pressing a button or latch to detach the cup from the main body. Carefully remove the old dust cup.
- Prepare New Dust Cup: Inspect the new dust cup for any damage. Ensure the connection points are clean and free of debris.
- Align and Attach: Align the new dust cup with the corresponding attachment points on the vacuum cleaner body. Gently push the dust cup into place until you hear a click, indicating it is securely locked.
- Verify Installation: Lightly tug on the dust cup to ensure it is firmly attached and does not wobble.

A view from the bottom of the dust cup, highlighting the circular connection point and screw holes where it attaches to the main vacuum unit. This shows the interface for secure installation.
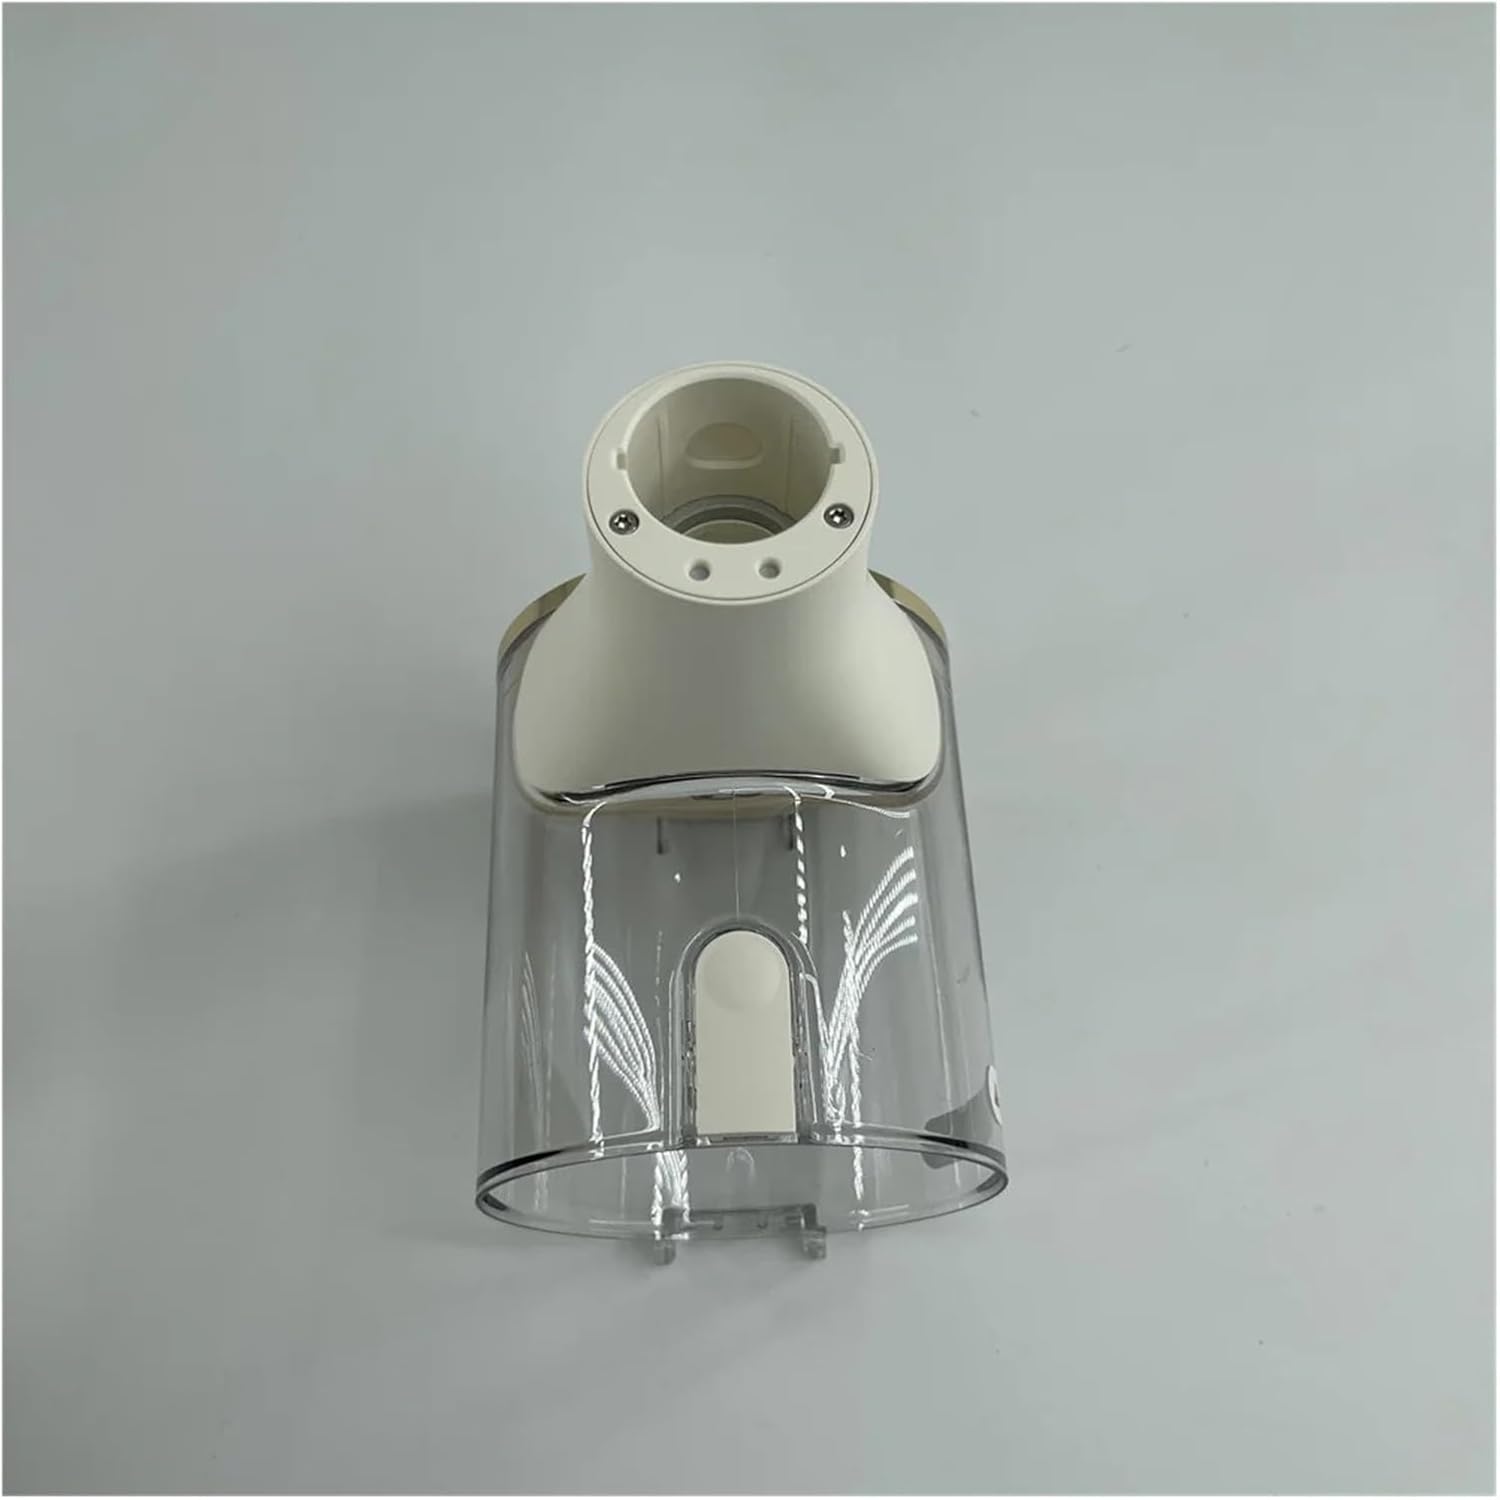
This image provides a side perspective of the dust cup, illustrating the specific attachment points and grooves designed to securely lock the cup into the Dreame R10 vacuum cleaner body.
5. Operating Instructions
Once the dust cup is securely installed, the Dreame R10 vacuum cleaner can be operated as usual. The new dust cup functions identically to the original, collecting dust and debris during vacuuming. Monitor the dust level through the transparent material.
6. Maintenance
Regular maintenance of the dust cup is crucial for maintaining your vacuum cleaner's performance and longevity.
- Emptying: Empty the dust cup regularly, ideally after each use or when the debris reaches the 'MAX' fill line.
- Cleaning: As per the safety warning, DO NOT wash the dust cup with water. Instead, wipe the interior and exterior surfaces with a soft, dry cloth to remove dust and grime.
- Inspection: Periodically inspect the dust cup for any cracks or damage that could affect its sealing capabilities.
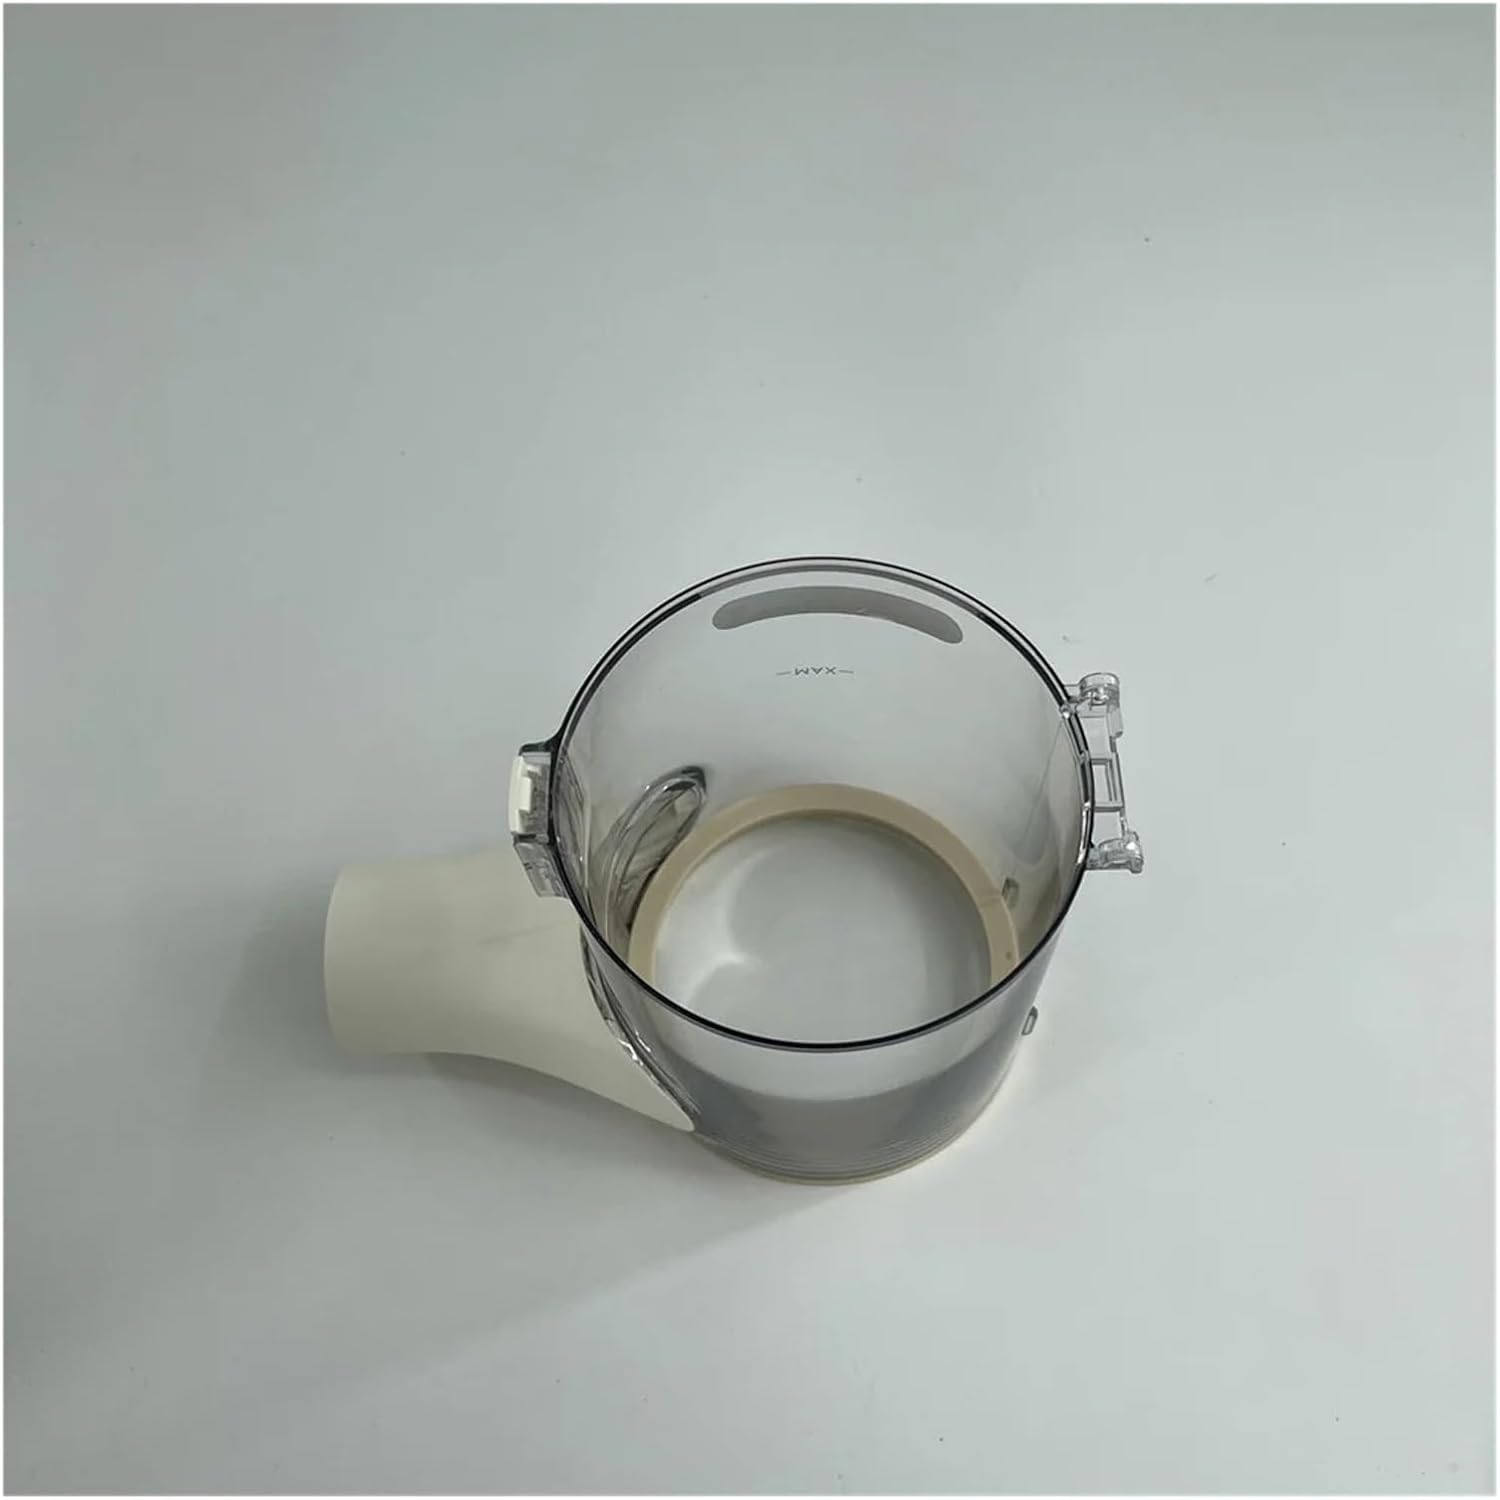
An overhead view looking into the dust cup, revealing the interior and a 'MAX' fill line indicator. This line serves as a guide for when the dust cup should be emptied to maintain optimal vacuum performance.
7. Troubleshooting
If you encounter issues with your new dust cup, consider the following:
- Dust Cup Not Fitting: Ensure the dust cup is correctly aligned with the vacuum's attachment points. Apply gentle, even pressure until it clicks into place. Do not force it.
- Reduced Suction: A full dust cup can reduce suction. Empty the dust cup and clean it as per maintenance instructions. Also, check other vacuum components like filters and nozzles for blockages.
- Dust Leakage: Ensure the dust cup is fully sealed and properly attached. Inspect for any visible cracks or damage to the cup itself or its seals.
8. Specifications
| Feature | Detail |
|---|---|
| Model Number | R10 (Compatible) |
| Type | Vacuum Cleaner Parts |
| Item Weight | 1.76 ounces |
| Package Dimensions | 0.39 x 0.39 x 0.39 inches |
| Number of Pieces | 1 |
9. Customer Support
For any questions regarding this product, installation, or troubleshooting, please contact our customer service. We are committed to providing assistance and will reply to your inquiries within 24 hours.
Thank you for choosing ENOIAMYF products.