1. Introduction
This manual provides essential information for the proper installation, use, and maintenance of your AZJSCNBE LED Backlight Strip. This product is designed as a replacement part for the backlight system in various 55-inch television models. Please read these instructions carefully before proceeding with any installation to ensure safe and correct operation.
2. Important Safety Information
WARNING: Installation of this product requires disassembling a television and working with internal electronic components. Improper installation can result in electric shock, damage to the television, or personal injury. It is highly recommended that installation be performed by a qualified technician.
- Always disconnect the television from the main power supply before beginning any installation or maintenance.
- Wear appropriate personal protective equipment, including anti-static gloves, to prevent electrostatic discharge (ESD) damage to sensitive electronic components.
- Handle LED strips by their edges to avoid damaging the LEDs or circuit board.
- Ensure all connections are secure and correctly aligned before reassembling the television and restoring power.
- Do not bend, twist, or apply excessive force to the LED strips.
3. Package Contents
Verify that all components are present and undamaged upon opening the package.
- 1 set of LED Backlight Strips (2 pieces: 1 R-strip and 1 L-strip)

Image 3.1: Contents of the package, showing two LED backlight strips.
4. Product Specifications
| Model Number | huxinxin |
| Brand | AZJSCNBE |
| Length | 605 mm |
| Number of LED Beads per Strip | 60 |
| Individual LED Lamp Voltage | 6V |
| Package Includes | 1 set (2 pcs: R+L LED Strip) |
| Item Weight | 1.76 ounces (50 Grams) |
| Package Dimensions | 1.18 x 0.79 x 0.39 inches |
4.1. Compatibility
This LED backlight strip set is compatible with various 55-inch TV models. Please verify your TV's existing LED strip part numbers against the following compatible models:
- 55UH6550
- 55UH671V
- 55UH6880
- 55UH6500
- 55UH6507
- 55UH6509
- 55UH6800
- 55UH652V
- 55UH664V
- 55UH676V
- V16 ART3 2465 2466
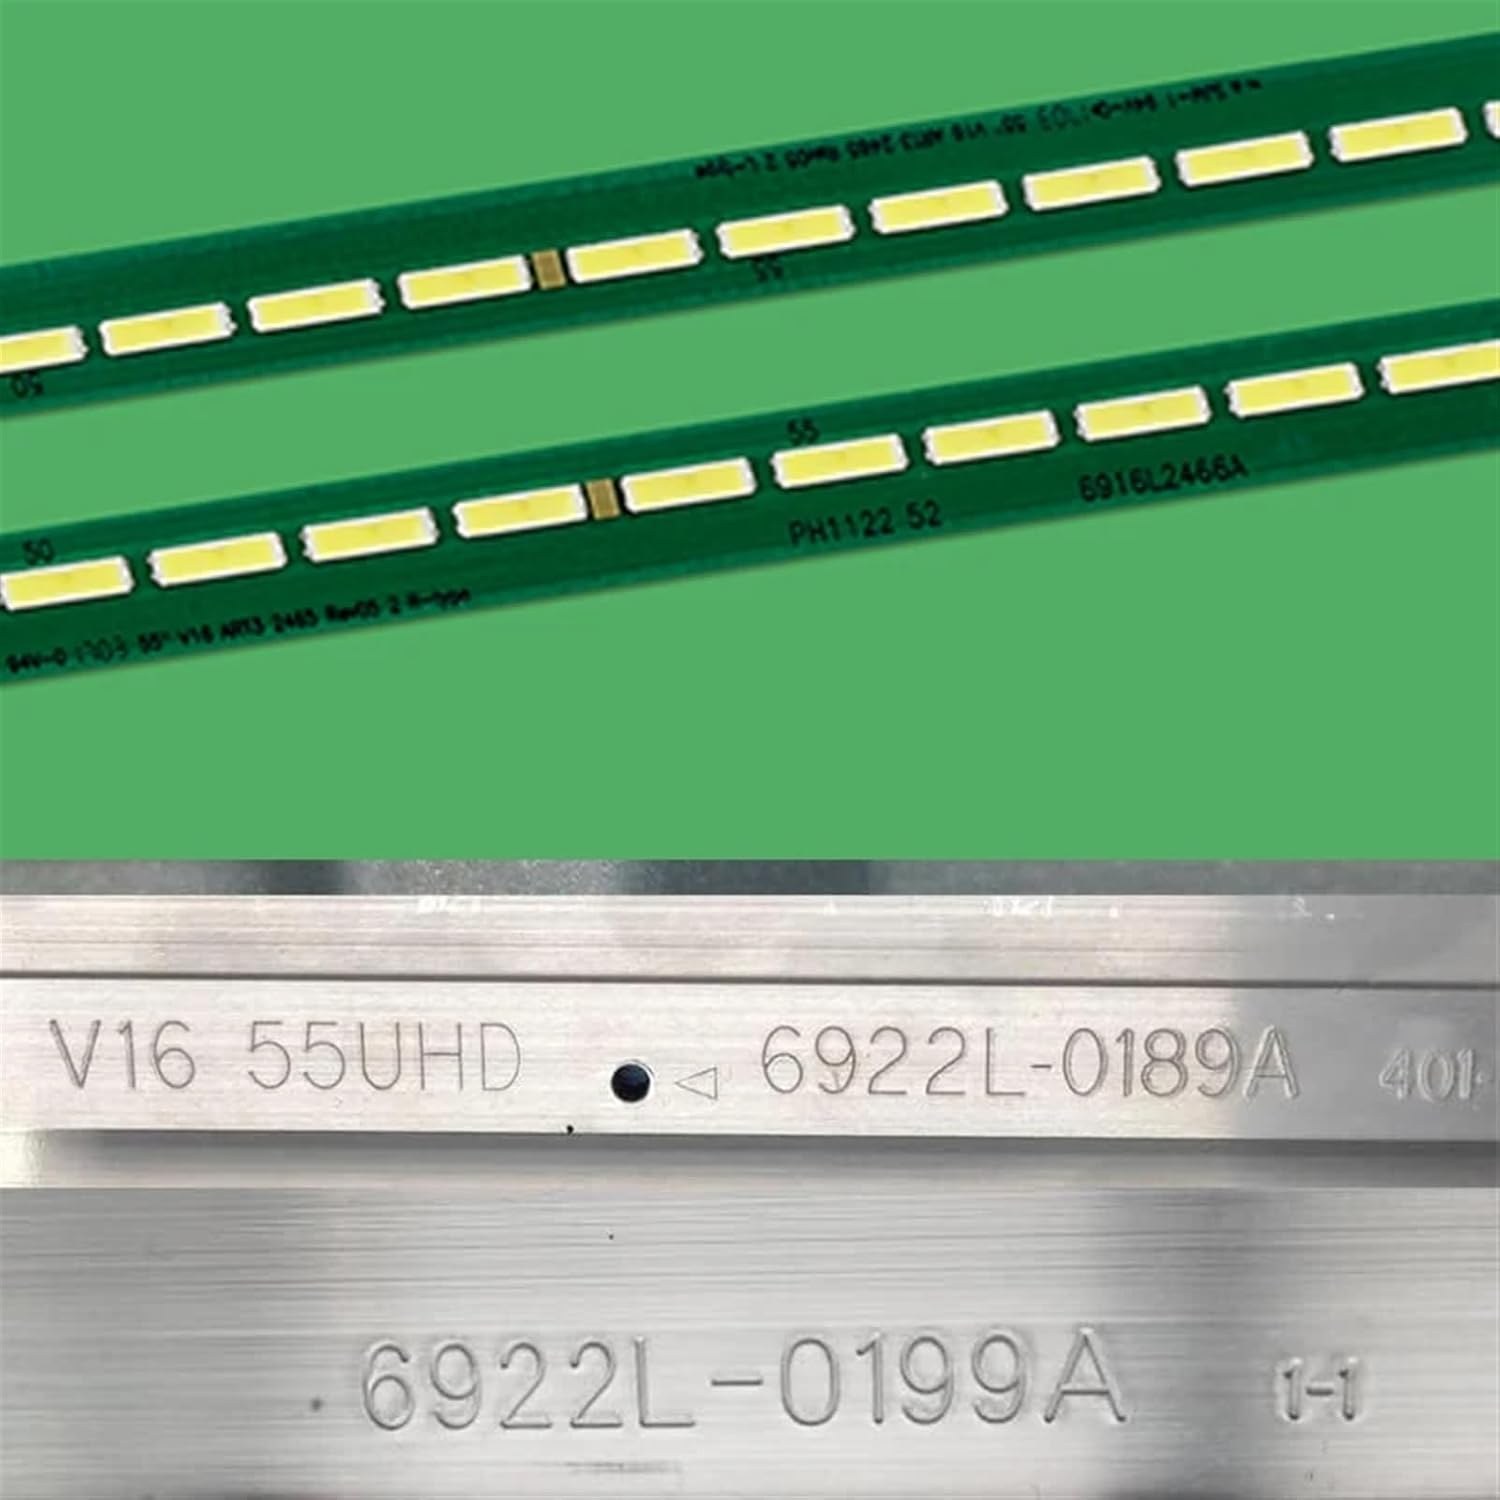
Image 4.1: Detail of an LED strip showing identification numbers for compatibility verification.
5. Installation Instructions
This section outlines the general procedure for replacing LED backlight strips. Due to the complexity and delicate nature of television components, professional installation is strongly recommended. Proceed with caution if attempting self-installation.
5.1. Required Tools (Not Included)
- Screwdriver set (Phillips, Torx, etc., as required by your TV model)
- Pry tools (plastic spudgers)
- Anti-static wrist strap or gloves
- Clean, soft cloth
- Work surface with ample space
5.2. Step-by-Step Replacement Guide
- Prepare the Work Area: Ensure a clean, well-lit, and spacious work surface. Lay a soft cloth or mat to protect the TV screen.
- Disconnect Power: Crucially, unplug the television from the power outlet and disconnect all external cables.
- Disassemble the TV: Carefully remove the back cover of the television. This typically involves unscrewing multiple screws and gently prying open plastic clips. Refer to your specific TV model's service manual for precise disassembly instructions.
- Access the Backlight Assembly: Once the back cover is off, you will need to remove various internal components (e.g., main board, power supply board, speakers, metal shielding) to gain access to the LCD panel and diffuser layers. Exercise extreme care when handling ribbon cables and connectors.
- Remove the LCD Panel: This is the most delicate step. The LCD panel is fragile. With assistance, carefully lift and set aside the LCD panel in a safe, protected area, screen-side down on a soft surface.
- Remove Diffuser Layers: Beneath the LCD panel are several diffuser sheets and a light guide plate. Carefully remove these layers, noting their order and orientation for correct reassembly.
- Locate and Remove Old LED Strips: The old LED backlight strips will be visible at the bottom or sides of the TV panel frame. Disconnect their power connectors and gently peel them off the frame. Note their exact position and orientation.
- Install New LED Strips: Carefully place the new AZJSCNBE LED strips into the designated slots. Ensure they are properly aligned and secured. Connect the power cables to the new strips.
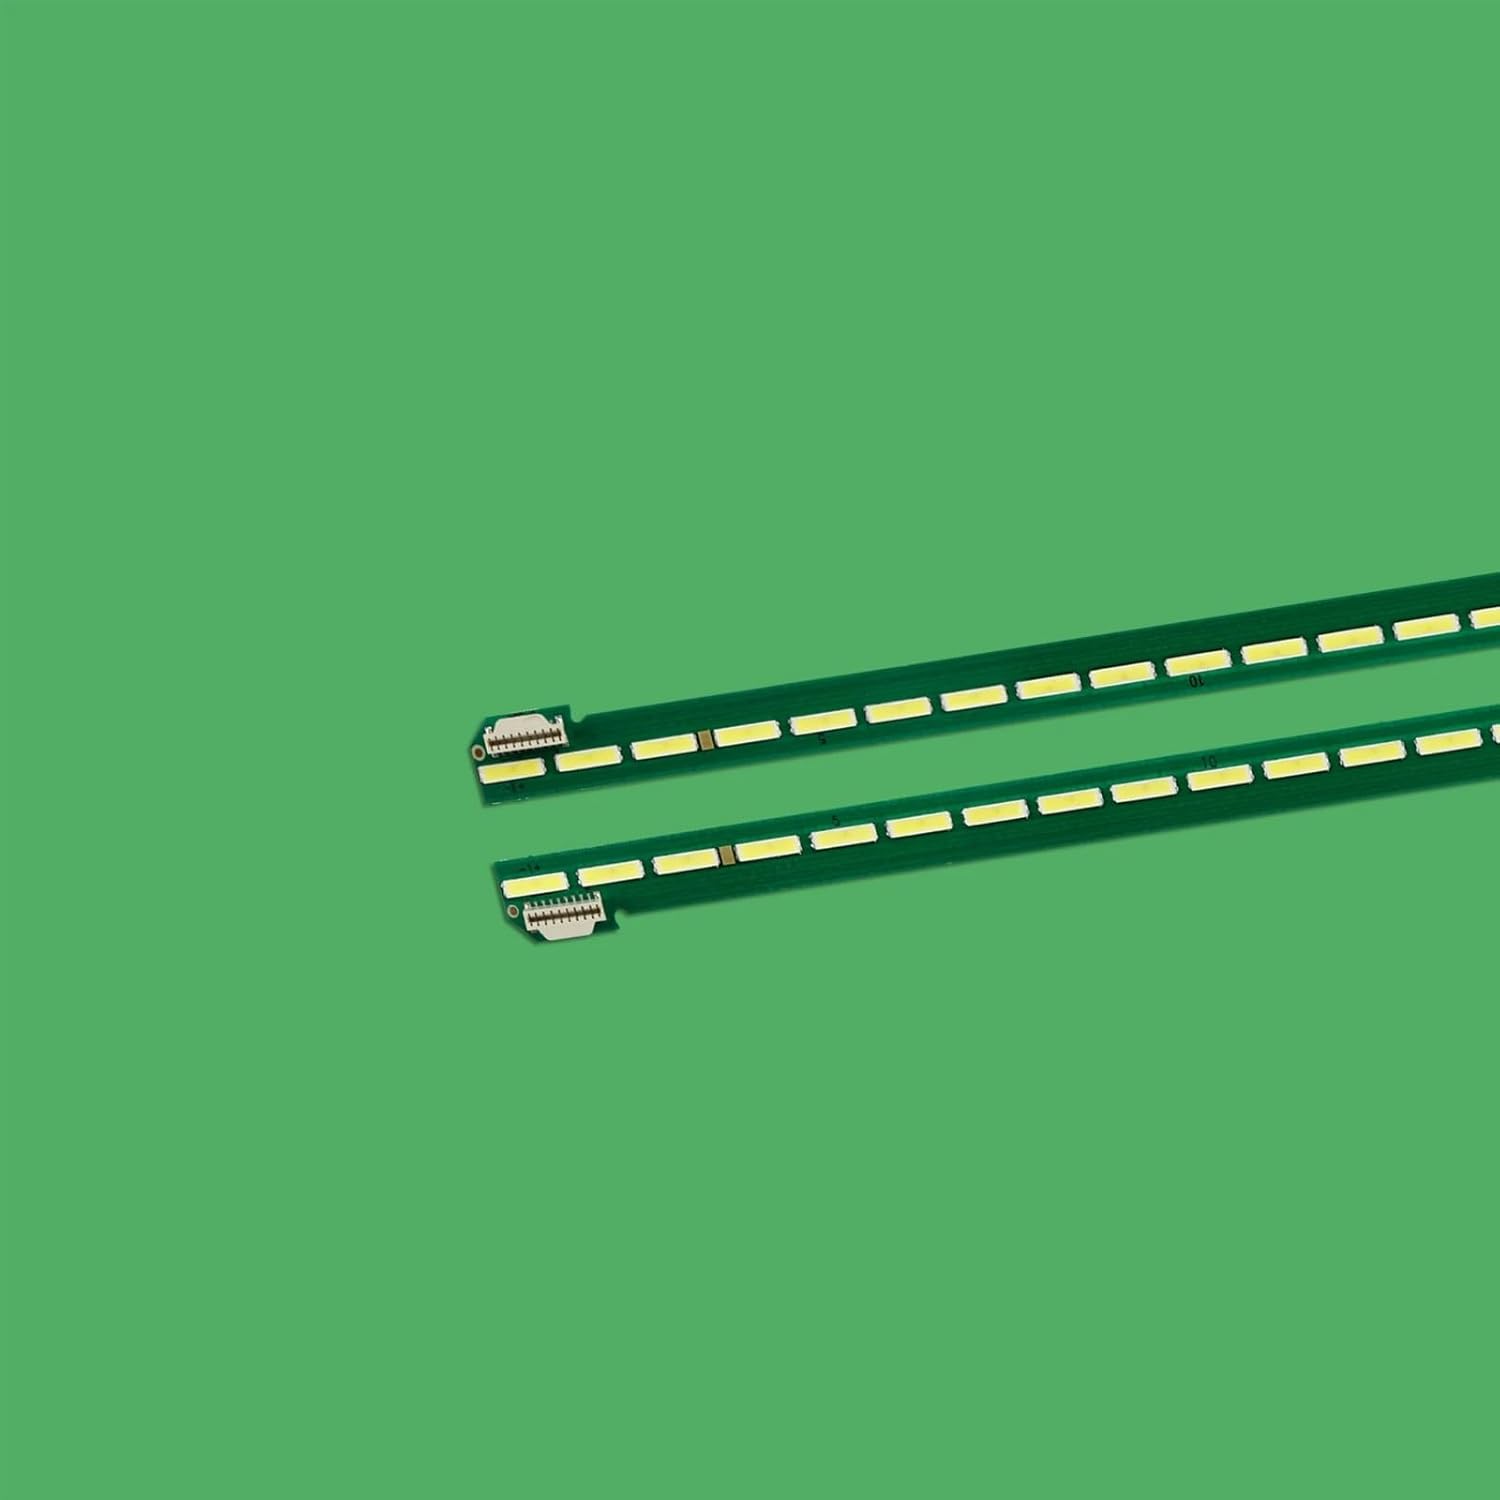
Image 5.1: Detail of the LED strip connector, illustrating proper connection points.
- Test the Backlights (Optional but Recommended): Before reassembling, you may temporarily connect the power supply board and main board (if safe to do so) and briefly power on the TV to verify the new LED strips illuminate correctly. Do not touch any exposed components while power is connected.
- Reassemble the TV: Carefully reverse the disassembly steps. Reinstall the diffuser layers, light guide plate, LCD panel, internal components, and finally the back cover. Ensure all screws are tightened appropriately and no cables are pinched.
- Final Check: Plug in the TV and power it on to confirm full functionality.
6. Operating Information
The AZJSCNBE LED Backlight Strip functions as an integral part of your television's display system. Once correctly installed, it operates automatically with your TV, providing the necessary illumination for the LCD panel. There are no user-adjustable settings directly on the LED strips themselves.
7. Care and Maintenance
The LED backlight strips are internal components and do not require routine user maintenance. To ensure the longevity of your television's backlight system:
- Avoid exposing the television to extreme temperatures or high humidity.
- Ensure adequate ventilation around the television to prevent overheating.
- If the television requires cleaning, always disconnect it from power and use a soft, dry cloth for the exterior. Do not use liquid cleaners directly on the screen or internal components.
8. Troubleshooting
If you experience issues after installing the new LED backlight strips, consider the following common problems and solutions:
| Problem | Possible Cause & Solution |
|---|---|
| No backlight / Dark screen |
|
| Uneven brightness / Dark spots |
|
| TV does not power on |
|
If troubleshooting steps do not resolve the issue, it is recommended to consult a professional television repair technician.
9. Warranty and Customer Support
For information regarding warranty coverage or to obtain customer support for your AZJSCNBE LED Backlight Strip, please refer to the retailer's return policy or contact the seller directly through the platform where the purchase was made. Keep your purchase receipt or order number handy for faster service.