
1. Introduction
This manual provides detailed instructions for the installation, operation, maintenance, and troubleshooting of your Generic1 Luxury Smart Toilet with Bidet. Please read this manual thoroughly before installation and use to ensure proper function and safety. Keep this manual for future reference.
2. Safety Information
- Ensure all electrical connections are performed by a qualified electrician and comply with local codes.
- Do not immerse the product in water or spray water directly onto electrical components.
- Unplug the unit from the power outlet before cleaning or performing any maintenance.
- Do not allow children or individuals with reduced physical, sensory, or mental capabilities to operate the toilet without supervision.
- Use only genuine replacement parts.
3. Package Contents
Verify that all components are present before beginning installation:
- Smart Toilet Unit
- Remote Control
- Mounting Hardware Kit
- Water Supply Hose
- User Manual (this document)
4. Setup and Installation
4.1 Pre-Installation Checks
- Confirm that your bathroom has a 12-inch wall to drain rough-in.
- Ensure a standard 110mm diameter drainpipe is available.
- Verify that a grounded electrical outlet (120V AC) is within reach of the toilet's power cord.
- Turn off the main water supply to the bathroom before starting.
4.2 Installation Steps
- Prepare the Area: Remove the old toilet if applicable. Clean the flange area thoroughly.
- Install Mounting Brackets: Secure the provided mounting brackets to the floor flange using the included hardware.
- Position the Toilet: Carefully lift and align the smart toilet unit over the mounting brackets and drainpipe. Ensure a snug fit.
- Secure the Toilet: Fasten the toilet to the floor using the provided bolts and caps. Do not overtighten.
- Connect Water Supply: Connect the water supply hose from the wall shut-off valve to the toilet's water inlet. Hand-tighten, then use a wrench for a quarter turn. Check for leaks.
- Connect Power: Plug the toilet's power cord into a grounded electrical outlet.
- Restore Water Supply: Slowly turn on the main water supply. Check for any leaks around the connections.
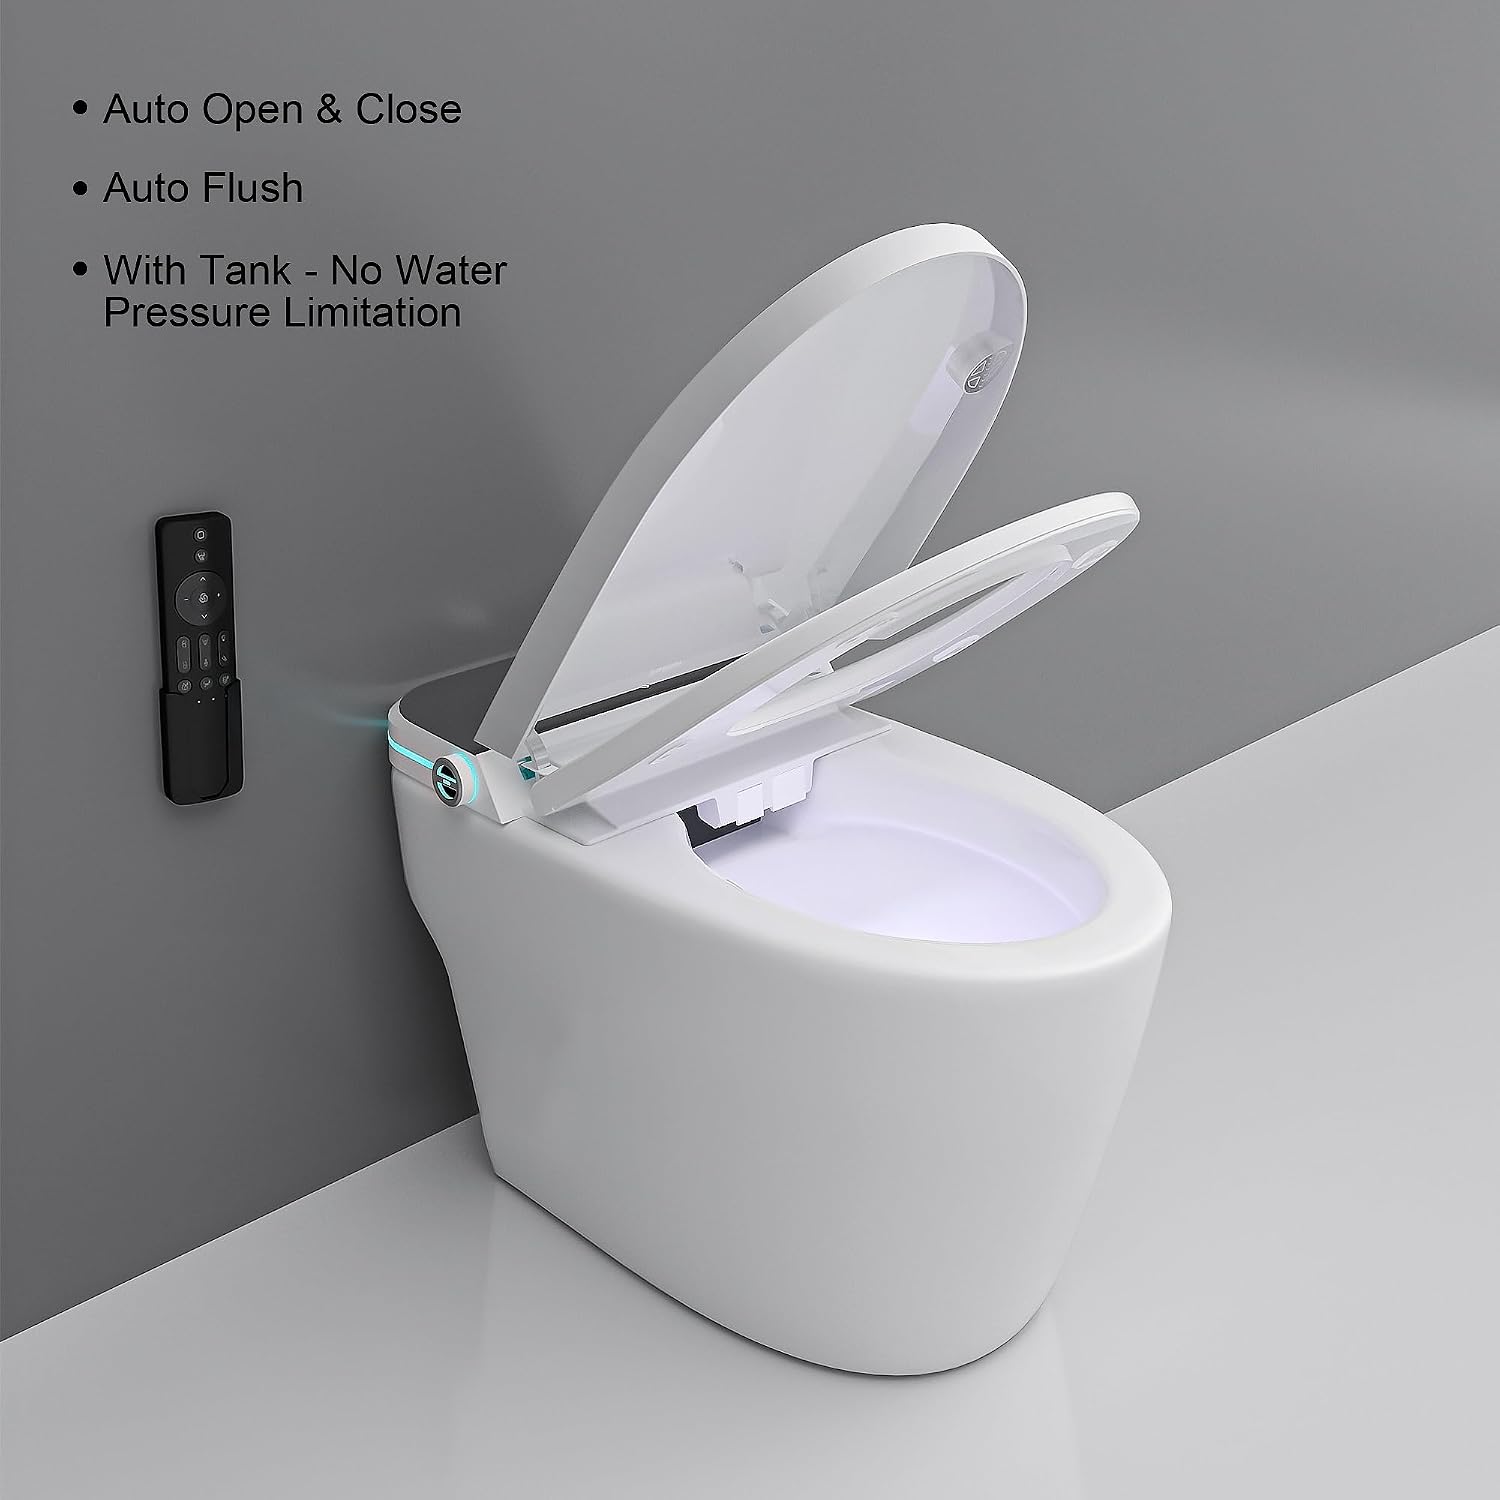
Figure 1: Smart Toilet with Remote Control. This image shows the smart toilet with its lid and seat open, revealing internal lighting. A remote control is visible on the wall to the left. Key features like auto open & close, auto flush, and a tank for no water pressure limitation are highlighted.

Figure 2: Product Dimensions. This diagram illustrates the overall dimensions of the smart toilet, including its height, width, depth, and internal seat measurements. Key dimensions are 26.7 inches (length), 15 inches (width), and 18.5 inches (height).
5. Operating Instructions
5.1 Automatic Lid and Seat Operation
- Radar Technology: The lid automatically opens when a user approaches within 60 inches and closes after use.
- Foot Sensor: Gently kick the foot sensor located at the base of the toilet to open or close the lid and seat manually.
5.2 Automatic Flush
The toilet features an automatic flush system that activates after use. Ensure the water supply is fully open for optimal flushing performance.
5.3 Bidet Functions (Warm Water Sprayer & Dryer)
Use the remote control to activate and adjust the bidet functions:
- Warm Water Sprayer: Press the 'Wash' button on the remote. Adjust water temperature and pressure using the respective controls.
- Dryer: After washing, press the 'Dry' button. Adjust air temperature as desired.
5.4 Heated Seat
The seat features an integrated heater. Use the remote control to adjust the seat temperature to your preference.
5.5 LED Night Light
The integrated LED night light illuminates automatically when a person approaches within 60 inches and turns off when the person leaves, providing gentle illumination in the dark.

Figure 3: LCD Screen Display and Protection Features. This image shows a top-down view of the smart toilet's control panel, featuring an LCD screen that displays '36'. It highlights safety features such as Dry Burn Protection, High/Low Pressure Protection, High Temp Protection, and Night Illumination.
6. Maintenance
6.1 Cleaning the Toilet
- Exterior: Wipe the exterior surfaces with a soft, damp cloth and a mild, non-abrasive cleaner. Avoid harsh chemicals or abrasive pads.
- Nozzle: The bidet nozzle performs a self-cleaning cycle before and after each use. For deeper cleaning, gently pull out the nozzle and wipe with a soft cloth. Do not use excessive force.
- Seat: Clean the seat with a mild soap solution. Do not use strong disinfectants that may damage the material.
6.2 Filter Maintenance
Periodically check the water inlet filter for any debris. If clogged, turn off the water supply, disconnect the hose, and clean the filter screen under running water. Reinstall and check for leaks.
7. Troubleshooting
| Problem | Possible Cause | Solution |
|---|---|---|
| No power/Unit unresponsive | Power cord unplugged, circuit breaker tripped, power outage. | Check power connection, reset circuit breaker, verify power supply. |
| Lid not opening/closing automatically | Sensor obstructed, user not within range, sensor malfunction. | Ensure sensor is clear, approach within 60 inches, try foot sensor. |
| Bidet water not warm | Heater setting too low, heater malfunction. | Adjust water temperature setting via remote. Allow time for heating. |
| Weak water spray | Water supply valve partially closed, water inlet filter clogged. | Ensure water supply valve is fully open. Clean water inlet filter. |
| Toilet not flushing | Water supply off, sensor issue, internal mechanism fault. | Check water supply. Contact customer support if issue persists. |
8. Specifications
- Product Dimensions: 26.7 x 15 x 18.5 inches (Length x Width x Height)
- Internal Seat Dimensions: 13.4 x 10.24 inches
- Wall to Drain Size: 12 inches
- Drainpipe Diameter: 110mm
- Item Weight: 91 lbs
- Material: Ceramic, Plastic
- Installation Method: Floor Mounted
- Color: White
- Power Supply: 120V AC (Standard)
- Key Features: Auto Open/Close Lid, Auto Flush, Heated Seat, Warm Water Sprayer, Dryer, LED Night Light, Foot Sensor, Dry Burn Protection, High/Low Pressure Protection, High Temp Protection.
9. Warranty Information
This product comes with a standard manufacturer's warranty. Please refer to the warranty card included with your purchase for specific terms, conditions, and duration. Keep your proof of purchase for warranty claims.
10. Customer Support
If you have any questions, require technical assistance, or need to report an issue, please contact Generic1 customer support. Refer to your purchase documentation for contact details or visit the official Generic1 website.