1. Introduction
This manual provides essential information for the safe and efficient assembly, operation, and maintenance of your RISTERN White Metal Storage Cabinet. Please read these instructions thoroughly before beginning assembly or use. Keep this manual for future reference.
2. Safety Information
- Always assemble the cabinet on a soft, clean surface to prevent scratches.
- Ensure all screws and fasteners are securely tightened before use.
- Do not overload shelves. The maximum weight capacity is 100 pounds per shelf.
- To prevent tipping, especially in households with children or pets, always install the provided anti-tipping device to secure the cabinet to a wall.
- Keep small parts and packaging materials away from children.
3. Package Contents
Verify that all components are present before beginning assembly. If any parts are missing or damaged, please contact customer support.
- Cabinet Panels (Side, Back, Top, Bottom)
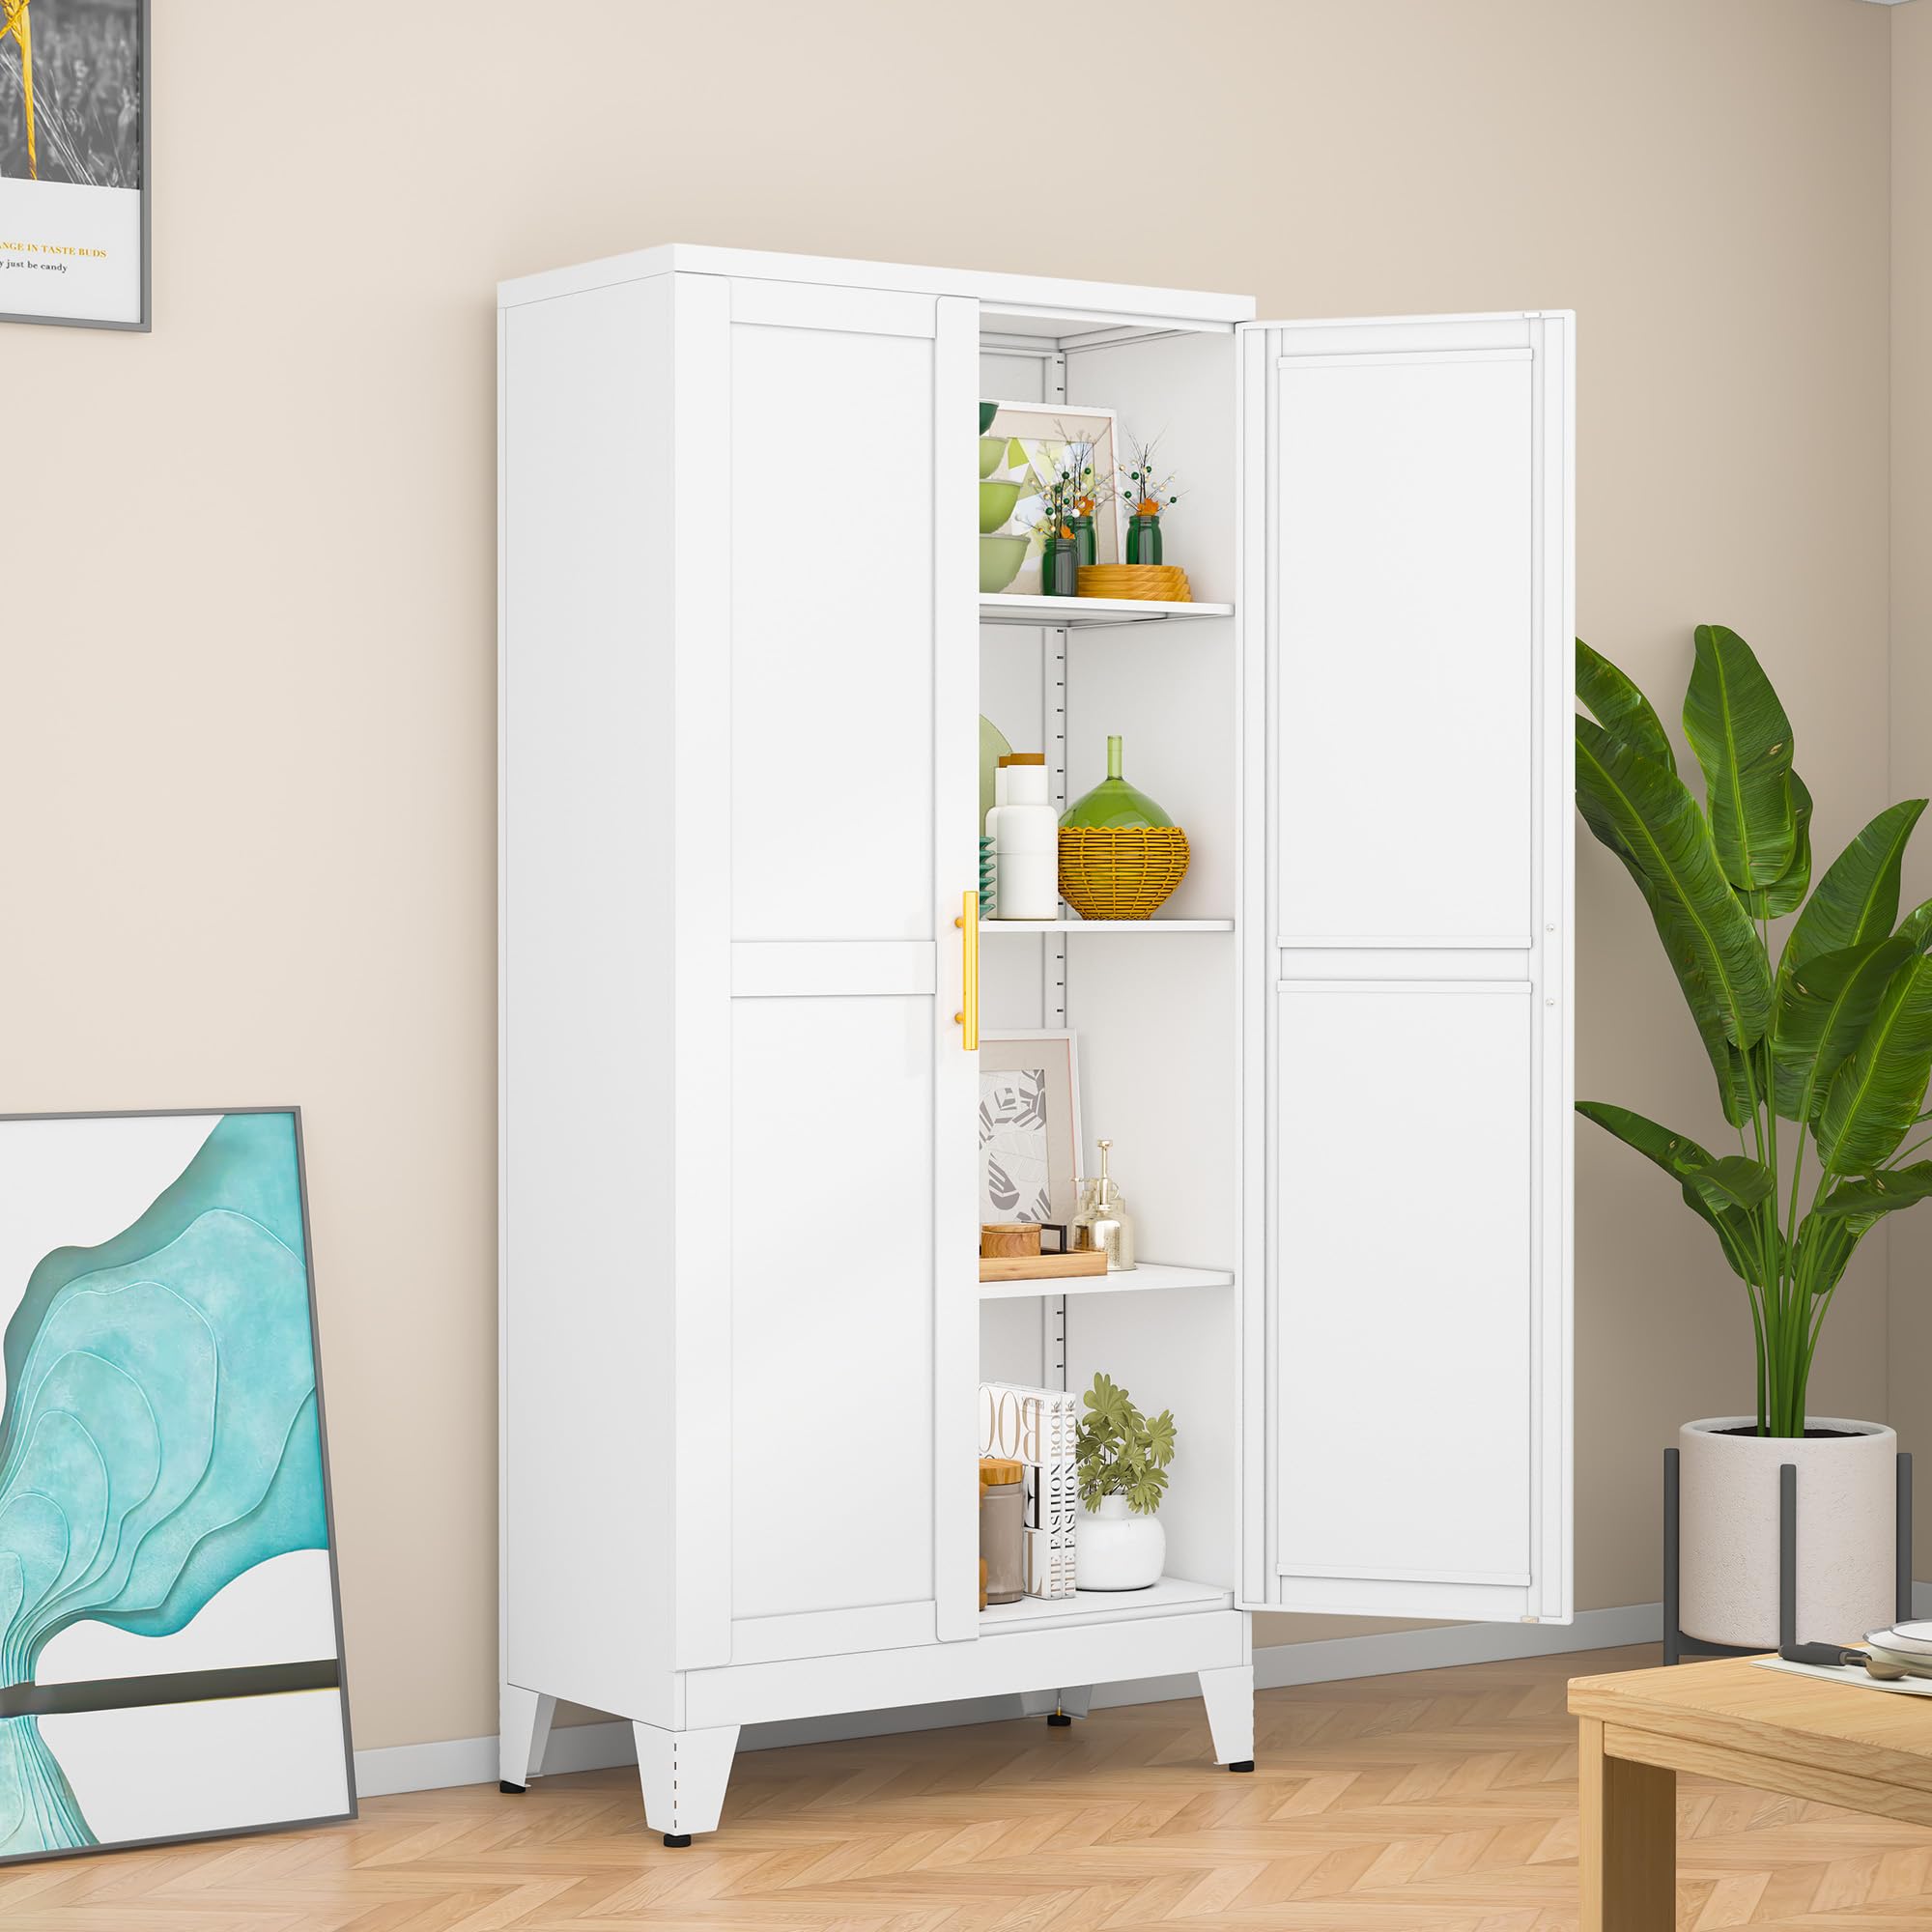
- Adjustable Shelves (3 included)
- Doors (2 included)
- Door Handles (2 included)
- Adjustable Feet (4 included)
- Assembly Hardware (screws, pins, anti-tipping kit)
4. Setup and Assembly
Estimated assembly time: Approximately 1 hour. Two people are recommended for assembly.
- Prepare the Base: Attach the adjustable feet to the bottom panel of the cabinet. Ensure they are securely tightened.
- Assemble the Frame: Connect the side panels to the bottom and top panels using the provided hardware. Ensure all connections are firm.
- Install Shelves: Insert the shelf support pins into the desired height holes on the side panels. Place the adjustable shelves onto these pins. You have 3 adjustable shelves to customize your storage space.
- Attach Doors: Carefully align the door hinges with the pre-drilled holes on the cabinet frame and secure them with screws. Ensure the doors open and close smoothly.
- Install Door Handles: Attach the gold handles to the doors using the provided screws.
- Install Anti-Tipping Device: Secure the cabinet to a wall using the anti-tipping kit. This is a critical safety step.
Door Shaft Installation Video
5. Operating Instructions
- Adjusting Shelves: The cabinet features 3 adjustable shelves. To change a shelf's height, remove any items, lift the shelf, remove the support pins, reposition the pins to the desired height, and then place the shelf back on the pins.
- Magnetic Doors: The double doors are equipped with magnetic catches to ensure they remain securely closed. Simply push the doors gently to engage the magnets.

6. Maintenance
Your RISTERN metal storage cabinet is designed for durability and easy maintenance.
- Cleaning: Wipe the cabinet surfaces with a damp cloth. Avoid abrasive cleaners or harsh chemicals that could damage the electrostatic powder coating.
- Durability: Made from cold-rolled steel with a waterproof, wear-resistant, high-hardness, and corrosion-resistant finish, the cabinet requires minimal special care.

7. Troubleshooting
| Problem | Possible Cause | Solution |
|---|---|---|
| Doors do not close properly or are misaligned. | Incorrect door shaft installation or uneven cabinet placement. | Review the door shaft installation video (Video 7.1). Adjust the cabinet's adjustable feet to ensure it is level on the floor. |
| Spring indentation on door. | Minor manufacturing variation or assembly issue. | Refer to the spring indentation solution video (Video 7.2) for guidance. |
| Door panel appears warped. | Possible assembly error or minor panel distortion. | Consult the door panel warping solution video (Video 7.3) for corrective actions. |
| Cabinet feels unstable. | Feet not properly adjusted or anti-tipping device not installed. | Ensure all adjustable feet are making firm contact with the floor and the anti-tipping device is securely anchored to the wall. |
Troubleshooting Videos
8. Specifications
| Feature | Detail |
|---|---|
| Brand | RISTERN |
| Model Number | XR13CW2W |
| Color | White |
| Material | Cold Rolled Steel |
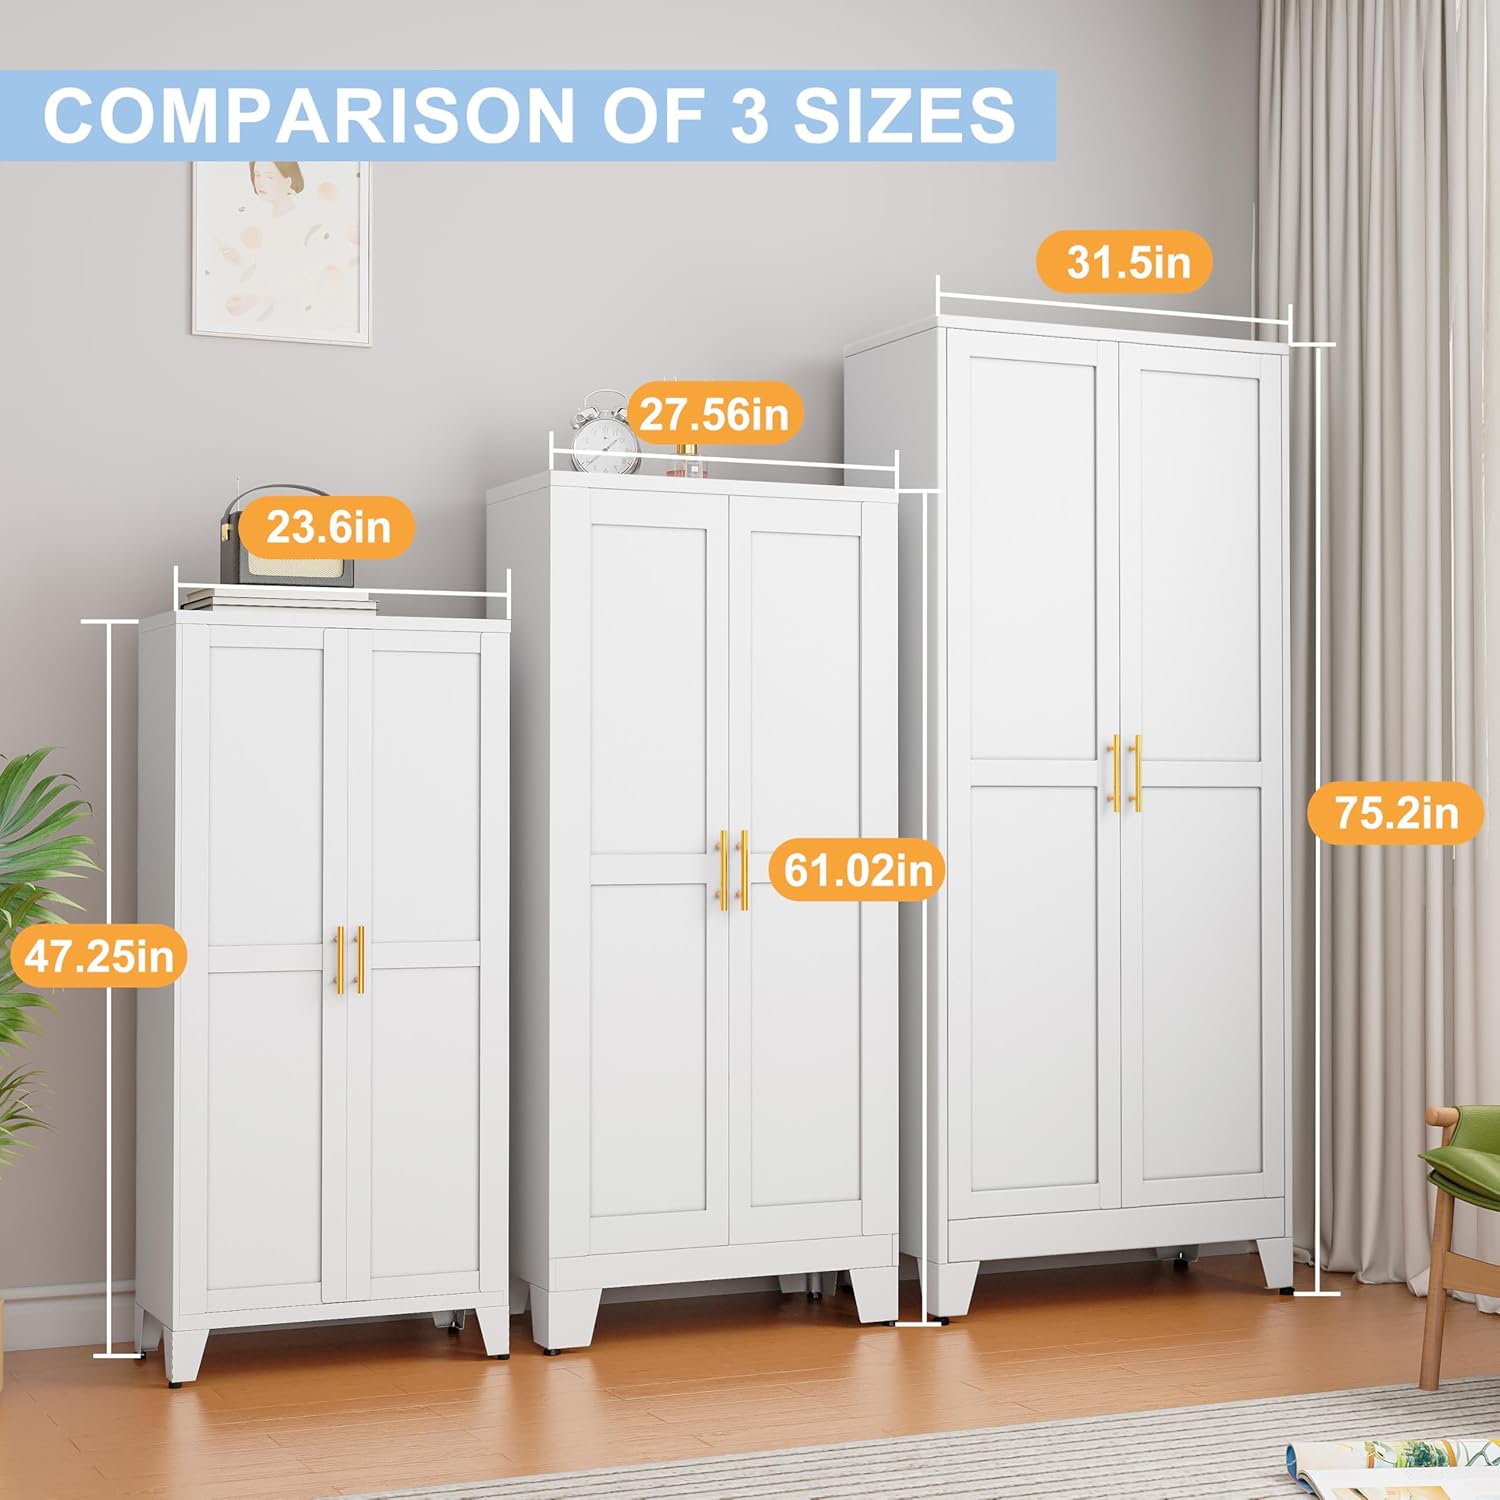
| Product Dimensions (D x W x H) | 11.81"D x 23.62"W x 47.25"H |
| Item Weight | 45 Pounds |
| Number of Shelves | 3 (Adjustable) |
| Weight Capacity (Max) | 100 Pounds per shelf |
| Number of Doors | 2 |
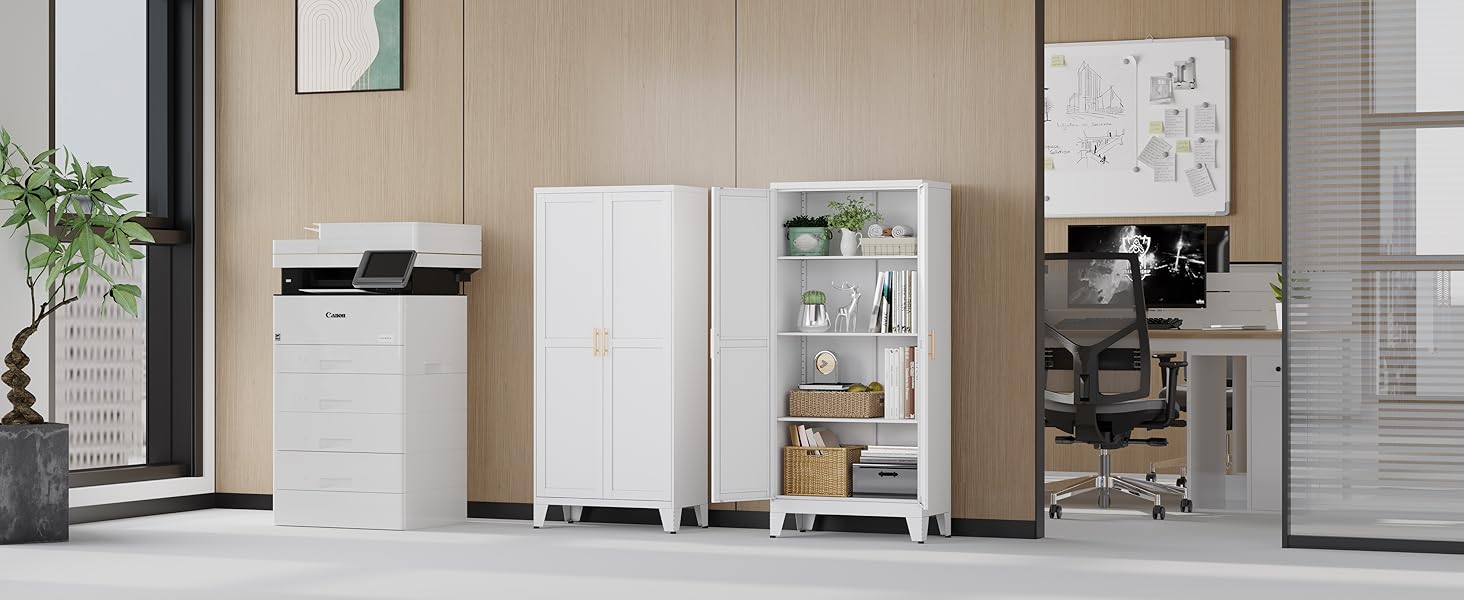
| Installation Type | Freestanding |
| Required Assembly | Yes |
| Finish Type | Powder Coated |
| Handle Material | Metal |
9. Warranty and Support
For any questions, concerns, or assistance with your RISTERN White Metal Storage Cabinet, please contact our customer support team. We are committed to providing a pleasant buying experience and are available to help with product inquiries, assembly issues, or warranty claims.
Please refer to your purchase documentation for specific warranty details. Keep your proof of purchase for any warranty-related services.
You can visit the RISTERN Store on Amazon for more information and contact options.