LOENTIR DV105
LOENTIR 2.7K 50MP Video Camera Camcorder User Manual
Model: DV105
Introduction
This manual provides detailed instructions for the operation, maintenance, and troubleshooting of your LOENTIR 2.7K 50MP Video Camera Camcorder. Please read this manual carefully before using the device to ensure proper functionality and to maximize your user experience.
For optimal performance, it is recommended to format the SD card directly on the camcorder before first use. Ensure the camcorder is fully charged prior to initial operation.
Package Contents
Verify that all items listed below are included in your package:
- Camcorder x 1
- NP-40 Lithium Battery x 2
- 32GB SD Card x 1
- Storage Cloth Bag x 1
- User Manual x 1
- TYPE-C Cable x 1
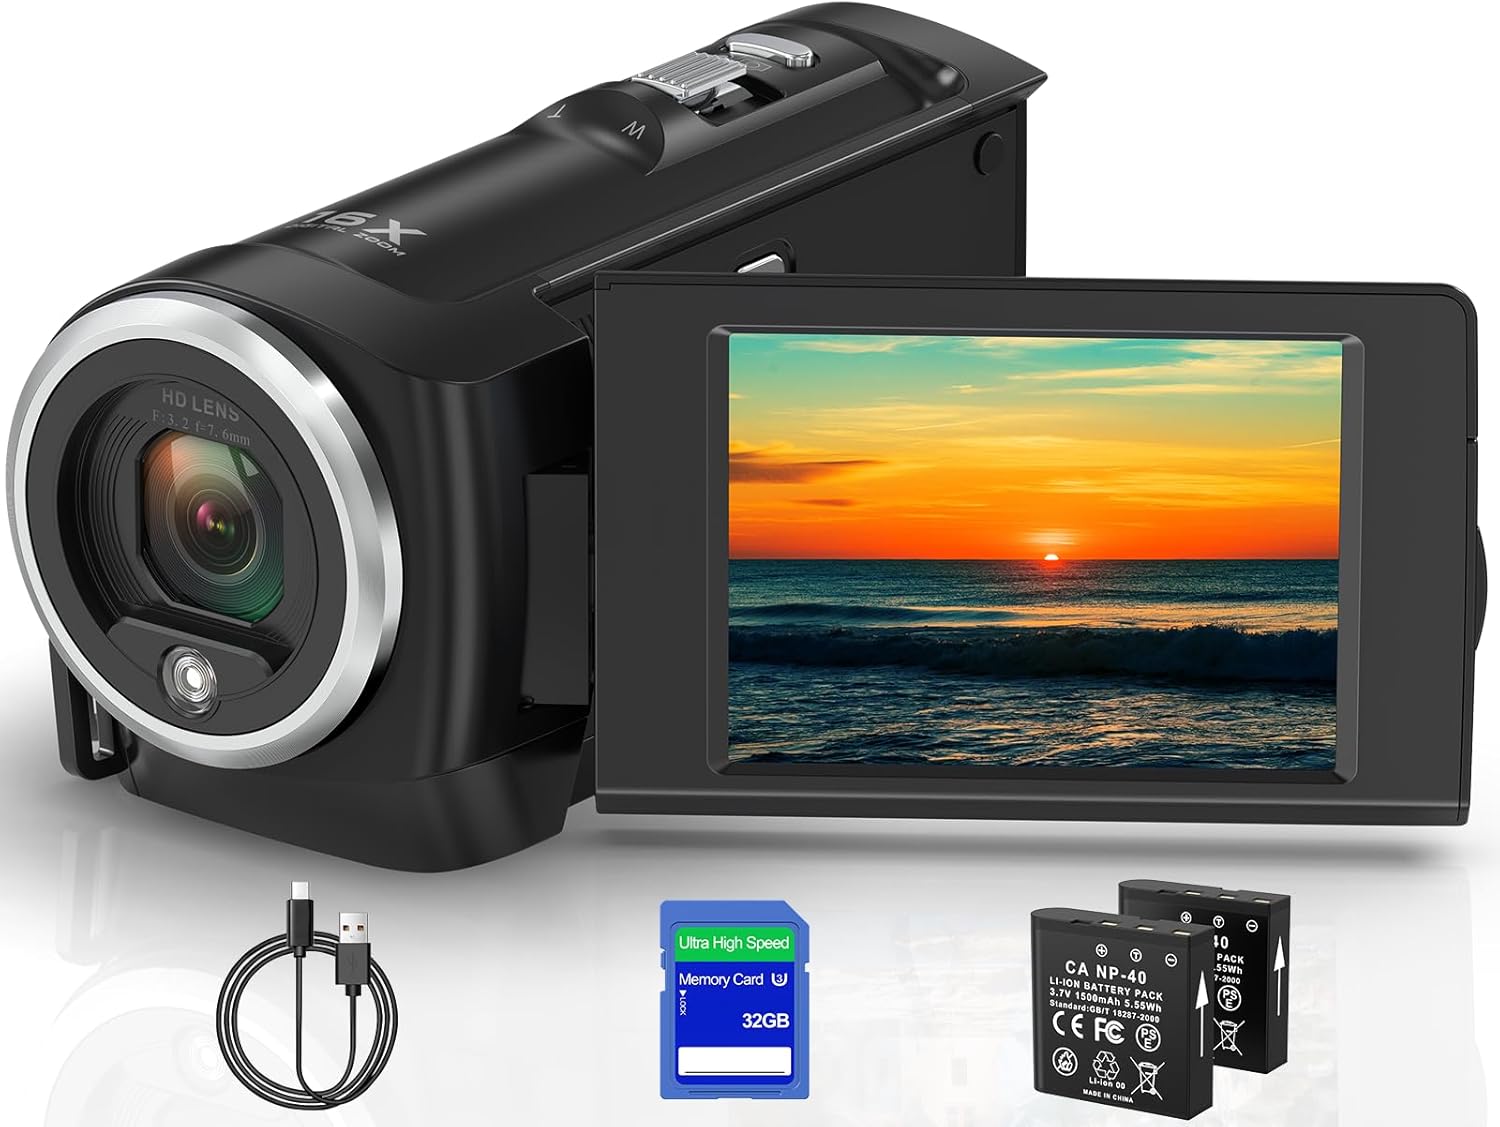
Image: The LOENTIR 2.7K 50MP Video Camera Camcorder shown with its included accessories: two NP-40 lithium batteries, a 32GB SD card, and a TYPE-C cable.
Setup Guide
1. Charging the Battery
The camcorder uses NP-40 Lithium Batteries. Before first use, fully charge both batteries. Connect the camcorder to a power source using the provided TYPE-C cable. The charging indicator light will show the charging status.
A fully charged battery provides approximately 140 minutes of operation. The camcorder supports recording while charging, allowing for extended shooting sessions.
2. Inserting the SD Card
Locate the SD card slot on the camcorder. Insert the 32GB SD card (included) with the metal contacts facing down until it clicks into place. The camcorder supports SD cards up to 128GB.
Important: Format the SD card directly on the camcorder before its first use to ensure compatibility and optimal performance. Refer to the "Operating" section for formatting instructions.
Image: A close-up view of the camcorder, highlighting the SD card and battery components, essential for initial setup.
3. Attaching to a Tripod (Optional)
The camcorder features a 1/4 inch tripod mount on its base, allowing for stable recording. A tripod is not included in the package.

Image: The camcorder is shown mounted on a tripod, demonstrating its compatibility with standard tripod accessories for stable recording.
Operating Instructions
1. Powering On/Off
To power on the camcorder, open the LCD screen. To power off, close the LCD screen or press and hold the power button.
2. Navigating the Menu
Use the directional buttons and the 'OK' button to navigate through the camcorder's menu options on the 2.8-inch 270-degree rotation screen.
3. Recording Video
Press the 'Record' button to start recording video. Press it again to stop. The camcorder records video at 2.7K (2688x1520), 1080P (1920x1080), or 720P (1280x720) resolution in AVI format.

Image: An illustrative image showing the camcorder's capability to record in 2.7K resolution, highlighting its video quality.
4. Taking Photos
Switch to photo mode and press the 'Shutter' button to capture still images. The camcorder supports photo resolutions up to 50MP.
Image: The camcorder is depicted capturing a high-resolution 50MP image, showcasing its photographic capabilities.
5. Digital Zoom
Use the zoom controls to adjust the 16X digital zoom. Note that digital zoom may reduce image quality compared to optical zoom.
6. Built-in LED Light
Activate the built-in LED light for improved visibility in low-light conditions. This feature helps illuminate subjects for clearer video and photo capture.

Image: A comparison showing the effect of the camcorder's built-in LED fill light, demonstrating its utility in low-light environments.
7. Webcam Function
Connect the camcorder to your computer via the TYPE-C cable to use it as a webcam for live streaming or video calls. Select 'PC Camera' mode on the camcorder when prompted.
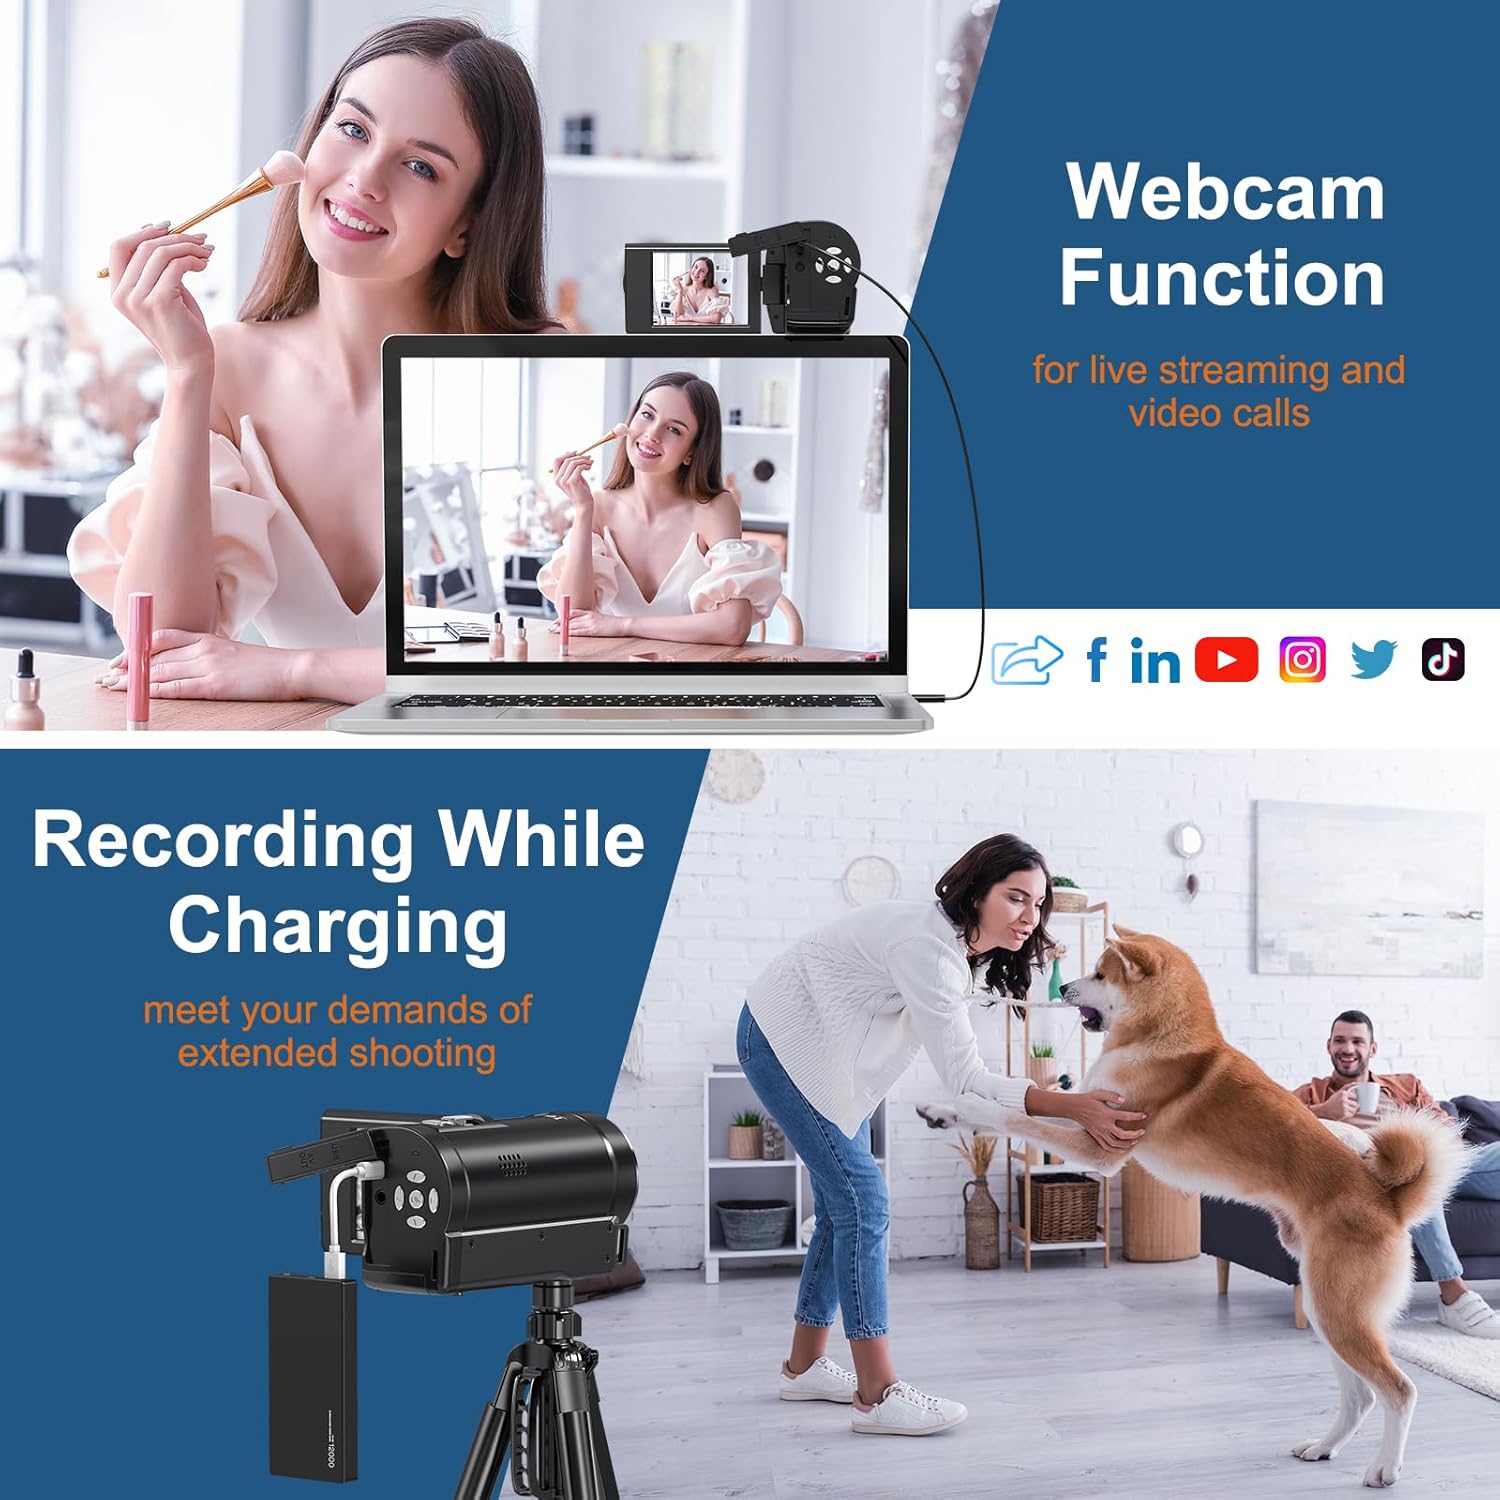
Image: The camcorder is shown connected to a laptop, illustrating its functionality as a webcam for live streaming and video calls.
8. External Microphone Support
The camcorder includes a microphone input interface. An external microphone (not included) can be connected for enhanced audio recording. Ensure the external microphone has its own power source if required.
9. Playback
Access the playback mode to review recorded videos and photos on the camcorder's screen.

Image: A collage demonstrating various functions of the camcorder, including video recording, smile capture, continuous shooting, selfie mode, 50MP photos, and playback.
Maintenance
1. Cleaning the Camcorder
- Use a soft, dry cloth to clean the camcorder body.
- For the lens and LCD screen, use a specialized lens cleaning cloth and solution. Avoid abrasive materials.
- Do not use strong detergents or solvents.
2. Battery Care
- Store batteries in a cool, dry place when not in use.
- Avoid fully discharging batteries for extended periods.
- If storing for a long time, charge batteries to about 50% capacity.
3. Storage
When not in use, store the camcorder in the provided storage cloth bag to protect it from dust and scratches. Keep it in a dry environment away from extreme temperatures.
Troubleshooting
| Problem | Possible Cause | Solution |
|---|---|---|
| Camcorder does not power on. | Battery is not charged or not inserted correctly. | Ensure battery is fully charged and correctly inserted. Try the second battery. |
| Cannot record video/take photos. | SD card is full, not formatted, or not inserted. | Check SD card capacity. Format the SD card via the camcorder's menu. Reinsert the SD card. |
| Poor image/video quality. | Low light conditions, dirty lens, or excessive digital zoom. | Use the built-in LED light in dim conditions. Clean the lens. Avoid excessive digital zoom. |
| Camcorder not recognized as webcam. | Incorrect connection mode or driver issue. | Ensure 'PC Camera' mode is selected on the camcorder. Try a different USB port or cable. |
Specifications
| Feature | Detail |
|---|---|
| Model Number | DV105 |
| Video Resolution | 2.7K/2688*1520, 1080P/1920*1080, 720P/1280*720 |
| Video Format | AVI |
| Photo Resolution | 5M, 8M, 12M, 16M, 18M, 20M, 24M, 30M, 36M, 48M, 50M |
| Digital Zoom | 16X |
| Light Sensitivity | Auto, ISO100, ISO200, ISO400 |
| Lens | F/3.2, f=7.6mm |
| External Mic Support | Yes (Microphone not included) |
| White Balance | Automatic / Sunny / Cloudy / Incandescent / Fluorescent |
| Exposure Compensation | –3.0EV ∼ +3.0EV |
| Self-timer | Off / 2S / 5S / 10S |
| Computer Interface | USB2.0 (High Speed) |
| LCD Screen | 2.8" LCD display screen, 270-degree rotation |
| Power Supply | Li-ion Battery NP-40 (2 included) |
| Dimensions | 5.7(L) × 3.3(H) × 4.1(W) in |
| Weight | Approx 0.97 lb |
| Memory Card Support | 32GB SD card included, supports up to 128GB |
| Special Features | Face Detection, Smile Capture, Anti-shake, Selfie, Continuous Shooting, Timer Shooting, Date Stamp, Photo Rotation, Webcam Function |
Warranty Information
Specific warranty details are typically provided with your purchase documentation or on the product's official website. Please refer to the warranty card included in your package or visit the LOENTIR brand store for more information regarding warranty coverage and terms.
For additional protection, consider the available 2-Year or 3-Year Protection Plans offered at the time of purchase.
Customer Support
If you encounter any issues or have questions not covered in this manual, please contact LOENTIR customer support. You can often find contact information on the product packaging, the official LOENTIR website, or through the retailer where you purchased the product.
Visit the official LOENTIR Store on Amazon for product updates and support resources.
Ask a question about this manual
Ask about setup, troubleshooting, compatibility, parts, safety, or missing instructions. Manuals+ will review the question and use this page’s manual context to help answer it.