FANPYY FANPYY
FANPYY Thermal Print Head User Manual
Model: FANPYY
1. Product Overview
The FANPYY Thermal Print Head is a high-quality replacement component designed for various Xprinter models. This 9-pin print head ensures reliable, high-resolution printing for barcodes and labels, maintaining clarity and readability even under high-speed and low-temperature operating conditions. Its durable construction is engineered for a long service life, providing consistent and excellent print results over time.

Figure 1: Angled view of the FANPYY Thermal Print Head, showcasing its compact design and connector points.
2. Specifications
| Feature | Detail |
|---|---|
| Model Number | FANPYY |
| Type | Thermal Print Head (9-PIN) |
| Package Dimensions | 1.18 x 0.79 x 0.39 inches |
| Item Weight | 14.1 ounces |
| Manufacturer | FANPYY |
| Number of Pieces | 1 |
3. Compatibility
This thermal print head is compatible with a range of Xprinter models, ensuring broad applicability for replacement and repair. Please verify your printer model against the list below:
- Xprinter XP-420B
- Xprinter XP-426B
- Xprinter XP-450B
- Xprinter XP-460B
- Xprinter XP-490B
- Xprinter XP-470B
- Xprinter XP-425B
- Xprinter XP-427B
- Xprinter DT108B
Note: This model is for reference only. If the project is different from the original part or the part number is different, please identify it yourself to ensure correct compatibility.
4. Setup and Installation
Replacing a thermal print head requires careful handling and adherence to the printer's specific service manual. The following steps are general guidelines. Always refer to your Xprinter's official service manual for detailed, model-specific instructions.
- Power Off and Disconnect: Ensure the printer is completely powered off and unplugged from the electrical outlet. Disconnect all cables (USB, Ethernet, etc.).
- Access the Print Head Area: Open the printer's cover or access panel to expose the print head assembly. This may involve releasing latches or removing screws.
- Remove the Old Print Head: Carefully disconnect any ribbon cables or connectors attached to the old print head. Note their orientation. Unfasten any screws or clips securing the print head in place and gently remove it.
- Install the New Print Head: Position the new FANPYY thermal print head into the designated slot. Ensure it aligns correctly with the mounting points. Secure it with the screws or clips that were removed earlier.
- Connect Cables: Reconnect all ribbon cables and connectors to the new print head, ensuring they are firmly seated and correctly oriented. Avoid bending or creasing the ribbon cables.
- Close and Test: Close the printer's cover or reattach the access panel. Reconnect the power cable and other necessary cables. Power on the printer and perform a test print to verify proper installation and functionality.
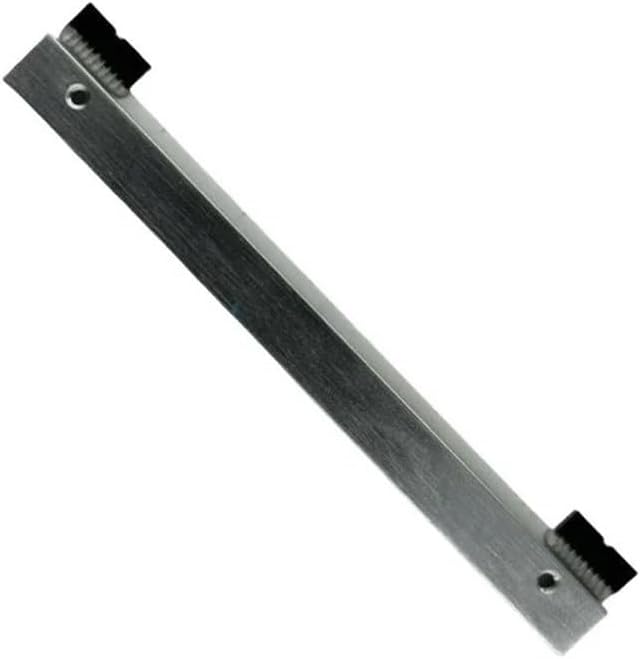
Figure 2: Rear view of the print head, highlighting the mounting points and connector interface crucial for proper installation.
5. Operating Principles and Performance
The FANPYY Thermal Print Head operates by applying heat to thermal paper, causing a chemical reaction that darkens specific areas to form text, images, or barcodes. This print head is engineered for optimal performance in demanding printing environments:
- High Resolution Printing: Designed to deliver sharp, clear, and precise prints, essential for readable barcodes and detailed labels.
- High Speed Capability: Maintains print quality even when operating at the printer's maximum speed settings, ensuring efficient workflow.
- Low Temperature Performance: Capable of producing clear and accurate output even in cooler operating conditions, demonstrating its robust adaptability.
- Durability: Constructed with materials that ensure a long operational lifespan, reducing the frequency of replacements and maintaining consistent print quality over time.

Figure 3: Front view of the print head, showing the thermal printing surface where heat is applied to create images and text.
6. Maintenance
Proper maintenance of your thermal print head is crucial for extending its lifespan and ensuring consistent print quality. Always power off and unplug the printer before performing any maintenance.
- Regular Cleaning: Clean the print head regularly, especially if you notice print quality degradation or after changing rolls of thermal paper. Use a lint-free cloth or a specialized print head cleaning wipe moistened with isopropyl alcohol (99% pure).
- Gentle Wiping: Gently wipe across the print head surface in one direction. Avoid abrasive materials or excessive force, which can damage the delicate heating elements.
- Allow to Dry: Allow the print head to air dry completely for a few minutes before closing the printer and powering it back on.
- Avoid Contaminants: Prevent dust, debris, and adhesive residue from thermal labels from accumulating on the print head. These can cause print quality issues and premature wear.
7. Troubleshooting
If you encounter issues with your printer's output after installing the new print head, consider the following common problems and their potential solutions:
| Problem | Possible Cause | Solution |
|---|---|---|
| Faint or Missing Lines in Print | Dirty print head, damaged heating elements, incorrect print density settings. | Clean the print head (Section 6). Check printer settings for print density. If problem persists, print head may be faulty. |
| Entire Blank Print | Print head not properly connected, incorrect paper type (non-thermal), printer error. | Verify print head cable connections (Section 4). Ensure you are using thermal paper. Check printer status indicators. |
| Smudged or Unclear Prints | Print head overheating, incorrect paper type, worn platen roller. | Ensure proper ventilation for the printer. Use recommended thermal paper. Inspect and clean the platen roller. |
| Print Head Not Detected | Improper installation, faulty ribbon cable, incompatible print head. | Re-check all connections (Section 4). Ensure the print head is fully seated. Verify compatibility with your printer model (Section 3). |
8. Warranty and Support
FANPYY products are manufactured to high standards of quality and reliability. For specific warranty information regarding your thermal print head, please refer to the documentation provided with your purchase or contact FANPYY customer support directly.
For technical assistance, installation queries, or troubleshooting beyond the scope of this manual, please reach out to the manufacturer's support channels. When contacting support, please have your product model number (FANPYY) and any relevant printer model information ready.
no relevant documents
Ask a question about this manual
Ask about setup, troubleshooting, compatibility, parts, safety, or missing instructions. Manuals+ will review the question and use this page’s manual context to help answer it.