1. Important Safety Instructions
Please read and understand all instructions before beginning assembly and installation. Failure to do so could lead to fire, electric shock, or other injuries.
- WARNING: To avoid electric shock, disconnect power at the circuit breaker or fuse box before installation.
- All electrical connections must be in accordance with local codes, ordinances, or the National Electric Code (NEC). Consult a qualified electrician if you are unfamiliar with proper electrical wiring connections.
- This fixture is intended for indoor use only.
- Do not exceed the maximum wattage specified for the bulbs.
- Always handle glass components with care.
- Ensure the fixture is securely mounted to a structural element of the ceiling.
2. Package Contents
Verify that all parts are present before beginning installation. If any part is missing or damaged, do not attempt to assemble or install the product.
- Fixture Body with Canopy and Arms
- Glass Globe Shades (3)
- Mounting Hardware (Crossbar, Screws, Wire Nuts)
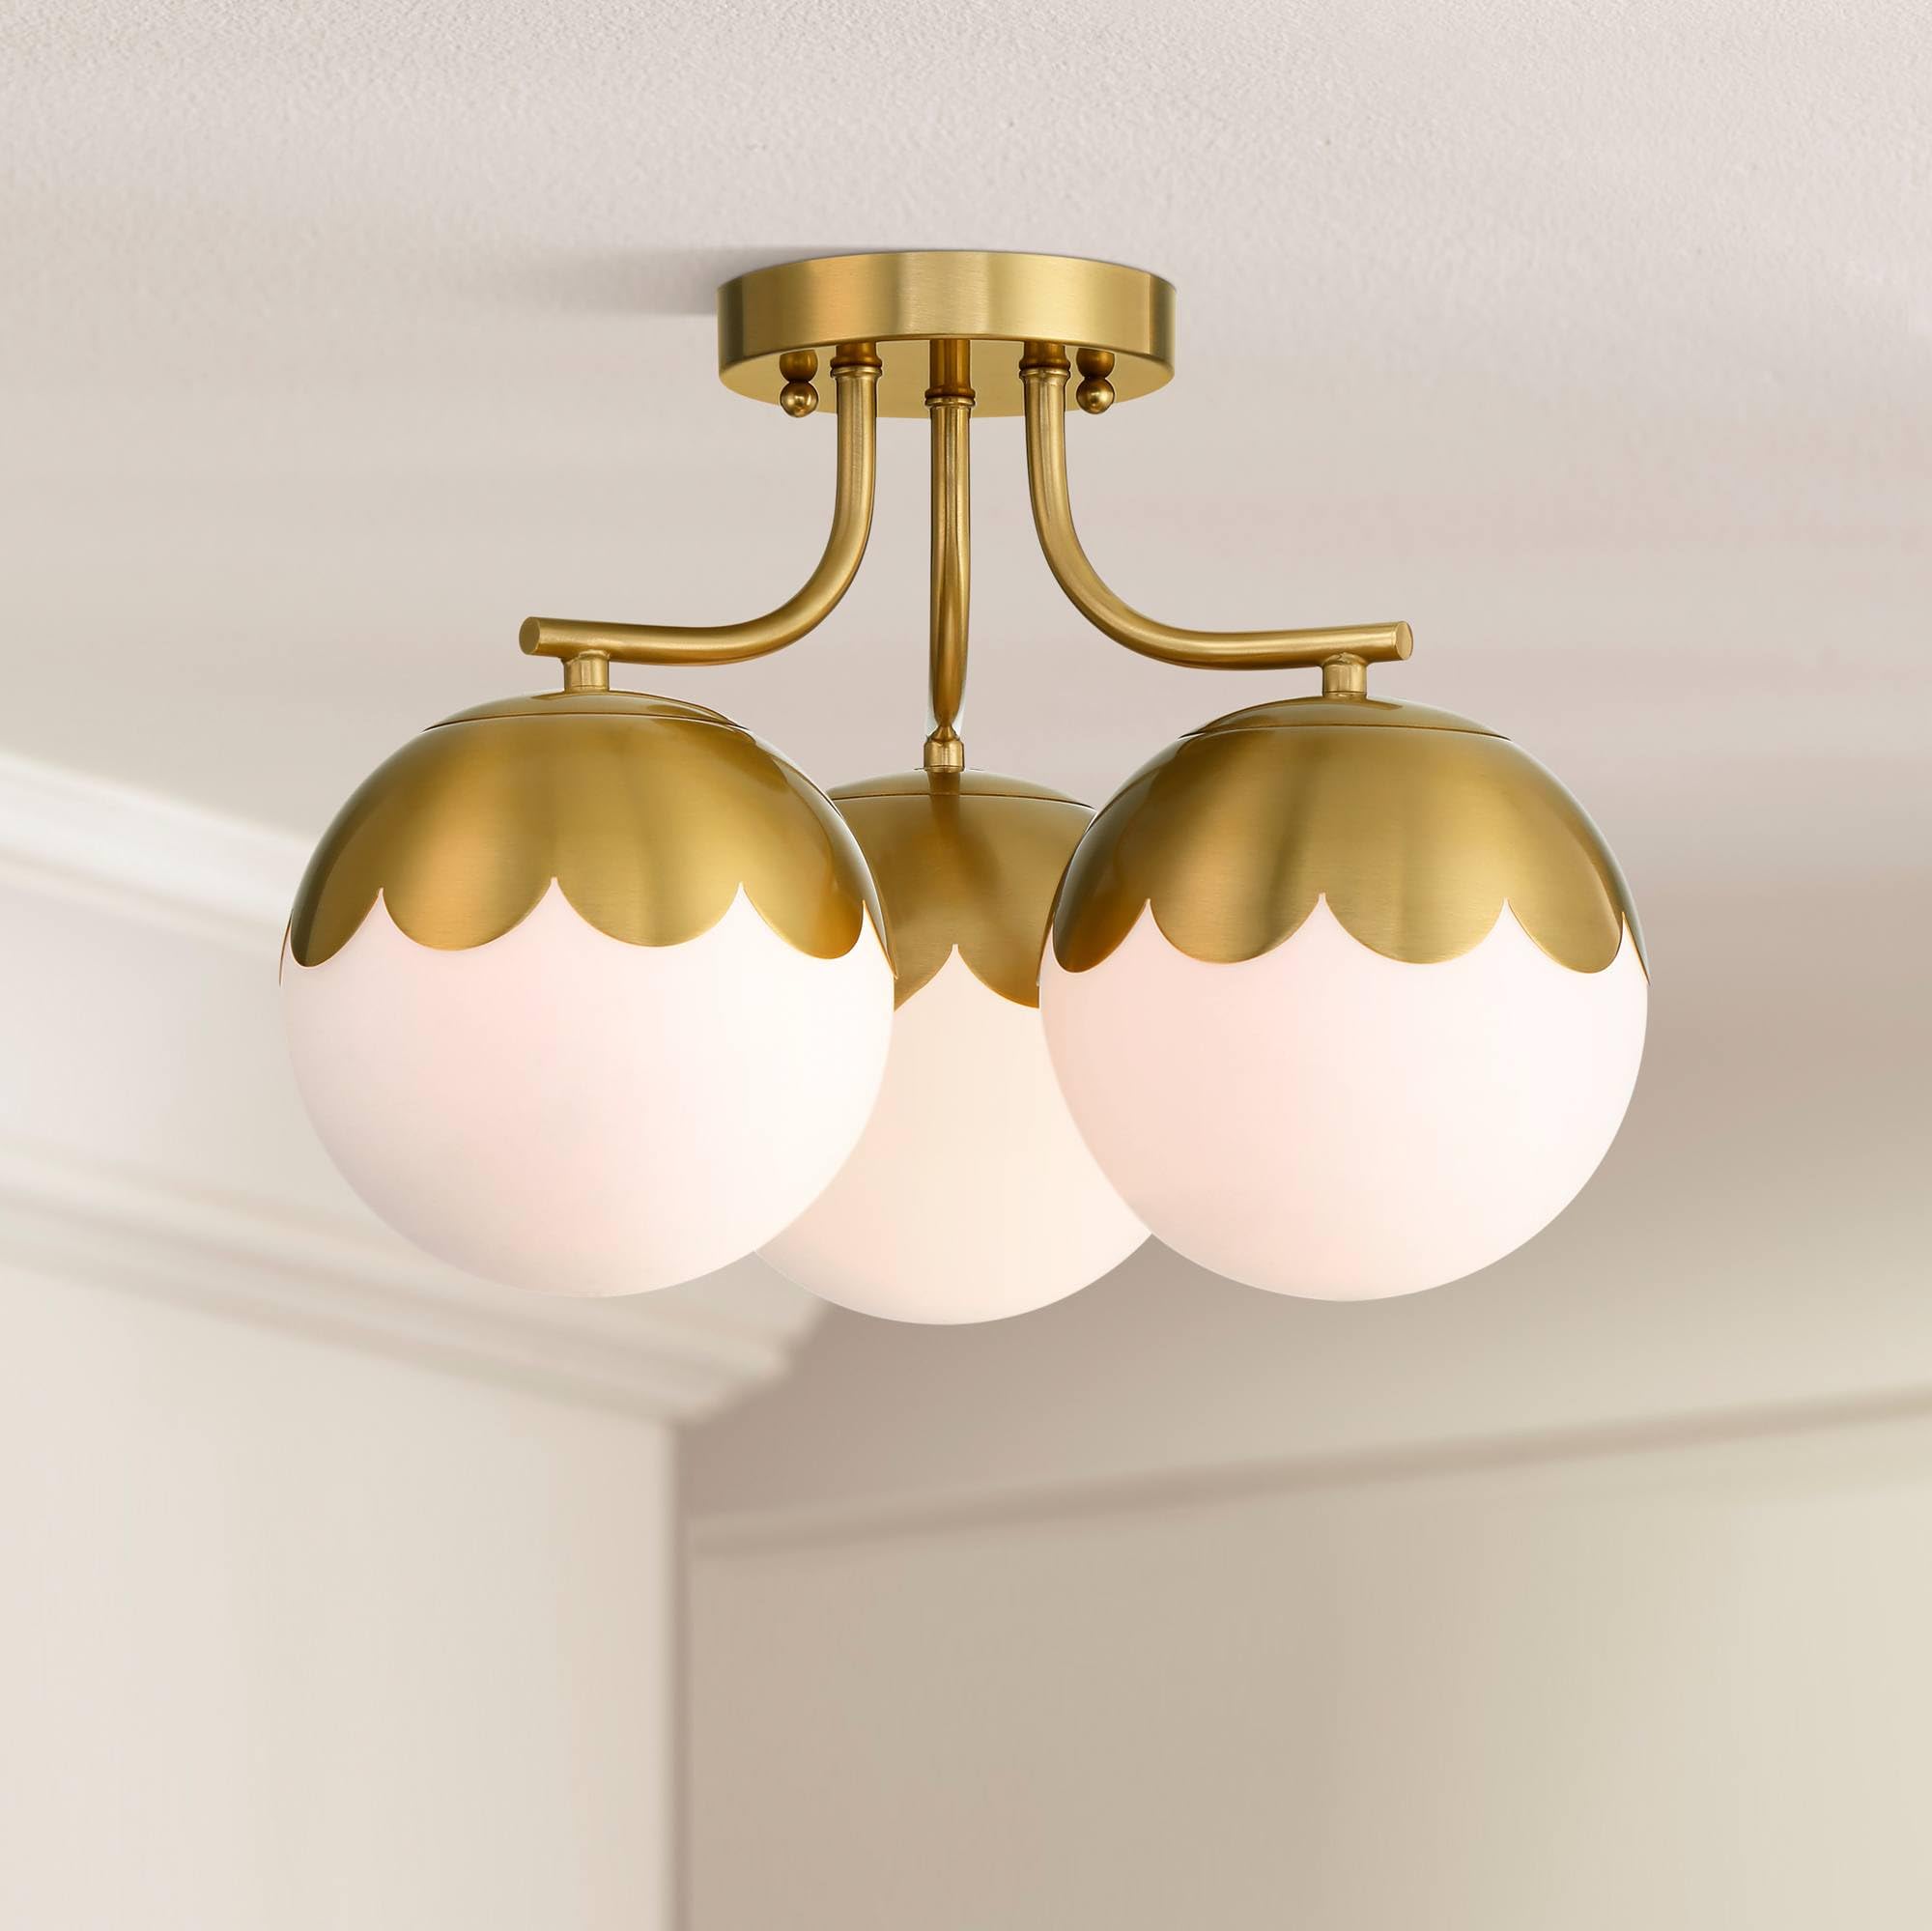
Image: Overview of the 360 Lighting Camila Semi Flush-Mount Ceiling Light Fixture, showing the antique brass finish and white glass globe shades.
3. Tools Required (Not Included)
- Phillips Head Screwdriver
- Flat Head Screwdriver
- Wire Strippers
- Electrical Tape
- Ladder
4. Installation Instructions
Step 1: Prepare for Installation
- Turn off the electricity at the main fuse box or circuit breaker.
- Carefully unpack the fixture and its components. Keep all parts on a clean, flat surface.
Step 2: Attach Mounting Crossbar
- Attach the mounting crossbar to the outlet box using the provided screws. Ensure the crossbar is securely fastened.
Step 3: Wire the Fixture
- Connect the fixture's ground wire (usually bare copper or green) to the house ground wire using a wire nut.
- Connect the fixture's neutral wire (usually white) to the house neutral wire (white) using a wire nut.
- Connect the fixture's hot wire (usually black) to the house hot wire (black) using a wire nut.
- Carefully tuck all wires into the outlet box.
Step 4: Mount the Fixture
- Align the fixture canopy with the mounting screws on the crossbar.
- Secure the fixture to the crossbar using the decorative nuts or screws provided.
Step 5: Install Shades and Bulbs
- Carefully attach each white glass globe shade to the fixture arms. Ensure they are securely seated.
- Insert three maximum 40-watt E26 base bulbs (not included) into the sockets. Do not overtighten.

Image: Underside view of the fixture, illustrating the three bulb sockets and how the glass shades attach.
Step 6: Restore Power
- Turn the electricity back on at the main fuse box or circuit breaker.
- Test the light fixture to ensure proper operation.
Video: An official product video from LAMPS PLUS demonstrating the 360 Lighting Camila 16" Antique Brass 3-Light Ceiling Light in an installed setting.
5. Operating Instructions
This fixture operates like any standard ceiling light. Once installed and wired correctly, it can be turned on and off using a wall switch connected to the circuit.
- Ensure bulbs are securely screwed into their sockets.
- Use a compatible wall switch for operation.
6. Maintenance
Cleaning
- Always disconnect power before cleaning.
- Wipe the fixture with a soft, dry cloth.
- Do not use abrasive cleaners or solvents, as they may damage the finish or glass.
Bulb Replacement
- Turn off the power at the circuit breaker before replacing bulbs.
- Allow bulbs to cool completely before touching them.
- Unscrew the old bulb and replace it with a new E26 base bulb, maximum 40 watts.
7. Troubleshooting
| Problem | Possible Cause | Solution |
|---|---|---|
| Light does not turn on | No power to fixture; Loose wiring; Faulty bulb; Faulty switch | Check circuit breaker/fuse; Verify wire connections; Replace bulb; Test/replace switch |
| Flickering light | Loose bulb; Loose wiring; Incorrect bulb type | Tighten bulb; Check wire connections; Ensure correct bulb wattage/type |
| Fixture hums | Incompatible dimmer switch; Loose wiring | Ensure dimmer is compatible with LED/incandescent bulbs; Check wiring connections |
8. Specifications
- Model: 8010F
- Dimensions: 16" wide x 12 1/4" high
- Canopy: 5 1/2" wide x 1" high
- Shade: 7" wide x 6 1/2" high
- Weight: 7.7 lbs
- Bulb Type: E26 base (standard medium base)
- Max Wattage: 40 watts per bulb (3 bulbs required, not included)
- Voltage: 120 Volts
- Material: Metal frame (Antique Brass finish), White Glass globe shades
- Certification: UL listed
- Indoor/Outdoor Usage: Indoor

Image: Dimensional diagram of the light fixture, indicating a 16-inch width, 12 1/4-inch height, 5 1/2-inch canopy, and 7-inch wide shades.
9. Warranty and Support
This product comes with a limited 1-year manufacturer's warranty.
For further assistance or to inquire about warranty claims, please contact 360 Lighting customer support or visit the 360 Lighting Store on Amazon.