1. Product Overview
The YOUTINGHDAV KVM Switch allows two computers to share a single set of keyboard, mouse, and two DisplayPort monitors, along with other USB peripherals. This device is designed to streamline your workspace, reducing clutter and enhancing productivity by enabling seamless switching between two PCs. It supports advanced DisplayPort 1.4 specifications, delivering high-definition visual experiences up to 4K@144Hz and 8K@30Hz. The KVM switch features a robust metal casing for durability and efficient heat dissipation, ensuring stable performance.
Key Features
- Connects 2 PCs to 2 DisplayPort monitors.
- Shares 4 USB 2.0 peripherals (mouse, keyboard, U disk, printer, scanner, webcam).
- Supports high resolutions: 8K@30Hz, 4K@144Hz, 4K@120Hz, 4K@60Hz, 2K@144Hz.
- DisplayPort 1.4 standard compliant.
- Two switching methods: front panel button and 1.5m wired remote control.
- Plug and Play operation with LED indicators.
- Supports Copy Mode and Extend Mode for dual monitors.
- Wide compatibility with Windows, Vista, Chrome, Mac OS, Linux.
- Durable metal casing with good heat dissipation and anti-interference capabilities.

Image 1.1: Front and rear view of the YOUTINGHDAV KVM Switch, highlighting its compact design and various input/output ports.
2. Package Contents
Please verify that all items listed below are included in your package:
- 1 x YOUTINGHDAV KVM Switch (2 PC 2 Monitor)
- 1 x Wired Remote Control (1.5m)
- 2 x USB Cables (1.5m)
- 1 x Charging Cable (Power adapter not included)
- 1 x User Manual

Image 2.1: Visual representation of the KVM switch and its accompanying accessories, including cables and remote control.
3. Product Diagram
Familiarize yourself with the ports and indicators on your KVM switch to ensure correct connections.

Image 3.1: Comprehensive diagram illustrating the KVM switch's ports for PCs, monitors, and USB peripherals, along with connection flow.
4. Setup Instructions
Follow these steps to correctly set up your YOUTINGHDAV KVM Switch:
Connection Steps
- Ensure all devices (PCs, monitors, KVM switch) are powered off before making any connections.
- Connect two DisplayPort cables from PC1's graphics card to the KVM switch's INPUT A1 and INPUT B1 ports.
- Connect one USB cable from PC1 to the KVM switch's USB 1 port.
- Repeat steps 2 and 3 for PC2, connecting its DisplayPort cables to INPUT A2 and INPUT B2, and its USB cable to USB 2.
- Connect your two DisplayPort monitors to the KVM switch's OUT A and OUT B ports.
- Connect your USB keyboard, mouse, and other USB peripherals (U disk, printer, scanner, webcam) to the USB A downstream ports on the KVM switch. Note: Bluetooth mice are not supported.
- Connect the wired remote control to the designated port on the KVM switch (if desired).
- Connect the 5V DC power adapter (not included) to the KVM switch's power input.
- Power on the KVM switch, then your monitors, and finally your PCs.
Important Notes
- Each PC requires two DisplayPort outputs and one USB port for full functionality with the KVM switch.
- If your computer lacks two DisplayPort outputs, especially laptops, consider using a USB-C to DisplayPort adapter.
- Ensure that the two DisplayPort cables and the USB cable for PC1 are connected to the corresponding PC1 inputs (USB 1, INPUT A1, INPUT B1) on the KVM switch. Do the same for PC2.
- For optimal performance and to avoid issues like flickering or black screens, it is recommended to use high-quality DisplayPort 1.4 cables, especially 8K DP cables for resolutions of 8K@30Hz or 4K@144Hz.
5. Operating Instructions
Switching Between Computers
The YOUTINGHDAV KVM Switch offers two convenient methods for switching between connected computers:
- Front Panel Button: Press the "SELECT" button located on the front panel of the KVM switch to cycle between PC1 and PC2.
- Wired Remote Control: Use the included 1.5m wired remote control. Press its button to switch between PC1 and PC2.
An LED indicator on the KVM switch will illuminate to show which computer is currently active.

Image 5.1: Visual guide to the physical button on the KVM switch and the wired remote for switching inputs.
Display Modes (Windows)
When using Windows, you can configure your dual monitors in two primary modes:
- Copy Mode (Mirror Mode): Both monitors display the same content from the selected PC. To activate, press Windows + P and select "Duplicate".
- Extend Mode: Your desktop is extended across both monitors, allowing for more workspace. To activate, press Windows + P and select "Extend". You can then drag windows between the two screens.
Note: To support dual monitor output in Extend Mode, both connected computers must have dual graphics card capabilities.
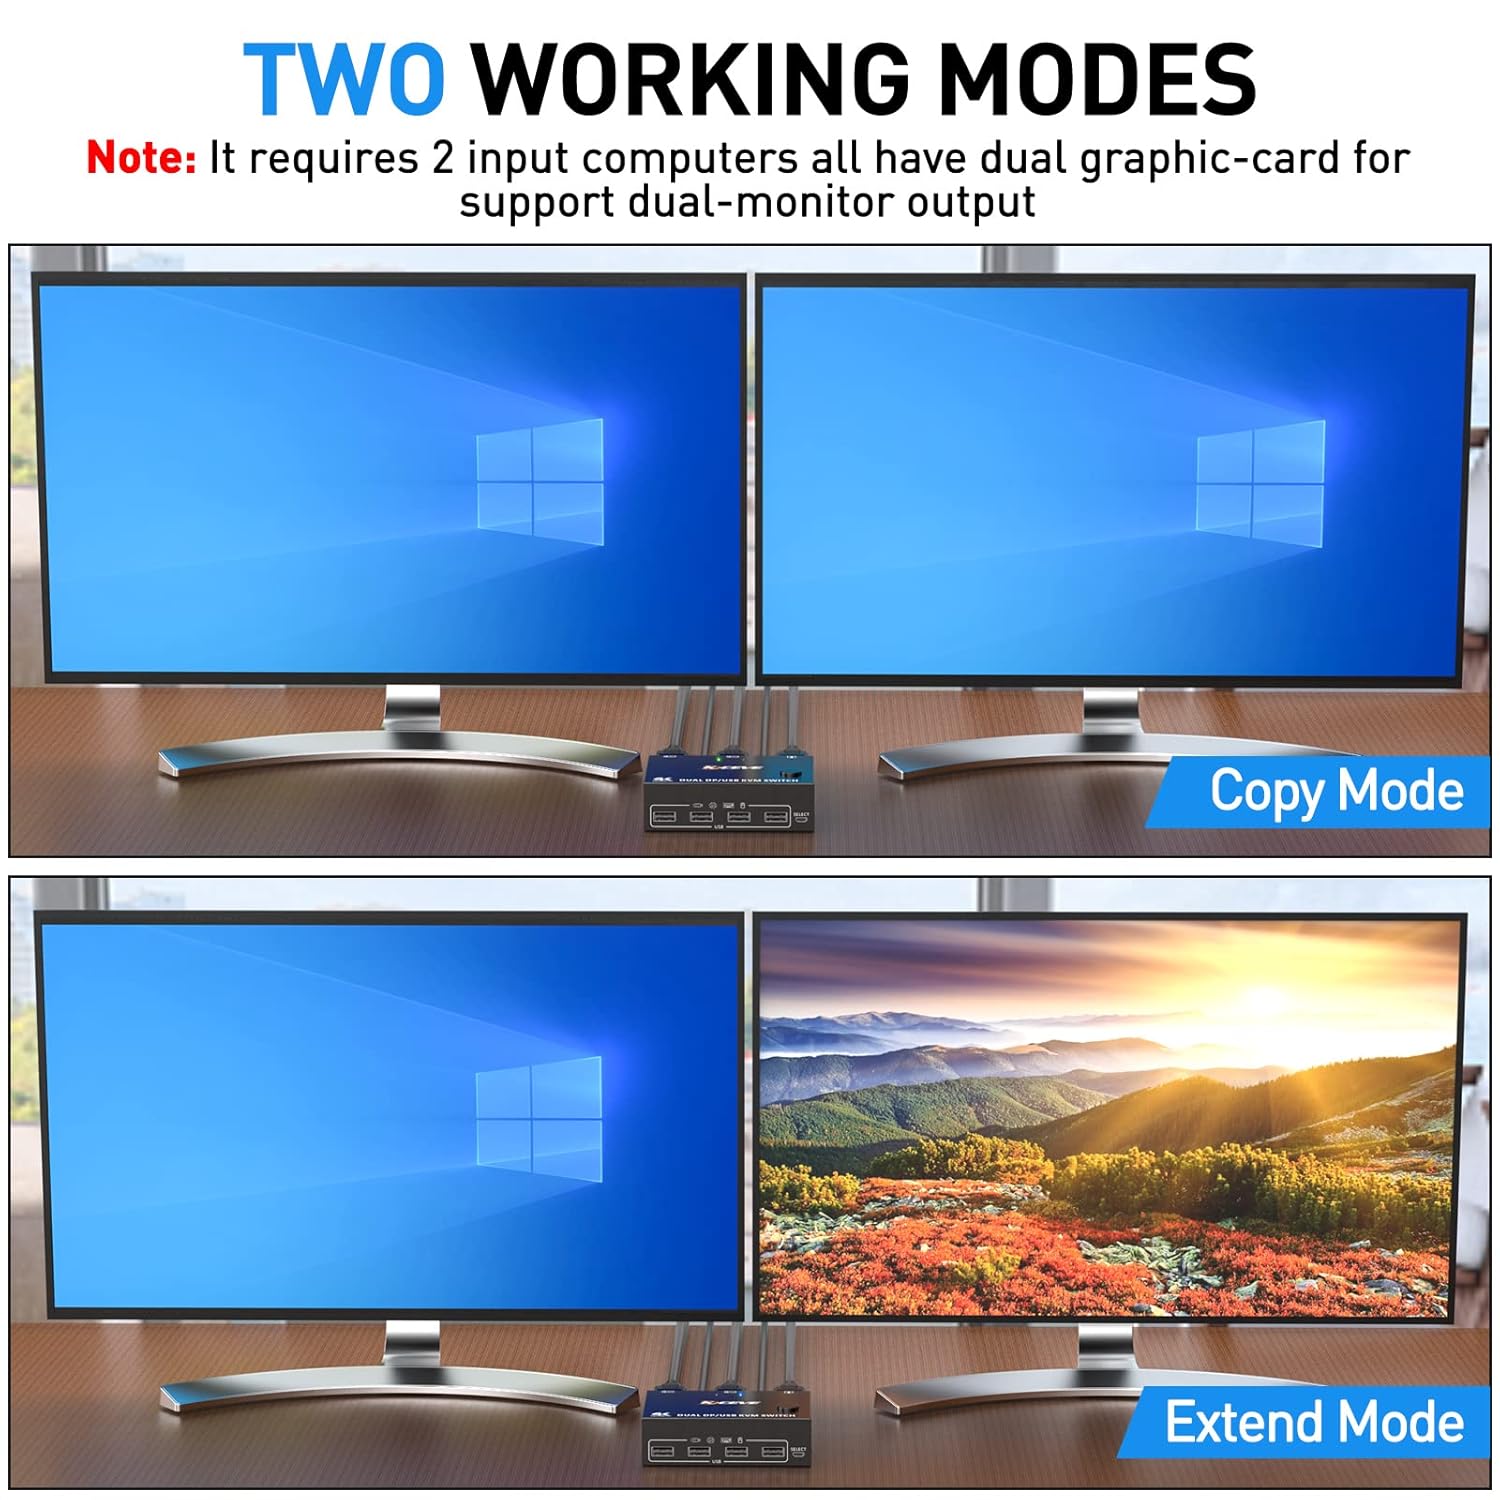
Image 5.2: Illustration of the two working modes: Copy Mode, where both screens show identical content, and Extend Mode, where the desktop is expanded across both screens.
6. Compatibility
The KVM switch is designed for broad compatibility with various operating systems and DisplayPort input devices.
Supported Operating Systems
- Windows (including Windows Vista)
- Mac OS
- Linux
- Chrome OS
Supported Devices
- Input Devices: PCs, Laptops, TV Boxes, Xbox One, Apple TV, PS5, Projectors with DisplayPort output.
- USB Peripherals: Mouse, Keyboard, U disk, Hard Drive, Printer, Scanner, Webcam. (Bluetooth mice are not supported).
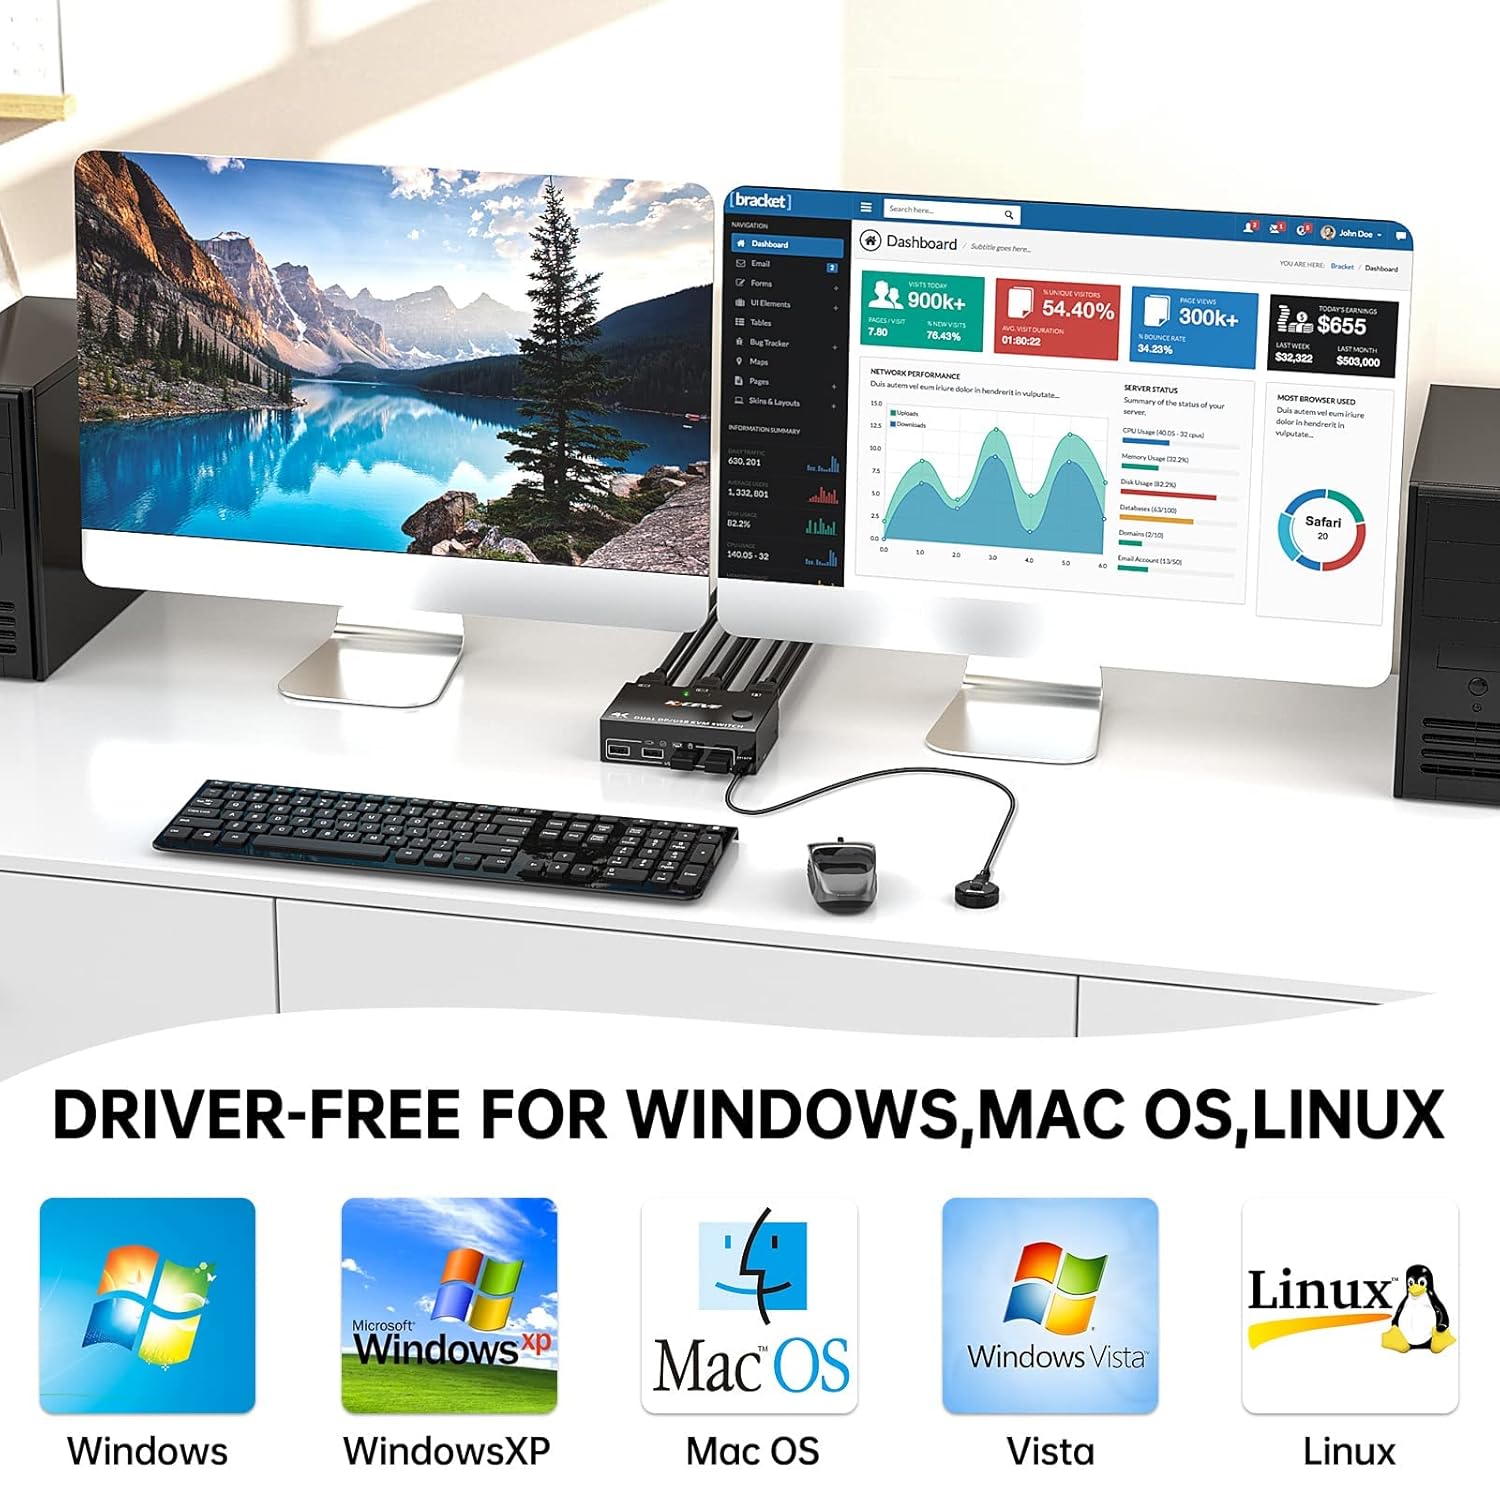
Image 6.1: Visual representation of the KVM switch's driver-free compatibility with major operating systems.
7. Troubleshooting
If you encounter issues with your YOUTINGHDAV KVM Switch, please refer to the following common solutions:
- No Display or Flickering Screen:
- Ensure all DisplayPort cables are securely connected to both the KVM switch and your PCs/monitors.
- Verify that the KVM switch is receiving power from the 5V DC adapter.
- Confirm that your monitors, graphics cards, and DisplayPort cables all support the desired resolution and refresh rate (e.g., 8K or 4K). Using high-quality DisplayPort 1.4 cables, especially 8K certified cables, can resolve flickering or black screen issues.
- Try reducing the resolution or refresh rate to see if the display stabilizes.
- USB Peripherals Not Working:
- Check that the USB cables from your PCs are correctly connected to the KVM switch's USB 1 and USB 2 input ports.
- Ensure your USB peripherals are connected to the downstream USB A ports on the KVM switch.
- Verify that the KVM switch is powered.
- Note that Bluetooth mice are not supported.
- Try connecting the peripheral directly to the PC to confirm it's functional.
- Incorrect Display Mode (Copy/Extend):
- On Windows, press Windows + P and select the desired display mode (Duplicate for Copy, Extend for Extend).
- Ensure both connected PCs have dual graphics card capabilities to support Extend Mode.
- Switching Issues:
- Ensure the wired remote control is properly connected.
- Try using the front panel button to switch.
- Restart the KVM switch and connected PCs.
8. Specifications
| Feature | Detail |
|---|---|
| Model Number | YOUTINGHDAV-202DPA-B |
| Input Ports (PC) | 2 x DisplayPort (A+B per PC), 1 x USB Type B per PC |
| Output Ports (Monitor) | 2 x DisplayPort |
| Downstream USB Ports | 4 x USB A (USB 2.0/1.1 compatible) |
| DisplayPort Standard | DisplayPort 1.4 |
| Supported Resolutions | 8K@30Hz, 4K@144Hz, 4K@120Hz, 4K@60Hz, 3440x1440@144Hz, 2560x1440@144Hz, 2K@144Hz |
| HDCP | 2.2 |
| YUV Support | 4:4:4 |
| Switching Methods | Front panel button, 1.5m wired remote control |
| Power Supply | 5V DC (adapter not included) |
| Shell Material | Metal |
| Dimensions (L x W x H) | 11 x 7 x 3 cm (4.33 x 2.76 x 1.18 inches) |
| Weight | 200 grams (0.44 lbs) |
| Operating Mode | ON-OFF-ON |
| Current Rating | 1 A |
| Connector Type | Plug-in |
| Contact Type | Normally Open |
| Terminal | Through Hole |
9. Maintenance
To ensure the longevity and optimal performance of your YOUTINGHDAV KVM Switch, please follow these simple maintenance guidelines:
- Cleaning: Use a soft, dry cloth to gently wipe the exterior of the device. Avoid using liquid cleaners or abrasive materials, as they may damage the surface.
- Ventilation: Ensure the KVM switch is placed in a well-ventilated area to prevent overheating. Do not block the ventilation openings.
- Storage: When not in use for extended periods, store the device in a cool, dry place away from direct sunlight and extreme temperatures.
- Handling: Handle the device with care. Avoid dropping it or subjecting it to strong impacts, as this can damage internal components.
10. Warranty and Support
YOUTINGHDAV is committed to providing high-quality products and excellent customer service. Our company has over ten years of experience in KVM switch technology.
After-Sales Service
We offer comprehensive after-sales services for your KVM switch, including product replacement and technical support. If you encounter any issues or have questions regarding your device, please do not hesitate to contact our customer support team. We are dedicated to resolving any problems you may experience to ensure your satisfaction.
For support, please refer to the contact information provided with your purchase or visit the official YOUTINGHDAV website.