zangang B0DDWZR398
zangang Natural Gas Leak Detector User Manual
Model: B0DDWZR398
1. Introduction
This manual provides essential information for the safe and effective operation of your zangang Natural Gas Leak Detector. Please read these instructions thoroughly before using the device and retain this manual for future reference. This device is designed to detect various combustible gases, helping to identify potential leaks and enhance safety.
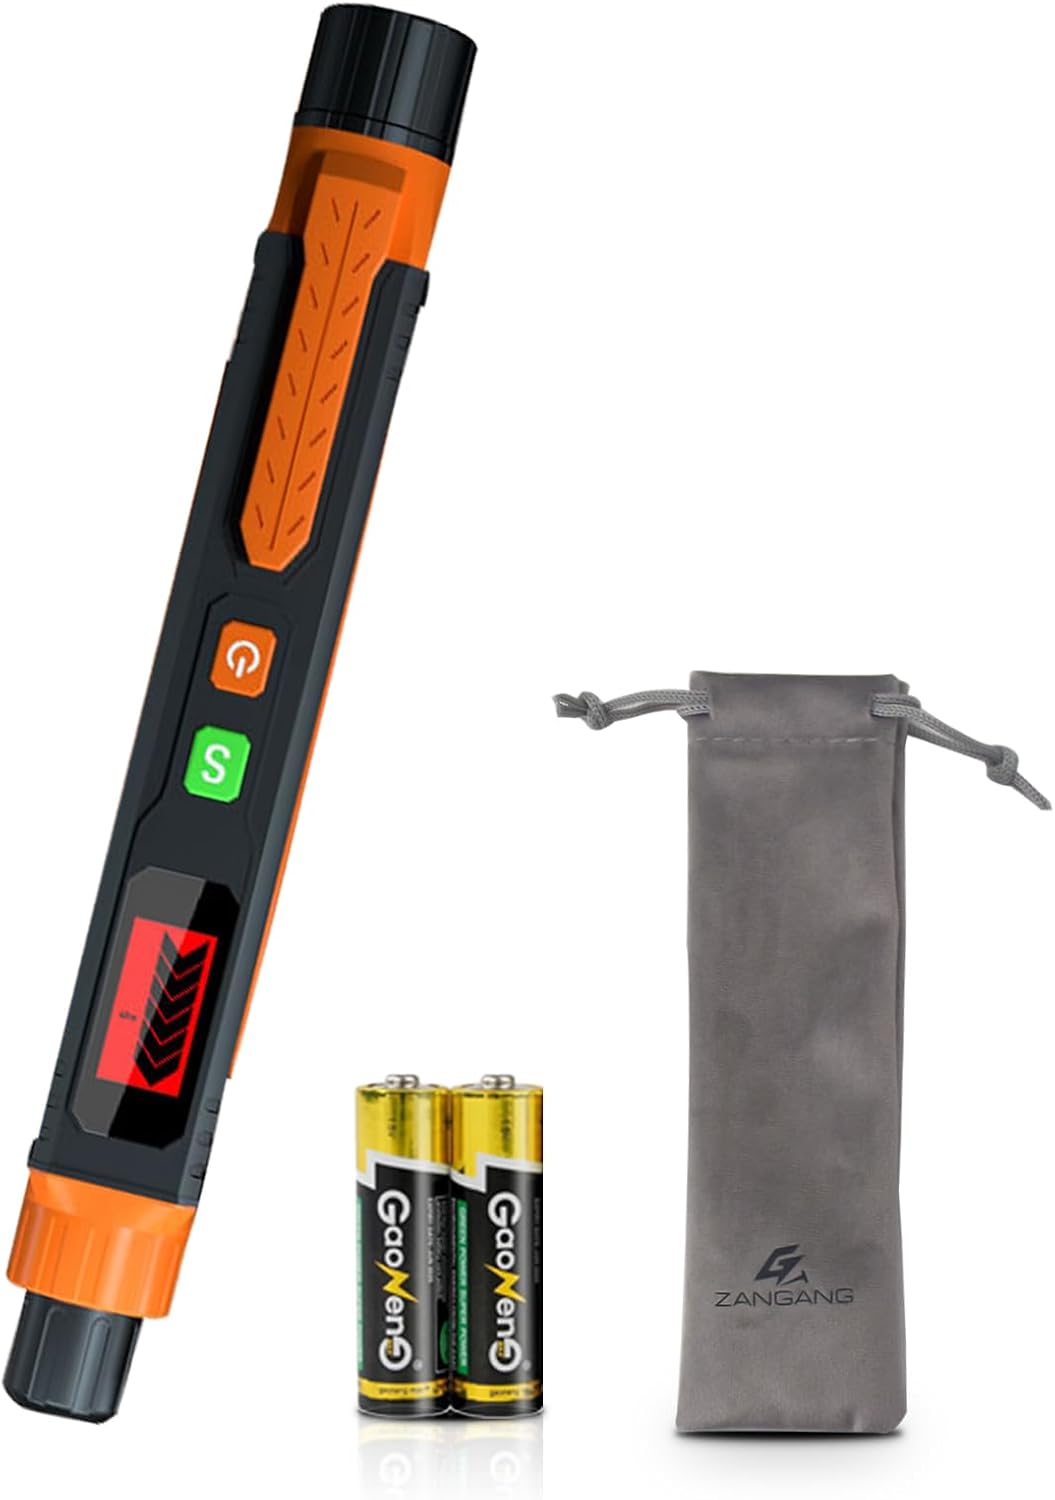
Figure 1: zangang Natural Gas Leak Detector, including two AAA batteries and a carrying pouch.
2. Package Contents
Verify that all items are present in the package:
- Gas Leak Detector (x1)
- AAA Batteries (x2)
- User Manual (x1)
- Carrying Pouch (x1)
3. Product Overview
The zangang Natural Gas Leak Detector features a pen-type design for portability and ease of use. Familiarize yourself with the components shown below.
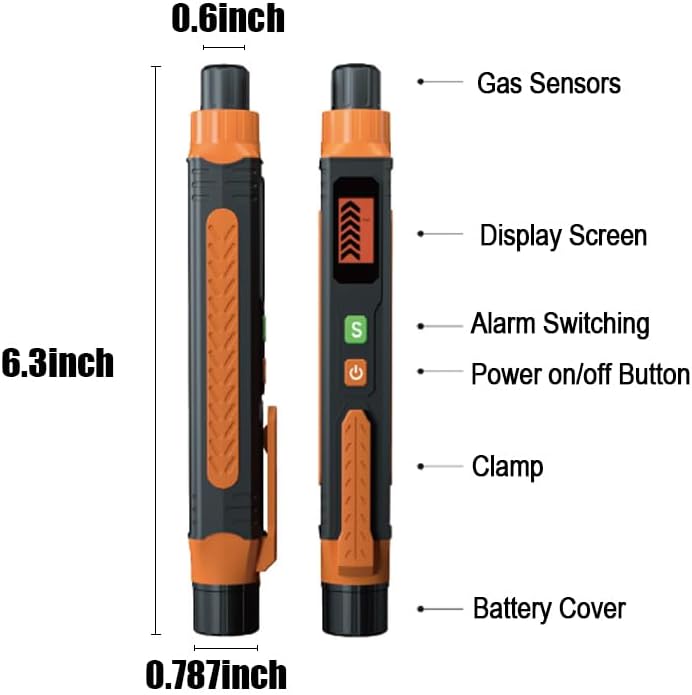
Figure 2: Labeled components of the gas leak detector, including Gas Sensors, Display Screen, Alarm Switching button, Power On/Off button, Clamp, and Battery Cover. Dimensions are approximately 6.3 inches long, 0.787 inches wide, and 0.6 inches thick.
- Gas Sensors: Located at the tip of the device, responsible for detecting gas concentrations.
- Display Screen: Shows gas concentration levels via a bar graph and other indicators.
- Alarm Switching Button (S): Used to adjust alarm settings or sensitivity.
- Power On/Off Button (⏻): Controls the device's power.
- Clamp: Allows for easy attachment to a pocket or belt.
- Battery Cover: Provides access to the battery compartment.
4. Setup
4.1 Battery Installation
- Unscrew the battery cover located at the bottom of the device.
- Insert the two AAA batteries, ensuring correct polarity (+/-) as indicated inside the compartment.
- Securely replace the battery cover.
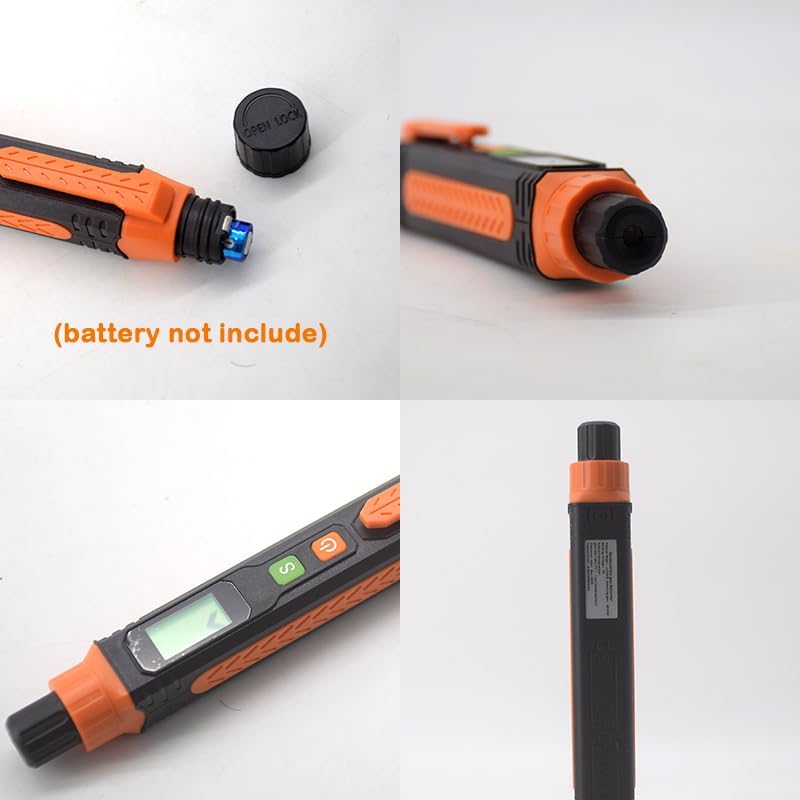
Figure 3: The battery compartment with the cover removed, indicating where to insert batteries.
4.2 Initial Power On and Preheating
After battery installation, press the orange Power On/Off button (⏻). The device will enter a 20-second preheating period. During this time, the sensor stabilizes for accurate readings. Wait for the preheating to complete before proceeding with detection.
5. Operating Instructions
5.1 Detecting Gas Leaks
- Ensure the device has completed its 20-second preheating cycle.
- Point the gas sensor tip towards the area suspected of a gas leak. Move the device slowly along pipes, connections, or appliances.
- The device can detect leaks in approximately 3 seconds.
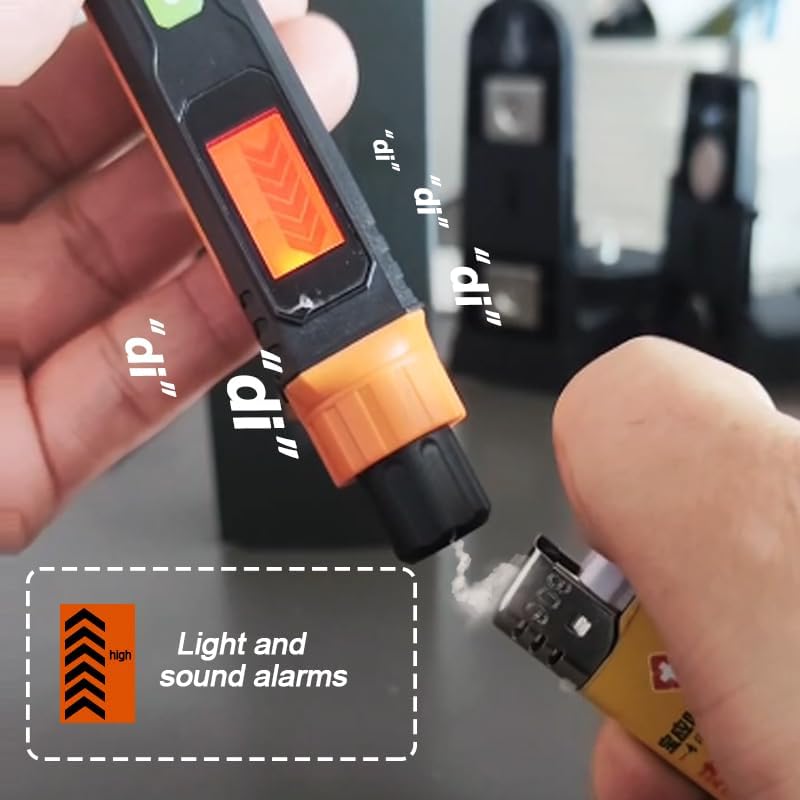
Figure 4: The device's display screen indicating gas detection levels.
5.2 Understanding Alarms
The detector features both visual and audible alarms:
- Visual Alarm: As gas concentration increases, the bar graph on the display will rise. If the gas concentration becomes too high, the display will turn red.
- Audible Alarm: The device will emit beeps. The frequency of these beeps increases proportionally with the detected gas concentration.
5.3 Types of Gases Detected
This detector is suitable for identifying a range of combustible gases, including but not limited to:
- Liquefied Petroleum Gas (LPG)
- Methane
- Ethane
- Propane
- Butane
- Natural Gas
- Coal Gas
- Gas Fuel
- Liquefied Natural Gas (LNG)

Figure 5: Examples of typical usage scenarios, such as inspecting gas pipelines and performing daily checks on kitchen gas appliances.
6. Maintenance
6.1 Battery Replacement
When the battery indicator shows low power, replace the AAA batteries following the installation steps in Section 4.1.
6.2 Cleaning
Wipe the device with a soft, dry cloth. Do not use abrasive cleaners or solvents, as these can damage the casing or internal components.
6.3 Storage
If the device will not be used for an extended period, remove the batteries to prevent leakage and damage. Store the detector in its carrying pouch in a cool, dry place, away from direct sunlight and extreme temperatures.
7. Troubleshooting
- Device does not power on: Check if batteries are installed correctly with proper polarity. Replace batteries if they are depleted.
- Inaccurate readings or no detection: Ensure the device has completed its 20-second preheating cycle. The sensor may be obstructed; ensure the tip is clean.
- Alarm sounds continuously without gas: Move to a fresh air environment to allow the sensor to clear. If the issue persists, the sensor may require calibration or replacement (contact support).
8. Specifications
| Feature | Detail |
|---|---|
| Brand | zangang |
| Model | B0DDWZR398 |
| Sensor Type | Ionization |
| Power Source | 2 x AAA Batteries |
| Product Dimensions (L x W x D) | 6.3" x 0.8" x 0.79" (160mm x 20mm x 20mm) |
| Item Weight | 0.13 Pounds (approx. 59g) |
| Preheating Time | 20 seconds |
| Response Time | Approximately 3 seconds (determined by gas type) |
| Low Alarm Threshold | 2000 ppm |
| High Alarm Threshold | 4000 ppm |
| Zero Drift | Less than 2% FS per half year |
| Sensitivity Drift | Less than 3% FS per half year |
9. Safety Information
- This device is intended for detecting combustible gases. It is not a substitute for proper ventilation or other safety measures.
- Do not expose the device to extreme temperatures, humidity, or corrosive environments.
- Keep out of reach of children.
- If a gas leak is detected, immediately ventilate the area, turn off gas sources if safe to do so, and contact emergency services or a qualified technician.
- Do not attempt to repair or modify the device yourself. Refer all servicing to qualified personnel.
10. Warranty and Support
For warranty information or technical support, please refer to the contact details provided with your purchase or visit the official zangang website. Please have your model number (B0DDWZR398) and purchase date available when contacting support.
Related Documents - B0DDWZR398
 |
ZANGANG T88 Laser Level User Manual User manual and technical specifications for the ZANGANG T88 Laser Level. Includes operating instructions for self-leveling, locked, and pulse modes, maintenance guidelines, and warranty information. |
Ask a question about this manual
Ask about setup, troubleshooting, compatibility, parts, safety, or missing instructions. Manuals+ will review the question and use this page’s manual context to help answer it.