Important Safety Information
Please read and understand all instructions before assembly and use. Keep this manual for future reference.
- Do not exceed the maximum weight capacity of 1200 pounds.
- Be cautious of sharp edges during assembly and use.
- Always follow the assembly instructions carefully to prevent instability or collapse.
- Ensure all bolts and screws are securely tightened before use. Periodically check and re-tighten all connections.
- Do not allow children to play on or around the bed frame without supervision.
Package Contents
Verify that all components are present before beginning assembly. If any parts are missing or damaged, contact customer support.
- Headboard
- Footboard
- Side Rails
- Center Support Legs
- Metal Slats
- Hardware (Screws, Washers, Allen Wrench)
- Installation Manual
Specifications
| Feature | Detail |
|---|---|
| Size | Queen |
| Product Dimensions (L x W x H) | 83.5" x 61" x 45.1" |
| Weight Capacity | 1200 lbs |
| Recommended Mattress Thickness | 10"-12" |
| Under-bed Clearance | 10.4 inches |
| Material | Thickened Carbon Steel Pipes |
| Finish Type | Powder Coated (Electrostatic Spray Paint) |
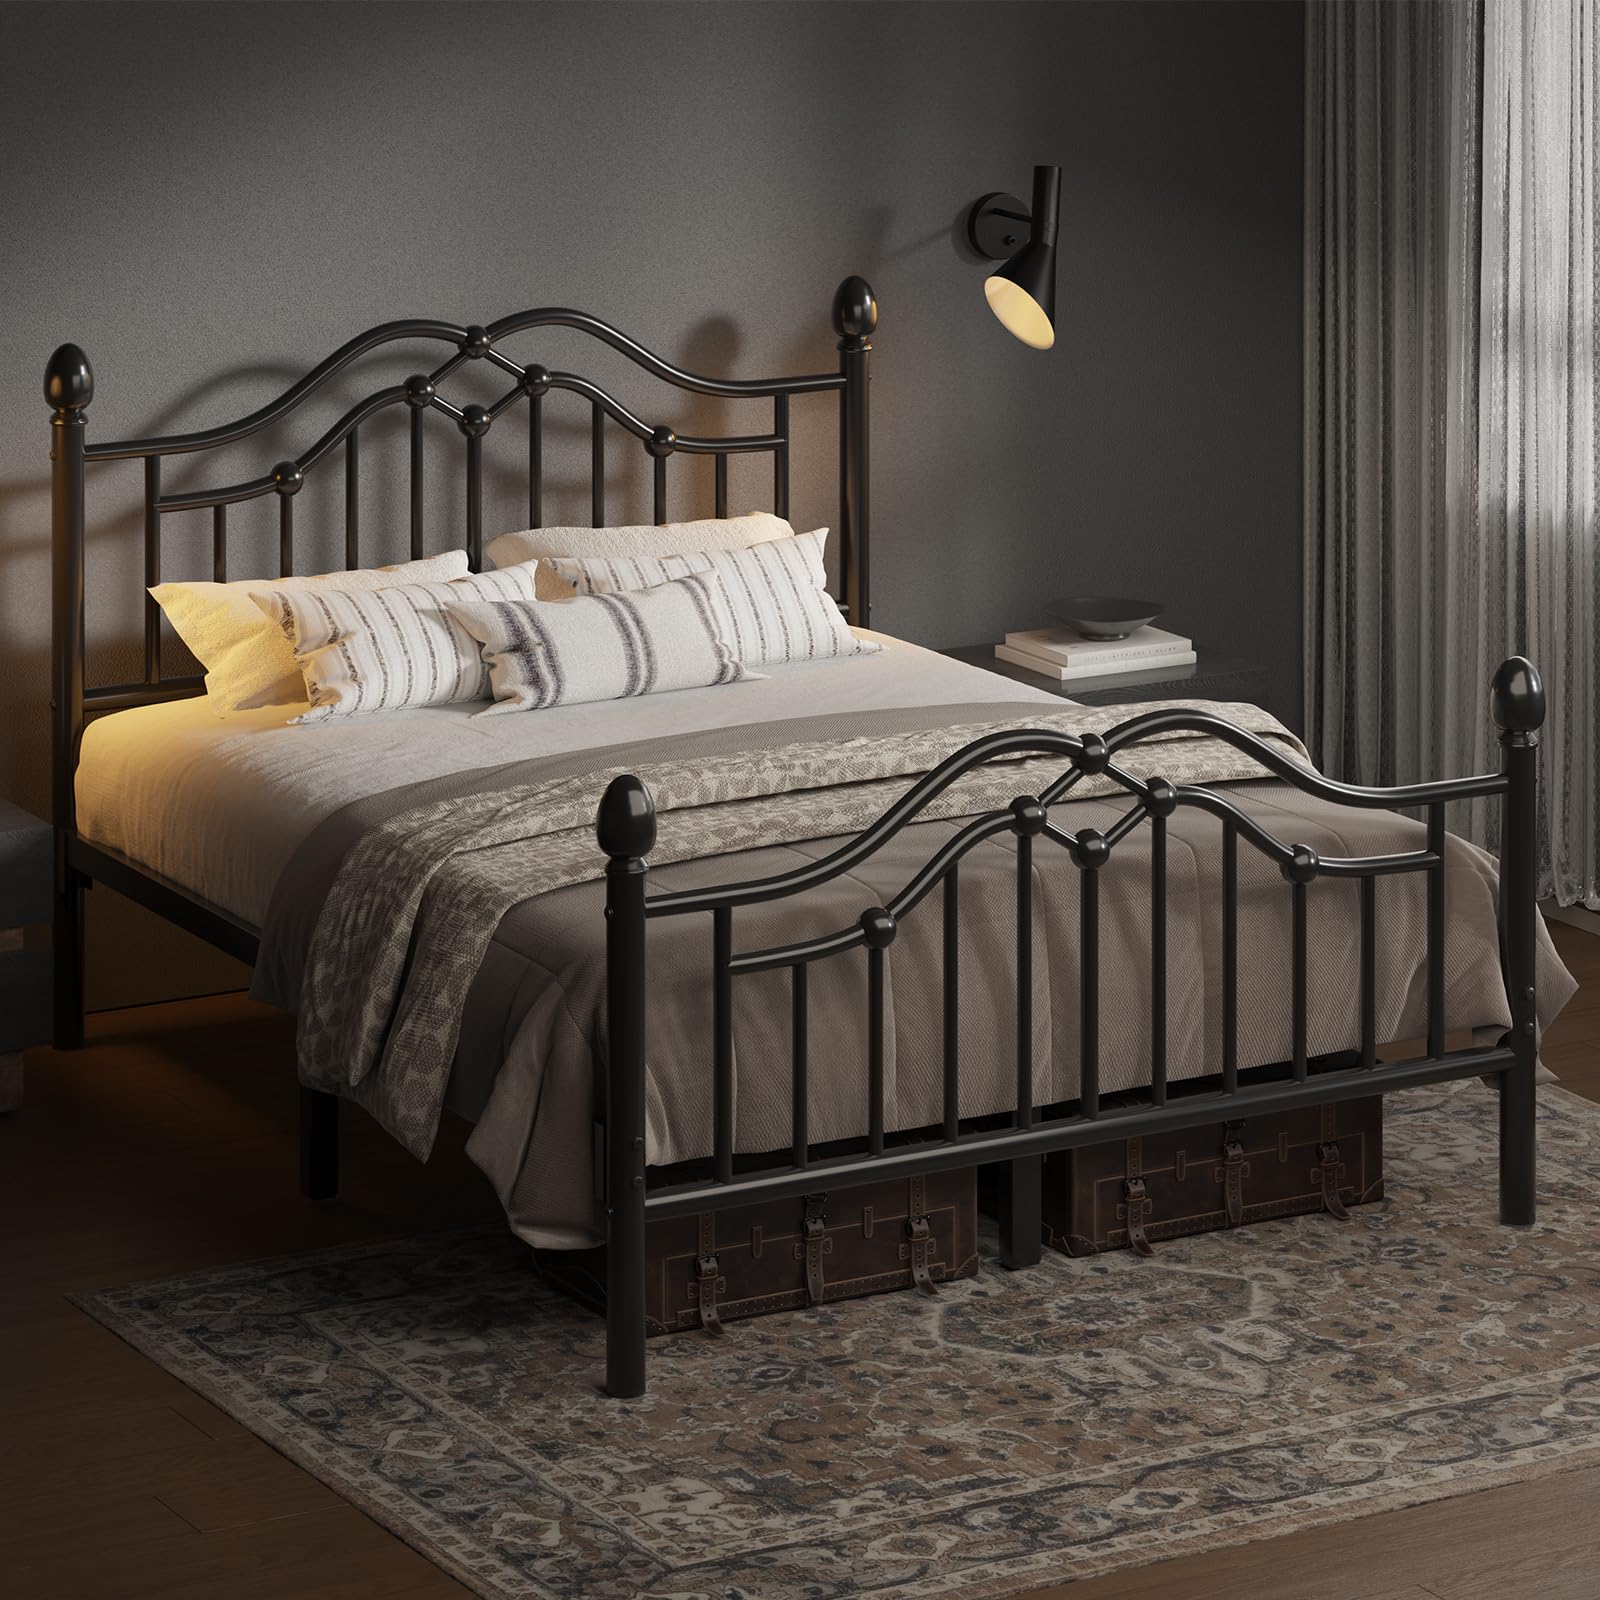
| Special Features | No Box Spring Needed, Noise-Free Design, Under-bed Storage |
The bed frame features a modern iron-art headboard and footboard design.
Setup and Assembly Instructions
Assembly is designed to be straightforward. It is recommended to have two adults for assembly. Lay out all parts on a soft surface to prevent scratches.
Visual Assembly Guide
Video: Assembly demonstration for the Metal Bed Frame with Modern Iron-Art Headboard & Footboard.
Step-by-Step Assembly
- Unpack and Identify Parts: Carefully remove all components from the packaging. Refer to the parts list in your included manual to identify each piece.
- Attach Side Rails to Headboard and Footboard: Connect the side rails to the headboard and footboard using the provided screws and Allen wrench. Ensure all connections are finger-tightened initially.
- Install Center Support Legs: Attach the center support legs to the central crossbars of the bed frame. These legs provide additional stability and weight distribution.
- Secure Metal Slats: Place the metal slats across the bed frame. The slats are designed to fit into designated slots or be secured with screws. Ensure each slat is properly seated and secured.
- Final Tightening: Once all components are in place, go back and securely tighten all screws and bolts using the Allen wrench. Do not overtighten.
- Attach Decorative Elements (if applicable): If your model includes decorative ball finials, attach them to the top of the headboard and footboard posts.


Operating Instructions
This bed frame is designed to support a mattress directly, eliminating the need for a box spring. Place your mattress directly onto the metal slats.
Under-bed Storage
The bed frame provides 10.4 inches of clearance underneath, offering space for storage. Utilize storage boxes or containers to keep items organized and maximize room space.

Maintenance
- Cleaning: Wipe the metal frame with a dry cloth to remove dust and debris. Avoid using harsh chemicals or abrasive cleaners that could damage the powder-coated finish.
- Periodic Inspection: Regularly check all bolts and screws to ensure they remain tight. Re-tighten as necessary to maintain stability and prevent noise.
- Noise Reduction: The bed frame includes a silent foam strip on the center beam and screw washers to minimize squeaking. If noise occurs, check these components for proper placement and tightness.


Troubleshooting
- Squeaking Noise:
a. Check all bolts and screws for tightness. Re-tighten any loose connections.
b. Ensure the EVA mute foam strips on the slats are correctly positioned and not damaged.
c. Verify that the mattress is properly seated within the frame and not shifting excessively. - Instability/Wobbling:
a. Confirm that all frame components are correctly assembled according to the manual.
b. Ensure all support legs, especially the center legs, are firmly on the ground and not bent or damaged.
c. Re-tighten all hardware. - Parts Missing/Damaged:
a. If you discover missing or damaged parts during unpacking or assembly, do not proceed with assembly.
b. Contact LOEWAY customer support immediately for assistance and replacement parts.
Warranty Information
LOEWAY products are manufactured with quality and durability in mind. For specific warranty details regarding your Queen Metal Platform Bed Frame (Model LA-LXH037), please refer to the warranty card included with your purchase or contact LOEWAY customer support. The warranty typically covers manufacturing defects under normal use.
Customer Support
If you have any questions, require assistance with assembly, or need to report missing/damaged parts, please contact LOEWAY customer support through the retailer where you purchased the product or visit the official LOEWAY store page.
LOEWAY Store: Visit the LOEWAY Store on Amazon