Coolski IM150B
Coolski Commercial Ice Maker Machine User Manual
Model: IM150B
1. Introduction
Thank you for choosing the Coolski Commercial Ice Maker Machine. This manual provides essential information for the safe and efficient operation, installation, and maintenance of your new ice maker. Please read this manual thoroughly before operating the appliance and retain it for future reference.
This high-efficiency commercial ice maker is designed to produce up to 150 pounds of clear ice cubes per day, featuring a 35-pound storage capacity. Its compact design makes it suitable for various settings, including homes, bars, restaurants, offices, and more.
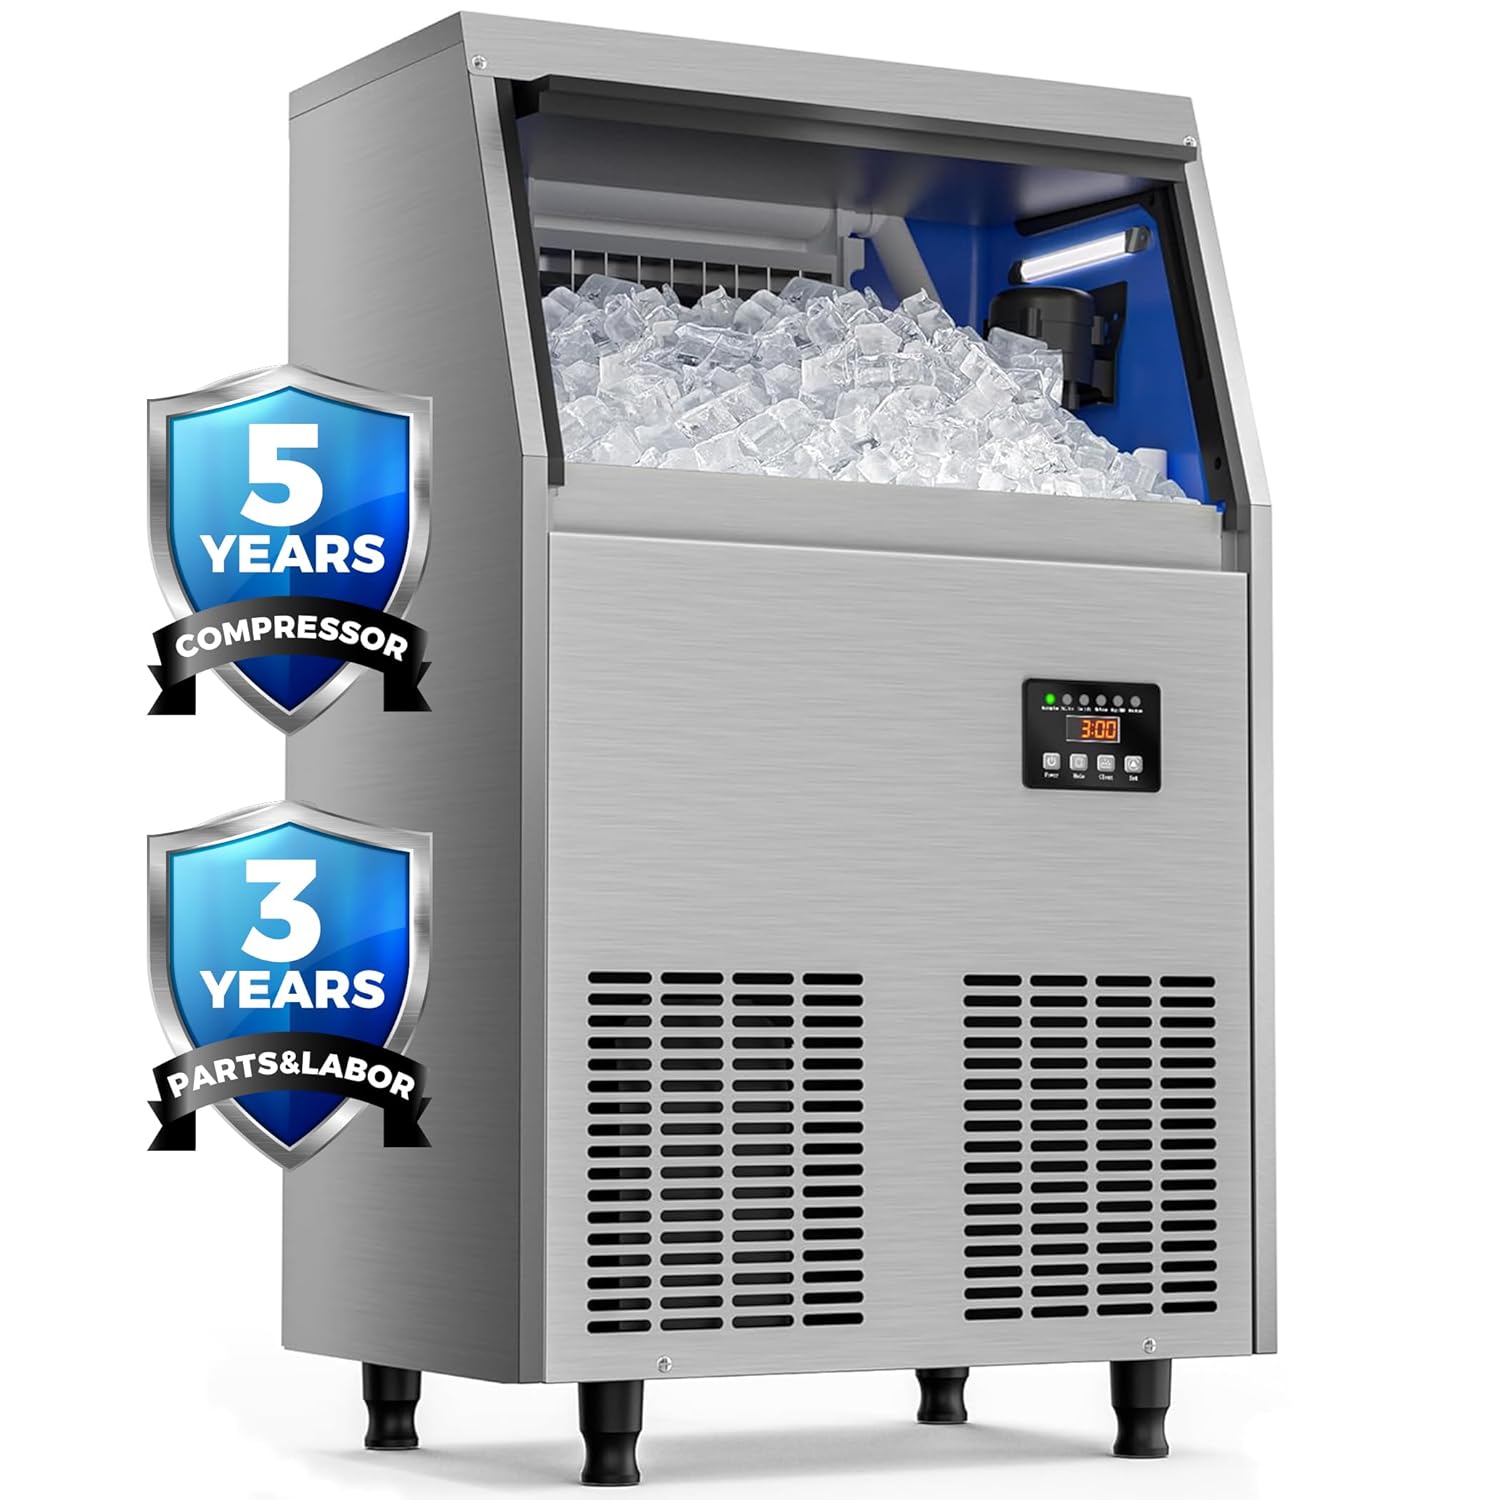
Image 1.1: Front view of the Coolski Commercial Ice Maker Machine, highlighting its warranty coverage for the compressor (5 years) and parts & labor (3 years).
2. Important Safety Information
To reduce the risk of fire, electric shock, or injury when using your ice maker, follow these basic precautions:
- Read all instructions before using the appliance.
- Ensure the ice machine is kept upright for at least 24 hours before initial use to allow the refrigerant to settle.
- Connect to potable water supply only.
- Do not operate any appliance with a damaged cord or plug, or after the appliance malfunctions or has been damaged in any manner.
- Do not immerse the power cord, plug, or the appliance itself in water or other liquids.
- This appliance is designed for commercial and household use.
- The appliance has passed DOE energy efficiency certification.
3. Setup and Installation
Proper installation is crucial for the optimal performance and longevity of your ice maker.
3.1 Unpacking and Placement
- Carefully remove all packaging materials.
- Place the ice maker on a flat, stable surface. The adjustable legs can be used to level the unit on uneven surfaces.
- Allow the unit to stand upright for at least 24 hours before plugging it in.
3.2 Water and Drain Connections
The ice maker requires a continuous water supply and a drain connection.
- Connect the water inlet hose (included) to a potable water supply. A water filter is provided for clean ice production.
- Connect the drain hose (included) to a suitable drain. Ensure the drain hose is properly sloped to allow for gravity drainage.
- Verify all connections are secure and leak-free.

Image 3.1: Illustration of the ice maker's connections, including the power cord, water inlet, water filter, tap water connection, and drain hose for easy installation.
3.3 Electrical Connection
- Plug the ice maker into a grounded electrical outlet. Refer to the specifications section for voltage requirements.
4. Operating Instructions
The Coolski ice maker features a multi-function LCD control panel for easy operation.

Image 4.1: Detailed view of the LCD control panel, showing various indicators and control buttons for operation and settings.
4.1 Control Panel Functions
- Power Button: Press to turn the unit On or Off.
- Mode Button: Press to switch between different operation modes.
- Clean Button:
- Short press to turn on or off the blue internal light.
- Long press to enter or exit the self-cleaning mode.
- Set Button: Press and hold for more than 3 seconds to enter the ice cube thickness setting.
4.2 Adjusting Ice Cube Thickness
The ice cube size can be adjusted by changing the ice making time. Longer times result in thicker ice cubes.
- Press and hold the "Set" button for more than 3 seconds.
- Use the "Mode" or "Set" buttons to adjust the ice making time (e.g., 12 minutes for thin, 15 minutes for medium, 18 minutes for thick).
- The machine will automatically save the setting and begin producing ice according to the new thickness.

Image 4.2: Visual guide for adjusting ice cube thickness by modifying the ice making cycle time.
4.3 Ice Production and Storage
The machine produces approximately 150 pounds of ice per day with a cycle time of 12-18 minutes. The thickened ice bin has a 35-pound storage capacity, designed to reduce melting over 5-7 hours.

Image 4.3: Overview of the ice maker's production capacity and cycle time.

Image 4.4: Dimensions of the ice maker and the capacity of its 35-pound ice storage bucket.

Image 4.5: Cross-section view highlighting the 1.22-inch thickened insulation layer for extended ice freshness.
5. Maintenance and Cleaning
Regular maintenance ensures the longevity and hygienic operation of your ice maker.
5.1 Self-Cleaning Function
The ice maker is equipped with a self-cleaning function for convenience.
- Ensure the ice maker is connected to a water supply and drain.
- Long press the "Clean" button on the control panel to initiate the self-cleaning cycle.
- The machine will automatically run through a cleaning process. Do not interrupt the cycle.
- Once complete, the machine will return to normal operation or standby mode.
5.2 External and Internal Cleaning
- Exterior: Wipe the stainless steel exterior with a soft cloth and mild detergent. Avoid abrasive cleaners.
- Air Outlet: The air outlet at the front is detachable for quick cleaning and maintenance. Regularly clean the vents to ensure proper airflow.
- Ice Bin: Periodically clean the ice storage bin with a solution of water and mild soap. Rinse thoroughly before use.
- Water Filter: The included water filter should be replaced periodically based on water quality and usage to ensure clean ice production.
6. Troubleshooting
The built-in diagnostic system can display common problems on the LCD digital control panel. Refer to the indicators on the control panel (e.g., "No Water", "High TEMP", "Overtime") for quick identification of issues.
- "No Water" Indicator: Check the water supply connection and ensure the water tap is open.
- "High TEMP" Indicator: Ensure the ice maker is in a well-ventilated area and not exposed to direct heat sources. Clean the air vents if necessary.
- "Overtime" Indicator: This may indicate an issue with ice production or harvesting. Consult the full user manual for detailed troubleshooting steps or contact customer support.
- For any other issues or persistent problems, please refer to the comprehensive troubleshooting guide in the complete user manual or contact Coolski customer support.
7. Product Specifications
| Feature | Specification |
|---|---|
| Brand | Coolski |
| Model Name | IM150B |
| Product Dimensions (D x W x H) | 37.1 x 50 x 83.6 Centimetres (14.6 x 19.7 x 32.9 inches) |
| Daily Ice Production | 150 lbs / 24 hours |
| Ice Storage Capacity | 35 lbs (15.88 kg) |
| Wattage | 255 watts |
| Voltage | 115 Volts |
| Refrigerant | R290a |
| Material | Stainless Steel |
| First Available Date | April 10, 2025 |
8. Warranty and Support
Coolski stands behind the quality of its products. This ice maker comes with the following warranty:
- Compressor: 5 Years
- Parts & Labor: 3 Years
We also provide lifelong technical support services. If you encounter any usage problems or quality issues, please contact Coolski customer support for assistance.
9. Included Accessories
Your Coolski Commercial Ice Maker Machine comes with the following accessories to facilitate installation and use:
- Ice Scoop
- Water Filter
- Drain Hose
- Water Hoses (various lengths)

Image 9.1: A visual representation of the ice maker and all standard accessories included with the product.
Ask a question about this manual
Ask about setup, troubleshooting, compatibility, parts, safety, or missing instructions. Manuals+ will review the question and use this page’s manual context to help answer it.