1. Product Overview
This instruction manual provides guidance for the installation and use of the Generic 150A W1500A Black Toner Cartridge. This cartridge is designed for use with specific HP printer models to ensure optimal printing performance.
1.1 Compatibility
The 150A W1500A toner cartridge is compatible with the following HP printer models:
- HP M110WE
- HP M111A
- HP M111W
- HP MFP M141A
- HP MFP M141W
- HP MFP M141WE
Please confirm your printer model before installation to ensure compatibility.

Figure 1: Compatible Printer Models. This image displays the list of HP printer models that are compatible with the 150A W1500A toner cartridge, including M110WE, M111A, M111W, MFP M141A, M141W, and MFP M141WE.
2. Setup and Installation
Follow these steps to properly install the toner cartridge into your printer. Ensure the printer is turned off before beginning the installation process.
2.1 Important Precautions
- Do not touch the drum core during installation to avoid scratching it, which can affect print quality.
- Avoid touching the chip on the toner cartridge to ensure optimal performance.
- Before installation, it is recommended to clean any remaining toner or paper scraps inside the printer using a vacuum cleaner or a soft cloth. Do not blow air into the printer.
- Some printer models may require replacing the original chip onto the new cartridge. Refer to your printer's manual for specific instructions if prompted.
2.2 Installation Steps
- Prepare the Cartridge: Take out the new toner cartridge from its packaging. Gently shake it horizontally 4-8 times to evenly distribute the toner inside.
- Remove Protection Buckles: Locate and remove the orange protection buckles on both sides of the toner cartridge.
- Remove Isolation Paper (if present): If there is an isolation paper, slowly pull it out in the direction indicated.
- Pull the Seal: Pull the sealing strip evenly and straight until it is completely removed. The length of the seal is approximately twice the length of the toner cartridge. Avoid breaking it during removal.
- Remove Protective Cover: Remove any remaining protective covers or films from the cartridge.
- Insert into Printer: Open the printer's toner compartment. Push the toner cartridge smoothly along the guide rails on both sides of the device until it clicks securely into place.
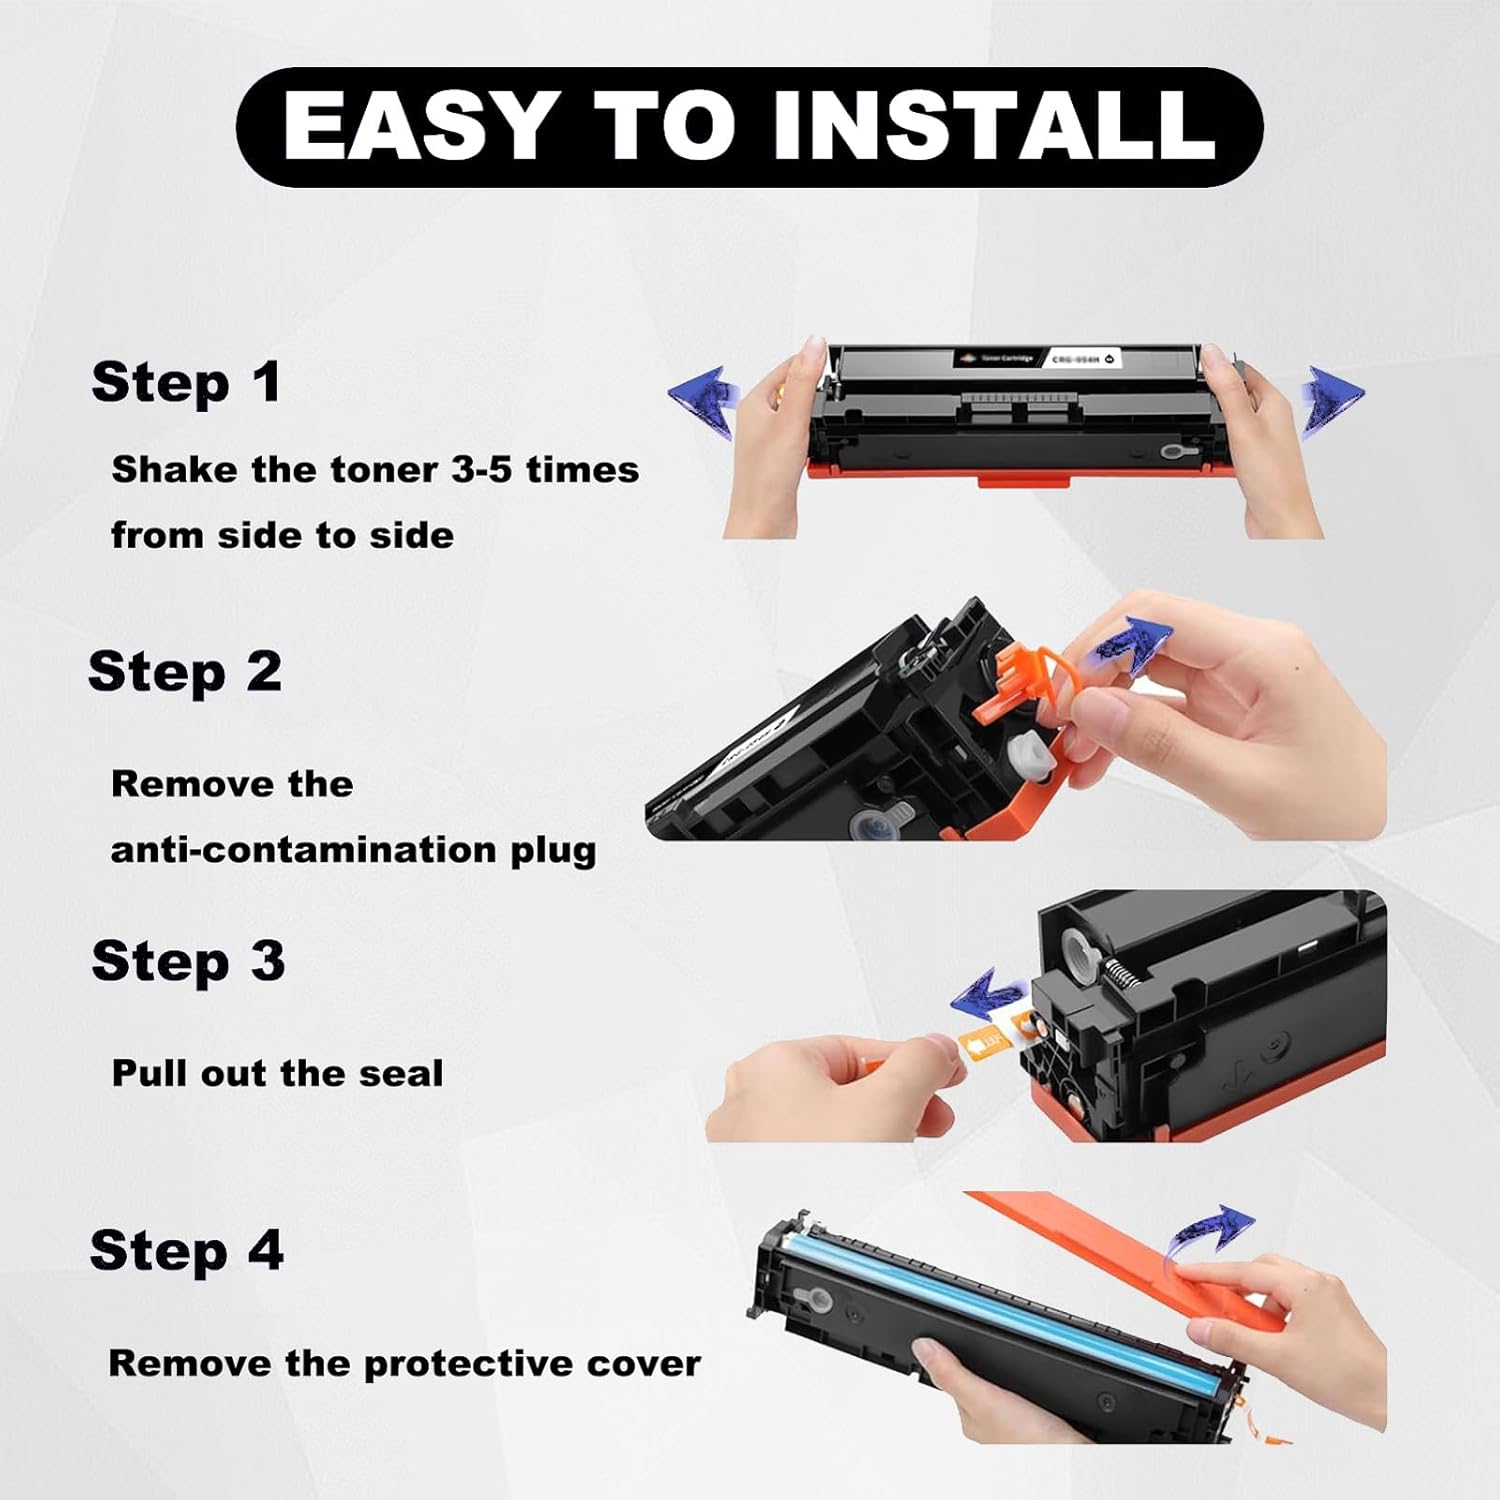
Figure 2: Installation Steps. This image visually guides the user through the installation process, showing how to shake the cartridge, remove the anti-contamination plug, pull out the seal, and remove the protective cover.
3. Operating Instructions
Once the toner cartridge is installed, close the printer cover and turn on the printer. The printer should recognize the new cartridge and be ready for use.
3.1 Print Quality
This toner cartridge is designed to deliver high-quality prints with clear text and bright colors. It ensures a high printing rate with low waste toner.
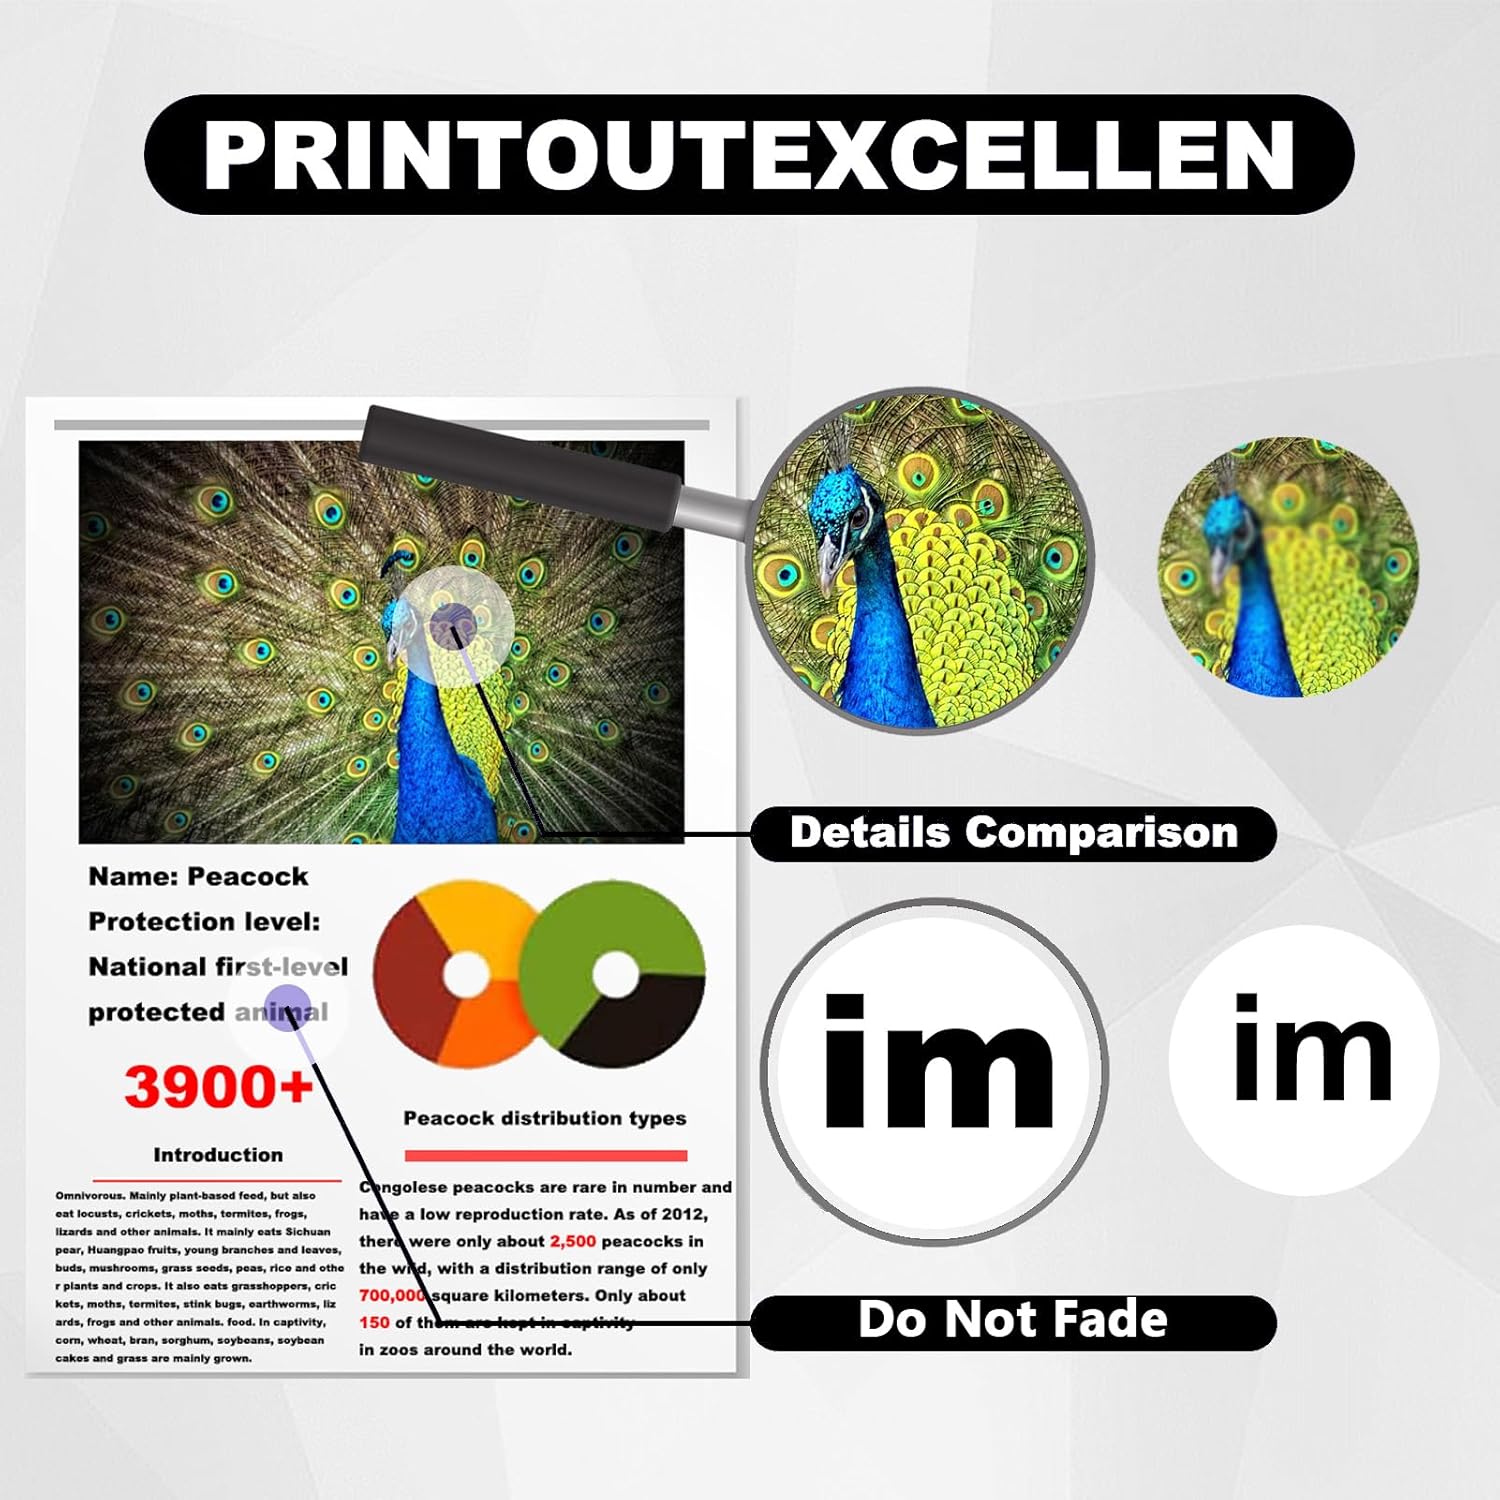
Figure 3: Print Quality. This image highlights the print quality, emphasizing detail comparison and fade resistance, ensuring documents remain clear over time.

Figure 4: Color Standard. This image illustrates the professional color standards achieved by the toner, showing examples of clear and sharp black prints alongside clear and bright color reproductions.
4. Maintenance
To maintain optimal print quality and extend the life of your toner cartridge and printer, consider the following:
- Regularly clean the interior of your printer according to the printer manufacturer's guidelines to prevent toner buildup and paper dust.
- Store unused toner cartridges in their original sealed packaging in a cool, dry place away from direct sunlight.
- Avoid exposing the toner cartridge to extreme temperatures or humidity.
5. Troubleshooting
If you encounter issues after installing the toner cartridge, consider the following common solutions:
5.1 Print Quality Issues (e.g., streaks, faded prints)
- Ensure the toner cartridge was shaken properly before installation to distribute toner evenly.
- Check that all protective seals and covers were completely removed from the cartridge.
- Verify that the drum core was not touched or scratched during installation.
- Perform a printer cleaning cycle or print head alignment through your printer's software settings.
5.2 Cartridge Not Recognized
- Remove the cartridge and re-insert it, ensuring it is firmly seated in its slot.
- Turn the printer off, unplug it for a few minutes, then plug it back in and turn it on. This can reset the printer's memory.
- Ensure the chip on the toner cartridge was not touched or damaged.
- If your printer model requires transferring the original chip, ensure this was done correctly.
5.3 General Tips
- Always refer to your specific HP printer's user manual for detailed troubleshooting steps.
- Ensure your printer's firmware is up to date.
6. Specifications
| Feature | Detail |
|---|---|
| Model Number | 150A W1500A |
| Color | Black |
| Page Yield | Up to 1000 pages (at 5% A4 paper coverage) |
| Product Dimensions | 0.39 x 0.39 x 0.39 inches |
| Item Weight | 2.2 pounds |
| Manufacturer | WANGDPJUE |
| Brand | Generic |

Figure 5: Expected Page Yield. This image indicates that the toner cartridge is expected to yield 1000 pages based on 5% coverage on A4 paper.
7. Support
For any questions or assistance regarding your Generic 150A W1500A toner cartridge, please contact customer support. We are committed to providing solutions and will respond to your inquiries within 24 hours.
Contact information is typically available through your purchase platform or the manufacturer's website.


