1. Introduction
This user manual provides detailed instructions for the assembly, operation, and maintenance of your Galano Milton 6-Drawer Dresser. Please read this manual thoroughly before assembly and use to ensure safe and correct installation and to maximize the lifespan of your product. Keep this manual for future reference.
2. Safety Information
WARNING: Furniture tip-over hazard. For your safety, it is highly recommended to secure this dresser to a wall using the provided anti-tip hardware. Failure to do so can result in serious injury or death.
- Always assemble on a soft, clean surface to prevent scratches.
- Ensure all parts are present and undamaged before beginning assembly.
- Do not overtighten screws, as this may damage the material.
- Keep small parts away from children during assembly.
- Regularly check and tighten all connections.
- Do not stand or climb on the dresser.
- Distribute weight evenly in drawers to prevent tipping.
3. Package Contents
Before starting assembly, verify that all components listed below are present and undamaged. If any parts are missing or damaged, please contact customer support.
| Part | Description | Quantity |
|---|---|---|
| Top Panel | Main top surface of the dresser | 1 |
| Side Panels | Left and right side panels | 2 |
| Bottom Panel | Base panel of the dresser | 1 |
| Back Panel | Rear panel for structural integrity | 1 |
| Drawer Fronts | Front panels for the six drawers | 6 |
| Drawer Sides/Backs | Components for assembling drawer boxes | 12 (sides), 6 (backs) |
| Drawer Bottoms | Base panels for the drawers | 6 |
| Drawer Glides | Ball-bearing slides for smooth drawer operation | 12 pairs |
| Handles | Black handles for drawers | 6 |
| Hardware Pack | Screws, dowels, cam locks, anti-tip kit | 1 set |
4. Assembly Instructions
Assembly is required. Please follow these steps carefully. It is recommended to have two people for assembly.
4.1. Prepare the Area
- Clear a spacious, clean, and soft area for assembly to prevent damage to the dresser components and your floor.
- Unpack all components and hardware. Organize them for easy access.
4.2. Assemble the Main Frame
- Attach the drawer glides to the side panels and center support (if applicable) using the provided screws. Ensure they are correctly oriented.
- Connect the side panels to the bottom panel using dowels and cam locks.
- Attach the top panel to the assembled structure.
- Secure the back panel to the frame using small nails or screws.
4.3. Assemble the Drawers
- For each drawer, attach the side panels to the front panel using dowels and cam locks.
- Slide the drawer bottom into the grooves.
- Attach the back panel to complete the drawer box.
- Install the drawer glides onto the sides of the assembled drawer boxes.
- Attach the handles to the front of each drawer.
4.4. Install Drawers and Anti-Tip Kit
- Carefully slide each assembled drawer into its corresponding slot in the dresser frame.
- Position the dresser in its desired location.
- Attach the anti-tip kit to the top rear of the dresser and to a wall stud, following the specific instructions provided with the kit. This step is crucial for safety.
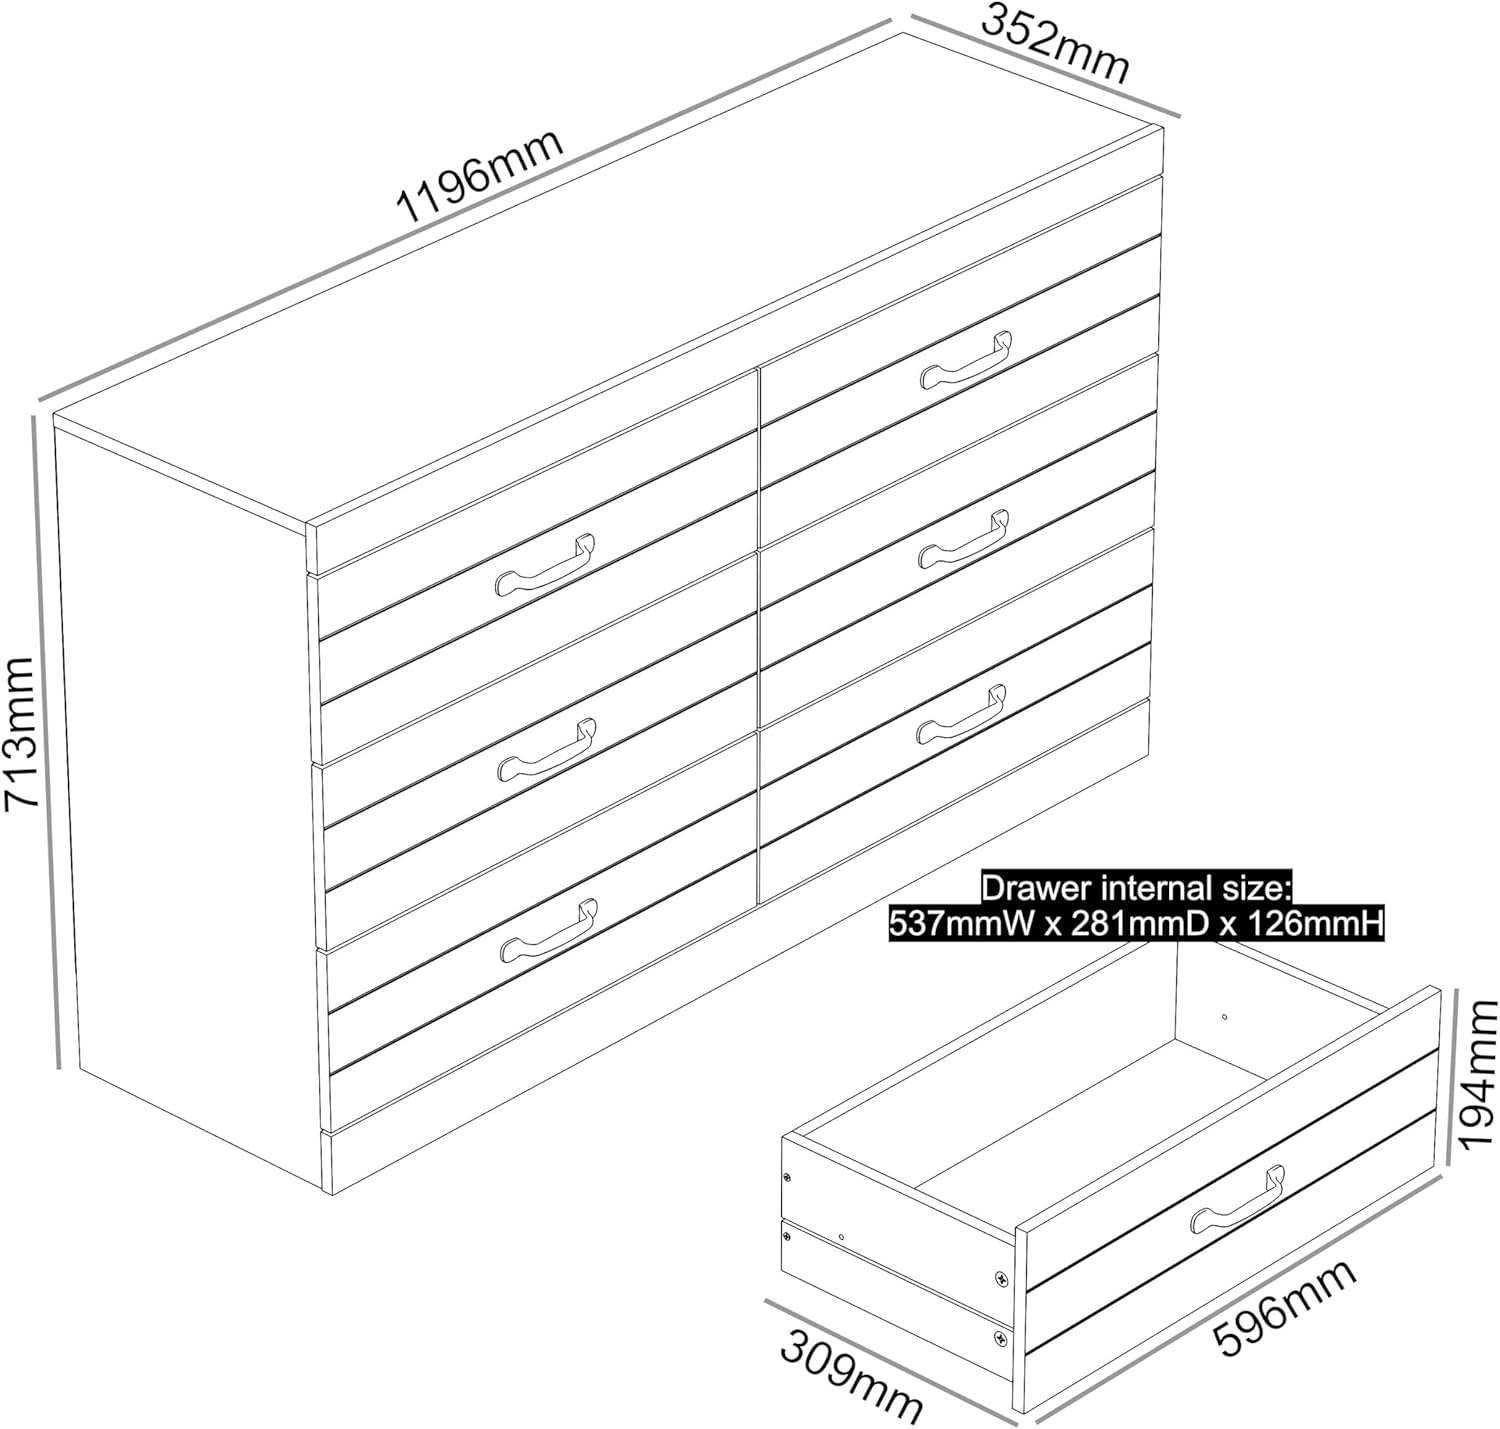
Image: Dimensional diagram of the dresser and a single drawer, illustrating overall measurements and internal drawer size.

Image: A drawer partially open, demonstrating the internal storage capacity.
5. Operating Instructions
5.1. Using the Drawers
- To open a drawer, gently pull the handle. The ball-bearing glides ensure smooth operation.
- To close a drawer, push it firmly until it is fully seated within the frame.
- Avoid forcing drawers open or closed, as this can damage the glides.
- Do not overload drawers. Distribute weight evenly to prevent strain on the glides and potential tipping.
5.2. Top Surface Usage
- The top surface can be used to display decorative items, cosmetics, or other personal belongings.
- Avoid placing excessively heavy items on the top surface.
- Use coasters or protective pads under items that may scratch or stain the surface.
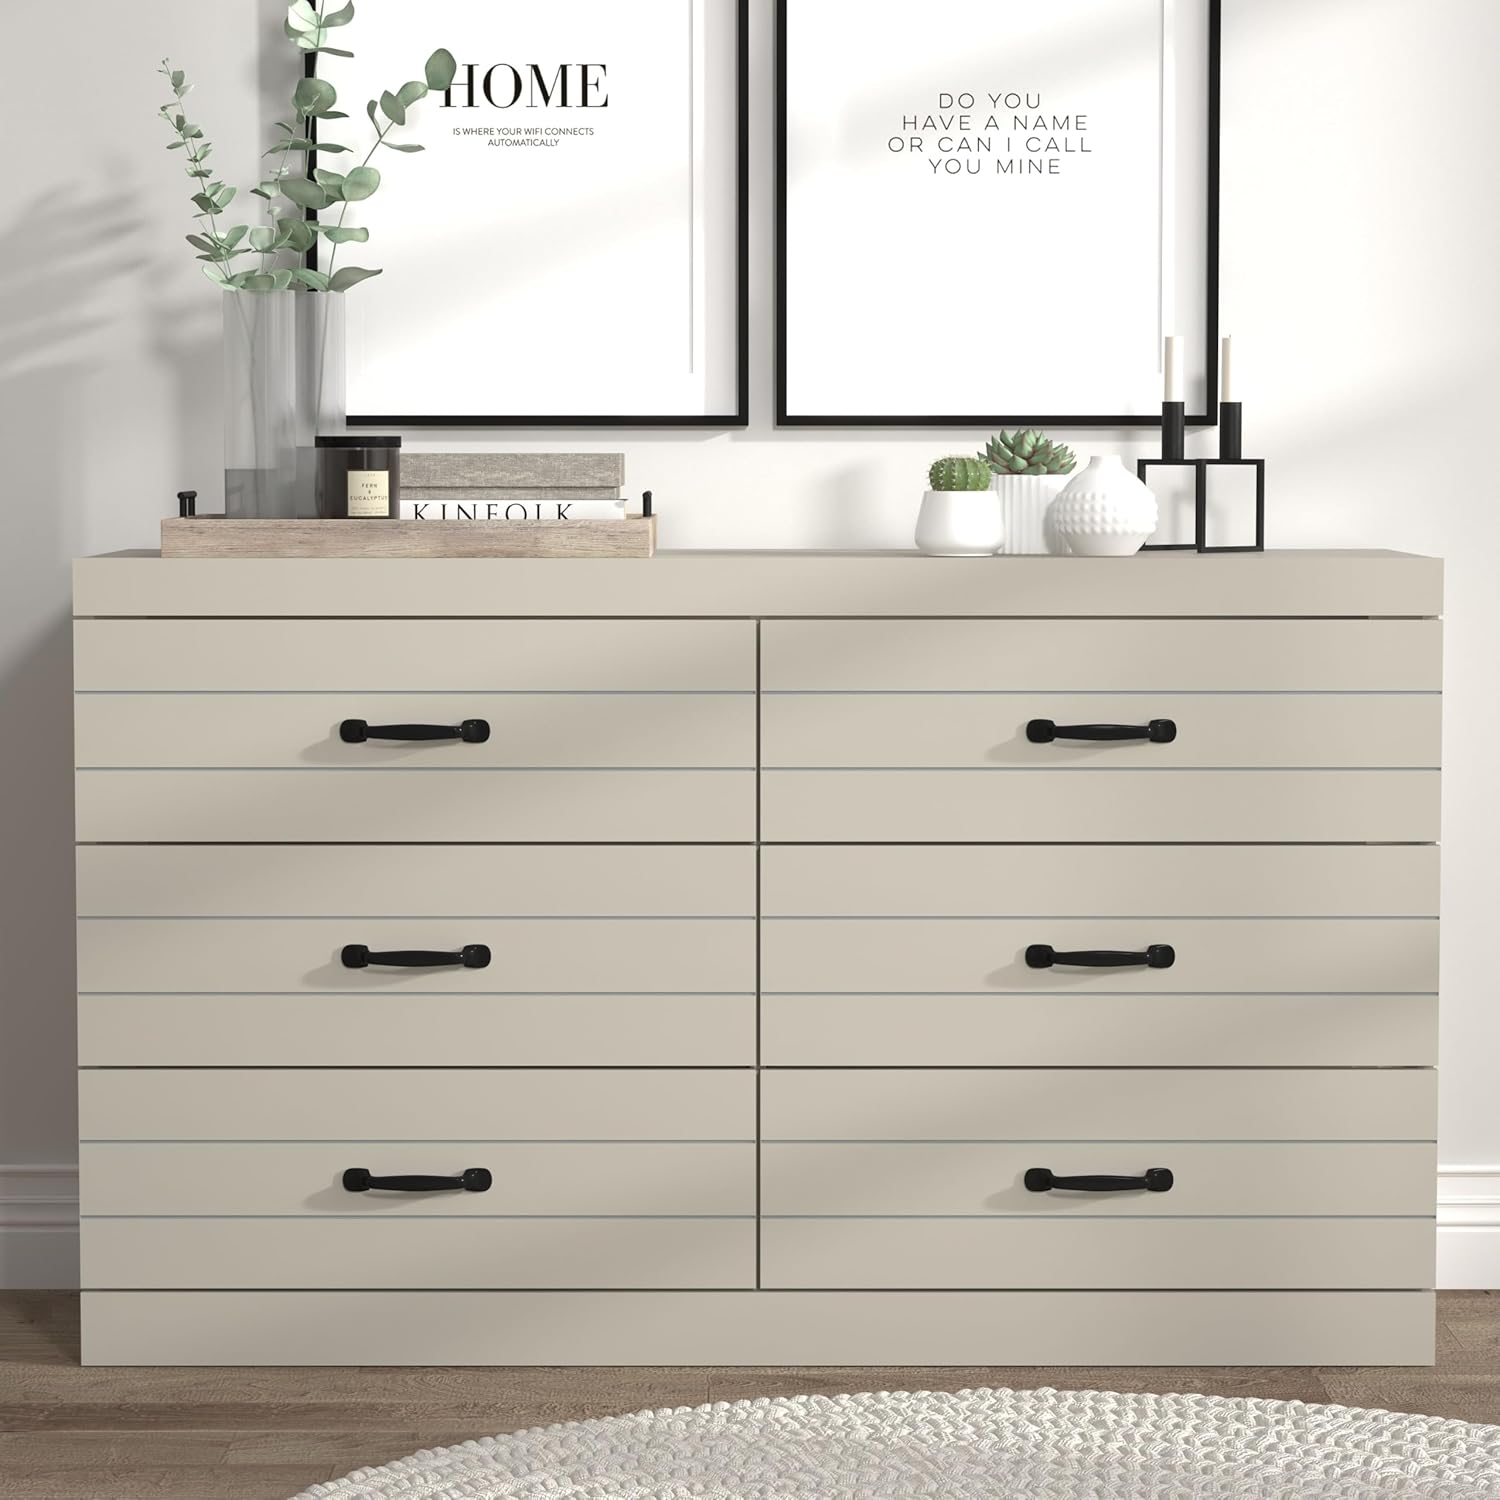
Image: The fully assembled Galano Milton dresser, showcasing its six drawers and top surface.
6. Maintenance
- Cleaning: Wipe the dresser with a dry, soft cloth. For stubborn marks, a slightly damp cloth followed immediately by a dry cloth can be used. Avoid abrasive cleaners or harsh chemicals.
- Spills: Clean spills immediately to prevent staining or damage to the engineered wood finish.
- Hardware: Periodically check all screws and connections to ensure they remain tight. Retighten as necessary.
- Sunlight: Avoid prolonged exposure to direct sunlight to prevent fading or discoloration.
- Humidity: Maintain a stable room temperature and humidity level to prevent warping or cracking of the wood.
7. Troubleshooting
| Problem | Possible Cause | Solution |
|---|---|---|
| Drawers stick or don't slide smoothly | Misaligned glides, loose screws, overloaded drawer. | Check glide alignment, tighten all screws on glides and drawer box, reduce drawer contents. |
| Dresser feels wobbly or unstable | Loose connections, uneven floor, anti-tip kit not installed. | Ensure all assembly screws are tight. Place on a level surface or use shims. Install the anti-tip kit as instructed. |
| Scratches or minor surface damage | Accidental impact, abrasive cleaning. | Use a furniture repair pen or touch-up kit matching the finish. Avoid abrasive materials for cleaning. |
8. Specifications
- Brand: Galano
- Model Number: FG-PU-4-1240-UK
- Color: Light Grey
- Material: Engineered Wood
- Finish Type: Laminated
- Product Dimensions (L x W x H): 119.6 x 35.2 x 71.3 cm (47.1 x 13.9 x 28.1 inches)
- Item Weight: 34.7 Kilograms (76.5 lbs)
- Number of Drawers: 6
- Drawer Internal Size (approx.): 53.7W x 28.1D x 12.6H cm
- Assembly Required: Yes
- Care Instructions: Wipe with a dry cloth

Image: The dresser integrated into a modern room, demonstrating its aesthetic and functional placement.
9. Warranty and Support
Information regarding specific warranty terms is not provided in the product details. For warranty claims, missing parts, or further assistance, please contact your retailer or the manufacturer directly. Please have your model number (FG-PU-4-1240-UK) and purchase date available when contacting support.
Manufacturer: Synergy House Furniture
For more information, visit the Galano brand page.
10. Product Overview
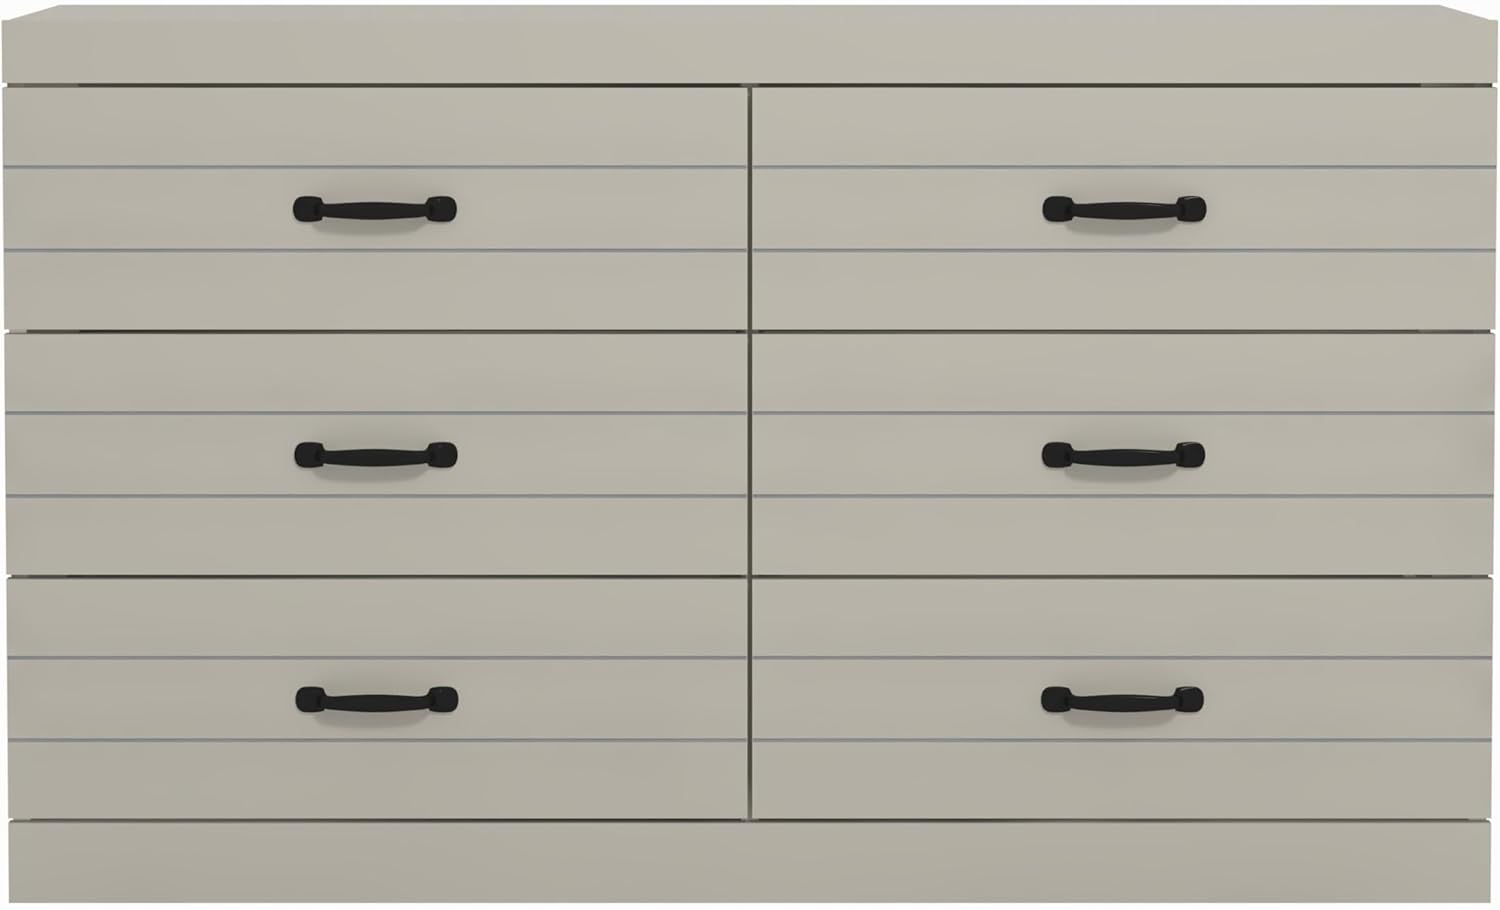
Front View: A clear view of the dresser's six drawers and handles.

Angled Perspective: Illustrates the depth and overall form of the dresser.

Top-Down View with Open Drawer: Highlights the top surface and drawer functionality.
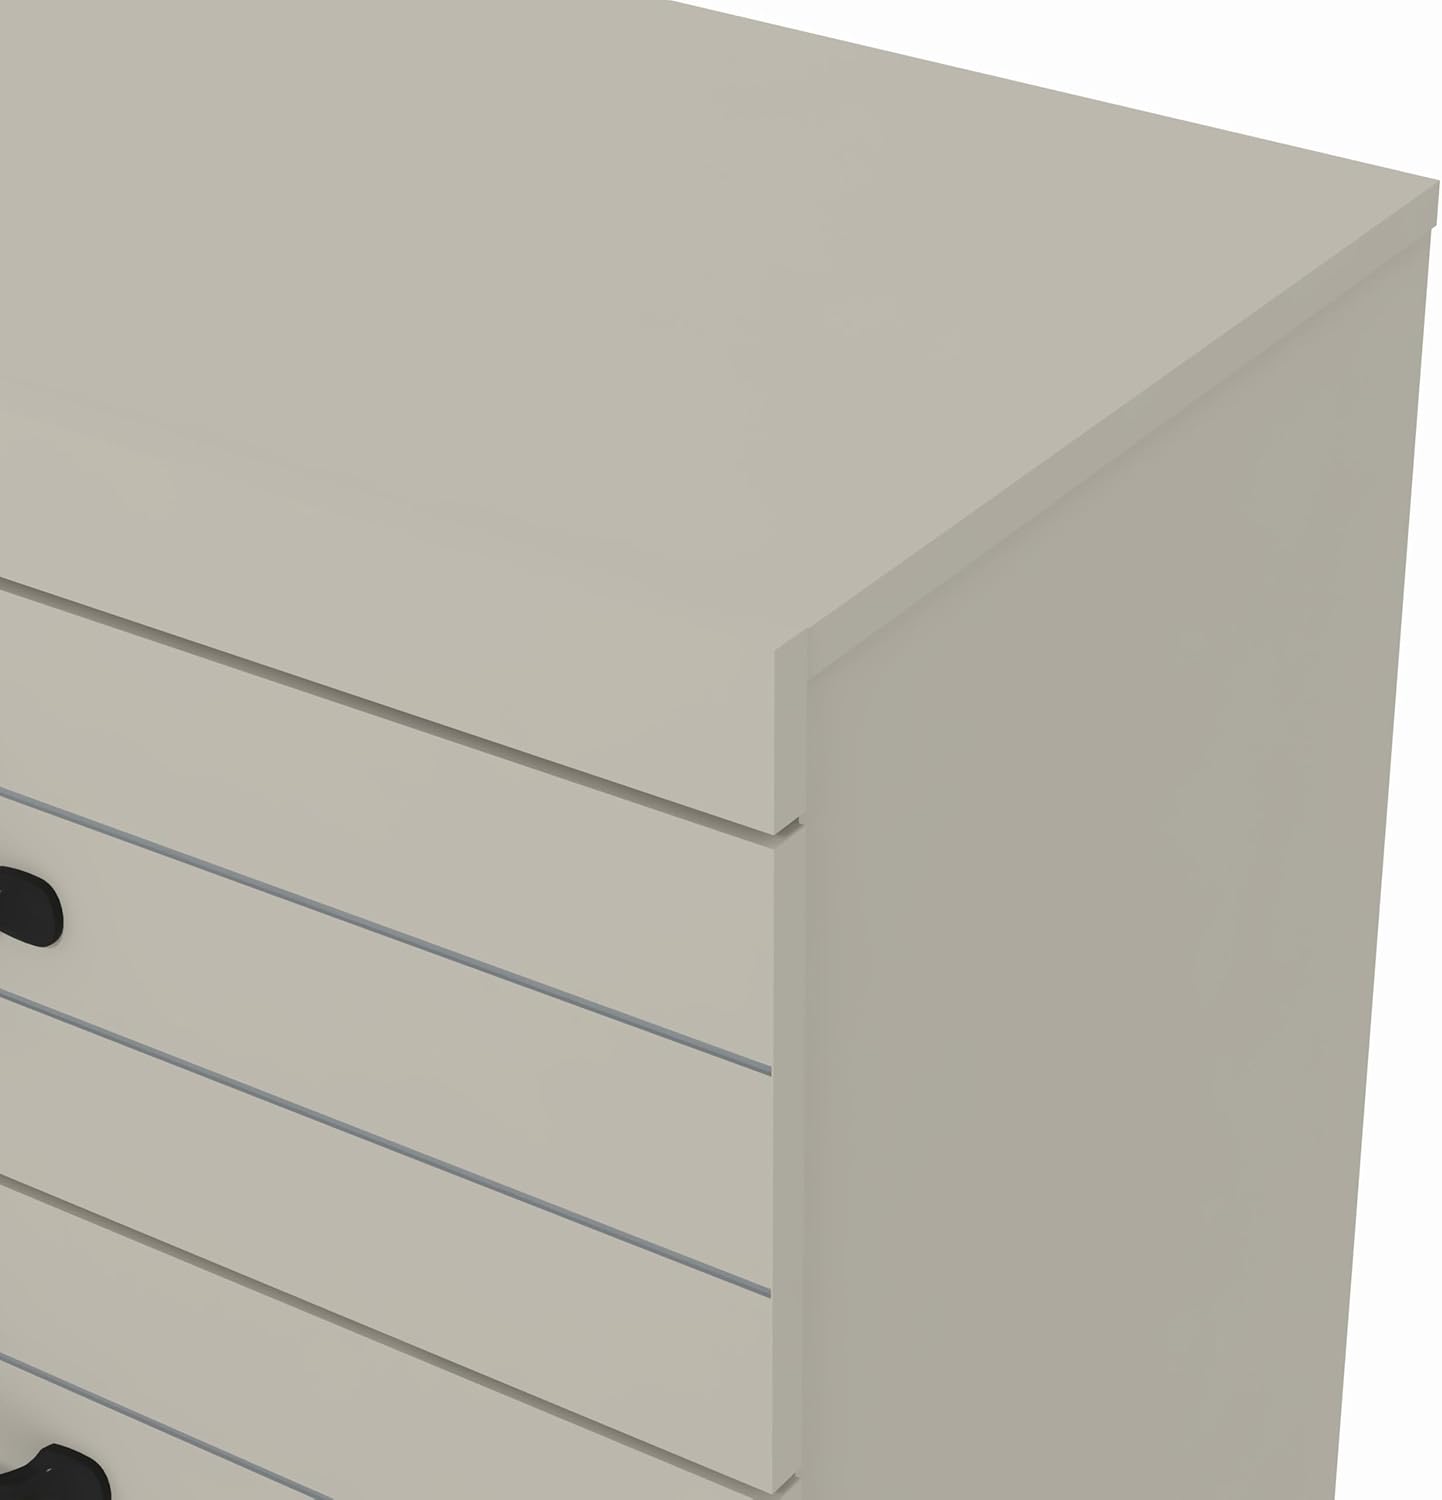
Detail View: A close-up of the dresser's top corner, showing the light grey finish.


