Introduction
This manual provides detailed instructions for the assembly, operation, and maintenance of your OWNONE 1 Electric Six-barreled Gatling Gun Wooden Puzzle. This model building kit offers an engaging experience in constructing a functional replica with intricate gears and mechanisms.
Safety Information
WARNING: CHOKING HAZARD - Small Parts. Not for children under 3 years.
- Rubber bands can be used safely, but please do not aim them at other people's faces, animals, or any fragile items.
- Keep small parts away from young children to prevent choking.
- Ensure all connections are secure during assembly to prevent parts from detaching during operation.
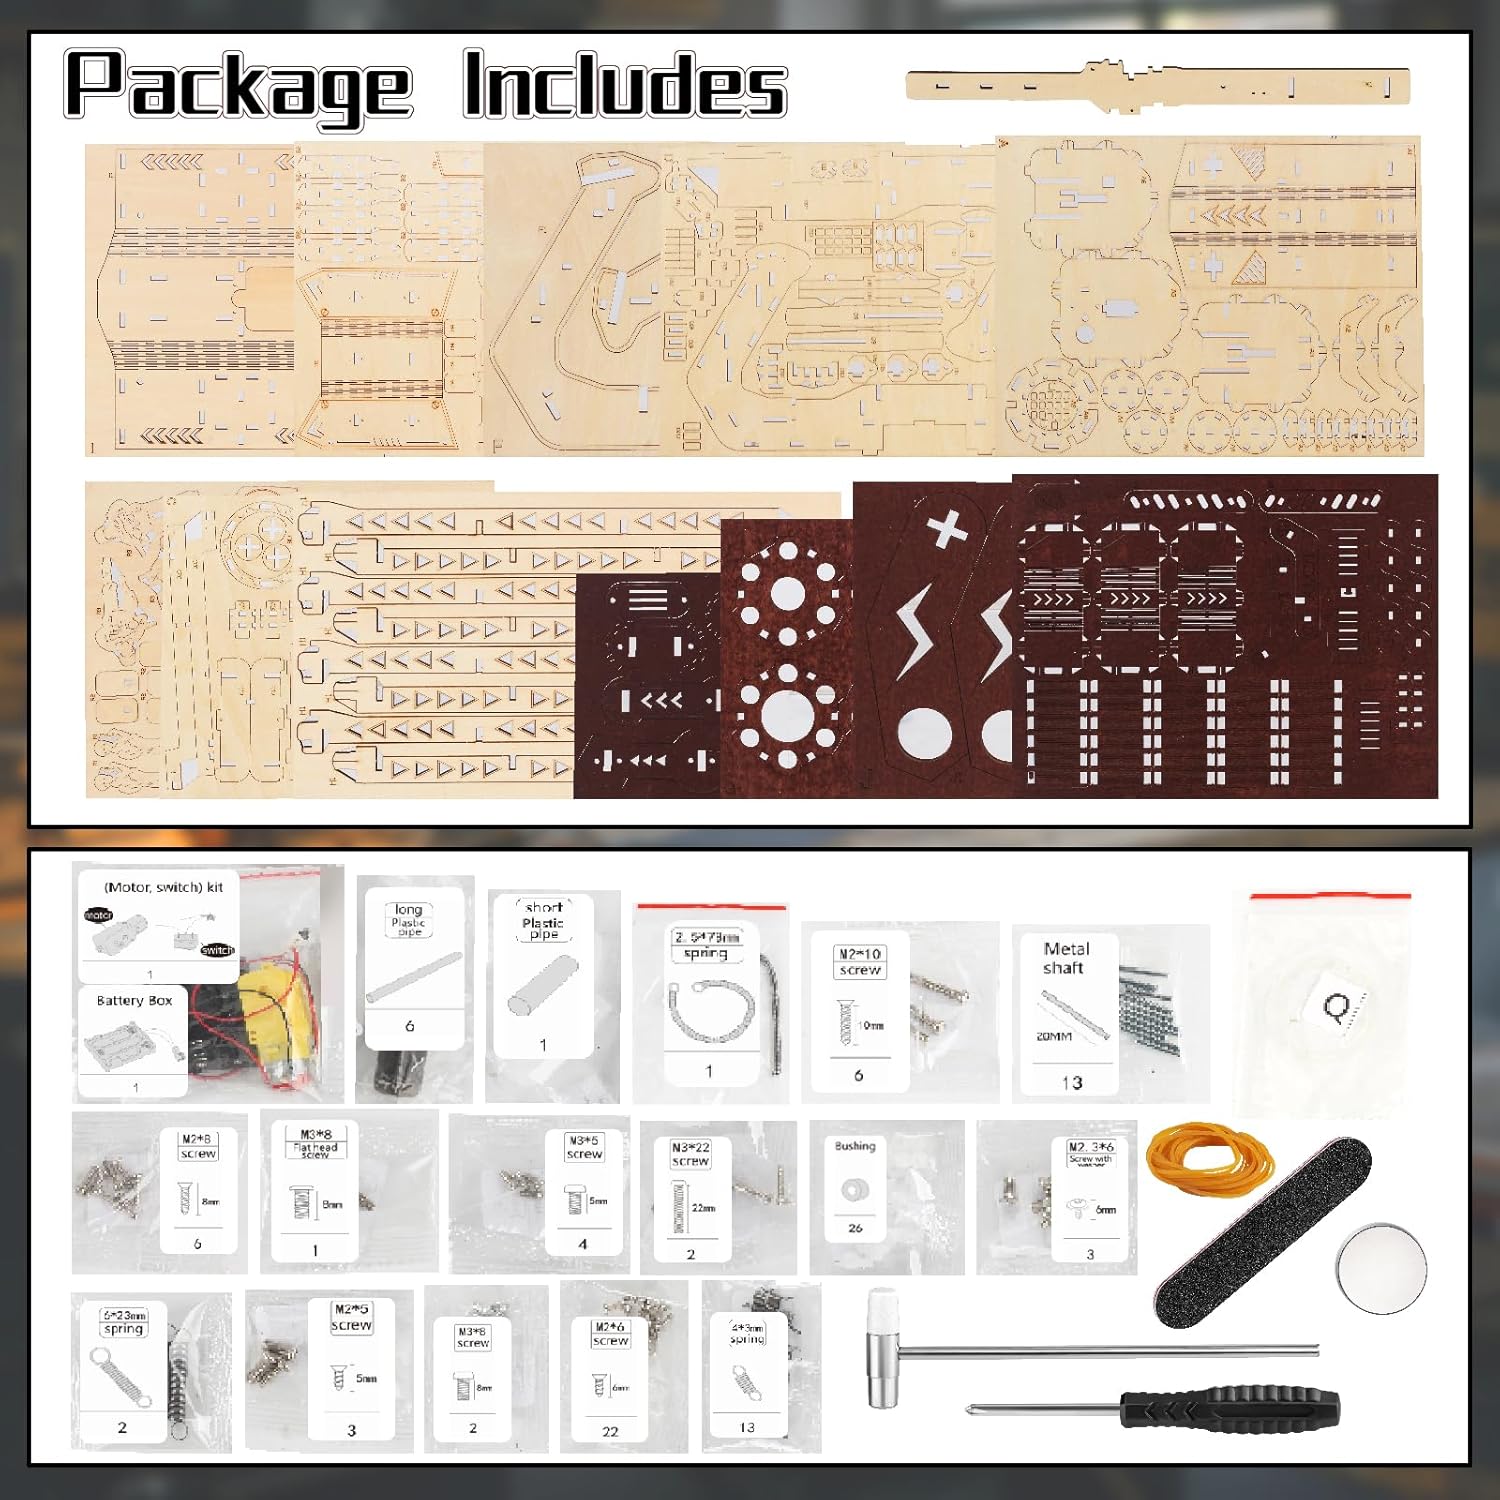
Package Contents
Verify that all components listed below are present in your package before beginning assembly.
- Wooden sheets with laser-cut pieces
- Motor/switch kit
- Long plastic pipe
- Short plastic pipe
- Springs
- Screws (various sizes)
- Metal shafts
- Bushings
- Rubber bands
- Wax
- Hammer
- Screwdriver
- Assembly Instructions booklet
- Wooden targets (various shapes)
Assembly Instructions
The assembly process requires careful attention to detail. Follow the included instruction booklet step-by-step. Spare parts are included for convenience.
Preparation
- Unpack all components and organize them according to the assembly instructions.
- Ensure you have a clean, well-lit workspace.
- No glue is required for assembly.
- Batteries (not included) are required for the electric motor. Prepare 2 AA batteries.
Step-by-Step Assembly
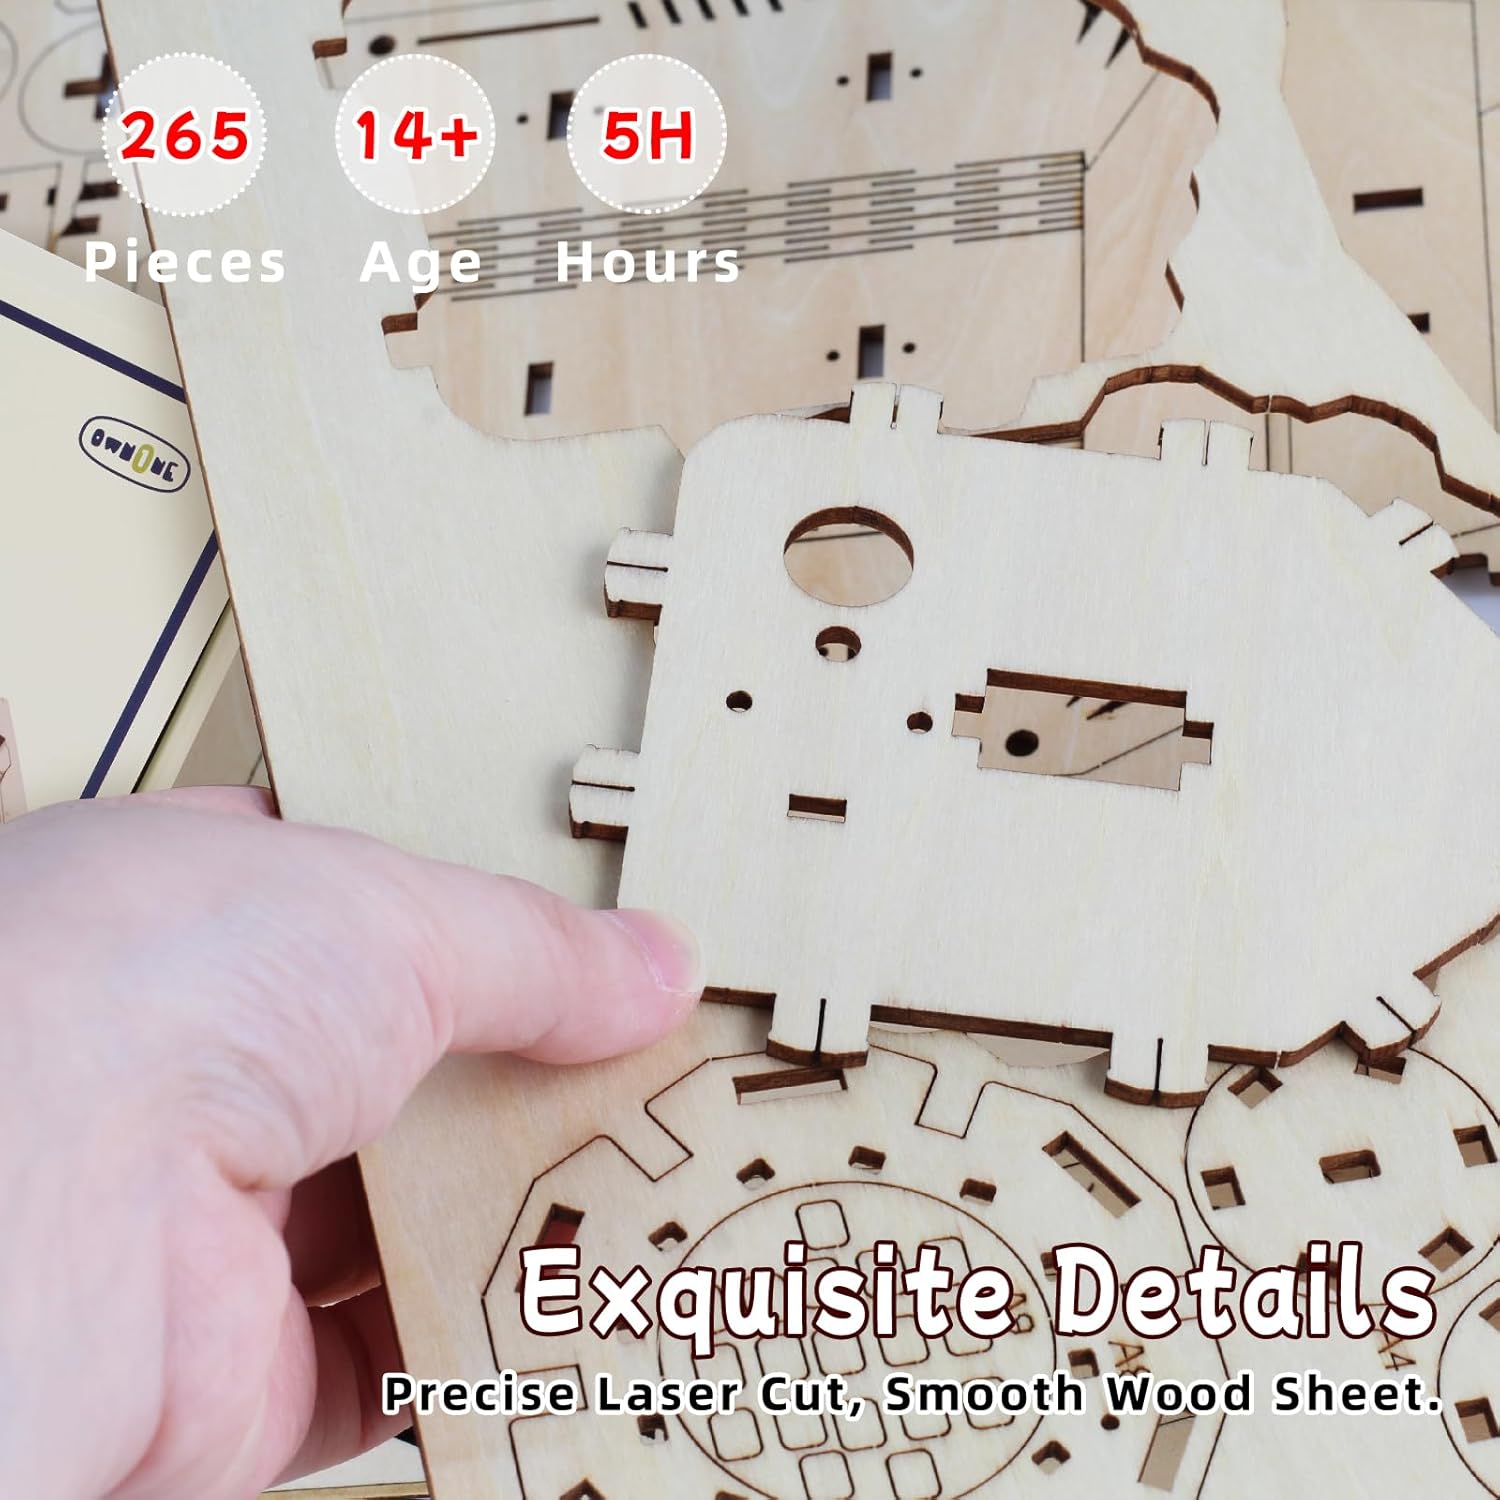
- Identify Pieces: Carefully detach the laser-cut wooden pieces from their sheets. Refer to the instruction booklet for part identification.
- Connect Components: Follow the diagrams in the manual to connect the wooden pieces. The precise laser-cut technology ensures a snug fit.
- Install Mechanical Parts: Integrate the gears, shafts, and springs as indicated. Use the provided wax to lubricate moving parts for smoother operation.
- Assemble the Barrel Mechanism: Construct the six-barreled rotating mechanism, ensuring all parts move freely.
- Install Motor and Wiring: Connect the electric motor and switch according to the wiring diagram. Insert the batteries into the designated battery box.
- Final Assembly: Secure the main body, handle, and trigger components.

Operating Instructions
Once assembled, your Gatling gun model is ready for operation. It fires rubber bands by rotating its barrels.
Loading Rubber Bands
- Ensure the model is powered off.
- Carefully stretch and hook up to twelve rubber bands onto the designated loading prongs on the barrels.
- Distribute the rubber bands evenly across the barrels for optimal firing.
Firing the Model
- Point the model in a safe direction, away from people, animals, or fragile objects.
- Press the power switch to activate the motor.
- Pull the trigger. The barrels will rotate, and the rubber bands will fire automatically.


Maintenance
- Keep the wooden model clean and free from dust. Use a soft, dry cloth for cleaning.
- Avoid exposing the model to excessive moisture or direct sunlight, which can cause warping or fading of the wood.
- Periodically check all connections and screws to ensure they remain tight.
- Reapply wax to moving parts if friction increases during operation.
Troubleshooting
- Model not firing or barrels not rotating: Check if batteries are correctly installed and charged. Ensure all motor connections are secure. Verify that no wooden pieces are obstructing the rotation mechanism.
- Rubber bands not launching effectively: Ensure rubber bands are properly loaded onto the prongs. Check for any obstructions in the firing path.
- Missing or broken parts during assembly: OWNONE 1 offers replacement parts services. Please contact customer support for assistance.
Specifications
| Feature | Detail |
|---|---|
| Product Dimensions | 23.2 x 6.2 x 0.1 inches (unassembled sheet size) |
| Assembled Dimensions (Approx.) | 23.1 x 6.1 x 2.0 inches (58.67cm x 15.49cm x 5.08cm) |
| Item Weight | 2.75 pounds |
| Model Number | Electric Six-barreled Gatling 3D Puzzle |
| Recommended Age | 14 years and up |
| Number of Pieces | 272 PCS |
| Power Source | 2 AA Batteries (not included) |

Support and Warranty
OWNONE 1 is committed to customer satisfaction. If you encounter any problems during assembly or operation, or if you require replacement parts, please contact our customer support. We are available to assist you.
For support, please refer to the contact information provided with your product packaging or visit the official OWNONE 1 store page on Amazon.