Introduction
This manual provides detailed instructions for the installation, operation, maintenance, and troubleshooting of your new Generic laptop keyboard. This replacement keyboard is designed for specific Medion AKOYA E4213 series laptops. Please read this manual thoroughly before attempting installation or use to ensure proper function and to prevent damage.
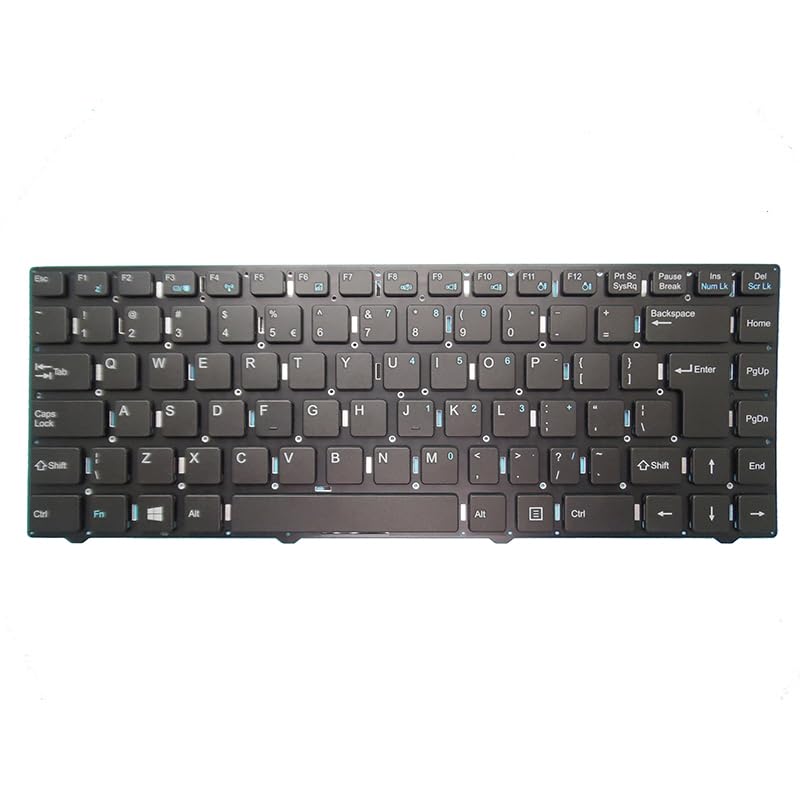
Image: Generic Laptop Keyboard. This image shows the full layout of the replacement keyboard, featuring a standard US QWERTY key arrangement and the ribbon cable connector on the underside.
Safety Information
- Always disconnect the laptop's power adapter and remove the battery before performing any internal hardware installation or removal.
- Use appropriate tools to avoid damaging the laptop casing or internal components.
- Handle the keyboard and its ribbon cable with care to prevent bending or tearing.
- If you are unsure about any step, seek assistance from a qualified technician.
Package Contents
Please verify that all items are present in your package:
- 1 x Generic Laptop Keyboard (US Layout)
Setup and Installation
Installing a laptop keyboard requires careful handling of internal components. Follow these steps precisely:
- Preparation: Power off your laptop completely. Disconnect the AC adapter and remove the battery. If your laptop has an internal battery, consult your laptop's service manual for instructions on how to safely disconnect it.
- Accessing the Old Keyboard: Depending on your laptop model, the keyboard may be secured by screws from the bottom case, clips along the top edge, or a combination. Carefully remove any screws marked with a keyboard icon on the bottom of the laptop. Use a plastic pry tool to gently release any clips holding the keyboard in place.
- Disconnecting the Old Keyboard: Once the old keyboard is loose, carefully lift it slightly to expose the ribbon cable connector underneath. Gently open the retaining clip on the ZIF (Zero Insertion Force) connector and slide the ribbon cable out.
- Installing the New Keyboard: Align the ribbon cable of the new keyboard with the ZIF connector. Gently slide the ribbon cable into the connector until it is fully seated. Close the retaining clip to secure the cable. Ensure the cable is not bent or creased.
- Securing the New Keyboard: Carefully place the new keyboard into its housing. Ensure all clips snap into place and re-insert any screws that were removed from the bottom of the laptop to secure the keyboard.
- Final Steps: Reinstall the laptop battery and reconnect the AC adapter. Power on your laptop and test all keys to ensure proper functionality.
Image: Disconnecting the old keyboard ribbon cable. This image would typically show a close-up of the ZIF connector with the ribbon cable being carefully removed after the retaining clip has been opened.
Image: Connecting the new keyboard ribbon cable. This image would show the new ribbon cable being inserted into the ZIF connector and the retaining clip being closed to secure it.
Operating Instructions
Your new keyboard functions identically to the original. All standard keys, including alphanumeric, function keys (F1-F12), and special keys (e.g., Ctrl, Alt, Shift, Enter, Spacebar), will operate as expected.
- Function (Fn) Key Combinations: Many laptops use the 'Fn' key in combination with other keys (e.g., F1-F12) to control features like screen brightness, volume, Wi-Fi, and external display output. Refer to your laptop's original user manual for specific Fn key combinations.
- Keyboard Layout: This keyboard features a standard United States (US) QWERTY layout.
Maintenance
Proper maintenance can extend the life of your keyboard.
- Cleaning: Use a soft, lint-free cloth slightly dampened with water or a mild electronics cleaner to wipe the keycaps. For dust and debris between keys, use compressed air. Do not spray liquid directly onto the keyboard.
- Spills: In case of a liquid spill, immediately power off your laptop, disconnect the AC adapter, and remove the battery. Turn the laptop upside down to drain as much liquid as possible. Allow it to dry completely for at least 24-48 hours before attempting to power it on again. Liquid damage may require professional repair.
- Storage: If storing the keyboard separately, keep it in a clean, dry, and dust-free environment.
Troubleshooting
If you encounter issues with your new keyboard, try the following solutions:
- Keyboard Not Responding:
- Ensure the ribbon cable is securely connected to the motherboard. Power off, disconnect battery, and re-seat the cable.
- Restart your laptop.
- Check Device Manager in Windows to see if the keyboard is recognized and if there are any driver issues. You may need to update or reinstall keyboard drivers.
- Specific Keys Not Working:
- Clean around the affected keys with compressed air to remove any debris.
- If cleaning does not resolve the issue, the key mechanism or internal circuitry may be damaged, indicating a potential defect in the keyboard itself.
- Incorrect Characters Appearing:
- Check your operating system's keyboard language settings to ensure the correct layout (e.g., US QWERTY) is selected.
Specifications
| Feature | Specification |
|---|---|
| Product Dimensions | 11.81 x 7.87 x 3.94 inches |
| Item Weight | 1.76 pounds |
| Manufacturer | Generic |
| Item Model Number | MD99329 |
| Layout | United States (US) QWERTY |
Warranty Information
This product comes with a 90-day warranty from the date of purchase. This warranty covers manufacturing defects. It does not cover damage caused by improper installation, misuse, accidents, liquid spills, or unauthorized modifications. Please retain your proof of purchase for warranty claims.
Customer Support
For further assistance, technical support, or warranty claims, please contact your retailer or the seller from whom you purchased this product. Provide your order number and a detailed description of the issue for prompt service.