1. Introduction
Thank you for choosing the CENMATE 10 Bay Hard Drive Enclosure. This device is designed to provide a reliable and efficient external storage solution for your 2.5-inch and 3.5-inch SATA HDDs and SSDs, supporting a total capacity of up to 200TB. This manual provides essential information for setting up, operating, maintaining, and troubleshooting your enclosure to ensure optimal performance and longevity.
2. Safety Information
- Ensure the power adapter used is the original DC 12V20A adapter provided with the enclosure. Using an incorrect power supply can damage the device.
- Do not expose the enclosure to water, moisture, or extreme temperatures.
- Avoid dropping or subjecting the device to strong impacts.
- Do not attempt to open or repair the enclosure yourself. Refer to qualified service personnel for any repairs.
- Keep the enclosure in a well-ventilated area to prevent overheating.
- Unplug the power adapter from the wall outlet when the device is not in use for extended periods.
3. Package Contents
Verify that all items are present in the package:
- CENMATE 10 Bay Hard Drive Enclosure
- Power Adapter (DC 12V20A)
- USB A/C 3.0 Cable
- User Manual (this document)
4. Product Overview
The CENMATE 10 Bay Hard Drive Enclosure is designed for high-capacity data storage and quick access. Key features include:
- High Capacity: Supports up to ten 2.5-inch or 3.5-inch SATA HDDs/SSDs, with a maximum total capacity of 200TB (20TB per drive).
- Fast Data Transfer: Equipped with a USB C 3.0 output interface, offering speeds up to 5Gbps under UASP control. This allows for rapid data transfer, such as a 1GB file in 3-5 seconds.
- Efficient Cooling: Built with aluminum-alloy materials and two integrated 2.7-inch cooling fans to dissipate heat and protect your drives.
- Stable Power Supply: Utilizes a dedicated DC 12V20A power adapter to ensure stable power delivery for all drives and high-speed operations.
- Tool-Free Design: Features a tool-free installation mechanism for 3.5-inch hard drives, simplifying the setup process.
- Wide Compatibility: Plug and play functionality with Windows, Mac OS 9.1/10, and Linux operating systems, requiring no additional drivers.

Image: The CENMATE 10 Bay Hard Drive Enclosure, highlighting its 200TB large capacity and support for 2.5/3.5" SATA HDD/SSD.
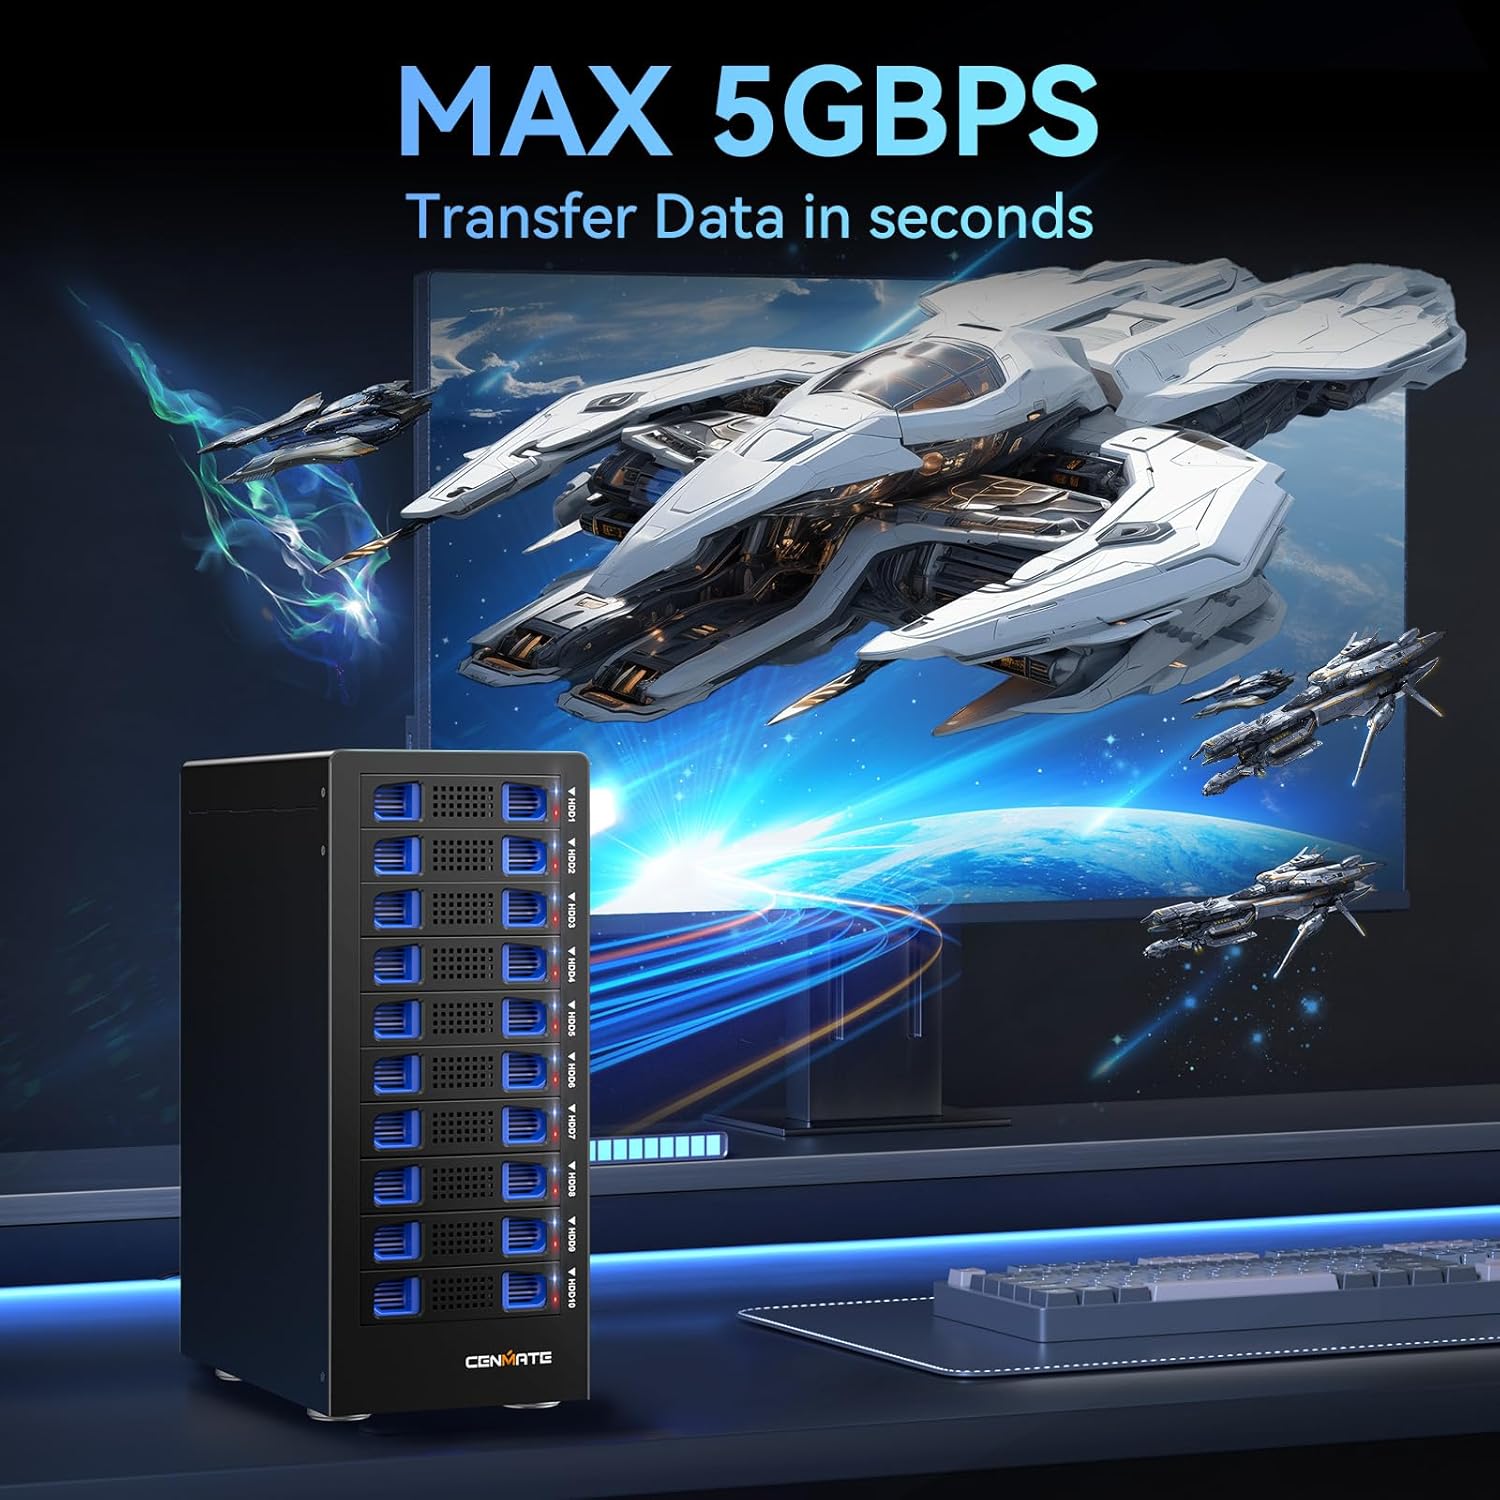
Image: The enclosure connected to a computer, illustrating its maximum 5Gbps data transfer speed.

Image: Close-up view of the upgraded built-in cooling fans and aluminum housing, designed for heat dissipation.
5. Setup Instructions
5.1 Installing Hard Drives
- Ensure the enclosure is powered off and disconnected from your computer.
- For 3.5-inch hard drives, the installation is tool-free. Gently slide the hard drive into an available bay until it clicks into place.
- For 2.5-inch hard drives/SSDs, you may need a 2.5-inch to 3.5-inch adapter bracket (not included) to secure them properly within the bays.
- Repeat for all desired drives.

Image: Illustration of the tool-free installation for 3.5-inch hard drives and the non-slip feet at the base of the enclosure.
5.2 Connecting to Your Computer
- Connect one end of the provided USB A/C 3.0 cable to the USB port on the enclosure.
- Connect the other end of the USB A/C 3.0 cable to an available USB 3.0 port on your computer (Desktop or Laptop).

Image: The enclosure connected to a laptop, demonstrating its plug-and-play functionality and wide compatibility with various devices and operating systems.
5.3 Power Connection
- Connect the DC 12V20A power adapter to the power input port on the enclosure.
- Plug the power adapter into a wall outlet.
- Turn on the power switch on the enclosure. The power indicator light should illuminate.

Image: The rear view of the enclosure showing the DC 12V power input and cooling fans, connected to a laptop.
6. Operating Instructions
Once connected and powered on, the CENMATE 10 Bay Hard Drive Enclosure operates as a plug-and-play device. Your operating system (Windows, Mac OS, Linux) should automatically detect the connected drives.
- Drive Recognition: New drives may need to be initialized and formatted through your operating system's disk management utility before they can be used. Refer to your OS documentation for instructions on disk initialization and formatting.
- Data Transfer: You can drag and drop files to and from the drives within the enclosure as you would with any other external storage device. The USB 3.0 interface ensures fast transfer speeds.
- Safe Removal: Always safely eject or unmount the drives from your operating system before disconnecting the enclosure or powering it off to prevent data corruption.
7. Maintenance
- Cleaning: Use a soft, dry cloth to clean the exterior of the enclosure. Do not use liquid cleaners or aerosols. Ensure ventilation openings are free from dust.
- Fan Noise: The built-in cooling fans operate at approximately 40-50 decibels. If you are highly sensitive to noise, consider the placement of the enclosure.
- Firmware Updates: Check the CENMATE official website periodically for any available firmware updates for your enclosure model.
8. Troubleshooting
- Drives Not Detected:
- Important: When installing multiple hard drives, it is crucial to verify each drive's functionality individually. Load one hard drive, power on the enclosure, and confirm it is detected by your system. Power off, then load the next drive, power on, and confirm. Continue this process until all drives are installed and verified. If a problematic hard drive is loaded among others, only one drive might be detected, making it difficult to identify the faulty one.
- Ensure all hard drives are properly seated in their bays.
- Check that the USB cable is securely connected to both the enclosure and the computer.
- Verify the power adapter is correctly connected and the enclosure is powered on.
- Try connecting the enclosure to a different USB port on your computer or a different computer to rule out port or system issues.
- For new drives, ensure they are initialized and formatted in your operating system's disk management utility.
- Slow Data Transfer Speeds:
- Ensure you are connected to a USB 3.0 port on your computer. USB 2.0 ports will result in significantly slower speeds.
- Verify that your operating system and drivers are up to date.
- The performance of the hard drives themselves can affect transfer speeds.
- Enclosure Not Powering On:
- Check the power adapter connection to both the enclosure and the wall outlet.
- Ensure the power switch on the enclosure is in the 'ON' position.
- Try a different wall outlet.
9. Specifications
| Model Number | 10 Bay |
| Brand | CENMATE |
| Supported Drives | 2.5" / 3.5" SATA HDD/SSD |
| Number of Bays | 10 |
| Max Capacity | 200 TB (20 TB per drive) |
| Hardware Interface | USB 3.0 |
| Data Transfer Rate | Up to 5 Gbps |
| Connectivity Technology | USB 3.0 (USB A/C Cable included) |
| Compatible Operating Systems | Windows, Mac OS 9.1/10, Linux |
| Material | Aluminum |
| Color | Black |
| Product Dimensions (L x W x H) | 27.2L x 15W x 36.1H centimetres |
| Item Weight | 5.6 Kilograms |
| Power Adapter | DC 12V20A |
10. Warranty and Support
CENMATE provides technical support for this product. If you encounter any questions or issues regarding the CENMATE 10 Bay Hard Drive Enclosure, please do not hesitate to contact our support team. We are committed to replying and resolving your problem within 24 hours.
Please refer to the contact information provided on the product packaging or the official CENMATE website for support details.