17E
17E Home Use Electronic Password Steel Plate Safe Box - Instruction Manual
Model: 17E
Introduction
This manual provides detailed instructions for the setup, operation, and maintenance of your 17E Home Use Electronic Password Steel Plate Safe Box. Please read this manual thoroughly before using the safe to ensure proper function and security.
The 17E safe box is designed for secure storage of valuables such as cash, jewelry, documents, and small firearms. It features a robust steel plate construction and an electronic password locking mechanism with emergency key access.
Package Contents
Upon opening the package, verify that all components are present:
- 1 x Safe Box
- 1 x Operation Instruction Manual
- 2 x Emergency Keys
- 2 x Expansion Screws
- 4 x AA Batteries (may be included or required separately)

Image: Contents of the package, showing the safe box, emergency keys, and the instruction manual.
Safety Precautions
- Important: Never leave the emergency keys inside the safe box. Store them in a secure, separate location.
- Ensure the safe is placed on a stable, level surface.
- Keep the safe away from excessive moisture or extreme temperatures.
- Do not attempt to force the safe open if the electronic lock malfunctions. Use the emergency key.
Setup
1. Battery Installation
The safe requires 4 AA batteries for the electronic keypad to function. The battery compartment is located inside the safe door.
- Open the safe door using one of the emergency keys. Insert the key into the keyhole on the keypad panel and turn it clockwise while simultaneously turning the knob to open.
- Locate the battery compartment cover on the inside of the door.
- Remove the cover and insert 4 AA batteries, ensuring correct polarity (+/-).
- Replace the battery compartment cover.

Image: Close-up view of the battery compartment located on the inside of the safe door, showing four AA batteries installed.
2. Initial Opening (First Use)
For the first opening, use the emergency key:
- Locate the emergency keyhole on the electronic keypad panel. It is usually hidden under a small cover.
- Insert one of the provided emergency keys into the keyhole.
- Turn the key clockwise while simultaneously turning the knob to open the safe door.
Image: The safe door is open, showing the emergency keys inserted into the lock mechanism.
3. Mounting the Safe (Optional)
The safe can be mounted to a wall or floor for added security using the pre-drilled holes at the back or bottom of the safe.
- Choose a suitable location for mounting.
- Mark the drilling points on the wall or floor through the pre-drilled holes inside the safe.
- Drill holes at the marked points using an appropriate drill bit.
- Align the safe with the drilled holes and secure it using the provided expansion screws.
- Ensure the safe is firmly attached and stable.
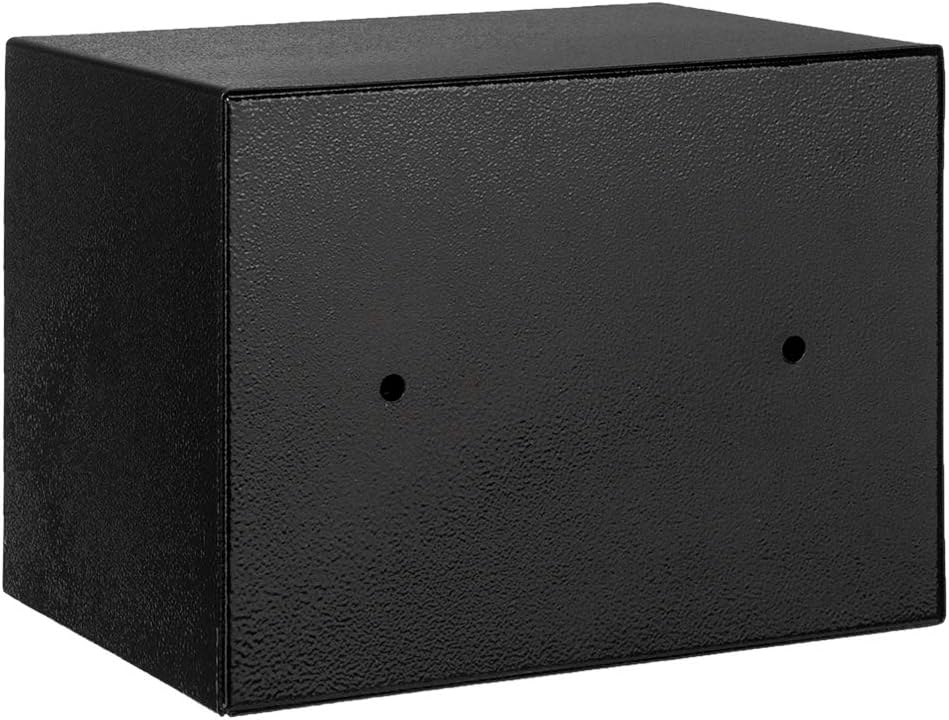
Image: Rear view of the safe box, highlighting the pre-drilled mounting holes for securing it to a surface.
Operating Instructions
1. Setting Your Personal Password
It is highly recommended to set your personal password immediately after battery installation.
- With the safe door open, locate the red reset button on the inside of the door, near the battery compartment.
- Press the red reset button. You will hear a beep, and the yellow light on the keypad will illuminate.
- Within 5 seconds, enter your desired 3-8 digit password on the keypad.
- Press the "A" or "B" button (or "#" or "*" depending on model) to confirm your new password. You will hear a confirmation beep.
- Test the new password: With the door still open, enter your new password and press "A" or "B". The green light should illuminate, and you should hear the lock mechanism retract.

Image: Front view of the safe box, showing the electronic keypad with number buttons and the A/B confirmation buttons.
2. Opening the Safe with Your Password
- Enter your 3-8 digit personal password on the keypad.
- Press the "A" or "B" button to confirm.
- If the password is correct, the green light will illuminate, and you will hear a click. Within 5 seconds, turn the knob clockwise to open the safe door.
- If the password is incorrect, the red light will flash, and you will hear a series of beeps. Re-enter the correct password.
3. Closing and Locking the Safe
- Close the safe door firmly.
- Turn the knob counter-clockwise to engage the locking bolts. The safe is now locked.
4. Using Emergency Keys
The emergency keys are provided for situations where you forget your password or the batteries are depleted.
- Remove the small cover over the emergency keyhole on the keypad panel.
- Insert an emergency key into the keyhole.
- Turn the key clockwise while simultaneously turning the knob to open the safe door.
- Once open, you can replace batteries or reset the password.
Maintenance
- Battery Replacement: When the batteries are low, the red light may flash or the keypad may not respond. Replace all four AA batteries promptly.
- Cleaning: Wipe the exterior of the safe with a soft, damp cloth. Do not use abrasive cleaners or solvents.
- Key Storage: Always store emergency keys in a secure location away from the safe.
Troubleshooting
| Problem | Possible Cause | Solution |
|---|---|---|
| Keypad does not respond / No lights | Dead or incorrectly installed batteries. | Replace batteries with new AA batteries, ensuring correct polarity. |
| Safe does not open after entering correct password | Batteries are low; knob not turned within 5 seconds. | Replace batteries. Ensure you turn the knob immediately after the green light appears. |
| Forgot password | Password forgotten. | Use the emergency key to open the safe. Once open, press the reset button and set a new password. |
| Safe door cannot be closed/locked | Obstruction in the door frame; locking bolts not aligned. | Check for any items blocking the door. Ensure the door is fully closed before turning the knob to lock. |
Specifications
| Feature | Detail |
|---|---|
| Model | 17E |
| Material | Steel |
| Exterior Dimensions (L x W x H) | 9.06" x 6.69" x 6.69" (23 x 17 x 17 cm) |
| Interior Dimensions (L x W x H) | 6.5" x 8.86" x 4.33" (16.5 x 22.5 x 11 cm) |
| Weight | 6.13 lbs (2.78 kg) |
| Capacity | 0.22 cubic feet (4.8L) |
| Locking Mechanism | Electronic Keypad with Emergency Key Override |
| Power Source | 4 x AA Batteries |
| Color | Black Body & Silver Gray Panel |

Image: Diagram illustrating the exterior dimensions of the safe box: 9 inches in length, 6.7 inches in width, and 6.7 inches in height.
Warranty and Support
For warranty information or technical support, please refer to the contact details provided by the retailer or manufacturer at the time of purchase. Keep your purchase receipt as proof of purchase.
For general inquiries or assistance, please contact the seller directly through the platform where the product was purchased.
Related Documents - 17E
 |
CommScope CAP H Installation Instructions and Safety Guide Comprehensive installation instructions and safety guidelines for the CommScope CAP H signal booster/repeater, covering mechanical, electrical, RF safety, and compliance requirements for professional installers. |
 |
A-OK AM35-10/17E Elektromos rádiós csőmotor telepítési útmutató Telepítési útmutató az A-OK AM35-10/17E elektromos rádiós csőmotorhoz. Részletes lépések a motor feltanításához, összeszereléséhez és beállításához. |
 |
Hope Industrial Systems VB-17E Accessory Mounting Bracket Installation Guide for HIS-ML17 Monitors Step-by-step instructions for installing the Hope Industrial Systems VB-17E Accessory Mounting Bracket onto HIS-ML17 Monitors, including details on VESA mounting compatibility and preparation. |
 |
AG Neovo DR-17E & DR-22E LED-Backlit Display User Manual Comprehensive user manual for AG Neovo DR-17E and DR-22E LED-Backlit Displays, covering setup, connections, operation, specifications, and safety information. |
 |
Apple iPhone User Guide - Comprehensive Information A complete user guide for the Apple iPhone, covering essential information from setup and basic features to personalization, privacy, and security. Learn everything you need to know about your iPhone. |
 |
Bosch Highflow Gas Water Heater Installation Manual Installation and operating instructions for Bosch Highflow 17e, 21e, and 26e gas water heaters (YS1770RA, YS2170RA, YS2670RA). Covers technical data, installation, connections, safety, and warranty. |
Ask a question about this manual
Ask about setup, troubleshooting, compatibility, parts, safety, or missing instructions. Manuals+ will review the question and use this page’s manual context to help answer it.