1. Introduction
This manual provides detailed instructions for the installation, operation, and maintenance of your Inefala 4G 64G Android 15 Car Stereo. Please read this manual thoroughly before installation and use to ensure proper function and to maximize your user experience. Keep this manual for future reference.
2. Product Overview & Package Contents
The Inefala 4G 64G Car Stereo is an advanced in-dash navigation system designed for Ford Fusion Mondeo models from 2013 to 2019. It features a 9-inch Incell touchscreen, Android 15 operating system, wireless CarPlay and Android Auto, Bluetooth 5.0, GPS navigation, and support for a backup camera.
Package Contents:
- (Manual A/C) for Ford Fusion Mondeo Android Radio
- 1 x Power Cable
- 1 x CANBUS Decoder
- 1 x Original USB Cable
- 1 x Radio Antenna Cable
- 1 x RCA Harness
- 1 x GPS Antenna
- 1 x Rear Camera Input Cable
- 2 x USB Cables
- 1 x AHD Backup Camera
- 1 x External Microphone
- 1 x Installation Tool & Accessories

Figure 2.1: Package Contents and Unit Dimensions
3. Compatibility & Important Notes
This car stereo is specifically designed for Ford Fusion Mondeo models manufactured between 2013 and 2019. Please verify your vehicle's model year before installation.
- Original A/C Board: The cable does NOT support original cars equipped with a large screen. The plug of the original A/C board must be reconnected to the original car, and the protocol set to match the car model for the A/C function to be effective. Refer to the installation instructions for details.
- Power Amplifier: If your vehicle has a stock power amplifier and you experience no sound, connect the AMP control wire from the original plug to the ACC wire of our power cable.

Figure 3.1: Installation Effect and Compatibility Check
4. Installation Guide
Professional installation is recommended. Ensure the vehicle's battery is disconnected before starting the installation process to prevent electrical damage.
4.1 Pre-Installation Check:
- Combine the red and yellow wires of the car stereo, then connect them to the positive pole of the 12V battery. Connect the black wire to the negative pole of the battery.
- After 2 seconds, check the car stereo. If the screen lights up, it means the car stereo is functioning normally. If it does not work after installation, recheck the installation procedure.
4.2 Physical Installation Steps:
- Loosen the four screws fixing the hardware at the back of the host unit. Then, unplug the corresponding motherboard connector cables.

Figure 4.1: Disassembly of Host Unit
- Secure the bracket and iron plate to the back of the host with screws. Connect the extension cable, and then assemble another iron plate onto the back of the host, joining it with the first one.

Figure 4.2: Bracket and Plate Assembly
- Attach the two iron plates together on both sides using screws. Connect the cables to the motherboard, and finally tighten the hardware screws on the back of the host.
4.3 Wiring Connections:
Ensure all connections are secure and correctly matched to your vehicle's wiring harness. If the harness contains spare sockets that do not fit, no connection is needed as they may be for different car model years.

Figure 4.3: Port Details and Wiring Diagram
Backup Camera Wiring:
The reversing input must be plugged in even if the reversing camera is not used. Otherwise, your WiFi and Bluetooth signals may be affected.
- Cable 1 and Cable 5: Connect the positive pole of the car reversing light cable.
- Cable 2: Connect the negative pole of the car reversing light cable.
- Cable 3 and Cable 4: Connects to the reverse trigger wire of the power cable (labeled 'Reverse/Back'). No need to connect if without this wire. Pull it out and connect it if the last step doesn't work.

Figure 4.4: Backup Camera Wiring Diagram
5. Operating Instructions
5.1 Touchscreen & Display:
The 9-inch Incell touchscreen features a 1280 x 720 ultra-high resolution, offering improved light transmission, color contrast, and a 178° viewing angle. It supports split-screen functionality and 1080P video playback. You can switch between 15 different desktop themes.

Figure 5.1: In-Cell Touch Screen Features
5.2 Wireless CarPlay & Android Auto:
Connect wirelessly for voice-assisted controls and easy access to your phone's music, navigation, calls, and messages. Syncs to the onboard screen via WiFi hotspot or your phone's original USB cable.
- Note: Some Samsung and Huawei phones may not support Android Auto and Mirror Link. Your phone needs to support Google Services and have the "Android Auto" app installed.
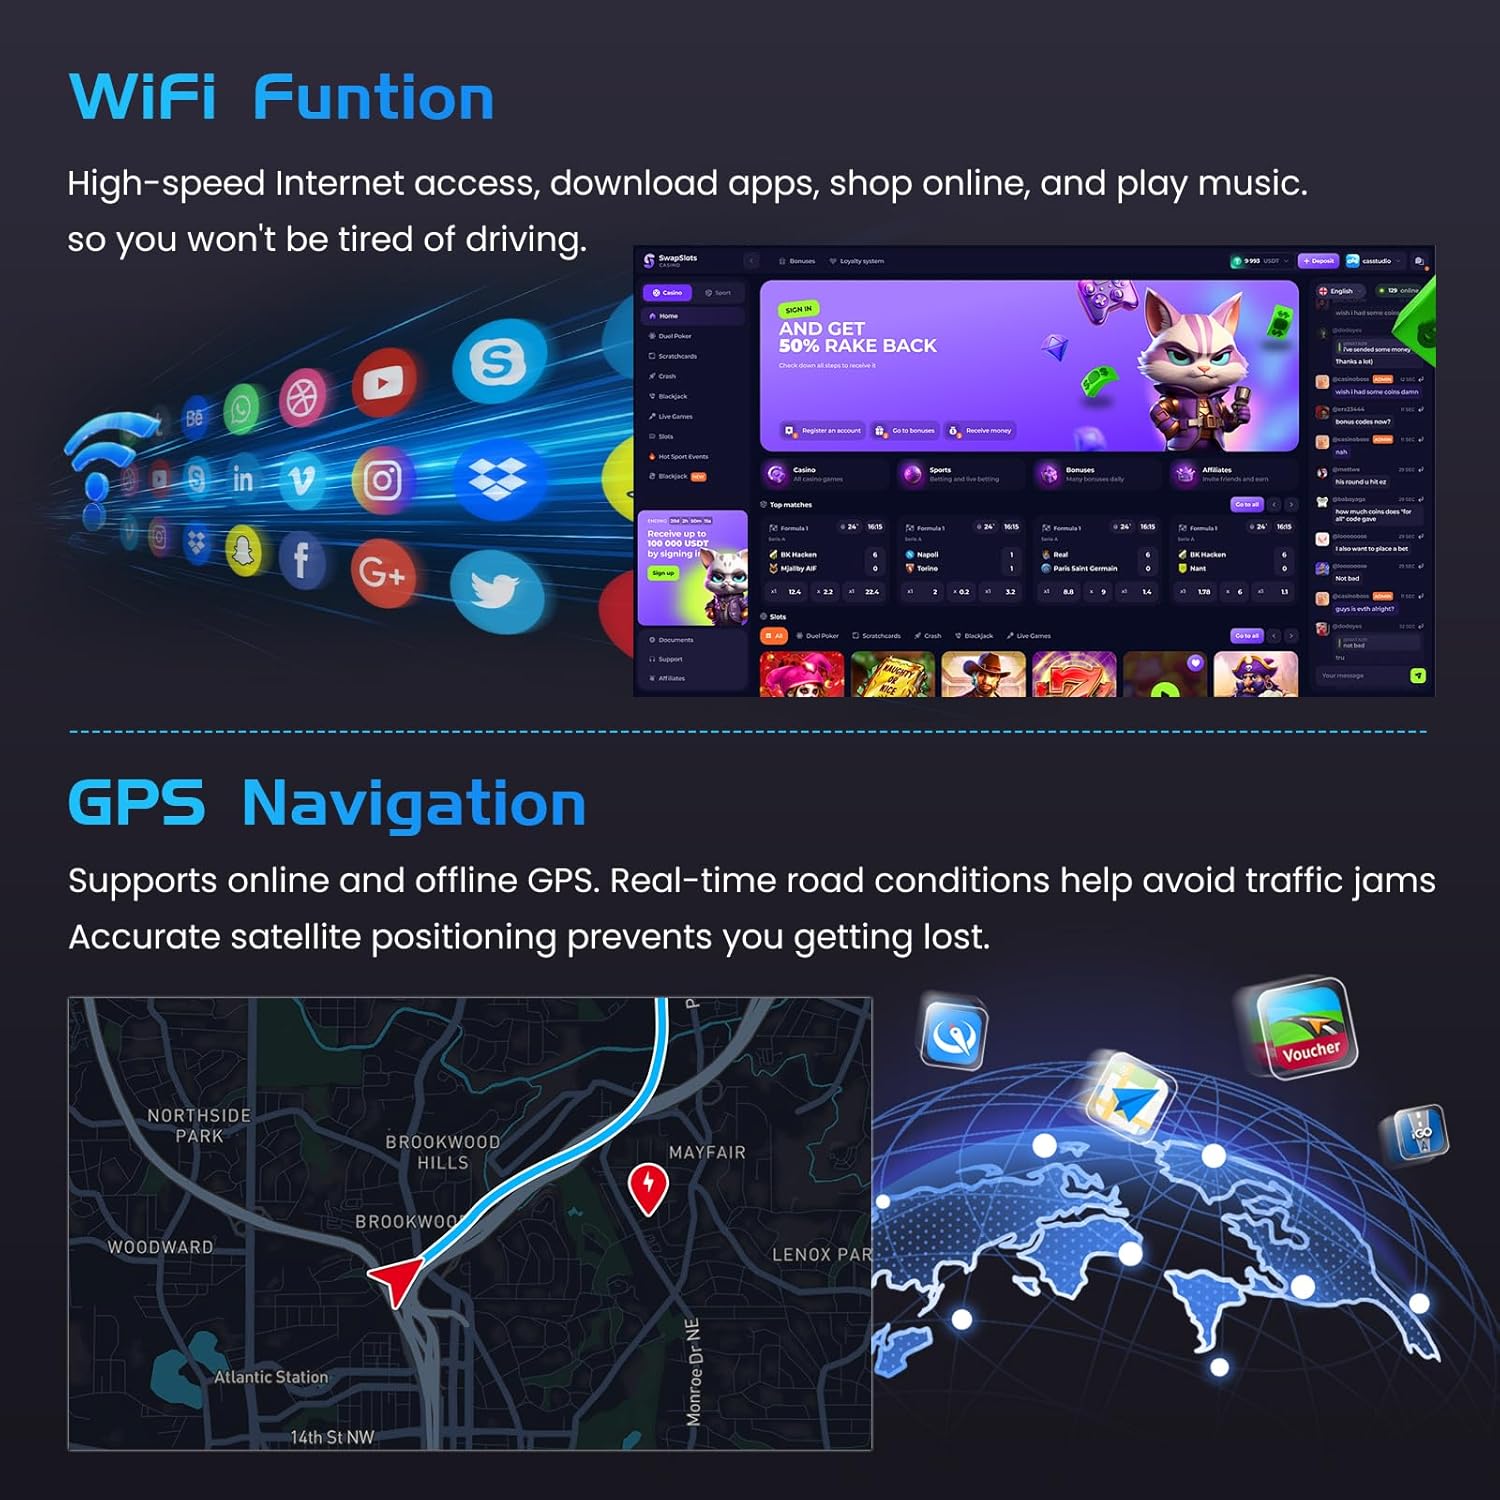
Figure 5.2: Wireless CarPlay & Android Auto Interface
5.3 GPS Navigation:
The unit supports both online and offline navigation. Satellite navigation supports GPS/BeiDou/Galileo/Glonass for wide coverage and accurate positioning. Connect to a WiFi hotspot to download online maps.

Figure 5.3: WiFi Function and GPS Navigation
5.4 Bluetooth 5.0:
Bluetooth 5.0 enables hands-free calling, phone book download, and music playback, enhancing safety while driving.
5.5 FM/RDS Radio:
The stable FM/RDS radio allows you to preset up to 54 stations, providing access to channel broadcasts, weather forecasts, and real-time road conditions.
5.6 Steering Wheel Control:
The system supports steering wheel button functions, allowing easy control of the car audio system while driving.
- Without CANBUS box: Activation of steering wheel controls requires key learning in settings.
- With CANBUS box:
- Connect the 20-pin white port in the power cable to the Canbus itself.
- Connect the remaining 8-pin white port to the corresponding port on the back of the radio.
- Match the car model: CANBUS Matching Path: Settings -> Factory Setup (Password 1234) -> Can Settings.

Figure 5.4: Steering Wheel Control Setup
6. Specifications
| Feature | Description |
|---|---|
| System | Latest Android System (Android 15) |
| Screen Resolution | 1280*720 Incell Screen |
| Power Output | 4*45W |
| Bluetooth Version | 5.0 |
| Steering Wheel Control Function | Support |
| Radio Band | FM / RDS |
| Rear Camera Standard | AHD & CVBS |
| External Microphone | Support |
| Split Screen | Support |
| WiFi | Support |
| Carplay / Android Auto | Wireless connection only |
| Mirror Link | Wireless / Wired |
| USB | Double USB interface |
| Audio Format | APE / FLAC / WAV / MP3 / MP4 / MDV etc. |
| Video Format | MKV / RMVB / AVI / MP4 / MDV etc. |
| Picture Format | PNG / JPEG / JPG / GIF / WBMP / BNP etc. |
| Factory Setting Keyword | 1234 |
| Maps | Built-in online & offline maps (requires internet to download data) |
| Language | English / Spanish / Chinese / French / Italian / Korean / Japanese / Arabic / Portuguese / Russian / Turkish / Vietnamese / Hebrew / Polish / German |
7. Troubleshooting
If you encounter issues, please refer to the following common solutions:
- No Sound: If your vehicle has a stock power amplifier, ensure the AMP control wire from the original plug is connected to the ACC wire of our power cable.
- WiFi/Bluetooth Signal Issues: Ensure the reversing input cable is plugged in, even if a backup camera is not used.
- CarPlay/Android Auto Not Working: Verify your phone supports Google Services and has the "Android Auto" app installed. Some Samsung and Huawei models may have compatibility limitations.
- A/C Function Ineffective: Ensure the plug of the original A/C board is reconnected to the original car and the protocol is set to match your car model.
- Installation Difficulties: Double-check the power cable port matches your car. If the harness has spare sockets that don't fit, they are not needed. If wiring is damaged or accessories are missing, contact customer service.
8. Maintenance
To ensure the longevity and optimal performance of your car stereo, follow these maintenance guidelines:
- Cleaning the Screen: Use a soft, lint-free cloth to gently wipe the touchscreen. For stubborn smudges, slightly dampen the cloth with water or a screen-safe cleaner. Avoid harsh chemicals or abrasive materials.
- Software Updates: Periodically check for software updates through the system settings to ensure you have the latest features and bug fixes.
- Avoid Extreme Temperatures: Do not expose the unit to extreme heat or cold for extended periods, as this can affect performance and lifespan.
9. Warranty & Support
Your Inefala car stereo comes with a 1-Year Warranty from the date of purchase.
Customer Support:
For any technical assistance, installation queries, or warranty claims, please contact Inefala customer service. We offer professional technical support and customer service to ensure your shopping experience.
How to reach us:
- Go to the product page on Amazon.
- Click on the seller name (e.g., "Inefala Direct").
- Click "Ask a question" to send us your questions, and attach relevant pictures or videos.
All messages will be replied to within 24 hours, regardless of holidays.

Figure 9.1: Inefala Customer Support Contact