
1. Introduction
This manual provides detailed instructions for the Satlink ST-5030 Digital Satellite Signal Finder Meter. It is designed to assist users in the proper setup, operation, and maintenance of the device for efficient satellite signal reception and alignment. The ST-5030 is a handheld signal finder compliant with DVB-S2S, I-T, and J83B standards, offering a compact design, intuitive user interface, and essential features for digital TV service installation and verification.
2. Product Overview
2.1 Key Features
- DVB-S2S, I-T, J83B compliant handheld satellite finder.
- Compact size and lightweight design for portability.
- Intuitive user interface for ease of operation.
- 2.4-inch TFT LCD screen for visual display of signal strength and quality.
- Built-in compass for easier and quicker satellite dish adjustment.
- Suitable for both new satellite installations and checking existing reception systems.
- MPEG-2/MPEG-4 compliant with H.264 hardware decoding.
- Digital meter for precise signal strength and quality measurement.
2.2 Package Contents
- 1 x Satlink ST-5030 Digital Satellite Signal Finder Meter
- 1 x Carrying Strap
- 1 x Power Adapter
- 1 x Software CD
- 1 x User Manual (English)
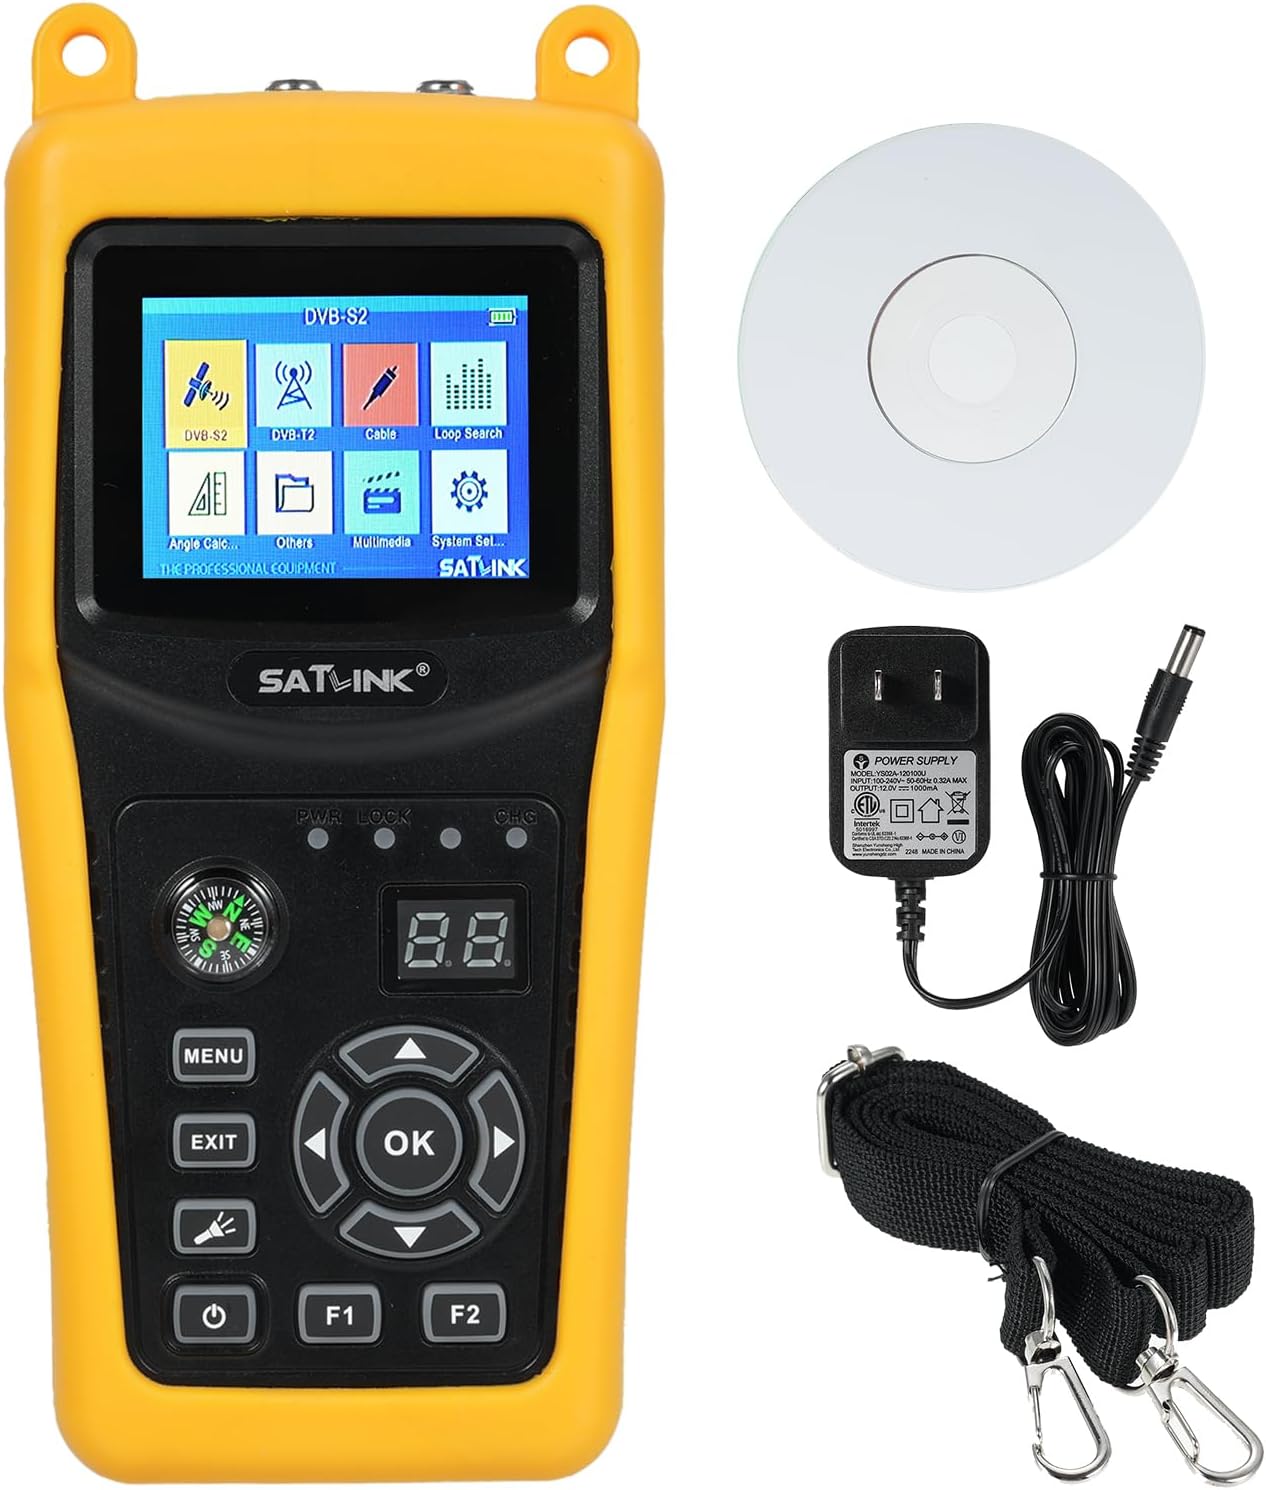
Figure 1: Satlink ST-5030 digital satellite signal finder meter with its essential accessories. The meter is yellow with a black control panel and a 2.4-inch LCD screen. To its right are a power adapter, a black carrying strap, and a white software CD.
3. Setup
3.1 Charging the Device
Before initial use, fully charge the ST-5030 using the provided power adapter. Connect the adapter to the DC 12V input port on the device and plug it into a standard electrical outlet. The charging indicator will illuminate during charging and change status when fully charged.
3.2 Connecting to Satellite Dish
To connect the ST-5030 to your satellite system:
- Ensure the satellite dish is properly mounted and pointed generally towards the desired satellite.
- Connect the LNB (Low Noise Block) cable from your satellite dish to the 'Satellite' input port on the ST-5030.
- If connecting to an existing receiver, disconnect the LNB cable from the receiver and connect it to the 'Antenna' input port on the ST-5030.
- Power on the device.

Figure 2: Front and back view of Satlink ST-5030. The front panel highlights indicator lights and key buttons. The back panel shows the satellite and antenna input ports, a USB port, and a 12V adapter input, along with a label detailing specifications.
4. Operating Instructions
4.1 Powering On/Off
Press and hold the power button (usually marked with a circle and vertical line) to turn the device on or off.
4.2 Menu Navigation
Use the 'MENU' button to access the main menu. Navigate through options using the directional arrow buttons (Up, Down, Left, Right). Press 'OK' to select an option and 'EXIT' to return to the previous screen or exit the menu.
4.3 Satellite Search and Signal Acquisition
- From the main menu, select the 'DVB-S2' or 'Satellite Search' option.
- Choose the desired satellite from the list or manually enter its parameters (frequency, symbol rate, polarization).
- Adjust the satellite dish slowly while observing the signal strength and quality readings on the LCD screen.
- Maximize both signal strength and quality for optimal reception.
4.4 Using the Compass for Alignment
The integrated compass assists in initial dish positioning. Use it to orient your dish towards the approximate azimuth of the target satellite before fine-tuning with the signal meter.
4.5 Interpreting Signal Readings
The LCD screen displays signal strength and quality, often as a percentage or bar graph. Higher values indicate better reception. Aim for the highest possible quality reading, as this is crucial for stable signal lock.
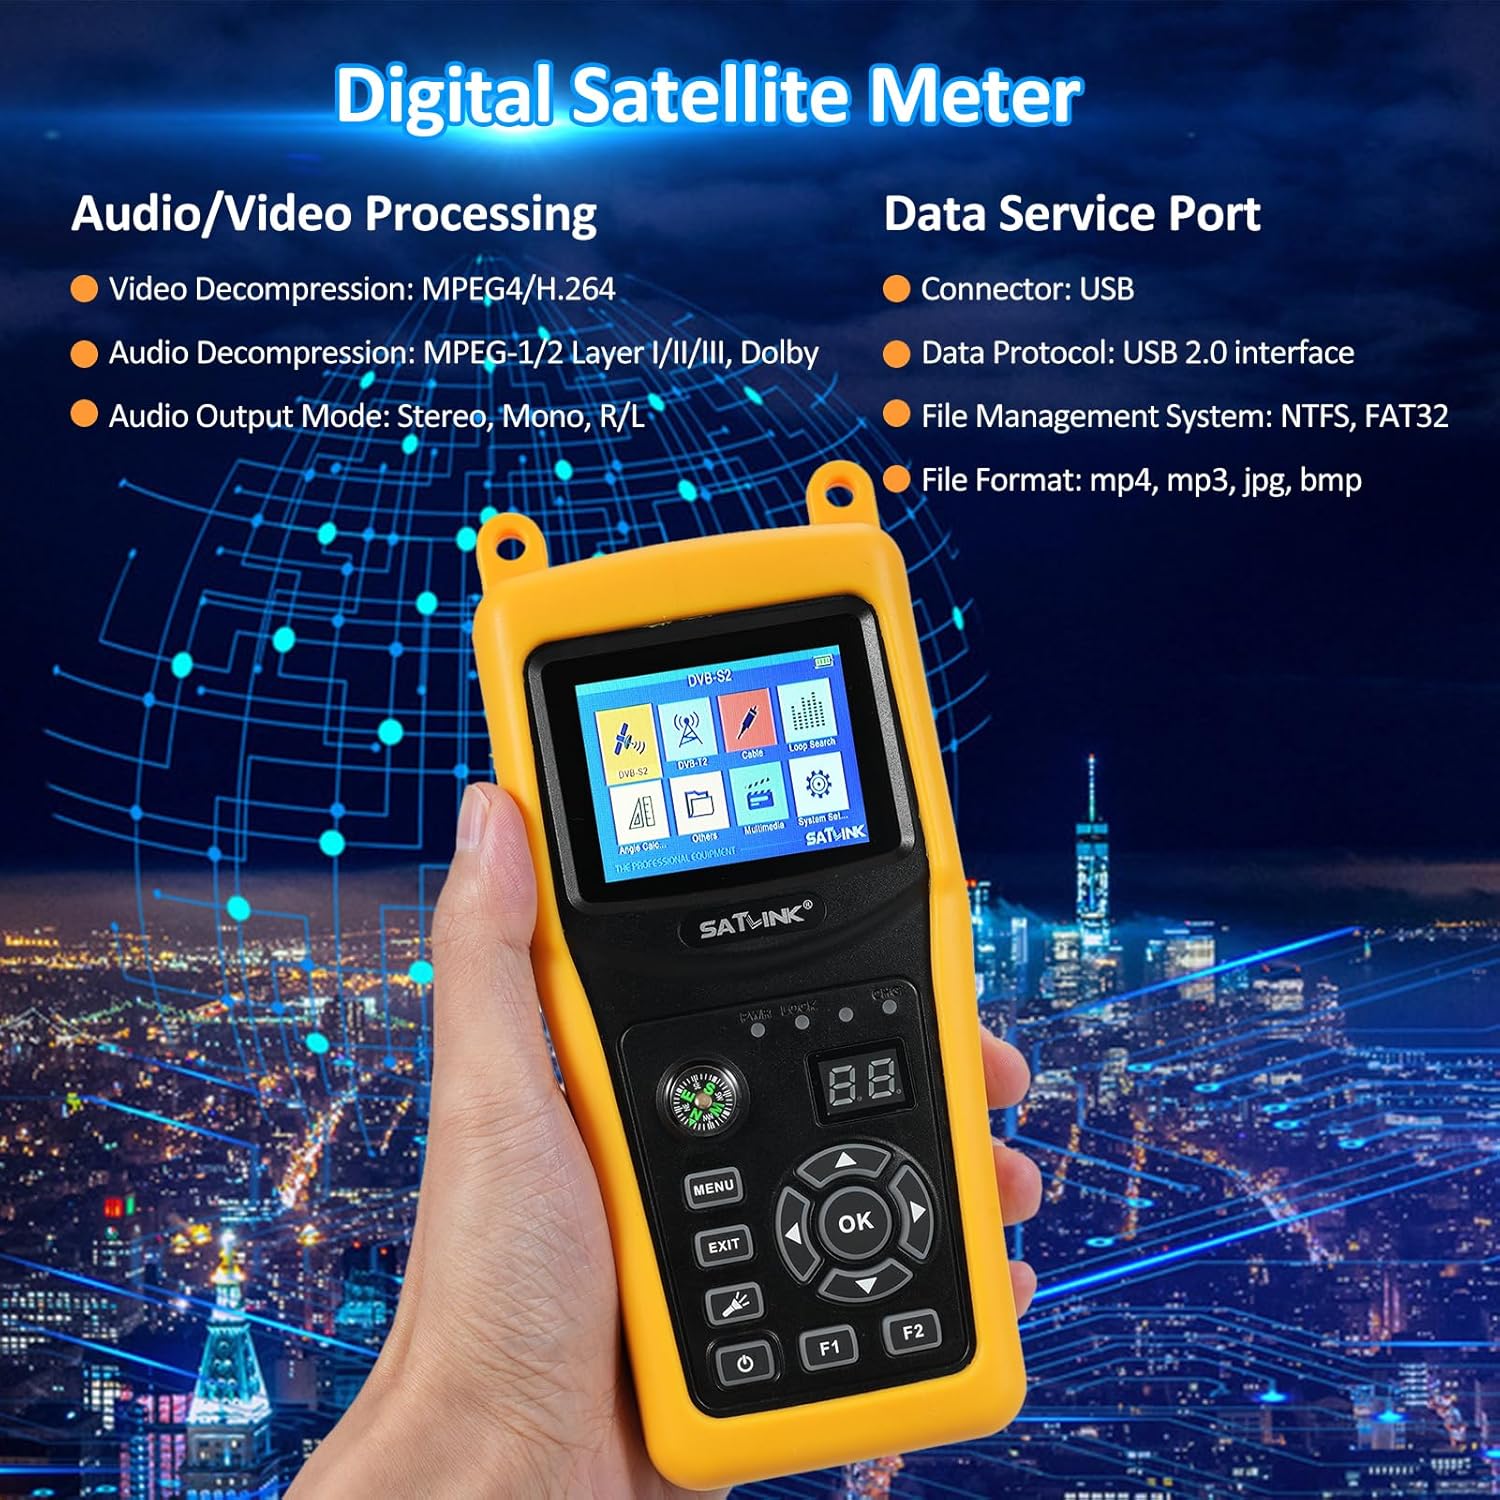
Figure 3: Satlink ST-5030 being held in a hand, emphasizing its portability. Overlaid text highlights key features such as audio/video processing capabilities (MPEG4/H.264, Dolby support) and data service port details (USB 2.0, file management, supported formats).
5. Maintenance
5.1 Cleaning the Device
Wipe the device with a soft, dry cloth. Do not use liquid cleaners or solvents, as they may damage the screen or casing.
5.2 Battery Care and Storage
To prolong battery life, avoid fully discharging the device frequently. Store the device in a cool, dry place when not in use for extended periods. Recharge the battery periodically if stored for a long time.
6. Troubleshooting
6.1 No Signal Detected
- Check all cable connections between the LNB, the ST-5030, and the satellite dish.
- Ensure the LNB is powered (the ST-5030 provides LNB power).
- Verify that the correct satellite parameters (frequency, symbol rate, polarization) are selected in the device menu.
- Confirm that the satellite dish is not obstructed.
6.2 Weak Signal Strength
- Fine-tune the satellite dish alignment (azimuth and elevation) slowly.
- Check for any damage to the LNB or coaxial cable.
- Ensure the LNB skew is correctly adjusted.
6.3 Display Issues
- If the screen is blank, ensure the device is powered on and the battery is charged.
- If the display is frozen, try restarting the device.
7. Specifications

Figure 4: A comprehensive table of technical specifications for the Satlink ST-5030, covering transmission standards, input/demodulation details for satellite and terrestrial signals, LCD features, audio/video processing capabilities, data service port information, power supply specifications, and physical characteristics.
| Category | Specification |
|---|---|
| Transmission Standards | DVB-S2/S, ISDB-T, J83B |
| Satellite Input/Demodulation | Connector Type: F Type Input Frequency: 950 to 2150 MHz Signal Input Level: -65 to -25 dBm Band Switch Control: 22KHz LNB Supply: 13V/18V, IMax 350mA Demodulation Type: QPSK, 8PSK, 16APSK, 32APSK Symbol Rate: 2<Rs<45Mband (SCPC/MCPC) |
| ISDB-T/J83B Input/Demodulation | Connector Type: F Type Input Frequency: 48 to 862 MHz Signal Input Level: -80dBm (ISDB-T), -67dBm (J83B) Demodulation Type: 64QAM, 256QAM |
| LCD Features | LCD Type: TFT Transmissive Number of Dots: 320 (RGB) x240 LCD screen: 2.4" |
| Audio/Video Processing | Video Decompression: MPEG4/H.264 Audio Decompression: MPEG-1/2 Layer I/II/III, Dolby Audio Output Mode: Stereo, Mono, R/L |
| Data Service Port | Connector: USB Data Protocol: USB2.0 interface File Management System: NTFS, FAT32 File Format: mp4, mp3, jpg, bmp |
| Power Supply | Li-ion Battery: 7.4V/2600mAh Adapter Output: DC12V/1A, Input: 100-240VAC 50/60Hz Power Consumption: Max. 10W |
| Physical Characteristics | Size (W x D x H): 16 x 8 x 3.5 cm Net Weight: About 0.7kg |
8. Warranty and Support
Information regarding product warranty and customer support is not available in the provided product details. Please refer to the documentation included with your purchase or contact the retailer for specific warranty terms and support options.