Introduction
This manual provides instructions for the installation, operation, and maintenance of your ULTECHNOVO 10.1 Inch Full Screen Dash Cam with Touch Rearview Mirror Dual Recording. Please read this manual thoroughly before use to ensure proper functionality and safety.
Product Features:
- Dual Recording: Simultaneously captures front and rear views in 1080p resolution.
- 10.1 Inch Full Touch Screen: Provides an intuitive interface for easy operation.
- 170° Wide Angle Lens: Offers a broad field of view for comprehensive coverage.
- Motion Detection: Automatically records when motion is detected, enhancing parking security.
- Loop Recording: Overwrites the oldest footage when the memory card is full, ensuring continuous recording.
- G-Sensor: Detects sudden impacts and locks the current video file to prevent overwriting.
- Reverse Image Assist: Automatically displays the rear camera view with parking guidelines when reversing.
- 24-Hour Parking Monitoring: Provides continuous surveillance when the vehicle is parked (requires hardwire kit, not included).
Package Contents
Verify that all items are present and in good condition upon opening the package.
- 1 x ULTECHNOVO 10.1 Inch Full Screen Dash Cam (Main Unit)
- 1 x Rear Camera
- 1 x Car Charger (USB)
- Mounting Straps/Accessories
- User Manual
Setup
1. Insert Micro SD Card
Before installation, insert a high-speed Class 10 or higher Micro SD card (not included) into the dash cam's card slot. Ensure the card is inserted correctly until it clicks into place.
2. Mount the Dash Cam
- Attach the dash cam to your vehicle's existing rearview mirror using the provided rubber straps. Ensure it is securely fastened and does not obstruct your view.
- Adjust the angle of the front camera lens to capture the road ahead clearly.
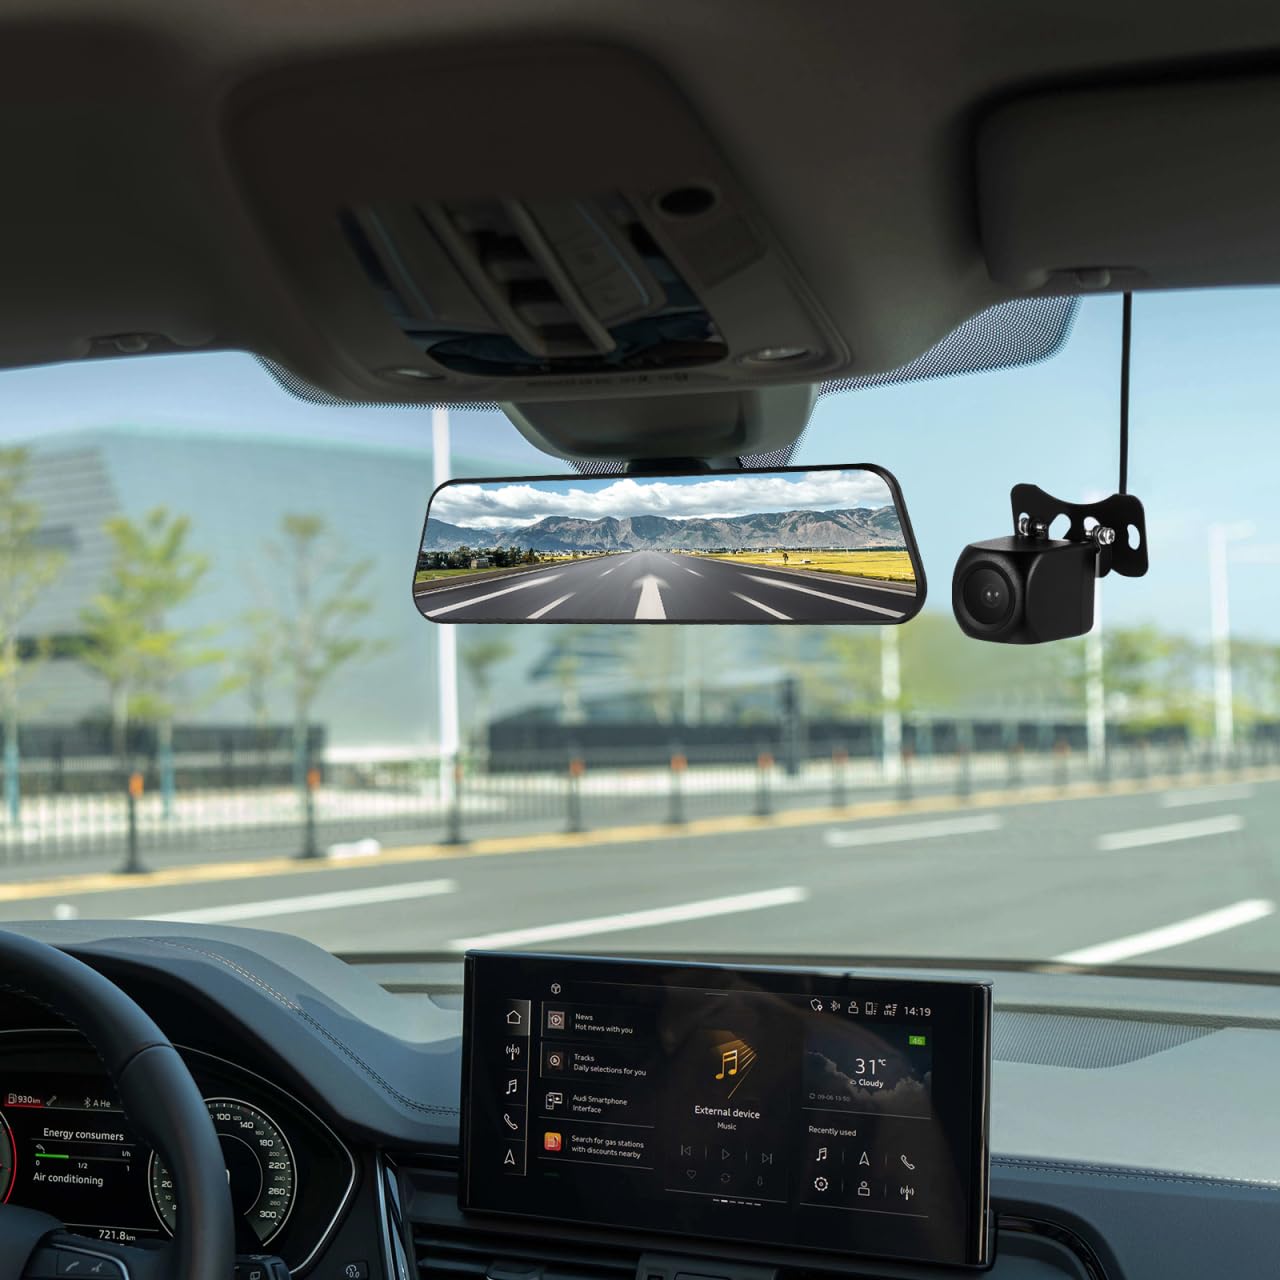
Image: Dash cam installed in a vehicle, showing the main unit mounted over the rearview mirror and the separate rear camera.
3. Install the Rear Camera
- Mount the rear camera on the rear windshield or near the license plate. Ensure it has a clear view of the area behind your vehicle.
- Route the rear camera cable to the main dash cam unit, ensuring it does not interfere with vehicle operations or safety features.
- Connect the rear camera cable to the designated port on the main dash cam unit.

Image: Illustration of the dual lens design, showing both front and rear cameras providing 1080p panoramic monitoring.
4. Power Connection
- Connect the car charger to the dash cam's power input port.
- Plug the other end of the car charger into your vehicle's 12V power outlet (cigarette lighter socket).
- The dash cam will automatically power on and begin recording when the vehicle's ignition is turned on.
Operating Instructions
Basic Operation
- Power On/Off: The device powers on automatically with vehicle ignition. To manually power on/off, press and hold the power button.
- Recording: Recording starts automatically when the device is powered on. A red indicator light or icon on the screen confirms recording is active.
- Screen On/Off: Tap the screen to turn it on or off while recording. Recording continues even when the screen is off.
Touch Screen Functions
The 10.1-inch touch screen allows for easy navigation and setting adjustments.
- Swipe Left/Right: Switch between front camera view, rear camera view, or split-screen view.
- Swipe Up/Down: Adjust screen brightness or camera angle (if supported by the specific mode).
- Tap Icons: Access menus, playback, settings, and other functions displayed on the screen.
Loop Recording
The dash cam records video in continuous loops. When the memory card is full, the oldest unlocked video files are automatically overwritten. This ensures that recording never stops due to a full card.

Image: Visual representation of loop recording, showing continuous video segments and a locked file icon indicating an event triggered by the G-sensor.
G-Sensor (Emergency Recording)
The built-in G-sensor detects sudden acceleration, braking, or collisions. When an event is detected, the current video segment is automatically locked and saved to a protected folder, preventing it from being overwritten by loop recording. This footage serves as crucial evidence in case of an accident.
Motion Detection
When enabled in settings, motion detection allows the dash cam to automatically start recording if it detects movement in front of the vehicle while parked. This feature helps monitor your vehicle for potential incidents when you are away.
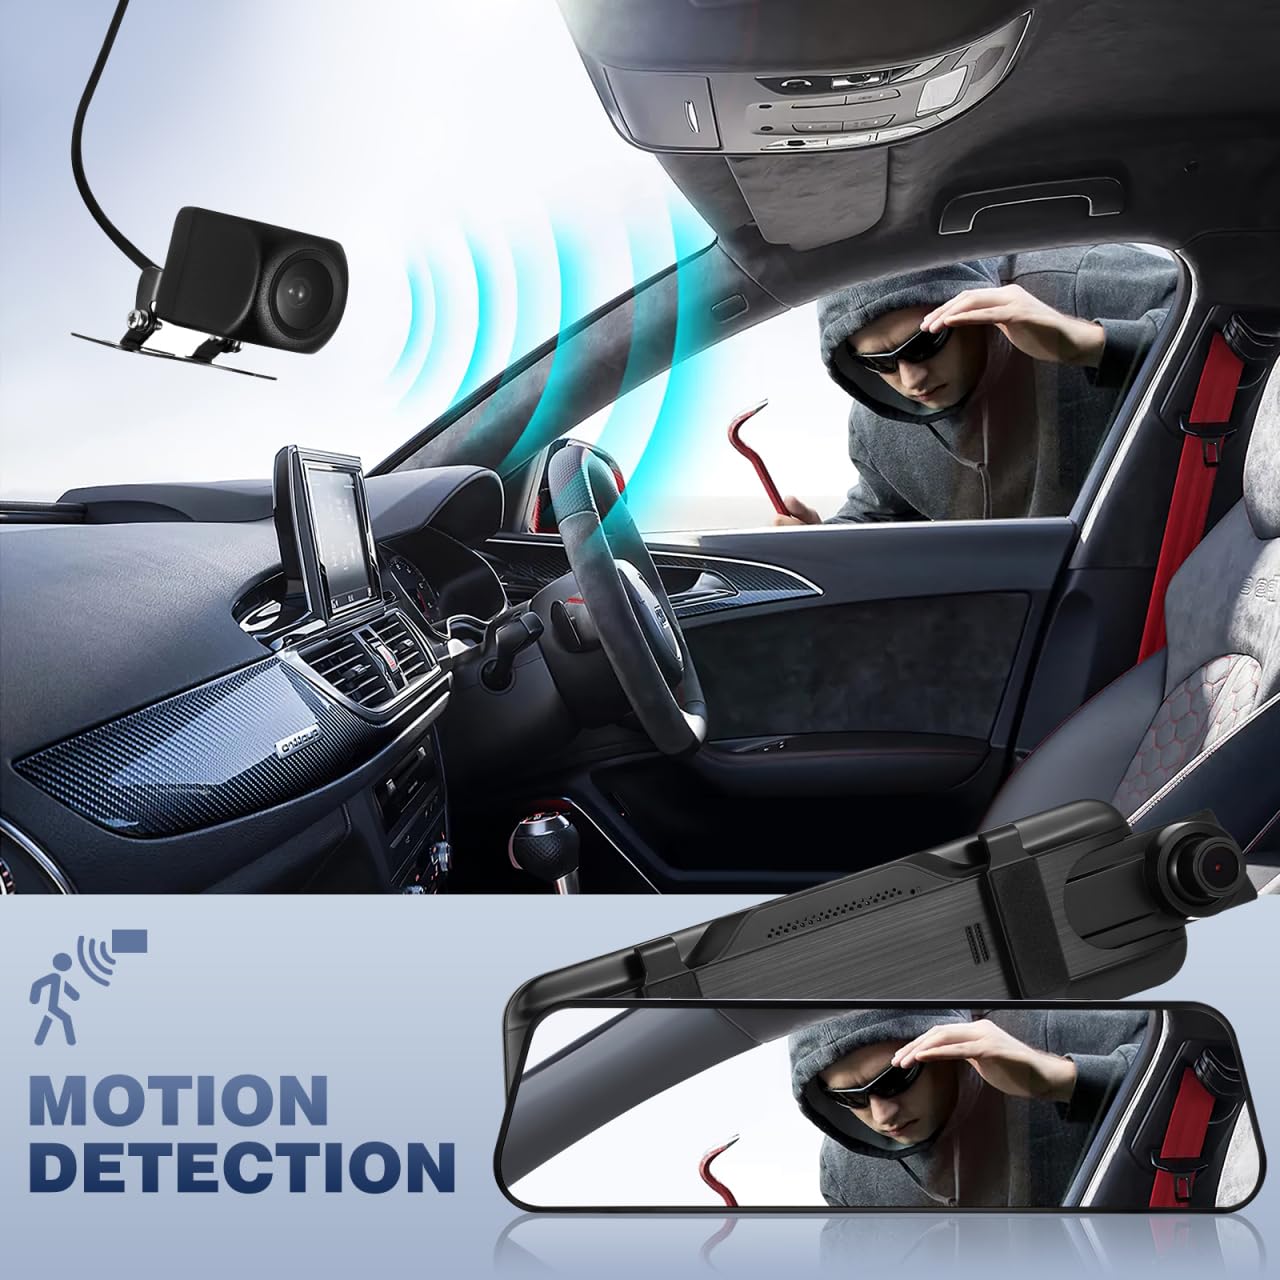
Image: Depiction of motion detection functionality, where the dash cam activates recording upon sensing movement around the parked vehicle.
24-Hour Parking Monitoring
With a hardwire kit (sold separately), the dash cam can monitor your vehicle for 24 hours. If the G-sensor detects a collision or vibration while parked, the dash cam will automatically power on and record a short video, then power off. This protects your vehicle from bumps and scratches.
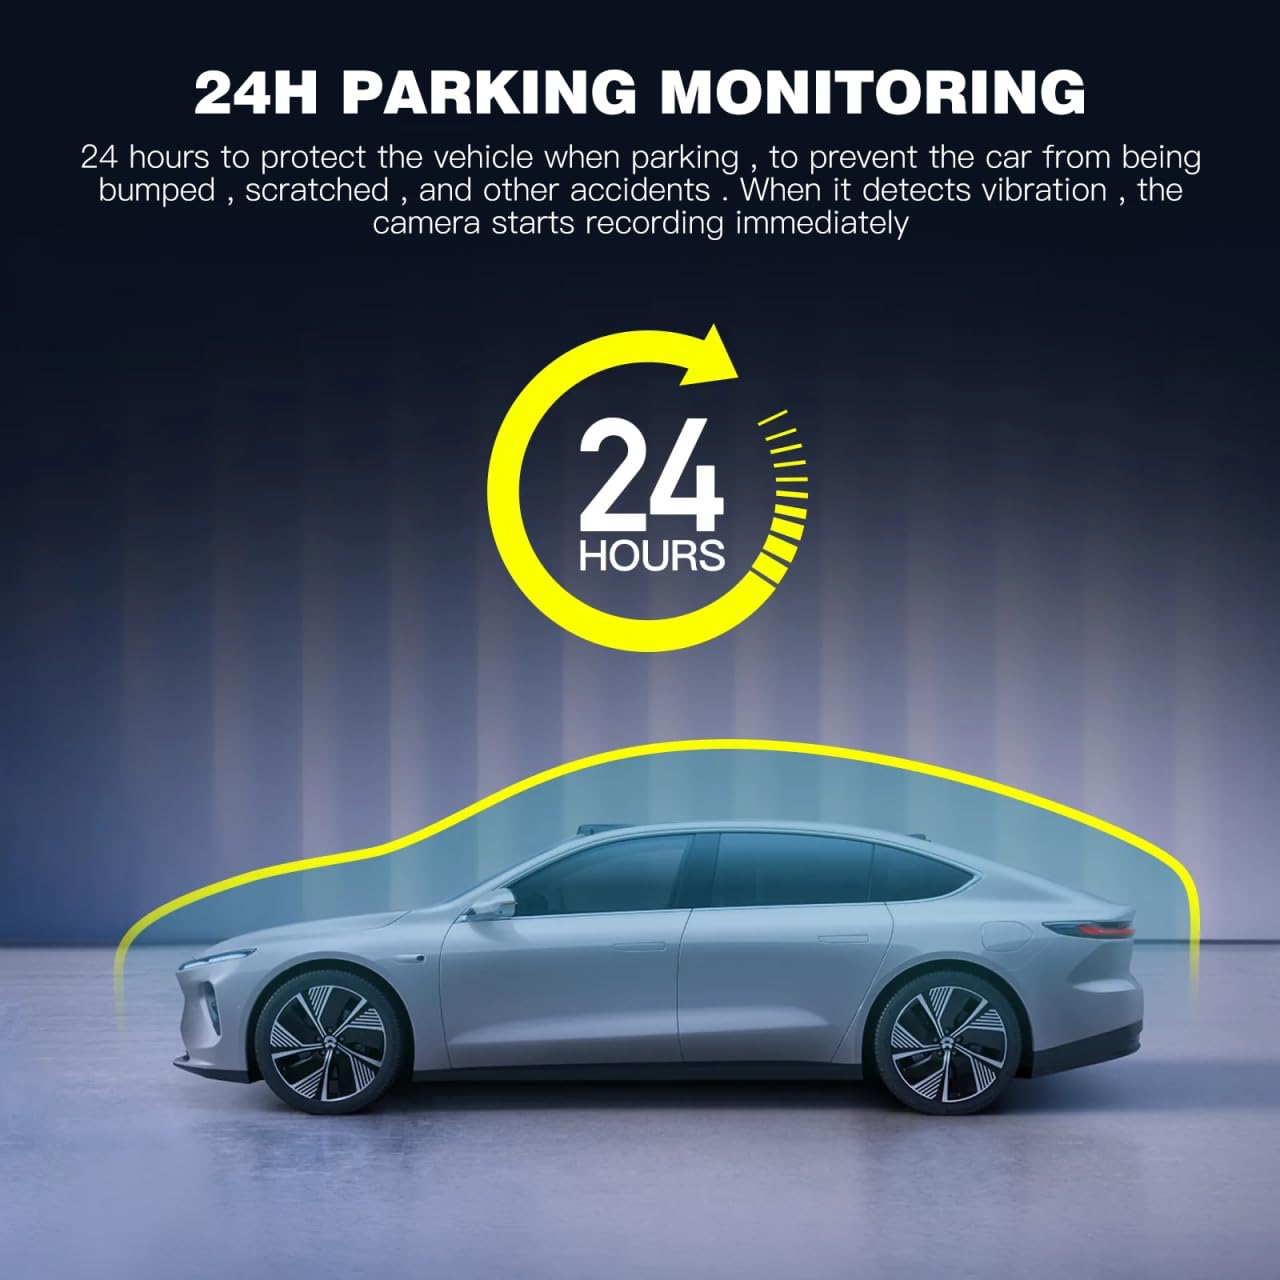
Image: Diagram explaining 24-hour parking monitoring, where the camera records upon detecting vibration to protect the parked car.
Reverse Image Assist
When the vehicle is put into reverse gear, the dash cam automatically switches to the rear camera view on the full screen, displaying parking guidelines to assist with safe parking maneuvers.

Image: Display of the reverse visibility feature, showing parking guidelines on the screen to aid in backing up.
Maintenance
- Cleaning: Use a soft, dry cloth to clean the camera lenses and screen. Avoid using abrasive cleaners or solvents.
- Memory Card: Format the Micro SD card regularly (e.g., once a month) to ensure optimal performance and prevent data corruption. This can usually be done through the dash cam's settings menu.
- Firmware Updates: Check the manufacturer's website periodically for firmware updates. Updating the firmware can improve performance and add new features.
- Temperature: Avoid exposing the dash cam to extreme temperatures for extended periods, as this can affect battery life and component integrity.
Troubleshooting
| Problem | Possible Cause | Solution |
|---|---|---|
| Dash cam does not power on. | No power from car charger; faulty charger; loose connection. | Check car charger connection and vehicle's 12V outlet. Try a different charger if available. |
| Recording stops unexpectedly. | Memory card full or corrupted; low power. | Format the Micro SD card. Ensure continuous power supply. Use a Class 10 or higher card. |
| Video footage is blurry or unclear. | Protective film on lens; dirty lens; incorrect focus. | Remove any protective film. Clean the lenses with a soft cloth. Ensure the lens is properly adjusted. |
| Rear camera not displaying. | Loose cable connection; faulty camera. | Check the connection of the rear camera cable to the main unit. Ensure the cable is not damaged. |
| Screen is unresponsive. | Temporary software glitch. | Restart the device by disconnecting and reconnecting power. If issue persists, perform a factory reset (refer to settings menu). |
Specifications
| Feature | Detail |
|---|---|
| Brand | ULTECHNOVO |
| Model Number | 0VR550N333Q13H41U68BPF9VW |
| Screen Size | 10.1 Inches |
| Display Type | Touch Screen |
| Video Recording Resolution | 1080p (Front & Rear) |
| Field of View | 170 Degrees |
| Connectivity Technology | USB |
| Mounting Type | Rearview Mirror Mount |
| Special Features | Simultaneous Front and Rear Recording, 10-inch Touch Screen, Motion Detection, G-Sensor, Loop Recording, Parking Monitor, Reverse Image Assist |
| Item Weight | 508 Grams |
| Compatible Vehicle Type | Car |
| Frame Rate | 30 fps |

Image: Product size diagram illustrating the dimensions of the main dash cam unit, rear camera, and car charger.

Image: Overview of key features represented by icons, including screen size, recording modes, and safety functions.
Warranty and Support
For warranty information and technical support, please refer to the contact details provided with your purchase or visit the official ULTECHNOVO website. Keep your purchase receipt as proof of purchase for warranty claims.