Fockety TS-9210
Fockety Projection Alarm Clock (Model TS-9210) User Manual
Comprehensive instructions for setup, operation, and maintenance.
Introduction
Thank you for choosing the Fockety Projection Alarm Clock, Model TS-9210. This digital alarm clock features a 7.4-inch mirrored screen, RGB LED display, 180-degree rotatable projection, and convenient USB-C charging ports. This manual provides detailed instructions to help you set up and operate your new alarm clock effectively.
Important Safety Information
- Do not expose the device to extreme temperatures, direct sunlight, or high humidity.
- Avoid dropping or subjecting the device to strong impacts.
- Use only the provided power cord or a certified USB-C power adapter (DC 5V).
- Keep out of reach of children.
- Do not attempt to disassemble or repair the device yourself. Contact customer support for assistance.
Package Contents
Please check the package for the following items:
- 1 x Fockety Projection Alarm Clock (Model TS-9210)
- 1 x USB-C Power Cord
- 1 x User Manual

Image: The Fockety Projection Alarm Clock with its included USB-C power cord.
Product Overview
Familiarize yourself with the main components of your alarm clock.

Image: Top view of the alarm clock, highlighting the control buttons for various functions.
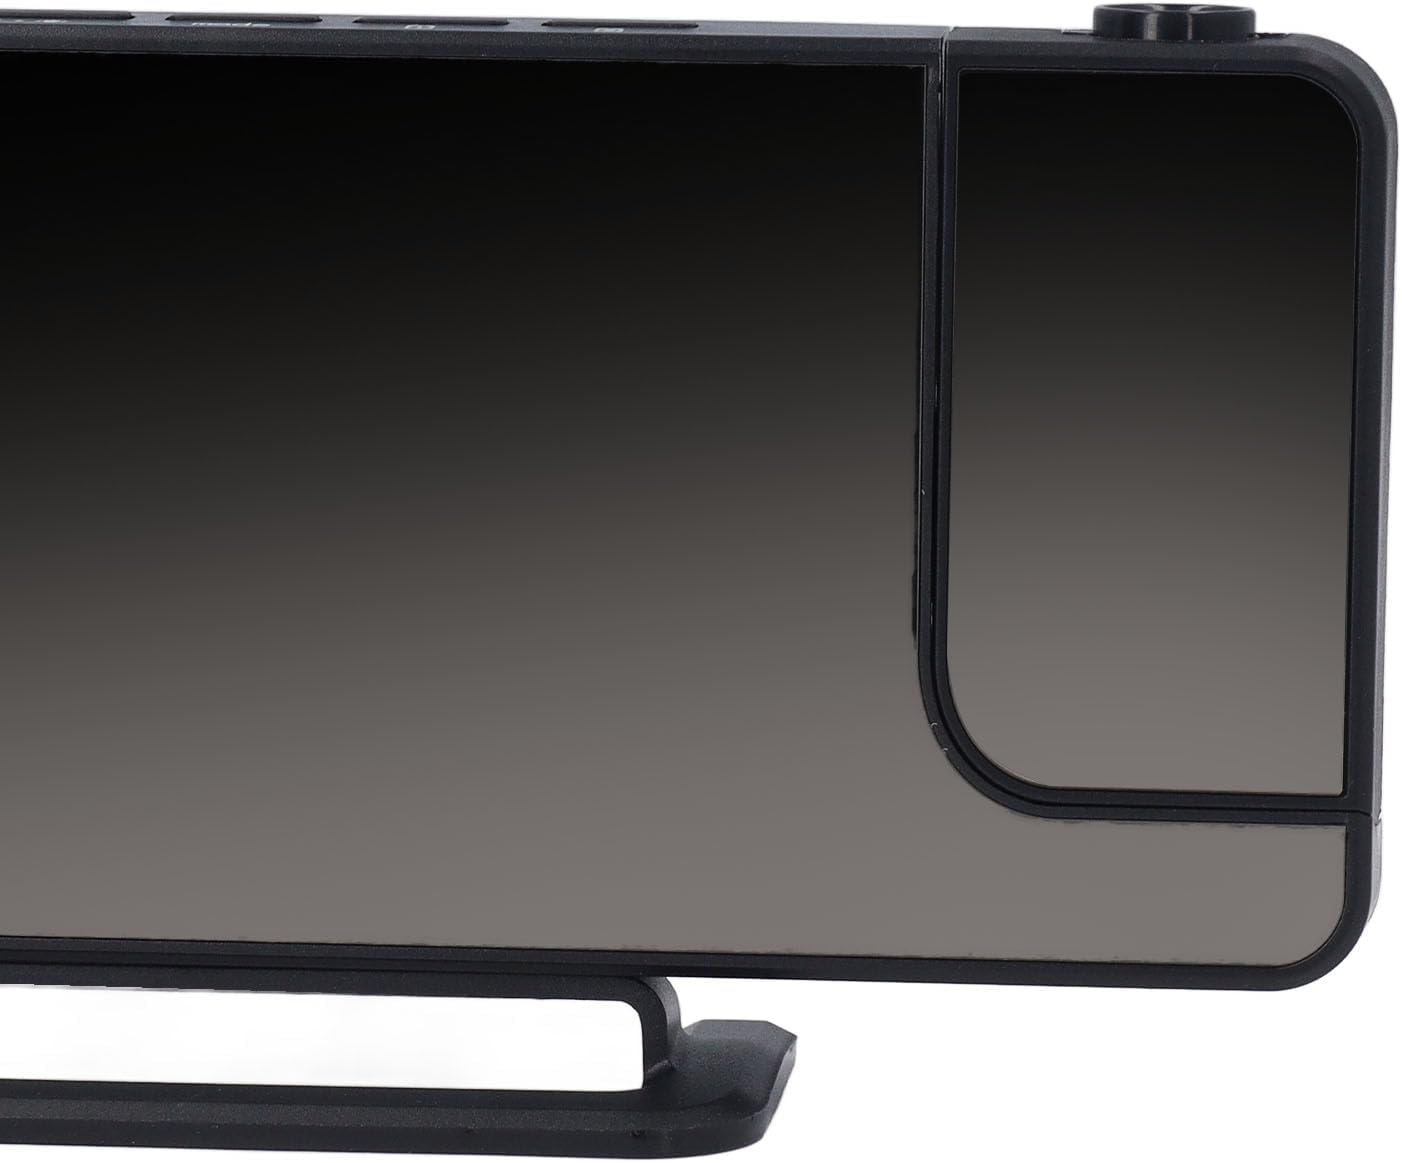
Image: Back view of the alarm clock, showing the USB-C input, USB-A output, and the CR2032 battery compartment.
Key Features:
- 7.4-Inch Mirrored Screen: Large digital display, also functions as a vanity mirror.
- 11 Color RGB Digital Display: 4 dynamic RGB colors and 7 fixed color modes with 6 adjustable brightness levels.
- 180-Degree Rotatable Projector: Projects time onto walls or ceilings.
- Automatic Dimming: Light sensor adjusts display brightness based on ambient light.
- USB-C Charging Port: Includes one USB Type-C and one USB-A output port for charging two devices.
- Dual Time Display Modes: Supports 12-hour and 24-hour formats.
- Snooze Function: Adjustable snooze duration from 5 to 60 minutes.
Setup
1. Power Connection:
- Connect the provided USB-C power cord to the USB-C input port on the back of the alarm clock.
- Plug the other end of the power cord into a standard USB power adapter (not included) or a powered USB port.
- The display will light up, indicating the clock is powered on.
2. Battery Installation (Memory Function):
The clock uses a CR2032 button battery (not included) for memory function only. This battery preserves time and settings during a power outage, preventing the need to reset the clock when external power is restored.
- Locate the battery compartment on the back of the alarm clock.
- Open the compartment cover.
- Insert one CR2032 button battery with the positive (+) side facing up.
- Close the battery compartment cover securely.

Image: The back of the alarm clock, showing the location of the battery compartment for the CR2032 memory battery.
Operating Instructions
1. Setting Time:
- Press and hold the MODE button (usually labeled 'mode' or similar) to enter time setting mode. The hour digits will flash.
- Use the UP and DOWN/RGB buttons to adjust the hour.
- Press MODE again to switch to minute setting. The minute digits will flash.
- Use the UP and DOWN/RGB buttons to adjust the minutes.
- Press MODE a third time to confirm and exit time setting.
2. 12/24 Hour Format:
While in normal time display mode, press the MODE button briefly to toggle between 12-hour and 24-hour formats.
3. Setting Alarms (AL1 & AL2):
This clock supports two independent alarms, AL1 and AL2.
- Press the ALARM 1 button (often indicated by an alarm icon) to view AL1. Press and hold it to enter AL1 setting mode. The hour digits will flash.
- Use the UP and DOWN/RGB buttons to adjust the alarm hour.
- Press ALARM 1 again to switch to minute setting. The minute digits will flash.
- Use the UP and DOWN/RGB buttons to adjust the alarm minutes.
- Press ALARM 1 a third time to confirm and activate AL1. An alarm icon will appear on the display.
- Repeat the process for ALARM 2 using its dedicated button.
To deactivate an alarm, press its respective alarm button until the alarm icon disappears from the display.
4. Snooze Function:
When an alarm sounds, press the SNOOZE/Zz button to temporarily silence it. The alarm will sound again after the preset snooze duration (default 5 minutes, adjustable up to 60 minutes). To turn off the alarm completely, press any other button.
To adjust snooze duration: While in normal time display, press and hold the SNOOZE/Zz button. Use UP or DOWN/RGB to set the desired snooze time (5-60 minutes). Press SNOOZE/Zz again to confirm.
5. Projection Function:

Image: The alarm clock projecting the time onto a surface, demonstrating its projection feature.
- Press the PROJECT button to turn the time projection ON/OFF.
- Rotate the projector lens (located on the side) 180 degrees to adjust the projection angle and direction.
- Adjust the focus ring around the projector lens to sharpen the projected image.
6. Display Brightness and Auto Dimming:
- Manual Brightness: In normal time display mode, press the UP button repeatedly to cycle through 6 levels of display brightness.
- Automatic Dimming: The clock features an auto light sensor. To activate, ensure the auto-dimming icon (often a sun symbol) is visible on the display. The clock will automatically adjust its brightness based on ambient light conditions. The brighter the room, the brighter the display; the darker the room, the dimmer the display.
7. RGB LED Display Colors:
The clock offers 11 color options for the digital display.
- In normal time display mode, press the DOWN/RGB button repeatedly to cycle through 7 fixed color modes and 4 dynamic RGB color changing modes.
- Select your preferred color or dynamic mode.

Image: The alarm clock displaying time with vibrant RGB colors, showcasing the customizable display options.
8. USB Charging Ports:
The clock is equipped with one USB Type-C and one USB-A output port for charging external devices.
- Connect your device's charging cable to either the USB Type-C or USB-A output port on the back of the alarm clock.
- Ensure the alarm clock is powered via its main USB-C input for the charging ports to function.
Maintenance
- Cleaning: Wipe the clock's surface with a soft, dry cloth. For stubborn marks, slightly dampen the cloth with water. Do not use abrasive cleaners or solvents.
- Dust: Regularly dust the projector lens and display screen to maintain clear visibility.
- Storage: If storing the clock for an extended period, disconnect it from power and remove the CR2032 memory battery.
Troubleshooting
| Problem | Possible Cause | Solution |
|---|---|---|
| Clock display is off. | No power connection. | Ensure the USB-C power cord is securely connected to the clock and a working power source. |
| Time/settings reset after power outage. | CR2032 memory battery is missing or depleted. | Install a new CR2032 button battery (not included) or replace the existing one. |
| Projection is blurry. | Projection focus needs adjustment. | Rotate the focus ring around the projector lens until the image is clear. |
| Projection is upside down or sideways. | Projection angle needs adjustment. | Rotate the projector lens 180 degrees to correct the orientation. |
| USB charging ports not working. | Clock not connected to main power. | Ensure the alarm clock is powered via its USB-C input. |
| Display is too dim/bright. | Manual brightness setting or auto-dimming active. | Press the UP button to adjust manual brightness. Check if auto-dimming is enabled and if ambient light conditions are affecting it. |
Specifications
| Model Number | TS-9210 (Focketywx8vbnpizq-12) |
| Brand | Fockety |
| Display Type | Digital LED (RGB) |
| Screen Size | 7.4 inches |
| Power Supply | Type-C DC 5V (main power) |
| Memory Battery | 1 x CR2032 Button Battery (not included) |
| USB Output Ports | 1 x USB Type-C, 1 x USB Type-A |
| Projection | 180-degree rotatable |
| Dimensions (Approx.) | 10W x 5H Centimetres |
Warranty and Support
For warranty information or technical support, please refer to the retailer's return policy or contact Fockety customer service through your purchase platform. Keep your purchase receipt for any warranty claims.
Ask a question about this manual
Ask about setup, troubleshooting, compatibility, parts, safety, or missing instructions. Manuals+ will review the question and use this page’s manual context to help answer it.