1. Product Overview
The XElectron UST 01 is an Ultra Short Throw Laser Portable Smart Projector designed to deliver high-quality visuals and a comprehensive entertainment experience. Featuring advanced laser technology, it provides exceptional color accuracy and brightness, suitable for various environments from home cinema to business presentations.
1.1 Package Contents
Upon unpacking, ensure all items listed below are present:
- XElectron UST 01 Projector
- Remote Control
- Power Adapter
- User Manual (this document)
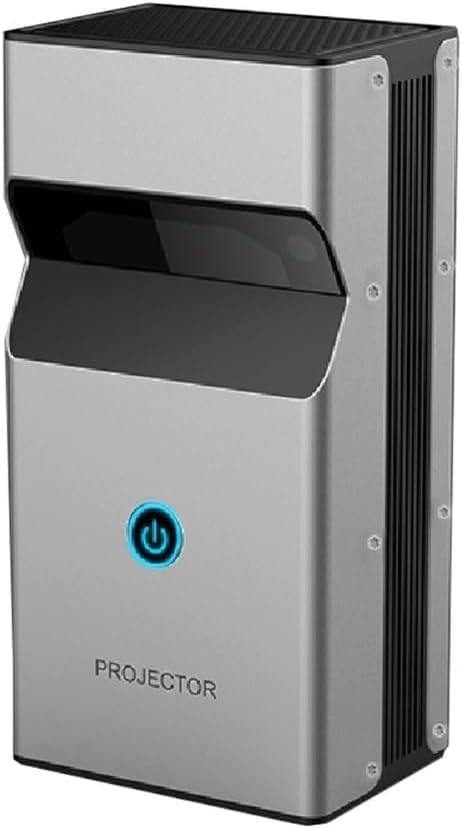
Image 1.1: Front view of the XElectron UST 01 Projector, showcasing its compact design and power button.
2. Setup Guide
2.1 Placement
As an Ultra Short Throw (UST) projector, the UST 01 is designed to project a large image from a very short distance. Place the projector on a flat, stable surface directly in front of the projection screen or wall. Ensure there are no obstructions between the projector lens and the projection surface.

Image 2.1: This diagram illustrates the short projection distances required for various screen sizes (30" to 200") with the XElectron UST 01 projector.
2.2 Power Connection
- Connect the power adapter to the projector's power input port.
- Plug the power adapter into a suitable electrical outlet.
- Press the power button on the projector or remote control to turn on the device.
2.3 Initial Setup and Adjustment
The projector features automatic focus and keystone correction for a quick and clear setup.
- Auto Focus: The projector will automatically adjust the image clarity upon startup or movement.
- Auto Keystone Correction: The projector will automatically correct the image shape to be rectangular, even if placed at an angle.

Image 2.2: This image demonstrates the projector's automatic keystone correction and auto-focus features, ensuring a perfectly aligned and sharp image.
2.4 Network Connection (Wi-Fi)
To access smart features and streaming content, connect the projector to a Wi-Fi network:
- Navigate to the 'Settings' menu on the projector's interface.
- Select 'Network & Internet'.
- Turn on Wi-Fi and select your desired network from the list.
- Enter the password if prompted and connect.
2.5 Bluetooth Pairing
Pair Bluetooth devices like external speakers or headphones:
- Go to 'Settings' and select 'Connected Devices'.
- Turn on Bluetooth and put your device into pairing mode.
- Select your device from the list to pair.
3. Operating Instructions
3.1 Remote Control Functions
The included remote control allows for navigation and control of the projector's features. Familiarize yourself with the buttons for power, navigation, volume, input selection, and menu access.
3.2 Android TV Interface
The projector runs on Android TV, providing access to various streaming applications and content. Use the remote control to navigate through the home screen, launch apps, and manage settings.

Image 3.1: A visual representation of the Android TV interface, displaying various streaming apps and system information, including the projector's specifications.
3.3 Connecting External Devices
The projector supports multiple connectivity options:
- HDMI: Connect Blu-ray players, gaming consoles, or laptops using an HDMI cable. Select the corresponding HDMI input from the source menu.
- USB: Plug in USB drives to play media files directly. Access content through the 'File Manager' app.
- 3.5mm Audio Jack: Connect external wired audio devices.
3.4 Screen Mirroring (Wireless Display)
Mirror content from your Android or iOS device wirelessly:
- Ensure both your mobile device and the projector are connected to the same Wi-Fi network.
- On the projector, select the 'Screen Mirroring' or 'Wireless Display' option.
- On your mobile device, activate its screen mirroring feature (e.g., 'Smart View' on Android, 'Screen Mirroring' on iOS).
- Select the projector from the list of available devices.

Image 3.2: This image illustrates the wireless display feature, showing content from a smartphone being mirrored onto the large projected screen for group viewing.
3.5 3D Functionality
The projector supports 3D content. To experience 3D visuals, you will need compatible 3D glasses (sold separately) and 3D-enabled media.
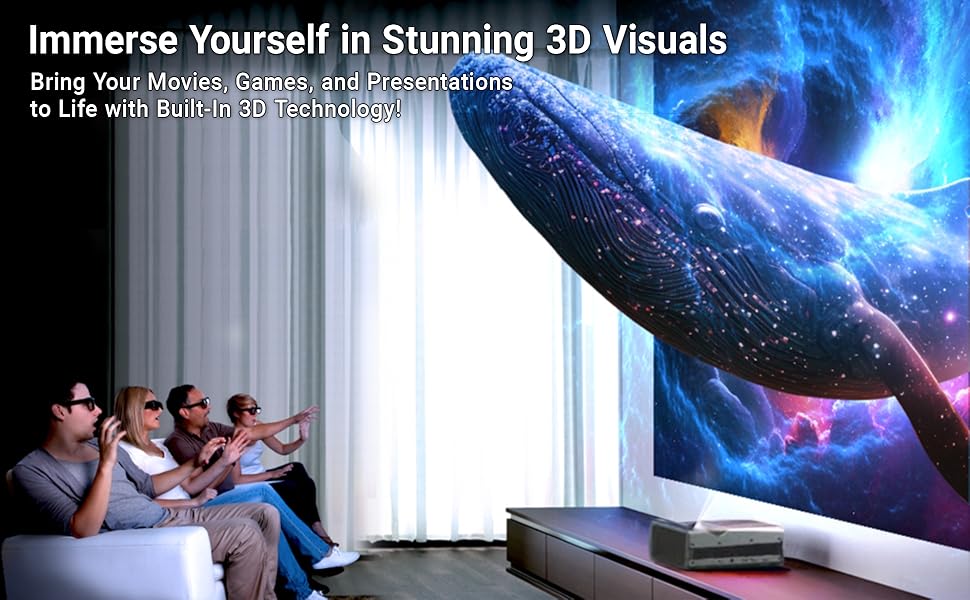
Image 3.3: Viewers wearing 3D glasses are immersed in a large, vibrant 3D projection, highlighting the projector's built-in 3D capabilities.
3.6 Audio Settings (Dolby Audio)
The projector features integrated Dolby Audio for enhanced sound quality. You can adjust audio settings through the 'Sound' menu in 'Settings'. For an even more immersive experience, connect external Dolby Audio compatible sound systems via Bluetooth or the 3.5mm audio jack.
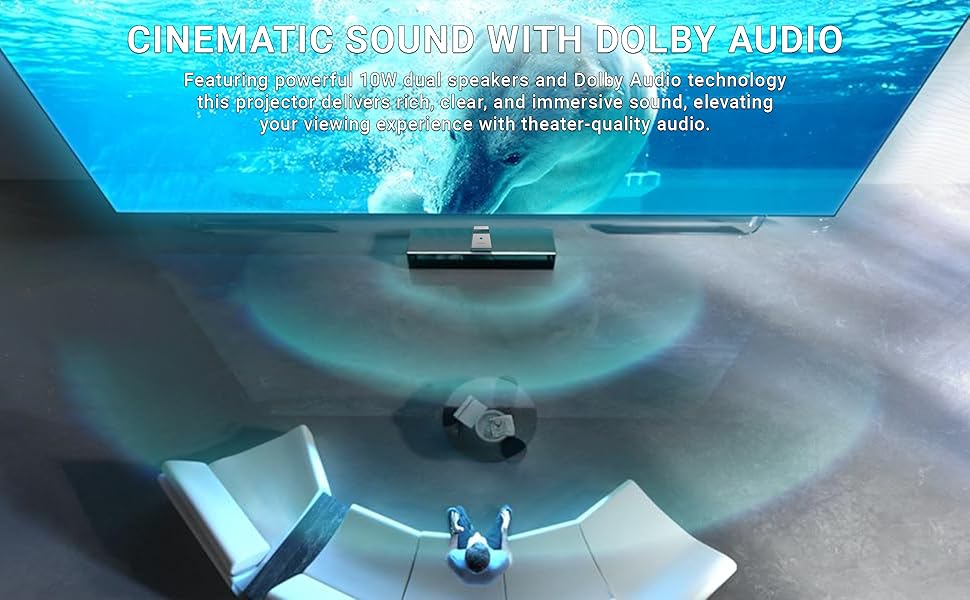
Image 3.4: This image visually represents the cinematic sound experience provided by the projector's Dolby Audio technology, with sound waves emanating from the device.
4. Maintenance
4.1 Cleaning
To maintain optimal performance and image quality:
- Lens: Gently wipe the projector lens with a soft, lint-free cloth specifically designed for optical surfaces. Do not use abrasive cleaners or excessive force.
- Exterior: Clean the projector's exterior with a soft, dry cloth. Avoid using liquid cleaners directly on the device.
- Ventilation: Ensure the ventilation ports are clear of dust and debris to prevent overheating.
4.2 Storage
When not in use for extended periods, store the projector in a cool, dry place, away from direct sunlight and extreme temperatures. Use the original packaging or a protective case to prevent dust accumulation and physical damage.
4.3 Laser Lifespan
The XElectron UST 01 projector utilizes a laser light source with an impressive lifespan of approximately 20,000 hours, ensuring long-lasting performance without the need for frequent lamp replacements.
5. Troubleshooting
If you encounter issues with your projector, refer to the following common problems and solutions:
- No Power:
- Ensure the power adapter is securely connected to both the projector and the electrical outlet.
- Verify the power outlet is functional.
- No Image:
- Check if the correct input source (e.g., HDMI, USB) is selected.
- Ensure the lens cap is removed.
- Verify the connected device is powered on and outputting a signal.
- Blurry Image:
- Allow the auto-focus feature to complete its adjustment.
- Ensure the projection surface is flat and the projector is stable.
- No Sound:
- Check the volume level on both the projector and the connected source device.
- If using external speakers, ensure they are properly connected and powered on.
- Verify audio output settings in the projector's menu.
- Wi-Fi/Bluetooth Connectivity Issues:
- Restart the projector and your router/Bluetooth device.
- Ensure the projector is within range of the Wi-Fi network or Bluetooth device.
- Check network settings and passwords.
If the problem persists after attempting these solutions, please contact XElectron customer support.
6. Specifications
| Feature | Specification |
|---|---|
| Brand | X Electron |
| Model | UST01 |
| Display Resolution | 1920 x 1080p (Native), 4K Support |
| Brightness | 12500 Lumens |
| Dynamic Contrast Ratio | 10000:1 |
| RAM | 2GB |
| Internal Memory (ROM) | 32GB |
| Operating System | Android TV |
| Connectivity Technology | Wi-Fi (Dual Band 2.4G/5G AC), Bluetooth 5.0, HDMI, USB, 3.5mm Jack |
| Special Features | Auto Focus, Auto Keystone Correction, Built-In 3D, Portable, Ultra Short Throw |
| Light Source Lifespan | 20,000 hours |
| Product Dimensions | 3.8 x 2.8 x 7.5 inches |
| Item Weight | 1.63 pounds |
7. Warranty and Support
7.1 Warranty Information
The XElectron UST 01 projector comes with a 1-year warranty provided by XElectron, effective from the date of purchase. This warranty covers manufacturing defects and ensures reliable performance of your device. Please retain your proof of purchase for warranty claims.
7.2 Customer Support
For technical assistance, troubleshooting, or warranty inquiries, please contact XElectron customer support. Refer to the contact information provided on the XElectron official website or your purchase documentation. XElectron has over 11 years of experience in the industry, committed to providing support for their products.


