1. Important Safety Information
Read all instructions carefully before using the appliance. Keep this manual for future reference. Failure to follow these instructions may result in electric shock, fire, or serious injury.
- Electrical Safety: Ensure the washing machine is connected to a properly grounded electrical outlet. Do not use extension cords or adapters. Disconnect power before cleaning or servicing.
- Water Connections: Use new inlet hoses provided with the appliance. Do not reuse old hoses. Ensure all connections are tight to prevent leaks.
- Child Safety: Keep children away from the washing machine during operation. Do not allow children to play on or in the appliance. Activate the child lock feature if available.
- Installation Environment: Install the machine on a firm, level surface. Do not install in areas exposed to freezing temperatures or direct sunlight. Ensure adequate ventilation around the appliance.
- Flammable Materials: Do not wash items that have been soiled with flammable substances (e.g., gasoline, oil, wax).
2. Product Overview
The Voltas Beko 11 Kg Fully-Automatic Top Loading Washing Machine is designed for efficient and convenient laundry care. It features an inbuilt heater for enhanced cleaning and various technologies for optimal performance.

Front view of the Voltas Beko 11 Kg Top Load Washing Machine, showcasing its dark grey finish and control panel.
Key Features:
- 11 Kg Capacity: Suitable for large families.
- 5 Star Energy Rating: High energy efficiency for reduced power consumption.
- Inbuilt Heater: Provides hot water for effective stain removal and hygienic washing.
- Double Waterfall Technology: Ensures effective mixing of detergent for thorough cleaning.
- PureStream Pulsator: Designed to remove tough stains easily.
- Soft Closing Lid: Hydraulic mechanism for gentle and silent lid operation.
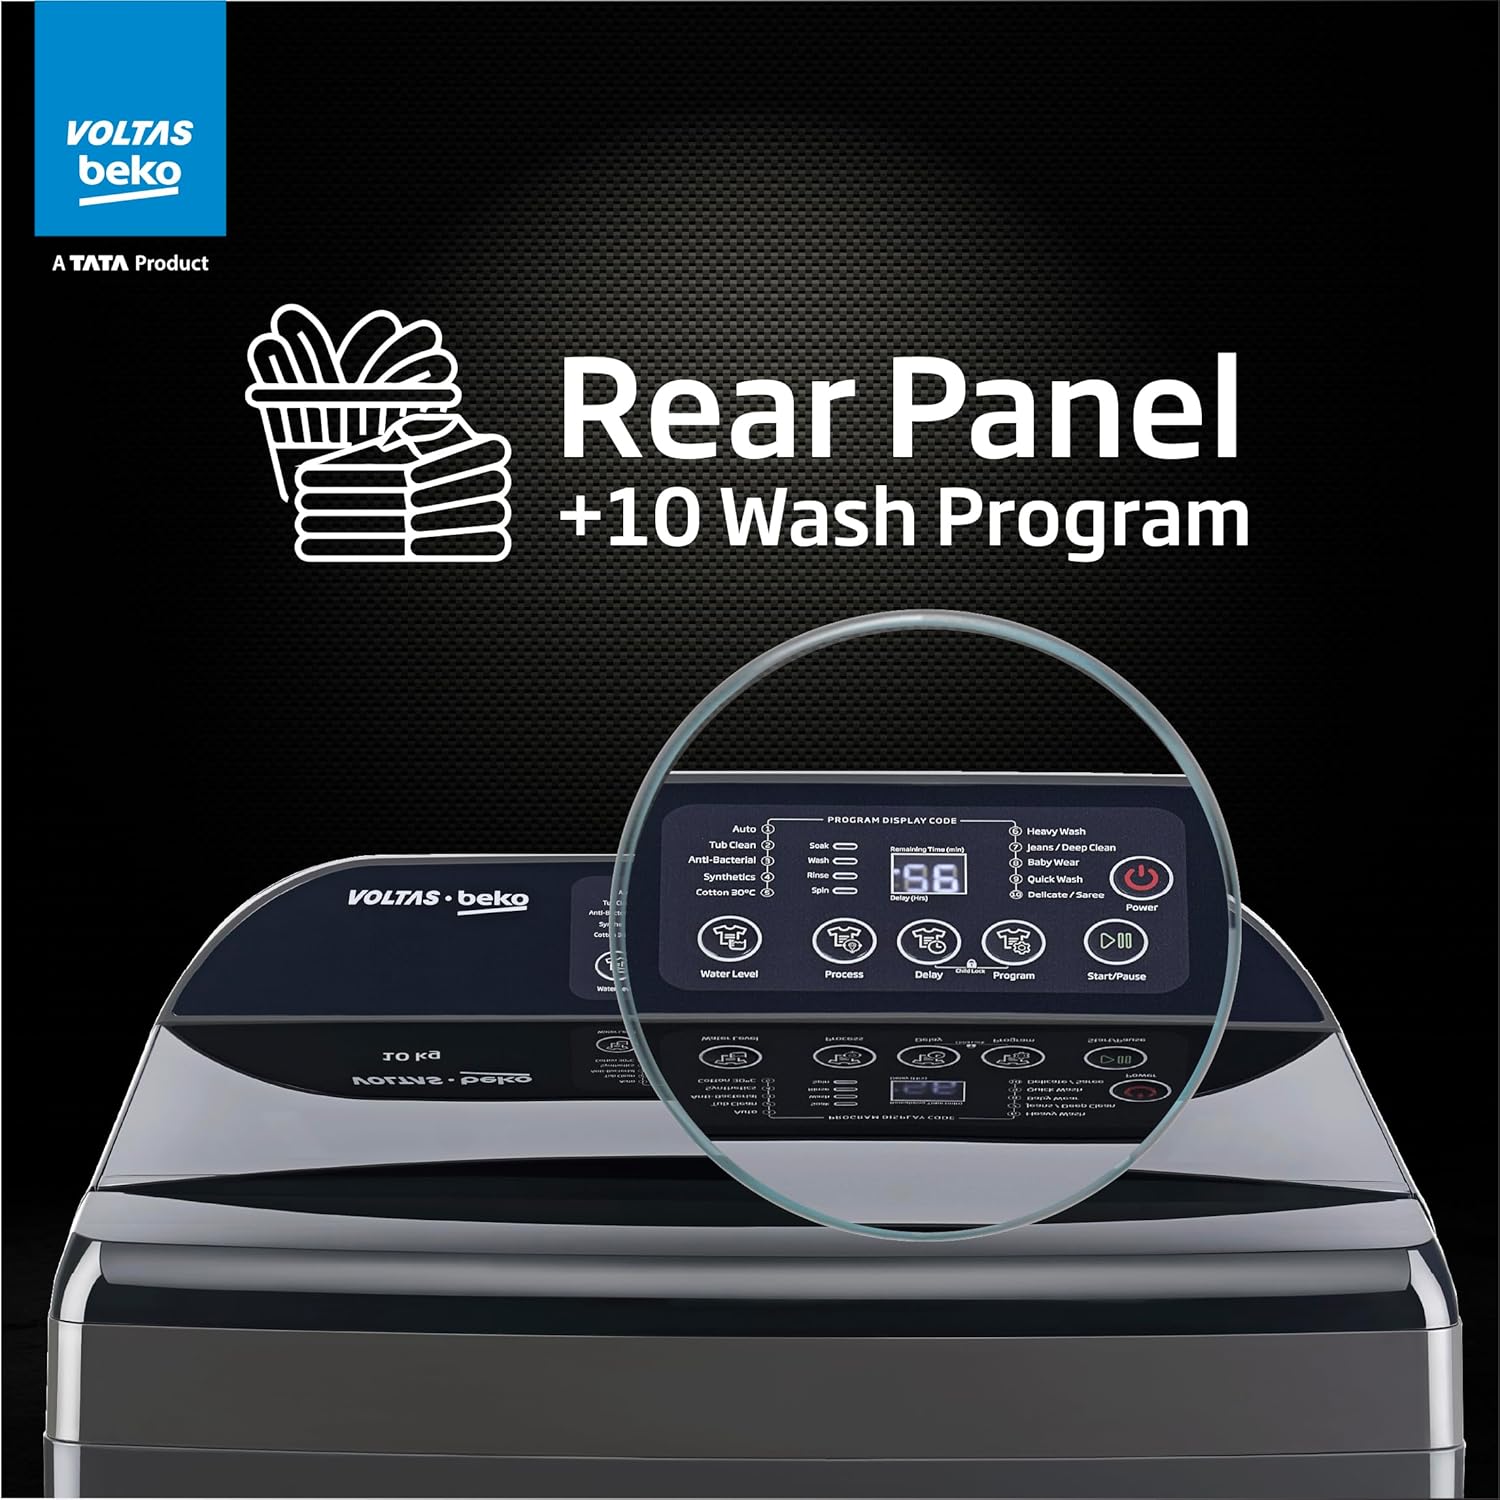
- Rear Control Panel: Offers convenience, durability, and splash resistance.
- 10 Wash Programs: Customized settings for various fabric types and laundry needs.
- Toughened Glass Lid: Durable lid for better visibility during the wash cycle.
- Ideal Zero Pressure Technology: Washes efficiently even with low water flow (0.03MPa).
- Dual Magic Filter: Efficiently collects threads, lint, and buttons from the water.
- Auto Balance Detection: Helps in leveling the machine properly for stable operation.
- Rat Mesh Protection: Protects the machine from rodents.
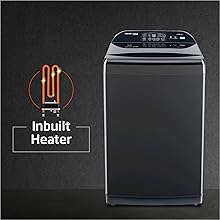
Illustration of the Inbuilt Heater, a key feature for enhanced washing performance.
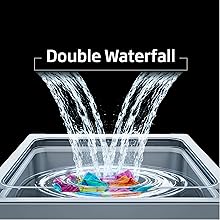
Visual representation of the Double Waterfall technology, ensuring effective detergent mixing.
3. What's in the Box
Carefully unpack your washing machine and check for the following components:
- 1 N Washing Machine
- 1 N Rat Mesh
- 1 N Inlet Hose
- 1 N Drain Hose with Clamp
4. Installation and Setup
Proper installation is crucial for the safe and efficient operation of your washing machine. Follow these steps carefully.
4.1 Placement
- Place the machine on a solid, level floor. Uneven surfaces can cause vibration and noise.
- Ensure there is sufficient space around the machine for ventilation and maintenance.
- Avoid placing the machine in direct sunlight or in damp areas.
4.2 Water Connection
- Connect the inlet hose to the water tap and the inlet valve on the back of the washing machine.
- Ensure the connections are tight to prevent leaks.
- Open the water tap fully to allow water flow.
4.3 Drainage
- Attach the drain hose to the drain outlet at the rear of the machine.
- Secure the drain hose to a standpipe or laundry tub, ensuring it is not kinked or blocked. The end of the drain hose should be positioned at a height between 60 cm and 100 cm from the floor.
4.4 Power Connection
- Plug the power cord into a grounded electrical outlet.
- Ensure the voltage matches the specifications of the washing machine (230 Volts).
4.5 Rat Mesh Installation
Install the provided rat mesh at the bottom of the washing machine to prevent rodents from entering the appliance.
Rear view of the washing machine highlighting the durable body and the area for rat mesh installation.
5. Operating Instructions
This section guides you through the basic operation of your Voltas Beko washing machine.
5.1 Control Panel Overview
The control panel features an LED digital display and push buttons for program selection and settings.

Close-up view of the rear control panel with its LED display and various wash program options.
5.2 Loading Laundry
- Open the soft-closing lid.
- Load clothes loosely into the drum, ensuring not to overload.
- Close the lid gently.
5.3 Adding Detergent and Softener
Use the dedicated detergent and softener drawer for precise dispensing.

View of the detergent and softener drawer, along with the dual magic filter and stainless steel drum.
- Pull out the detergent and softener drawer.
- Add the recommended amount of detergent to the detergent compartment.
- Add fabric softener to the softener compartment (if desired).
- Push the drawer back in gently.
5.4 Selecting a Wash Program
- Press the Power button to turn on the machine.
- Use the Program selection buttons to choose the desired wash program. The selected program will be indicated on the LED display.
- Adjust additional settings like Water Level or Delay End if needed.
5.5 Starting a Wash Cycle
- Once the program and settings are selected, press the Start/Pause button to begin the wash cycle.
- The machine will automatically fill with water and proceed with the selected program.
5.6 Special Functions
- Delay Start: Allows you to set a delayed start time for the wash cycle.
- Drum Clean: A dedicated program for cleaning the washing machine drum.
- Inbuilt Heater: Automatically activates for programs requiring hot water, ensuring hygienic cleaning.
6. Wash Programs
Your washing machine offers 10 distinct wash programs to cater to various fabric types and cleaning needs:
| Program | Description |
|---|---|
| Auto | Automatically detects load size and adjusts wash settings. |
| Tub Clean | Self-cleaning cycle for the washing machine drum. |
| Anti Bacterial | Uses higher temperatures to eliminate bacteria from clothes. |
| Synthetics | Gentle wash for synthetic fabrics. |
| Cotton 30'c | Standard wash for cotton items at 30 degrees Celsius. |
| Heavy Wash | Intensive wash for heavily soiled items. |
| Jeans/Deep Clean | Designed for denim and deeply soiled garments. |
| Baby Wear | Hygienic and gentle wash for baby clothes. |
| Quick Wash | Short cycle for lightly soiled items or small loads. |
| Delicate/Saree | Extra gentle wash for delicate fabrics like sarees. |
7. Maintenance
Regular maintenance ensures the longevity and optimal performance of your washing machine.
7.1 Cleaning the Magic Filter
The Dual Magic Filter collects lint and debris during the wash cycle and should be cleaned regularly.

Detailed view of the Magic Filter, designed to efficiently collect lint and debris.
- Open the lid and locate the Magic Filter inside the drum.
- Remove the filter by pulling it upwards or unlatching it.
- Open the filter and remove any collected lint or debris.
- Rinse the filter under running water.
- Reinsert the clean filter back into its position until it clicks.
7.2 Cleaning the Drum (Tub Clean)
Use the dedicated 'Tub Clean' program periodically to clean the inner drum and remove detergent residue or odors.
- Ensure the drum is empty.
- Select the 'Tub Clean' program from the control panel.
- Start the cycle. No detergent is typically needed for this cycle, but refer to specific instructions on the control panel or a more detailed manual if available.
7.3 Exterior Cleaning
- Wipe the exterior surfaces with a soft, damp cloth.
- Do not use abrasive cleaners or solvents.
8. Troubleshooting
If you encounter any issues with your washing machine, refer to the table below for common problems and solutions.
| Problem | Possible Cause | Solution |
|---|---|---|
| Machine does not start | Power cord unplugged, lid not closed, water supply off. | Check power connection, ensure lid is fully closed, check water tap. |
| No water filling | Water tap closed, inlet hose kinked, water pressure too low. | Open water tap, straighten hose, check household water pressure. |
| Water not draining | Drain hose kinked or blocked, filter clogged. | Check and clear drain hose, clean Magic Filter. |
| Excessive vibration/noise | Machine not level, transport bolts not removed, uneven load. | Adjust leveling feet, ensure transport bolts are removed (if applicable), redistribute laundry evenly. |
| Error code on display | Specific malfunction. | Refer to the full user manual for specific error code meanings or contact customer support. |
If the problem persists after attempting these solutions, please contact customer support.
9. Specifications
Detailed technical specifications for the Voltas Beko 11 Kg Top Loading Washing Machine.
| Feature | Specification |
|---|---|
| Model Number | WTL1106UEAH / OBS3060 |
| Capacity | 11 Kilograms |
| Colour | Dark Grey |
| Product Dimensions (D x W x H) | 62D x 60.5W x 106H Centimeters |
| Item Weight | 40300 Grams |
| Maximum Rotational Speed | 700 RPM |
| Voltage | 230 Volts |
| Wattage | 1500 Watts |
| Annual Energy Consumption | 29.28 Kilowatt Hours Per Year |
| Energy Star Rating | 5 Star |
| Drum Material | Stainless Steel Gentle Wave Drum |
| Number of Washing Cycles | 10 |
| Access Location | Top Load |
| Controls Type | Push Button |
| Special Features | Delay Start, Drum Clean, Inbuilt Heater, LED Display |

The washing machine displaying its dimensions and the 5-star power savings guide.
10. Warranty and Support
Your Voltas Beko washing machine comes with a comprehensive warranty and dedicated customer support.
10.1 Warranty Information
- Product Warranty: 1 Year on the entire product.
- Motor Warranty: 5 Years on the motor (Terms & Conditions Apply).
- To avail warranty services, please provide the product's model name and seller's details from your invoice.
10.2 Customer Support
For any queries, assistance, or service requests, please contact Voltas Beko customer support:
- Telephone: 9818994444 / 18605994444
- WhatsApp: 9818994444
- E-mail ID: wecare@voltasbeko.com
- Manufacturer Address: Voltbek Home Appliances Pvt. Ltd., Voltas House A, Chinchpokli, Mumbai - 400033.
The brand's service center will schedule a convenient slot for your service request.