1. Introduction
This manual provides essential instructions for the assembly, operation, and maintenance of your Wauvmoss Mini V8 Engine Kit, Model V8 I. This kit is designed for enthusiasts aged 14 and up, offering a detailed and functional V8 engine model experience.
1.1 Product Overview
The Wauvmoss Mini V8 Engine Kit is a highly detailed, functional V8 engine model. Unlike static models, this kit is designed to run when powered, allowing for a unique insight into the mechanics of a V8 engine. It features a full bearing structure for stability and reliability, and its miniature size makes it an excellent display piece.
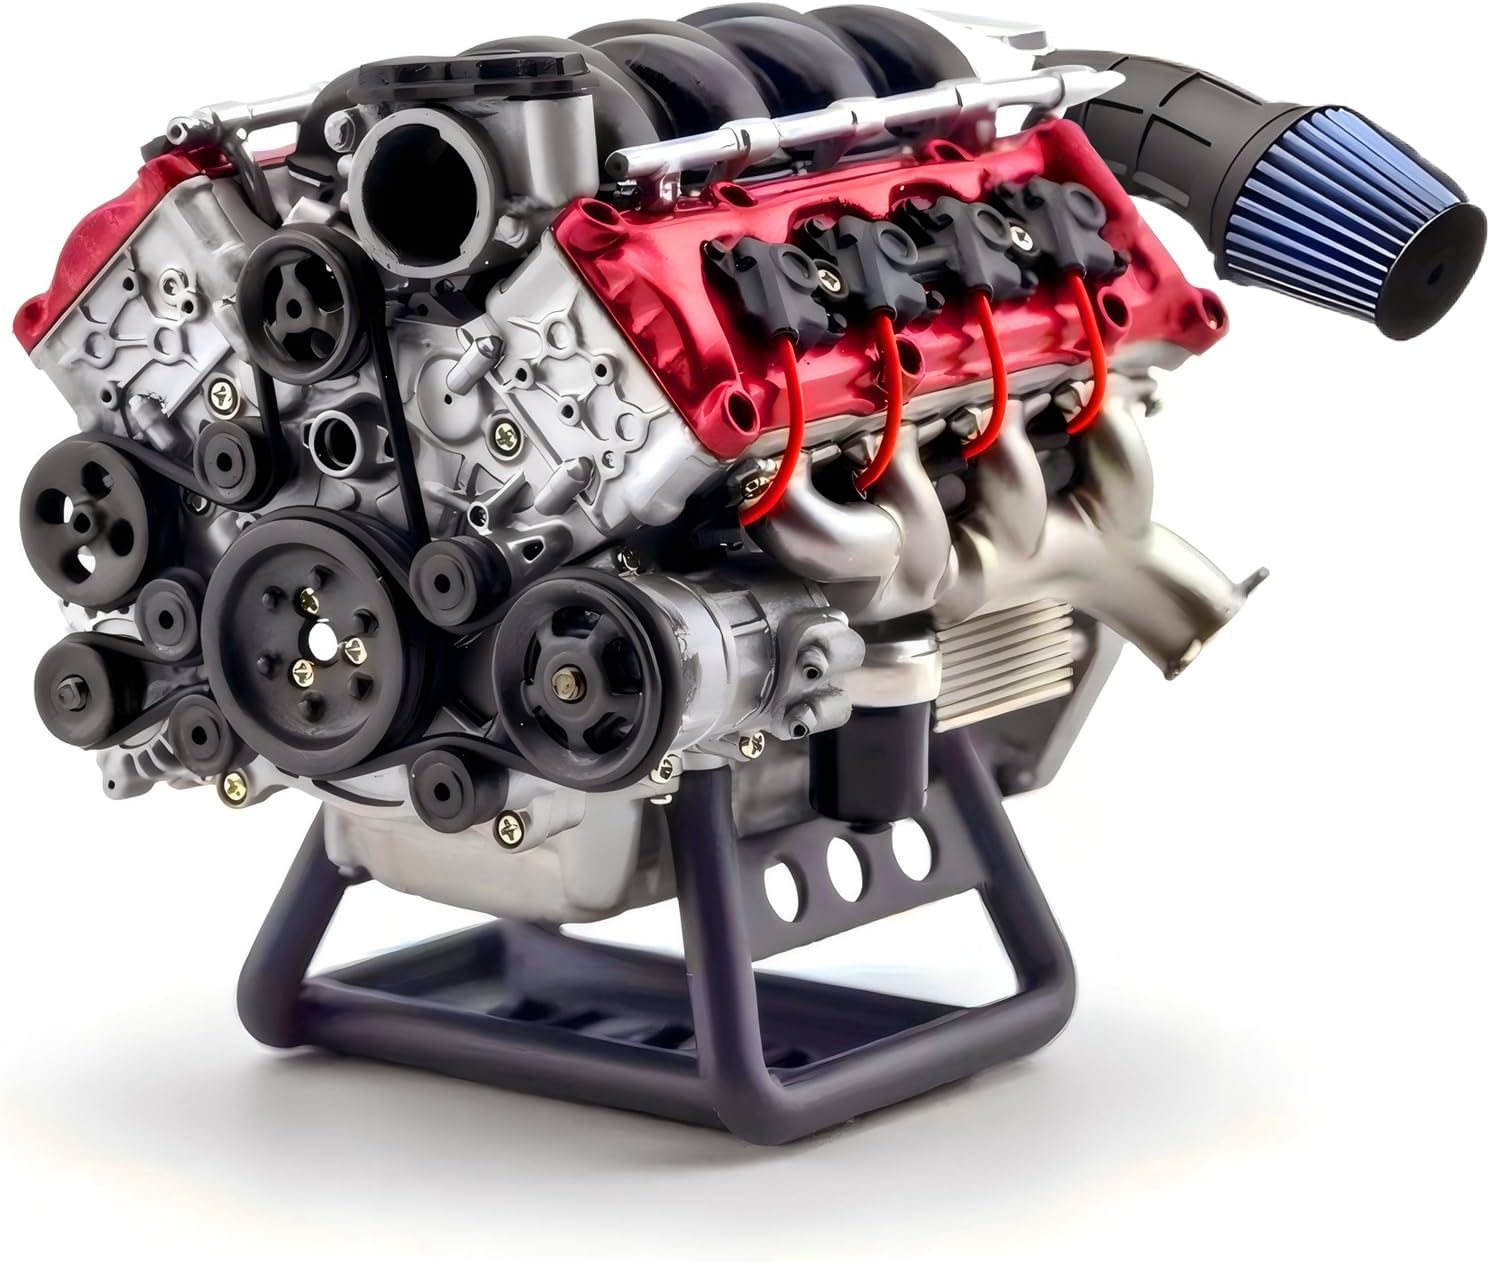
Image 1.1: Fully assembled Wauvmoss Mini V8 Engine Kit, Model V8 I, displayed on its stand.
1.2 What's in the Box
The Wauvmoss Mini V8 Engine Kit includes various electronic and mechanical components necessary for assembly. Please verify all parts are present upon opening the package.
- Electronic Components
- 3D printed resin model parts (non-metallic)
- Assembly instructions (typically provided via USB flash drive or online QR code)
Note: The engine stand is not included and must be acquired separately if desired for display or specific RC model integration. Batteries are also not included.
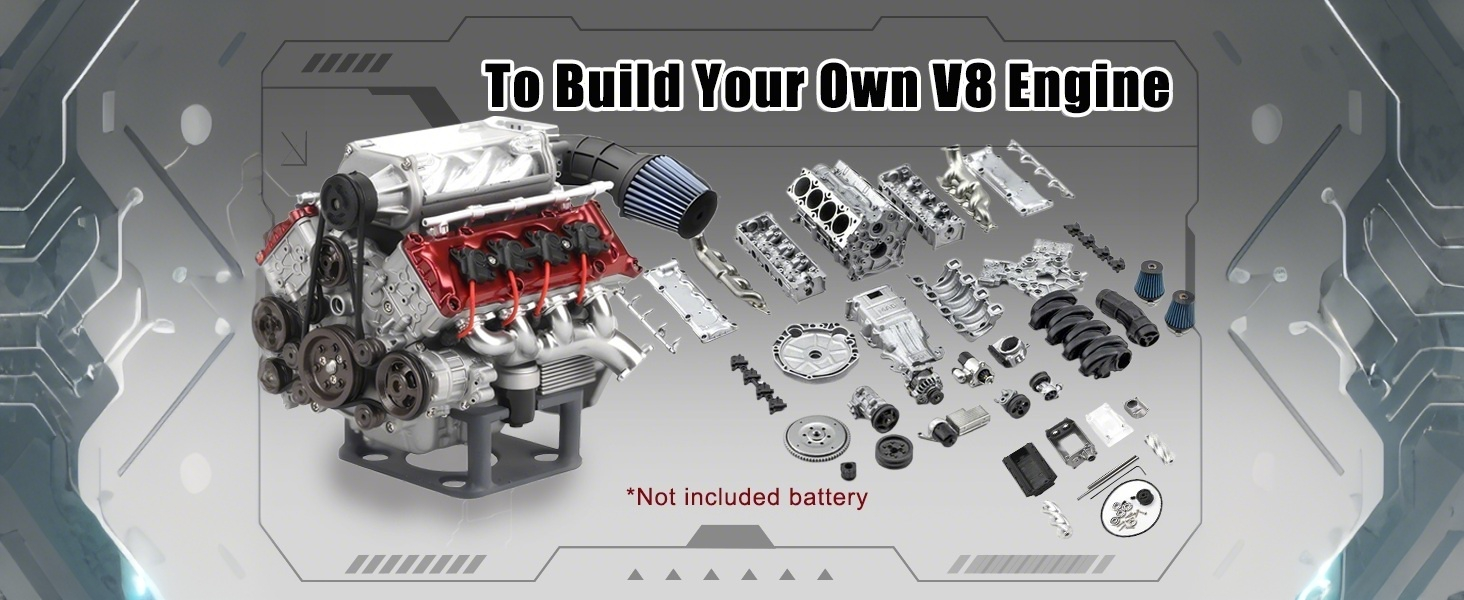
Image 1.2: Exploded view illustrating the various components of the V8 Engine Kit.
2. Safety Information
Please read and understand all safety information before assembling or operating the product.
- Small Parts: This kit contains small parts which may pose a choking hazard. Keep all components away from young children.
- Fragile Components: The engine is constructed from XLA high-precision 3D printed resin. Parts are delicate and fragile. Handle with extreme care during assembly and use to prevent breakage.
- Assembly Tools: Use appropriate tools (e.g., tweezers, small screwdrivers) carefully to avoid injury or damage to components.
- Power Source: Ensure the power source used for operation meets the specified requirements for the electronic components.
3. Assembly Instructions
The Wauvmoss Mini V8 Engine Kit requires DIY assembly. Approximately 95% of the parts are pre-painted, with the remaining 5% requiring finishing. Detailed step-by-step instructions are typically provided digitally (e.g., via a QR code or USB flash drive included in the package). It is crucial to follow these specific instructions for successful assembly.
3.1 Preparation
- Workspace: Prepare a clean, well-lit, and organized workspace.
- Tools: Gather necessary tools, which may include:
- Fine-tip tweezers
- Small Phillips head screwdriver
- Model adhesive (e.g., Loctite, if recommended in specific instructions)
- Small cutting pliers (for sprue removal, if applicable)
- Instructions: Access the digital assembly manual. Review all steps before beginning.
3.2 Assembly Process
Follow the digital instructions precisely. Pay close attention to the orientation of parts and the sequence of assembly. Due to the delicate nature of the resin components, avoid applying excessive force. If a part does not fit easily, re-check the instructions and ensure correct alignment rather than forcing it.

Image 3.1: Demonstrating careful assembly of the engine components.
The kit is designed to accurately represent the structural principles of a V8 internal combustion engine, including the output flywheel, tiered cylinder head, and power driver board plug connector. Take your time to appreciate the intricate design during assembly.

Image 3.2: Another perspective of the assembly process, highlighting attention to detail.
4. Operating Instructions
Once fully assembled, your Wauvmoss Mini V8 Engine Kit is designed to be functional.
4.1 Powering the Engine
Connect the power driver board plug connector to a suitable power source as indicated in the detailed assembly instructions. Ensure the power source provides the correct voltage and current to avoid damage to the electronic components.
4.2 Initial Operation
Upon applying power, the engine model should begin to run, demonstrating the internal workings of a V8 engine. Observe the movement of the pistons, crankshaft, and other components. If the engine does not run, refer to the Troubleshooting section.
4.3 RC Model Integration
This simulated V8 engine is compatible with various RC models, including AX90104, SCX10, Capra, and VS4-10 Pro/Ultra. Integration typically requires a specific engine stand or mounting solution, which is sold separately. Refer to your RC model's manual and the engine kit's instructions for compatibility and installation details.

Image 4.1: Examples of the V8 engine model integrated into different RC car chassis.
5. Maintenance
Proper maintenance ensures the longevity and optimal performance of your V8 engine model.
- Cleaning: Gently clean the model with a soft, dry cloth. Avoid using harsh chemicals or abrasive materials that could damage the resin or painted surfaces.
- Handling: Always handle the model with care, especially when moving or adjusting it, to prevent stress on the delicate resin parts.
- Storage: Store the model in a cool, dry place away from direct sunlight and extreme temperatures to prevent material degradation.
- Inspection: Periodically inspect for any loose connections or signs of wear. Tighten screws gently if needed, being mindful of the material's fragility.
6. Troubleshooting
If you encounter issues with your Wauvmoss Mini V8 Engine Kit, refer to the following common problems and solutions.
6.1 Engine Does Not Run
- Power Connection: Ensure the power driver board is correctly connected to a compatible power source and that the power source is active.
- Wiring: Check all internal wiring connections for proper seating and continuity.
- Motor Failure: In rare cases, the drive motor may fail. If all connections are correct and power is supplied, and the motor still does not operate, contact customer support.
6.2 Parts Do Not Fit / Break During Assembly
- Review Instructions: Double-check the digital assembly instructions to ensure you are attempting to connect the correct parts in the correct orientation.
- Gentle Force: Remember that components are made of delicate resin. Avoid forcing parts together. If significant pressure is required, re-evaluate the step.
- Modification: Some screw holes or connections may require minor modification (e.g., gentle reaming) if they are slightly undersized. Proceed with caution.
- Damaged Parts: If a part breaks, assess if it can be repaired with model adhesive. For irreparable damage, contact customer support for potential replacement parts.
6.3 General Assembly Difficulties
- Unlabeled Parts: If parts are not clearly labeled, refer to the detailed diagrams in the digital instructions for identification.
- Missing Screws: If specific screws are not included as expected, consult the instructions for recommended specifications and acquire them from a suitable hardware supplier.
7. Specifications
| Feature | Detail |
|---|---|
| Brand | Wauvmoss |
| Model Name | MAD1 (V8 I) |
| Material | Plastic (XLA high-precision 3D printed resin) |
| Product Dimensions (L x W x H) | 0.79 x 1.18 x 0.39 inches (approximate assembled size) |
| Item Weight | 9.1 ounces |
| Recommended Age | 14 years and up |
| Included Components | Electronic Components, 3D printed resin parts |
| Compatibility | RC models such as AX90104, SCX10, Capra, VS4-10 Pro/Ultra |
8. Warranty and Support
For specific warranty information, please refer to the documentation included with your purchase or contact Wauvmoss customer support directly. If you require assistance with assembly, troubleshooting, or have questions about your product, please reach out to the manufacturer's support channels.
Manufacturer: Wauvmoss
Contact: Refer to the contact information provided on the product packaging or the official Wauvmoss website.


