Introduction
This manual provides essential information for the safe and efficient operation of your Rasonic Retro Electric Kettle. Designed with a timeless aesthetic and modern functionality, this 1.8L stainless steel kettle features rapid boiling, a precise temperature gauge, and advanced safety mechanisms.
Important Safety Instructions
- Read all instructions before use.
- Do not immerse the kettle, power base, or power cord in water or other liquids.
- Ensure the kettle is placed on a stable, flat, heat-resistant surface away from the edge of the countertop.
- Do not operate the kettle if the power cord or plug is damaged.
- Always ensure the lid is securely closed before operating.
- Do not fill above the maximum fill line or below the minimum fill line.
- Unplug from the outlet when not in use and before cleaning. Allow to cool before putting on or taking off parts, and before cleaning the appliance.
- This appliance is for household use only.
Product Overview
The Rasonic Retro Electric Kettle combines elegant design with practical features for your daily hot water needs.
- 1.8L Large Capacity: Ideal for multiple servings of tea, coffee, or instant meals.
- 1500W Fast Quiet Boil: Quickly heats water with minimal noise.
- Temperature Gauge: Monitor water temperature in real-time for precise heating.
- Auto Shut-Off & Boil-Dry Protection: Enhanced safety features for worry-free operation.
- Durable Stainless Steel: Ensures pure taste and long-lasting performance.
- Cordless 360° Swivel Base: Easy lifting and pouring from any angle.
- Built-In Filter: Helps catch impurities for cleaner water.
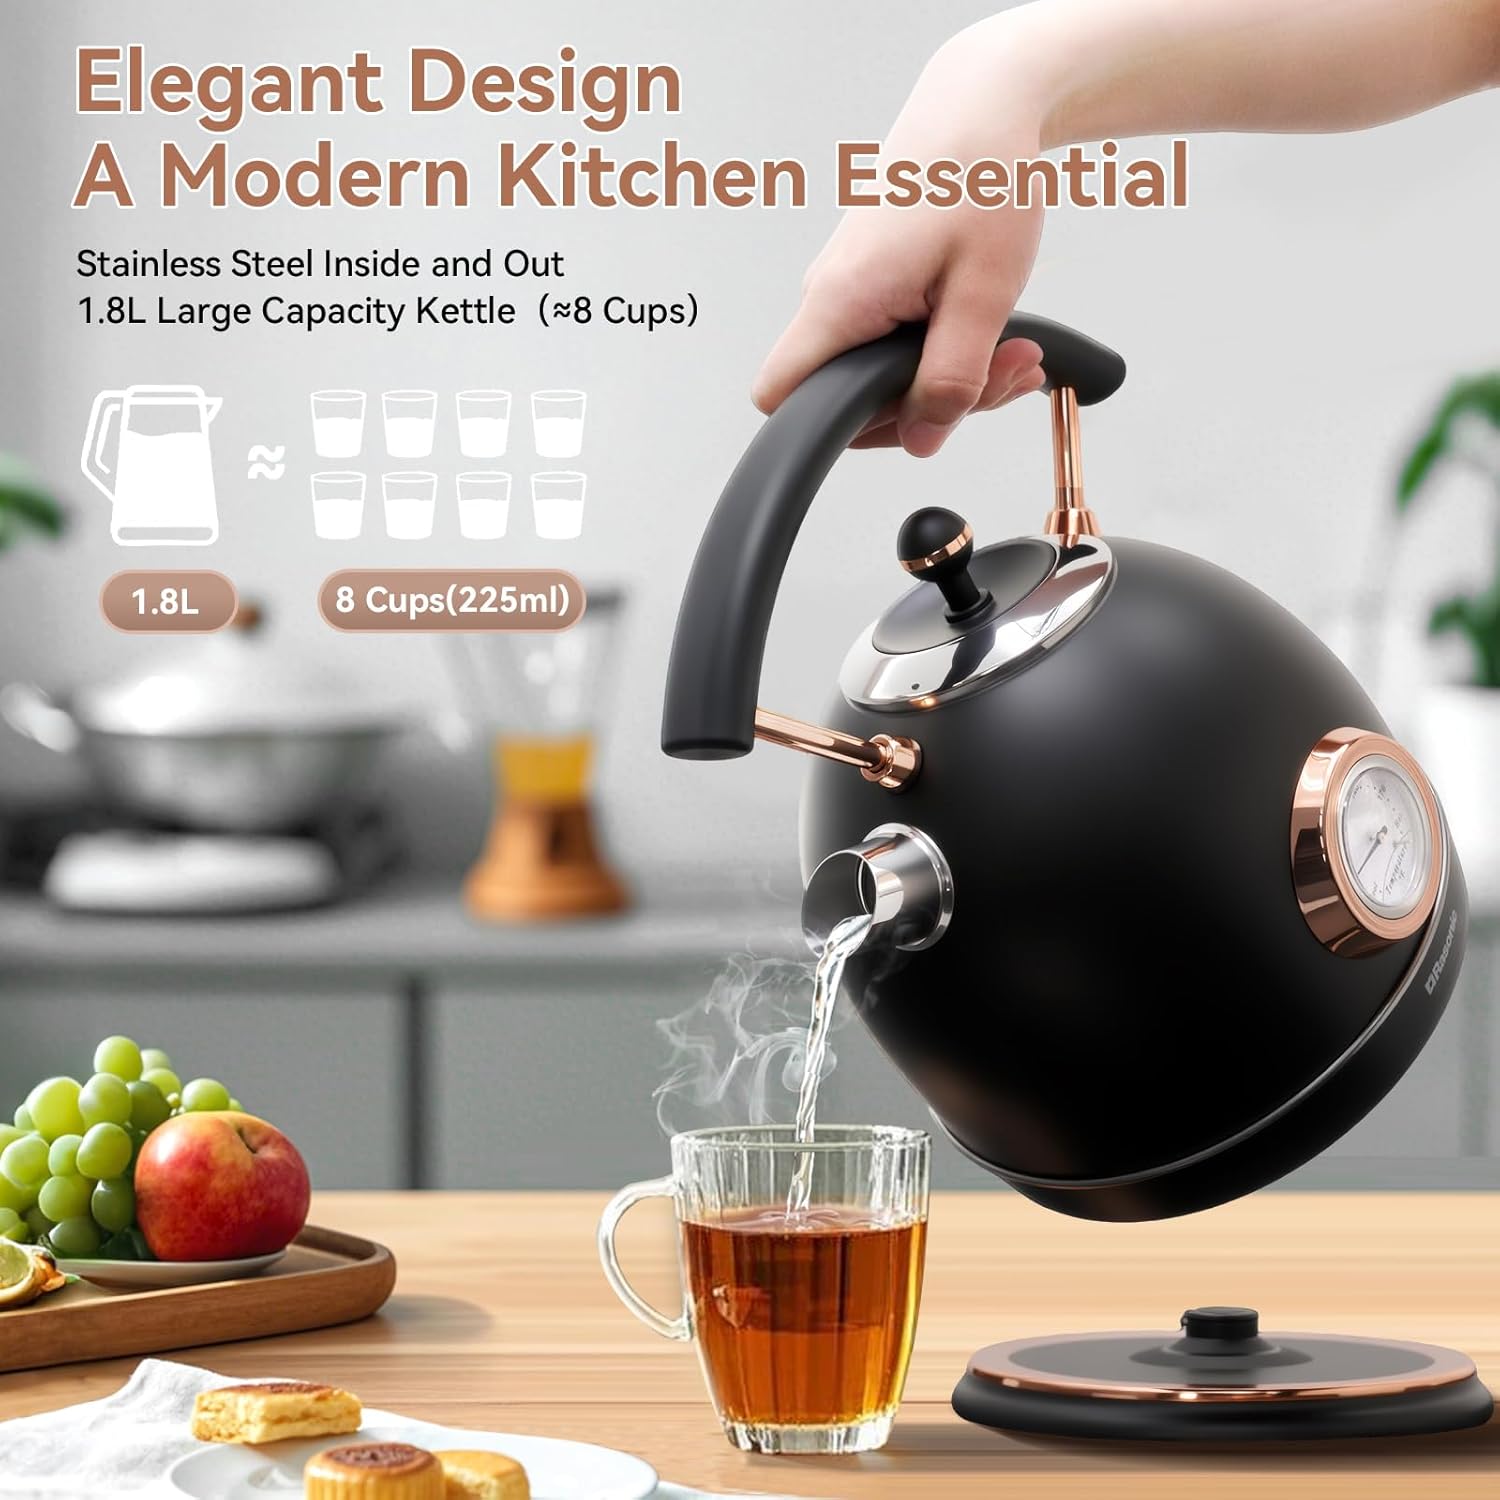
Image: Front view of the Rasonic Retro Electric Kettle, showcasing its matte black finish with rose gold accents and the integrated temperature gauge.
Setup
- Unpack all components and remove any packaging materials.
- Place the power base on a dry, flat, stable surface.
- Before first use, fill the kettle with water to the MAX line, boil, and then discard the water. Repeat this process 2-3 times to remove any manufacturing residues.
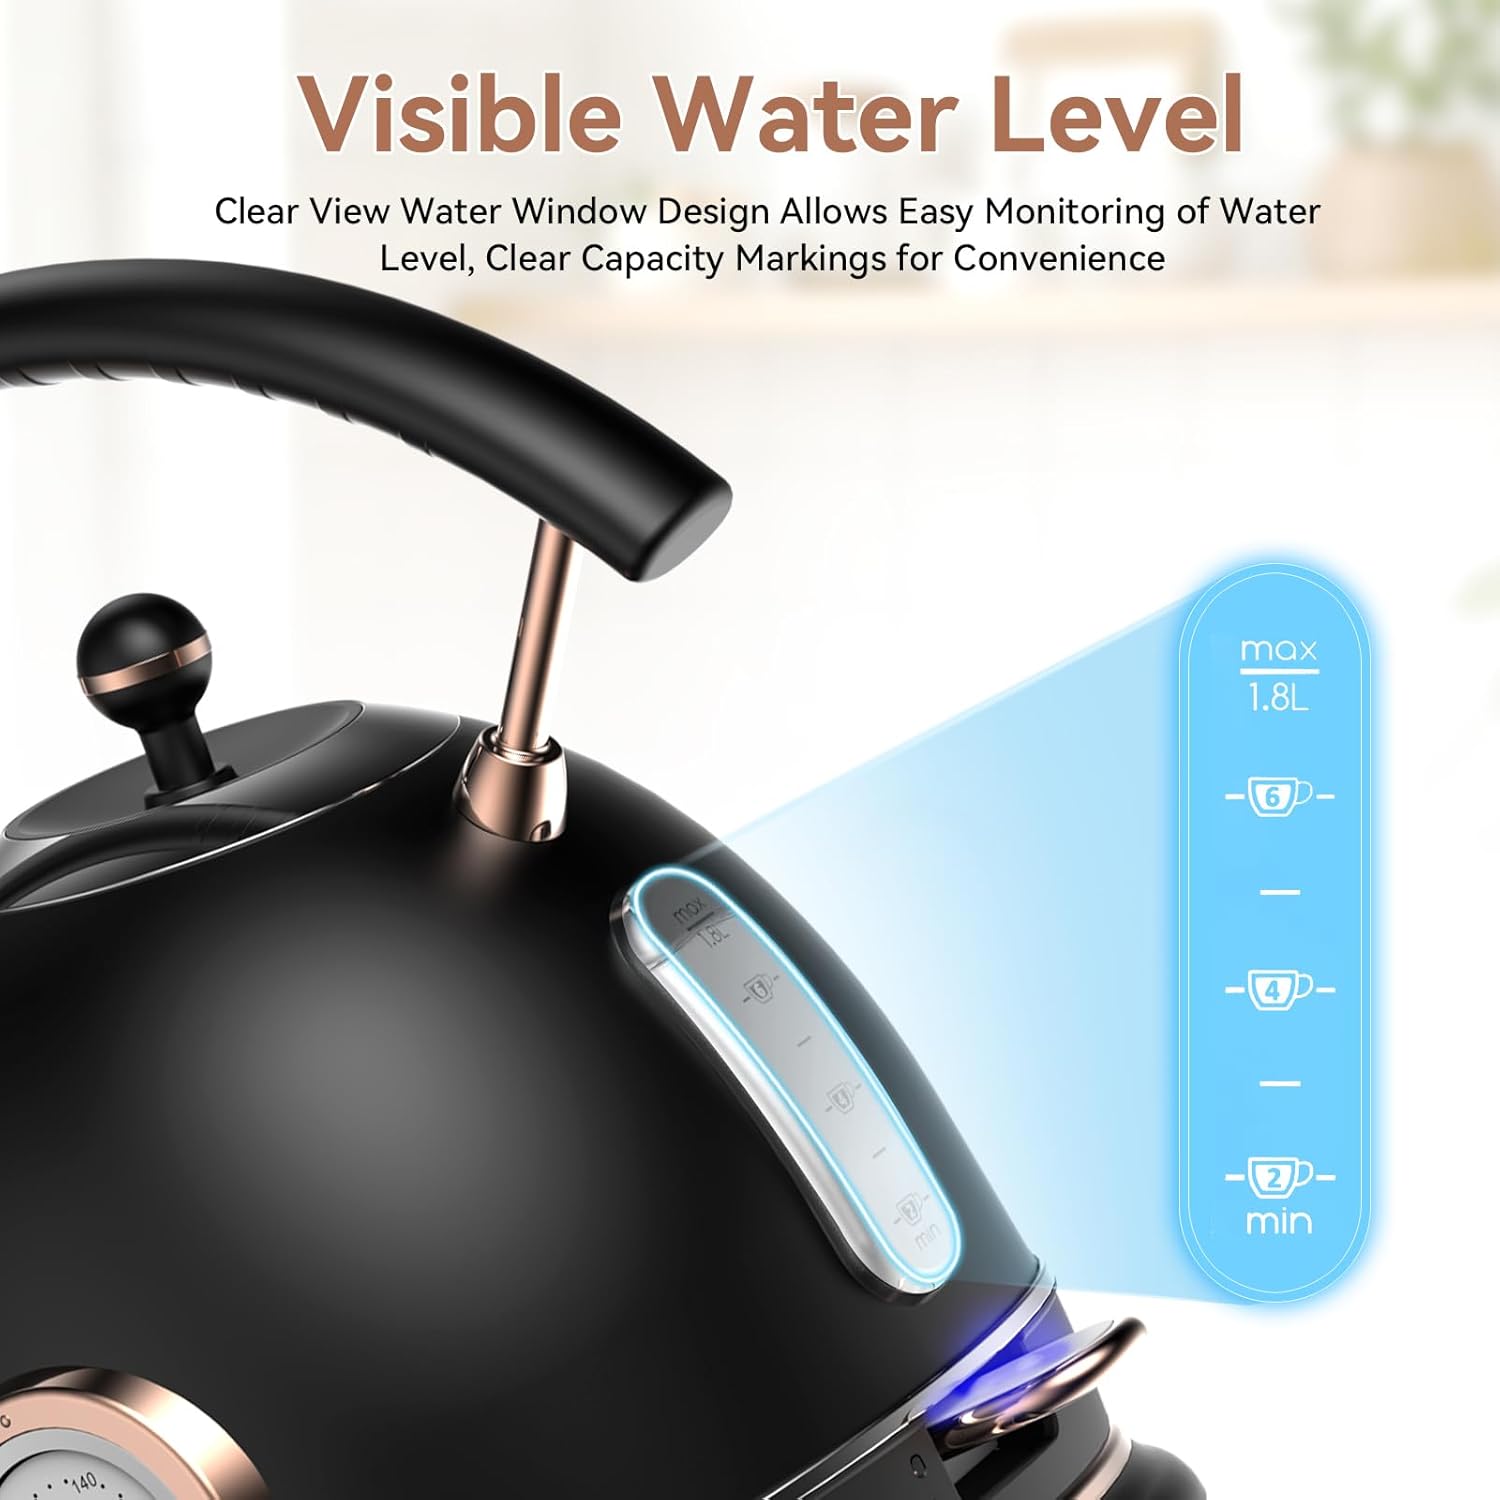
Image: The Rasonic Retro Electric Kettle next to its packaging box, illustrating the product's presentation.
Operating Instructions
- Open the Kettle Lid: Press the lid release button or lift the lid directly.
- Fill with Water: Fill the kettle with the desired amount of water, ensuring it is between the MIN and MAX marks on the water level window.
- Place on Base: Securely place the kettle onto the 360° rotational power base.
- Power On: Press the power switch down. The indicator light will illuminate, and the kettle will begin heating.
- Monitor Temperature: Observe the integrated temperature gauge to track the water's heat level.
- Automatic Shut-Off: The kettle will automatically turn off once the water reaches boiling point, and the indicator light will extinguish.
- Pour: Carefully lift the kettle from its base and pour the hot water.

Image: A visual guide demonstrating the four simple steps to operate the kettle: opening the lid, filling with water, placing it on the 360° swivel base, and pressing the power switch.
Video: Rasonic Classic Retro Kettle 1.8L 1500W
Description: This official seller video showcases the Rasonic Classic Retro Kettle, highlighting its 1.8L capacity and 1500W power for efficient boiling. It features various angles of the kettle in a modern kitchen setting.
Maintenance and Cleaning
Regular cleaning ensures optimal performance and longevity of your kettle.
- Exterior Cleaning: Wipe the exterior with a soft, damp cloth. Do not use abrasive cleaners or scouring pads.
- Interior Cleaning (Descaling): Over time, mineral deposits (limescale) may build up inside the kettle. To descale, fill the kettle with a mixture of equal parts water and white vinegar (or a commercial descaling solution). Bring to a boil and let it soak for 30 minutes to an hour, or overnight for heavy buildup. Empty and rinse thoroughly several times.
- Filter Cleaning: The integrated mesh filter can be removed and rinsed under running water to remove any loose particles. Ensure it is dry before reinserting.
- Storage: When not in use, ensure the kettle is clean and dry. Store it in a cool, dry place.

Image: A hand demonstrating the removal of the anti-limescale filter from the kettle's spout for cleaning.
Troubleshooting
| Problem | Possible Cause | Solution |
|---|---|---|
| Kettle does not heat up. | Kettle not properly seated on base. Power switch not engaged. No power to outlet. | Ensure kettle is correctly placed on the base. Press the power switch down. Check power outlet. |
| Water takes too long to boil. | Excessive limescale buildup. | Descale the kettle as per maintenance instructions. |
| Kettle switches off before boiling. | Limescale buildup affecting sensor. | Descale the kettle. If problem persists, contact customer support. |
| Water has an unusual taste. | New kettle odor. Limescale buildup. | Perform initial cleaning steps (boil and discard water several times). Descale the kettle. |
Specifications
- Model Name: RK-YB18/US
- Capacity: 1.8 Liters
- Power: 1500W
- Material: Stainless Steel
- Color: Black (Matt Black and Rose Gold)
- Special Features: Automatic Shut-Off, Boil Dry Protection, Cordless, Ergonomic Handle, Rapid Boil, Temperature Gauge
- Product Dimensions: 9.21"L x 7.87"W x 10.83"H
- Item Weight: 3.45 pounds
- Care Instructions: Hand Wash
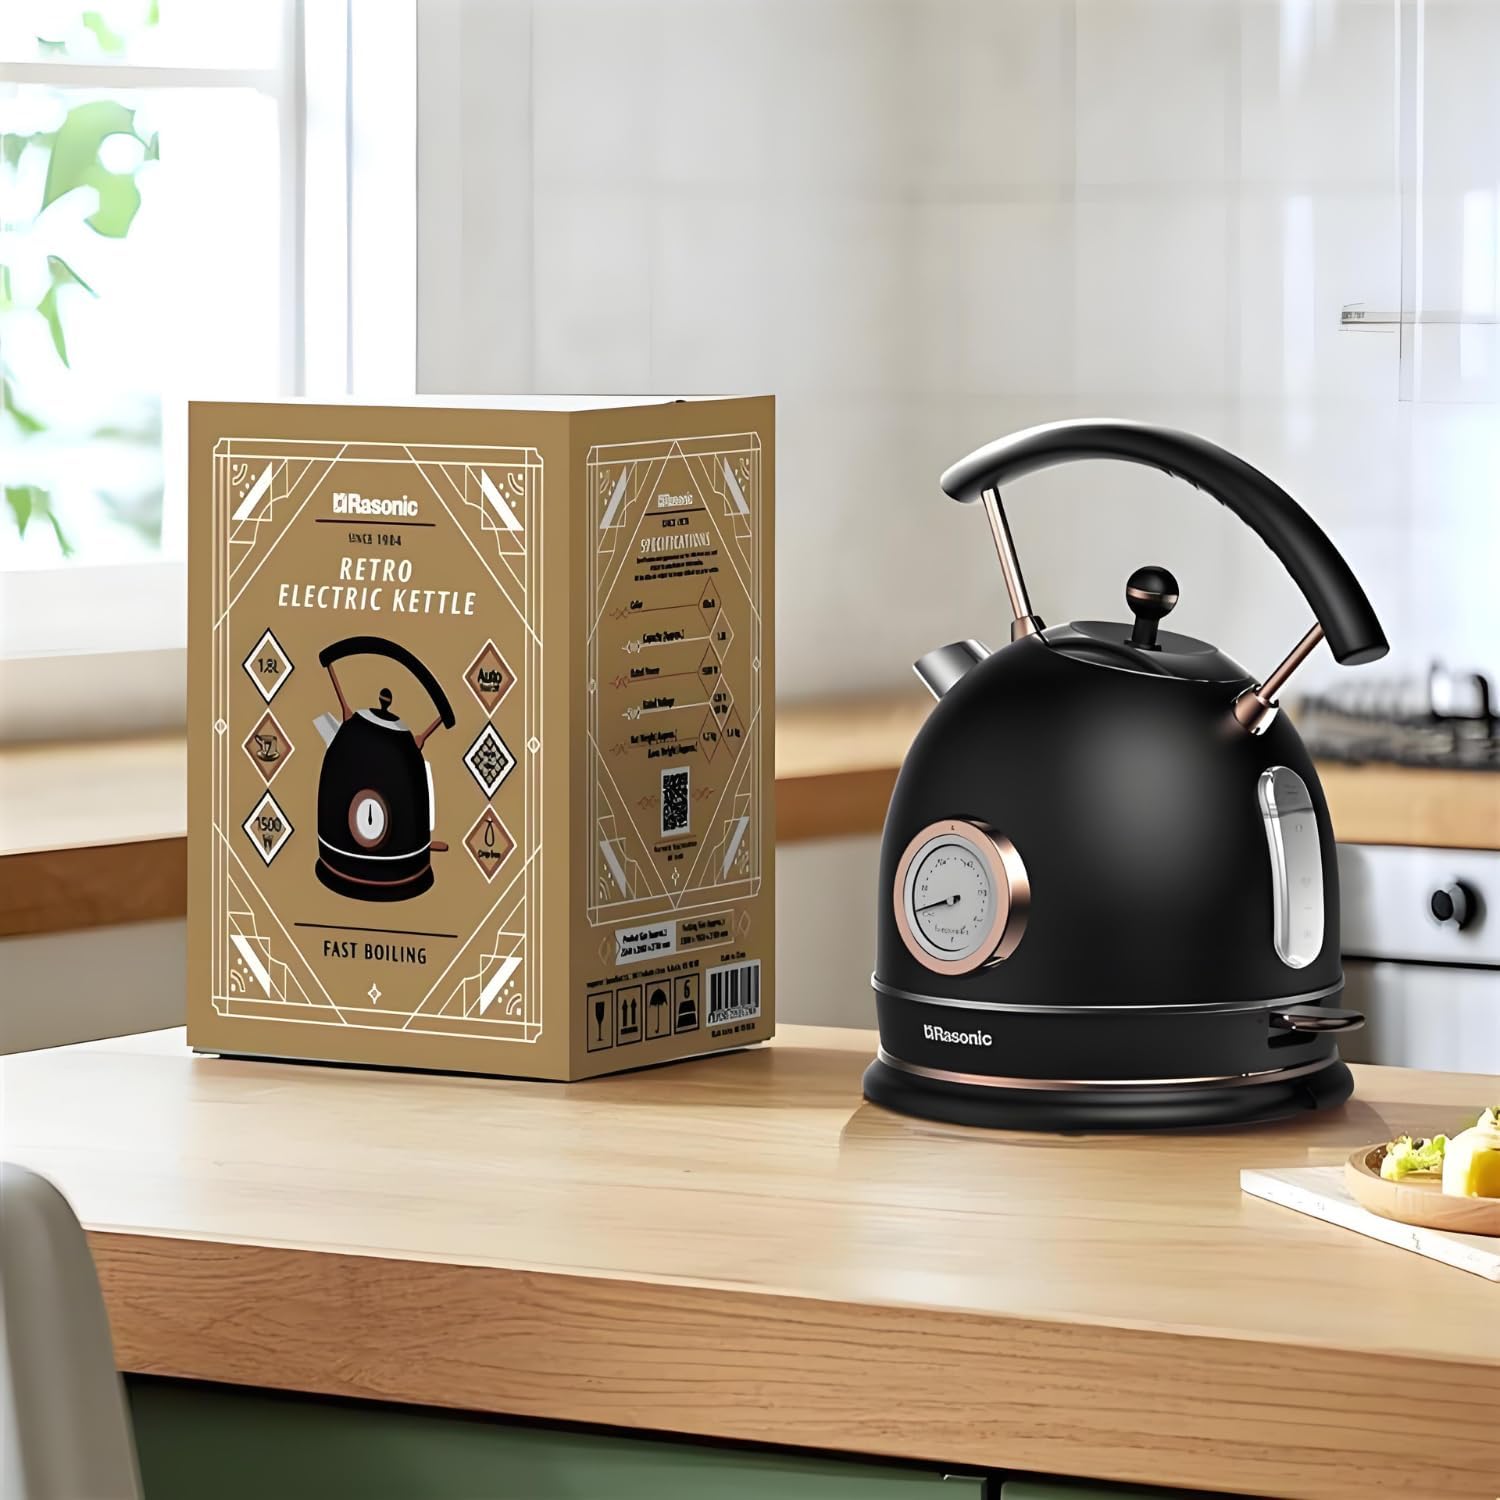
Image: Close-up of the kettle's water level indicator, showing clear markings for minimum and maximum fill, up to 1.8 liters.
Warranty and Support
Your Rasonic Retro Electric Kettle comes with a 1-Year Warranty. For warranty registration, product support, or troubleshooting assistance, please refer to the contact information provided in your product packaging or visit the official Rasonic website.
Additional Product Views

Image: Side view of the Rasonic Retro Electric Kettle, highlighting its ergonomic handle and spout design.
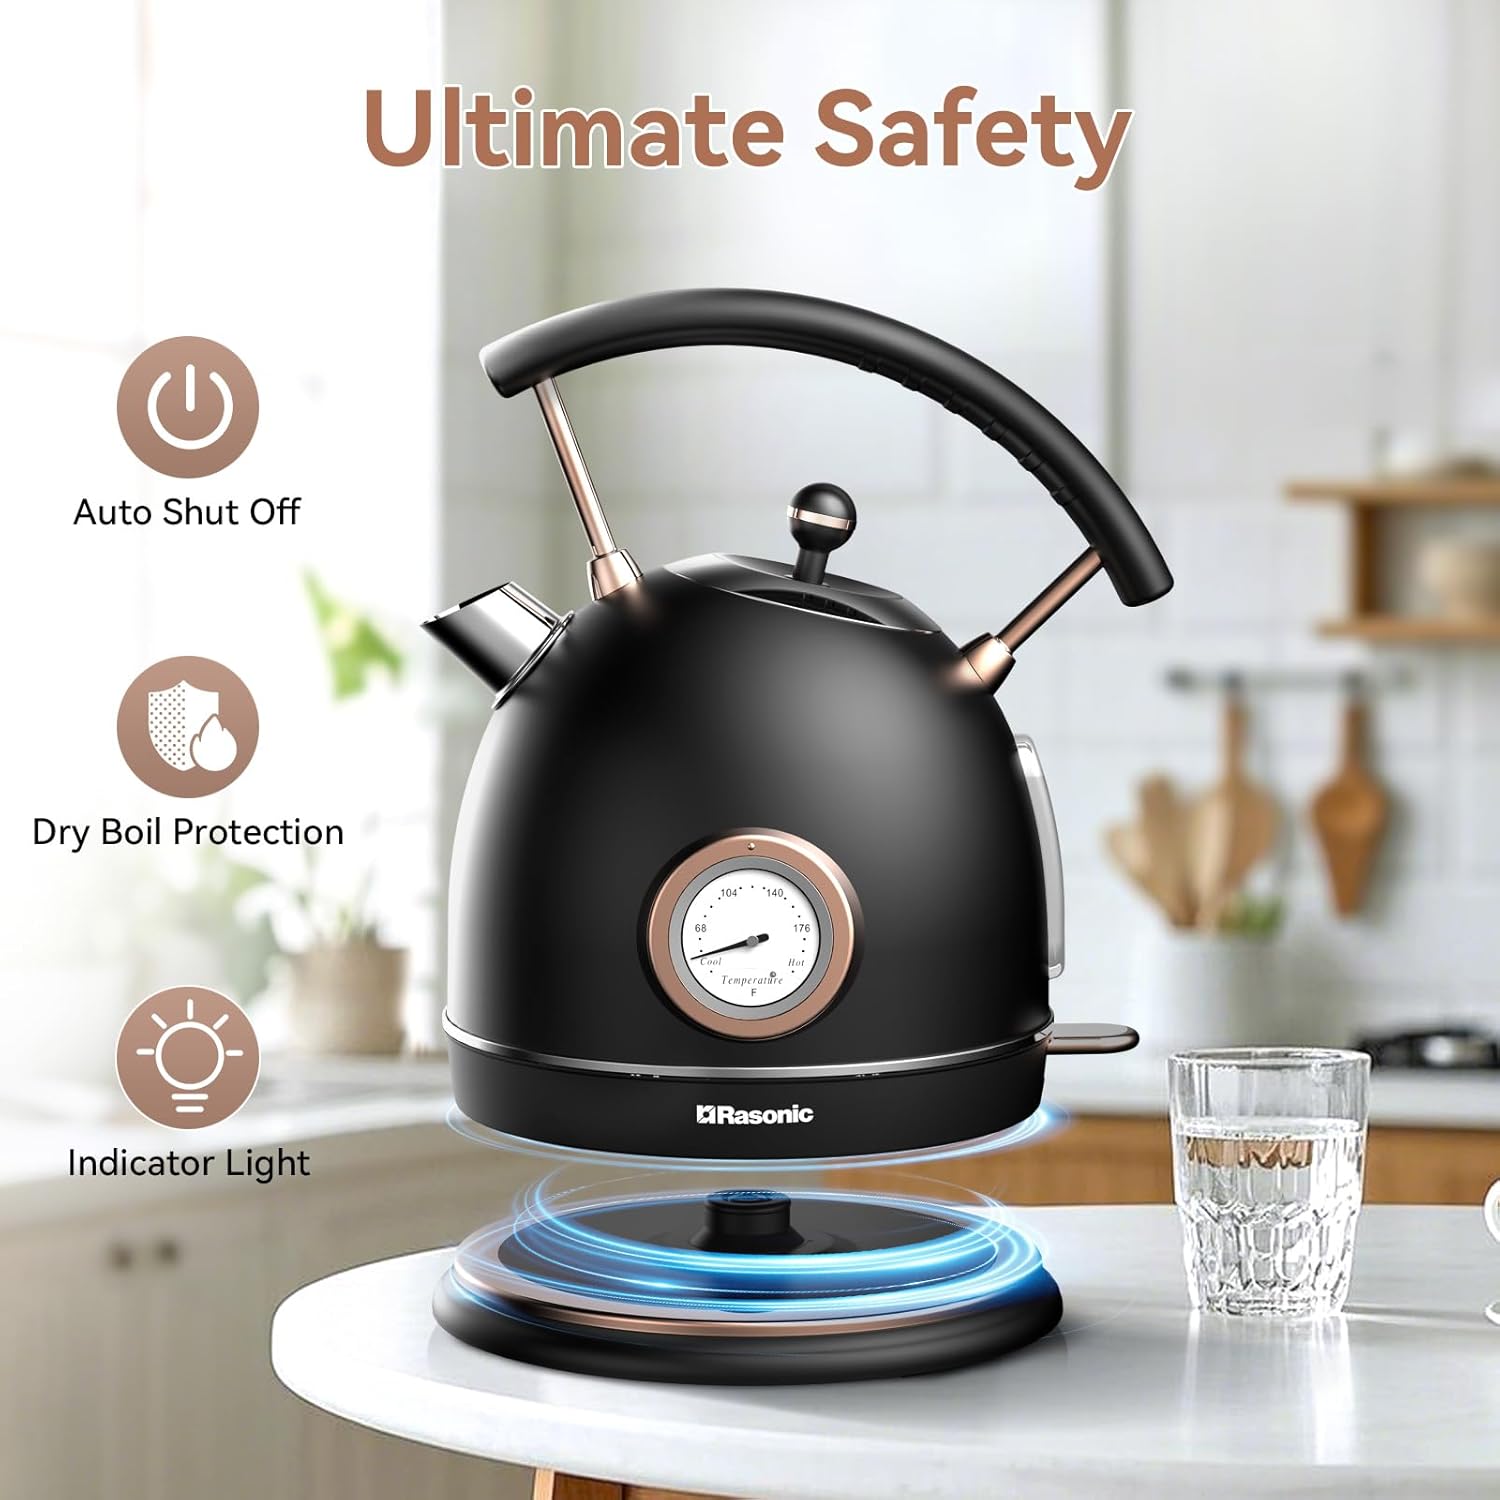
Image: Back view of the Rasonic Retro Electric Kettle, showing the power cord connection point.

Image: A detailed shot of the kettle's side, emphasizing the temperature gauge and the clear water level window.